Last.fm Support in Ubuntu 10.04 - Scrobbling and Streaming
Published on by Jim Mendenhall
Setting up Last.fm streaming and scrobbling in Ubuntu 10.04, Lucid Lynx, is fast and easy. The Rhythmbox music player provides scrobbling support and the Last.fm client will let you stream your favorite stations in a nice stand-alone application. Here’s a screencast and written instructions on exactly how to set things up.
Setting up scrobbling in Rythmbox
First of all, what is scrobbling? According the the urban dictionary, it is the act of automatically sending the name of each song played by an audio player to Last.fm. Sending information about the music you listen to to Last.fm is useful because it helps them build a profile of the music you like which in turn enables Last.fm to suggest relevant new music to you which you’re likely to enjoy.If you are using the default music player in Ubuntu, Rhythmbox, then setting up scrobbling is pretty quick and easy, just follow these steps:
1. In Rhythmbox, click on the Edit menu and then click Plugins.
2. Select the Last.fm plugin and click Configure
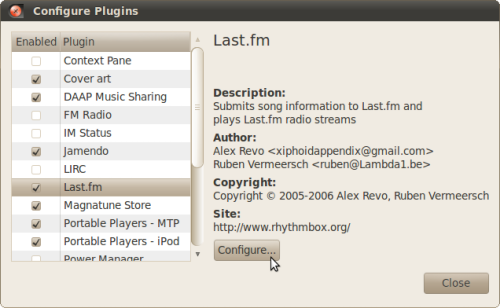
3. Enter your Last.fm username and password and click Close. Also close the Configure Plugins window.

Now, each song you listen to in Rhythmbox should be automatically scrobbled to Last.fm.
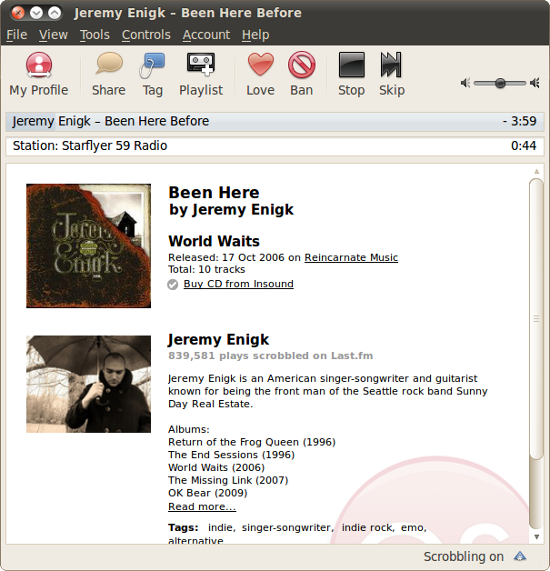
Installing the Last.fm desktop client
Last.fm provides an open source desktop client for Linux that allows you to stream your favorite Last.fm your stations, recommendations, and library. This is useful because it keeps Last.fm in its own window, outside the browser (where the Flash player can sometimes bog things down). Since Ubuntu 9.10, the Last.fm player is available right from within the Ubuntu Software Center, so installing it is a breeze. Here’s what you need to do:1. Launch the Ubuntu Software Center
Click the Applications menu and choose Ubuntu Software Center. This will launch the Ubuntu Software Center, a one-stop place for finding and installing thousands of free software applications for Ubuntu.
2. Search for “last.fm” and install
Inside the Ubuntu Software Center, search for “last.fm” and you should find an entry called “Last.fm” with the red Last.fm logo. Simply click the install button next to this entry (and enter your password if prompted). The Last.fm client will now be downloaded and installed automatically. The whole process should only take a few minutes (depending on the speed of your internet connection).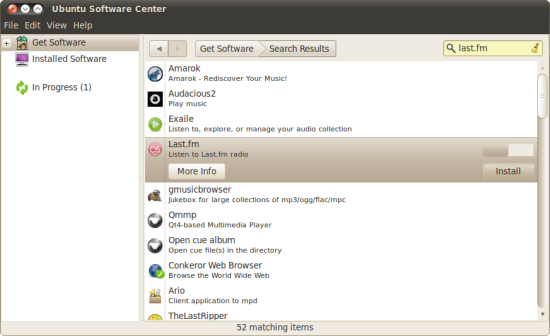
3. Launch the Last.fm client
You can now find the Last.fm client by clicking on the Applications menu and the Sound & Video sub-menu and finally on Last.fm.
4. Complete the Last.fm Setup Wizard
The first time that you launch the Last.fm client, the Setup Wizard will ask you for your Last.fm username and password.5. Start Enjoying your music!