

ChromeOS includes a full Linux environment, ready to run desktop software, developer tools, and command-line programs. Google calls it the Linux development environment, and you switch it on from Settings. You do not need developer mode, and nothing on the Chromebook is wiped.
This is the written companion to our video. The steps and screenshots below come from ChromeOS 154 on an HP Dragonfly Pro Chromebook, where a new setup installs Debian 13 (trixie). Older ChromeOS versions use the same path in Settings, though some labels and the Debian release can differ.
Linux Runs Beside ChromeOS in Its Own Virtual Machine
The virtual machine runs Debian. Older setups put Debian in a container inside that virtual machine. On ChromeOS 143 and later, new environments skip the container and run Debian in the virtual machine directly, and the Terminal prints a notice from Google saying so the first few times it opens. Either way, your Linux programs run in their own sandboxed space, appear in the app launcher like any other app, and share a folder with the ChromeOS Files app, while ChromeOS keeps its automatic updates and verified boot intact.
A broken package or a bad command cannot take down ChromeOS or touch your Google account data. You can delete the entire Linux environment and start over from Settings without reinstalling the operating system. The tradeoff is that Linux does not get raw access to every piece of hardware, so GPU-heavy 3D games and software that needs custom kernel modules are off-limits. For coding, scripting, running LibreOffice or GIMP, spinning up a local database, or learning the Linux command line, the built-in environment covers what you need. If you are curious about which distribution is doing the work, we cover that in our explainer on the Linux distro behind ChromeOS.
Which Chromebooks Can Run It
Nearly every Chromebook released in the last several years supports the Linux development environment, including budget models with modest specs. The main exceptions are very old or very low-powered devices where Google never enabled it, and managed Chromebooks issued by a school or workplace, where an administrator can block the feature through policy. If you are on a school-managed device and the Linux option is missing or greyed out, that is a policy decision you cannot override from the user side.
Linux shares memory and disk with ChromeOS, so a Chromebook with 4GB of RAM will feel cramped once you open a few Linux apps alongside a stack of browser tabs, while 8GB or more leaves room for both. Storage matters too, since Linux needs space to grow as you install software. Check your processor architecture as well, because some Linux apps ship only for Intel and AMD chips (x86_64) and not for the ARM processors in certain thin-and-light and tablet-style Chromebooks. If you are still choosing hardware with Linux in mind, the Chromebook comparison chart lets you sort by RAM, storage, and processor so you can pick a model with enough memory and storage for Linux.
How to Enable the Linux Development Environment
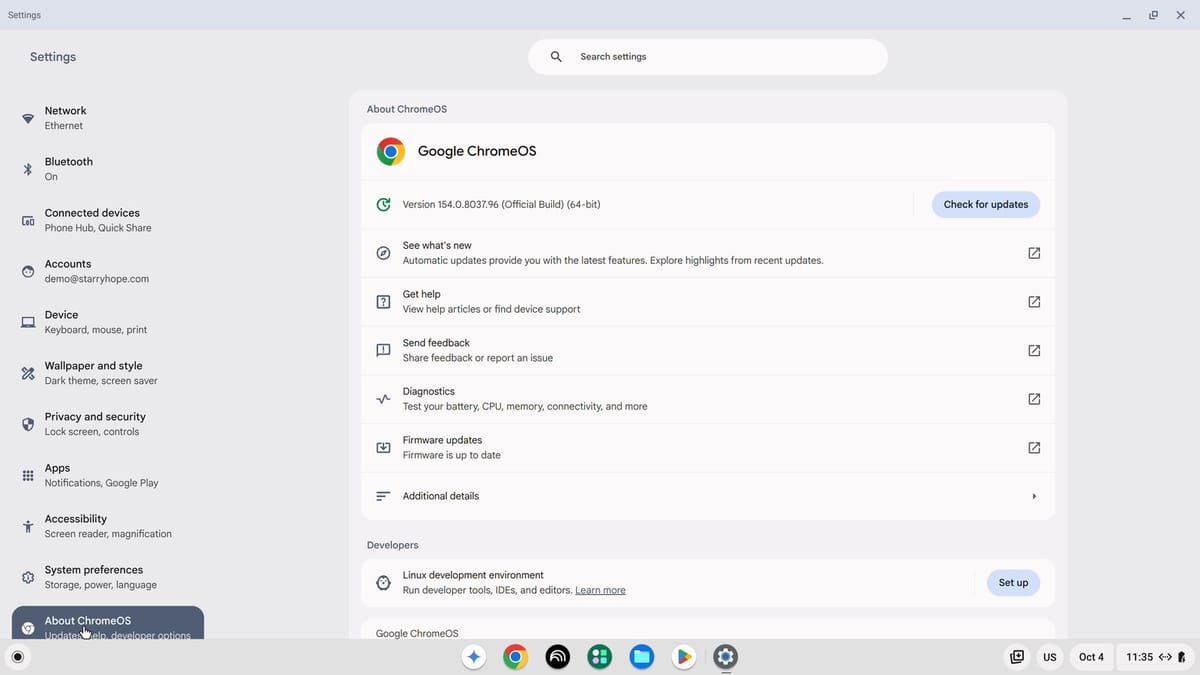
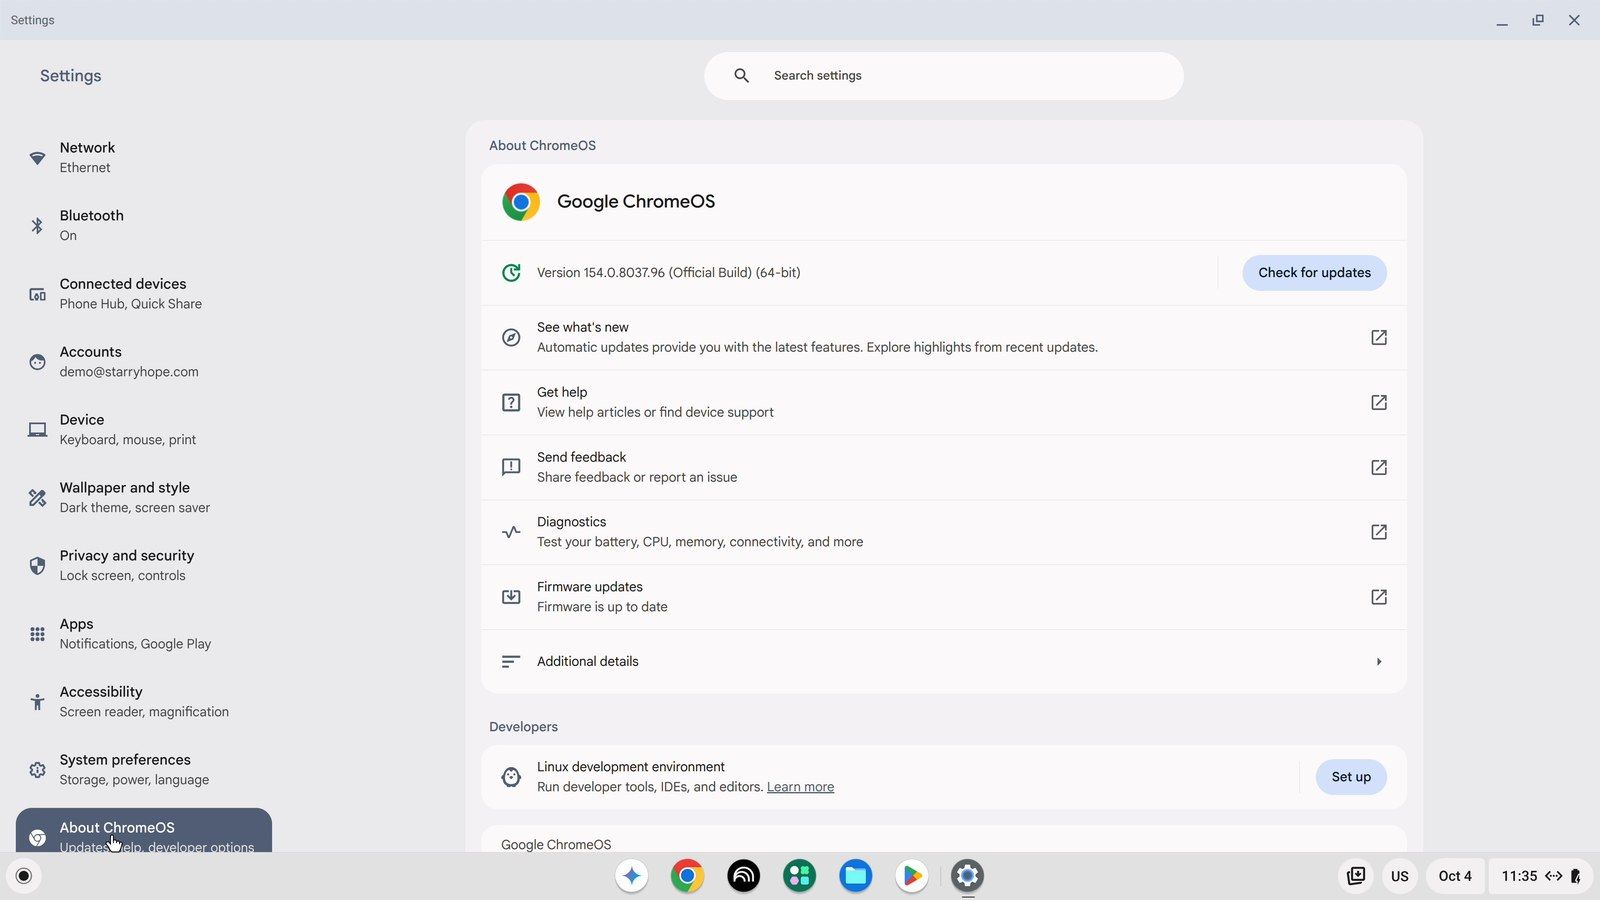
Click the time at the bottom right of the screen, then click the gear icon to open Settings. In the left sidebar, click About ChromeOS. Scroll to the Developers heading, and next to Linux development environment, click Set up.
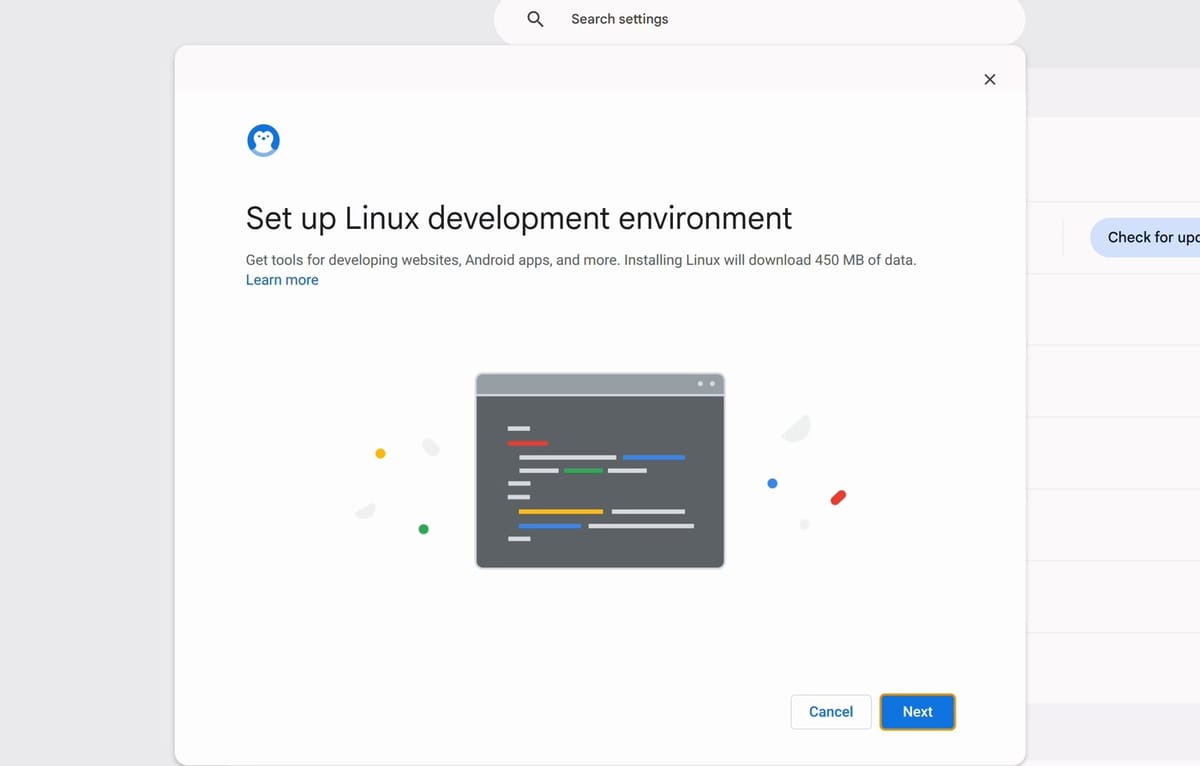
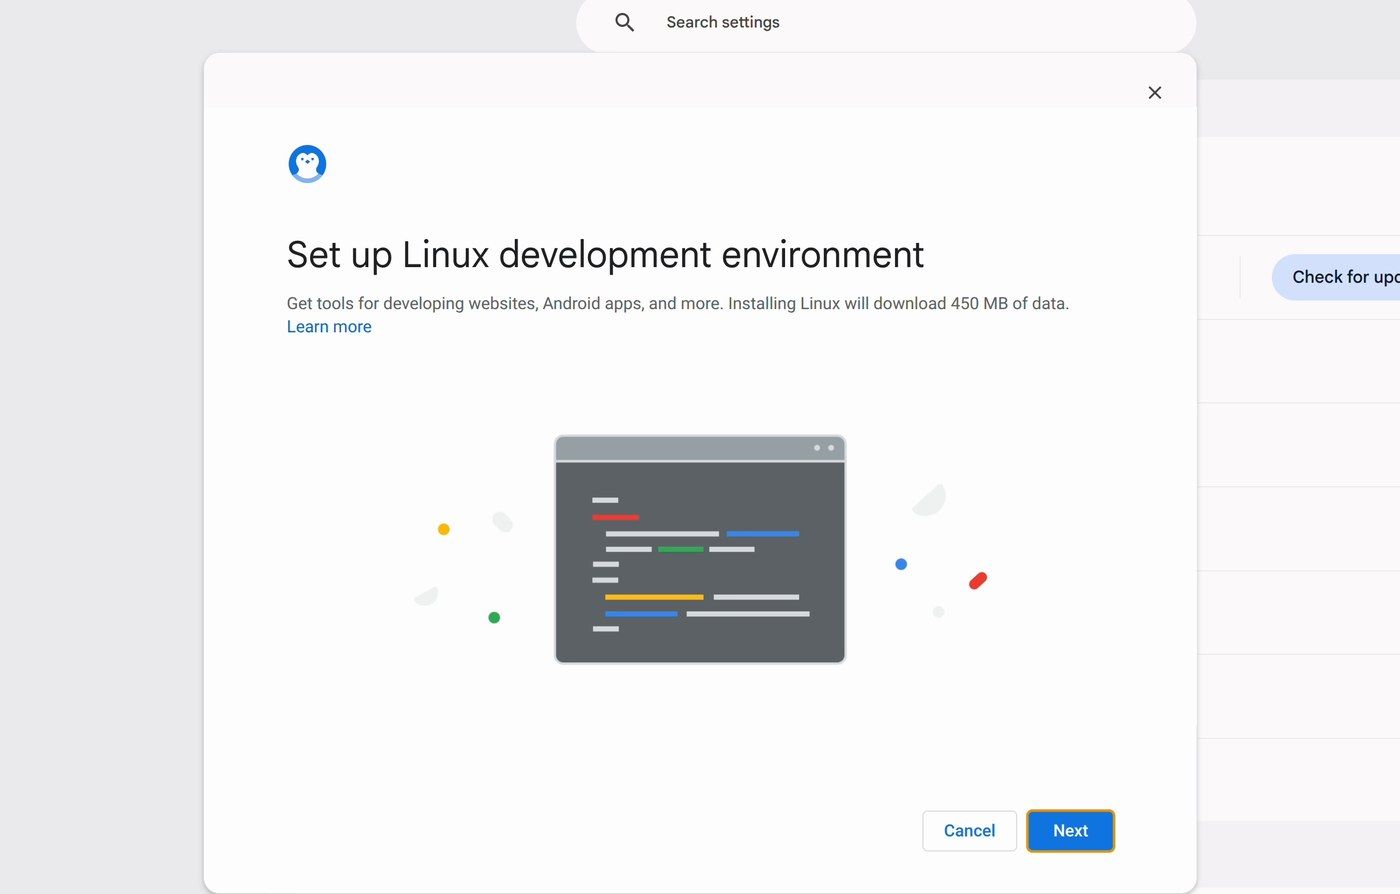
A setup window opens. The first page tells you that installing Linux will download 450 MB of data. Click Next.
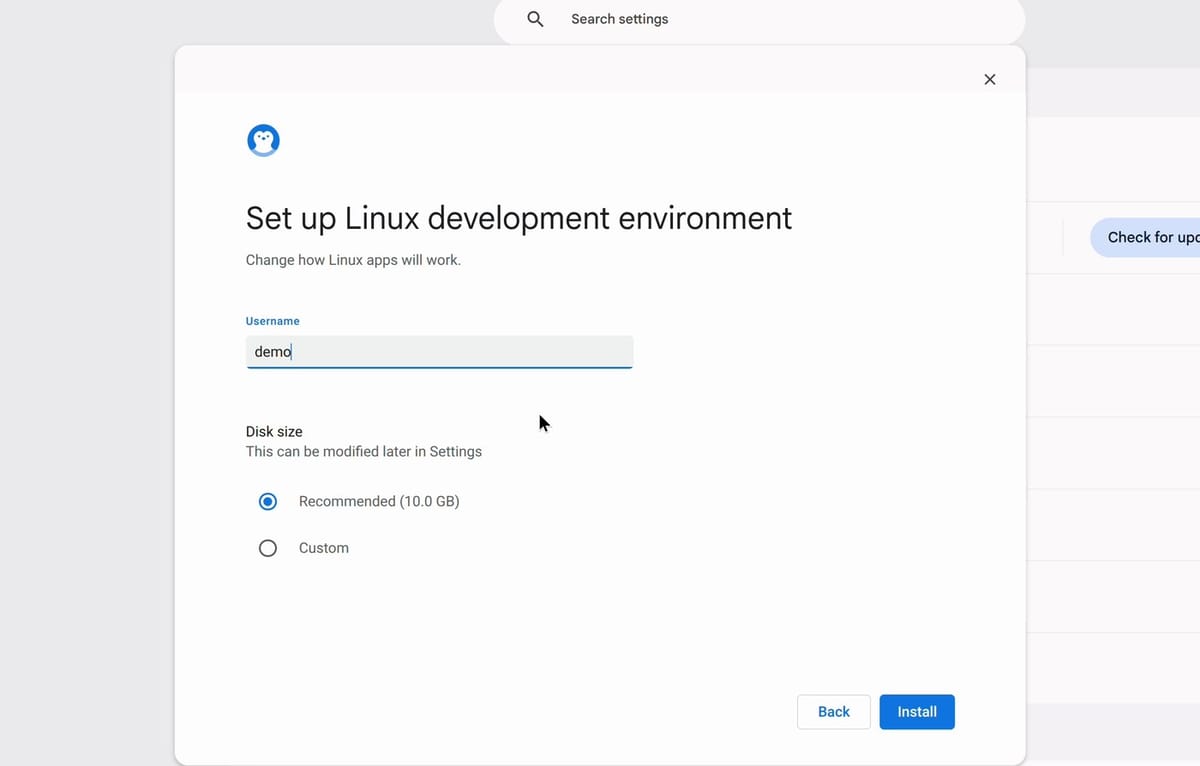
The second page asks for a Username and a Disk size. The username is filled in from your Google account, and you can change it here before you continue. Under Disk size, the Recommended option is selected (10.0 GB in the screenshot), and Custom lets you pick a different size. You do not have to get this right now: the window notes that the disk size can be changed later in Settings. Click Install.
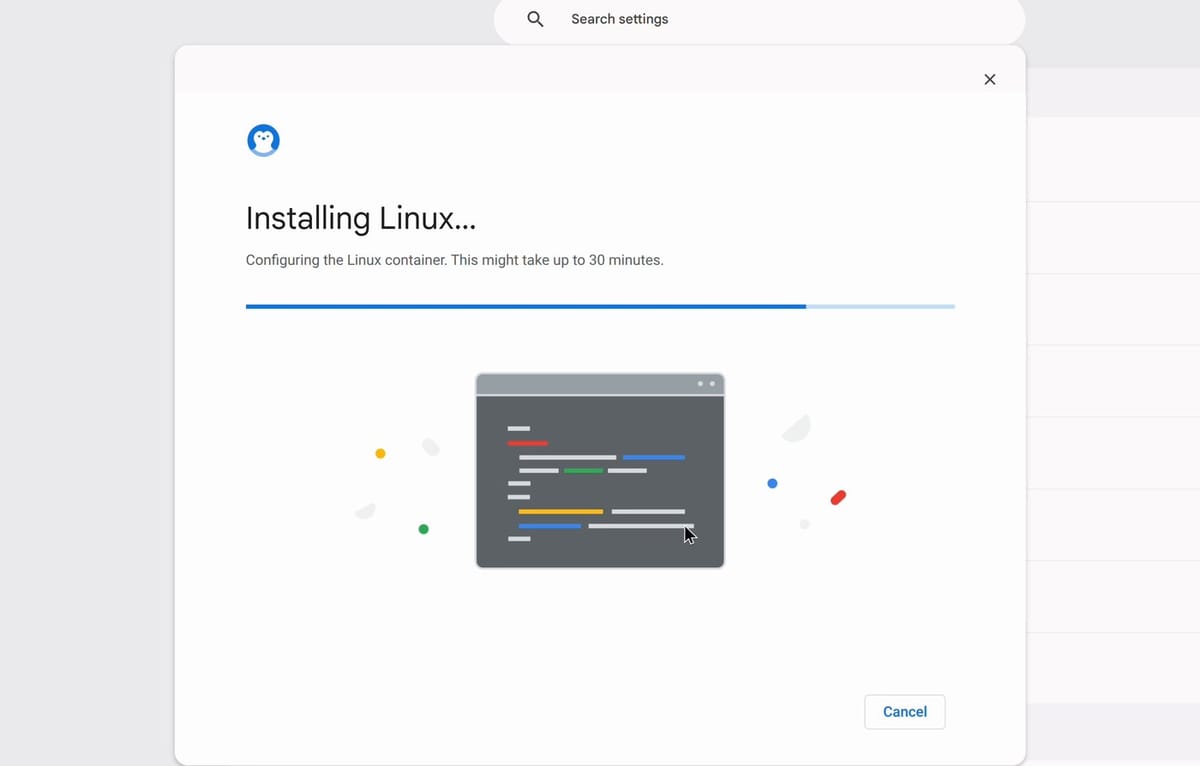
ChromeOS now downloads a virtual machine, starts it, and configures Linux inside it, with a progress bar and a status line for each stage (the last one still uses the older word “container”). The window warns that this may take a few minutes, and the last stage says it might take up to 30 minutes. On the Dragonfly Pro over a wired connection, the whole install took about 20 seconds; a slower connection or an older Chromebook will take longer.
When setup finishes, the Terminal app opens on its own with a Linux prompt. You can remove the whole environment again from the same Settings page if you decide it is not for you. The first time you open Terminal, Linux may print a notice from Google about recent changes before the prompt; it repeats for the first few shells and then stops.
Update Linux With apt
The prompt in the Terminal window ends in penguin, which is the name ChromeOS gives your Linux environment. The commands below are ordinary Debian Linux commands. Start by refreshing the list of available software with apt, the package manager Debian uses:
sudo apt updateThe sudo part runs the command with administrator rights. ChromeOS does not ask for a password here, so the command runs as soon as you press enter . It fetches the package lists from Debian’s servers and from Google’s own package repository, then tells you how many installed packages have newer versions waiting.
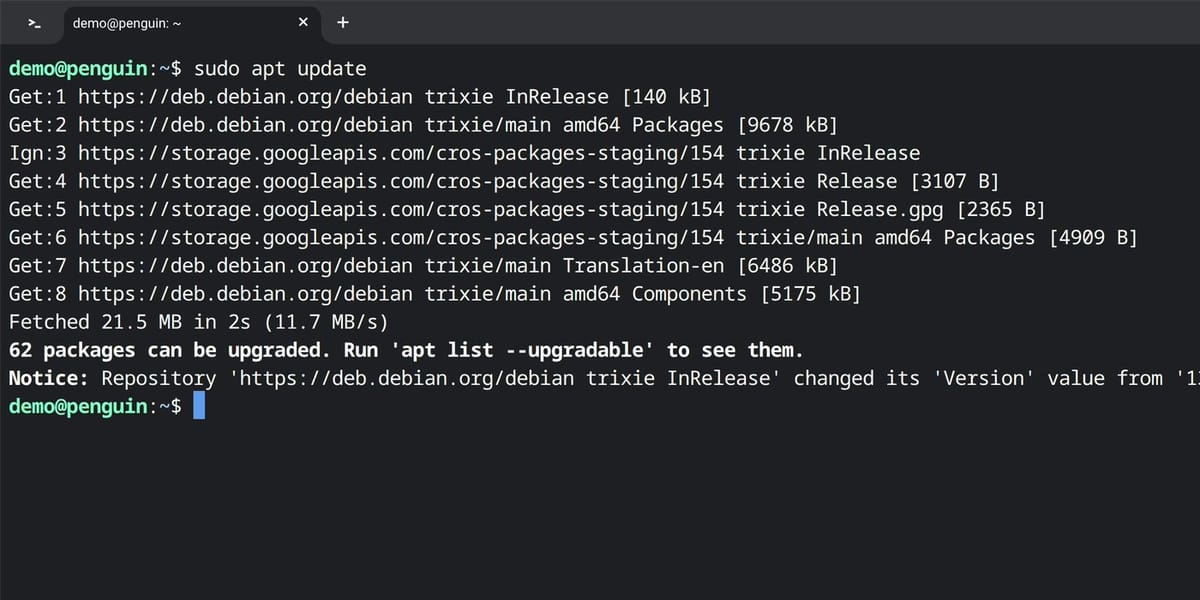
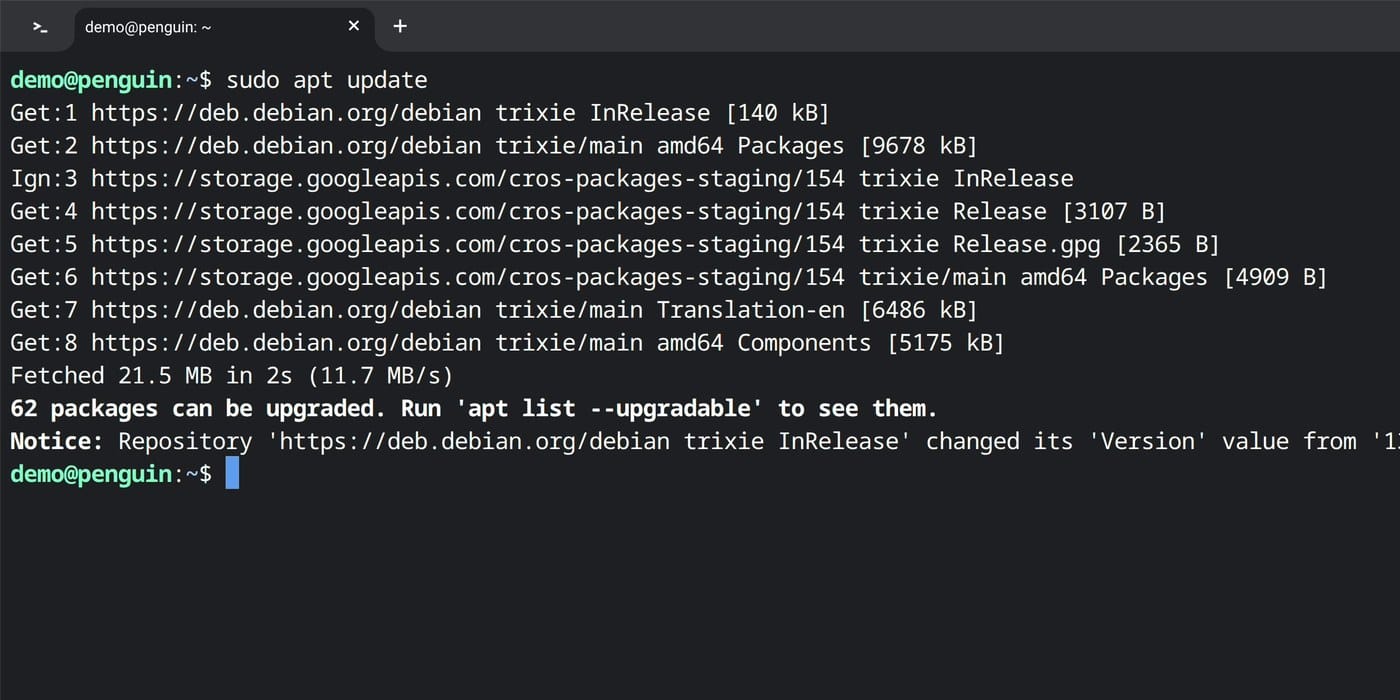
A new install can already have updates waiting (62 in the screenshot). To install them, run:
sudo apt upgradeRunning these two commands regularly keeps your Linux software patched, separate from the ChromeOS updates that Google pushes to the rest of the device. A few more commands cover most daily work: ls lists the files in the current folder, cd moves between folders, pwd prints where you currently are, and apt handles installing and removing software. Copying and pasting behaves a little differently inside the terminal than elsewhere in ChromeOS, so use ctrl shift c to copy and ctrl shift v to paste when you are working at the command line.
Install a Command-Line App: htop
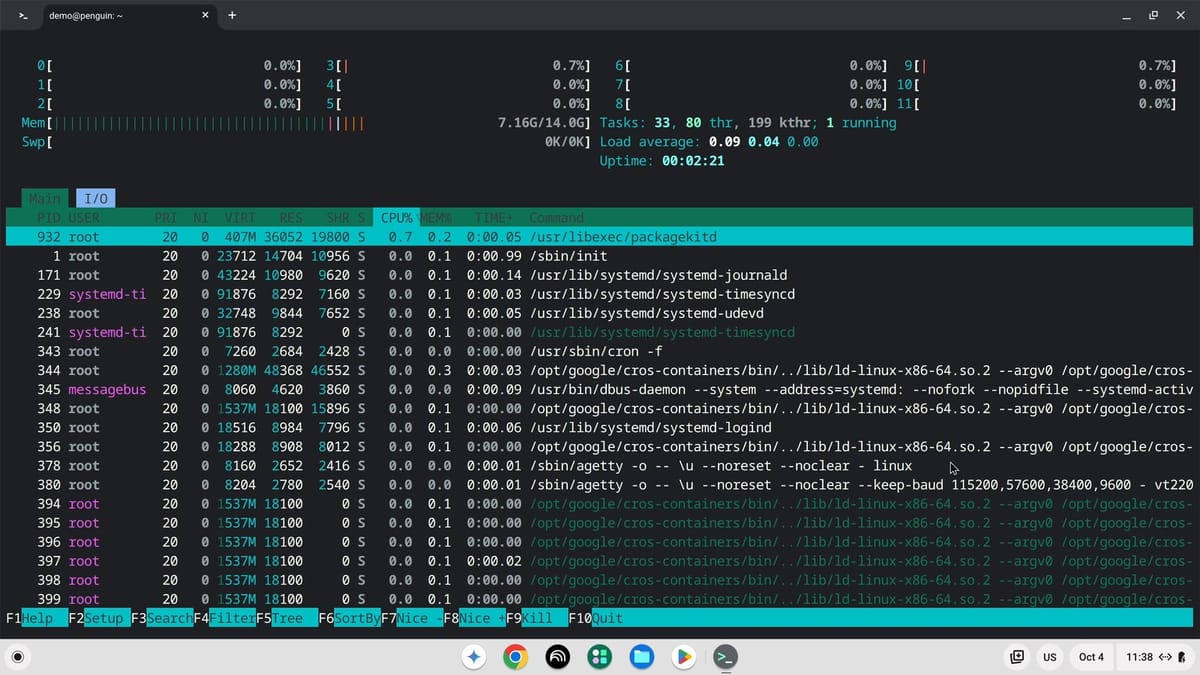
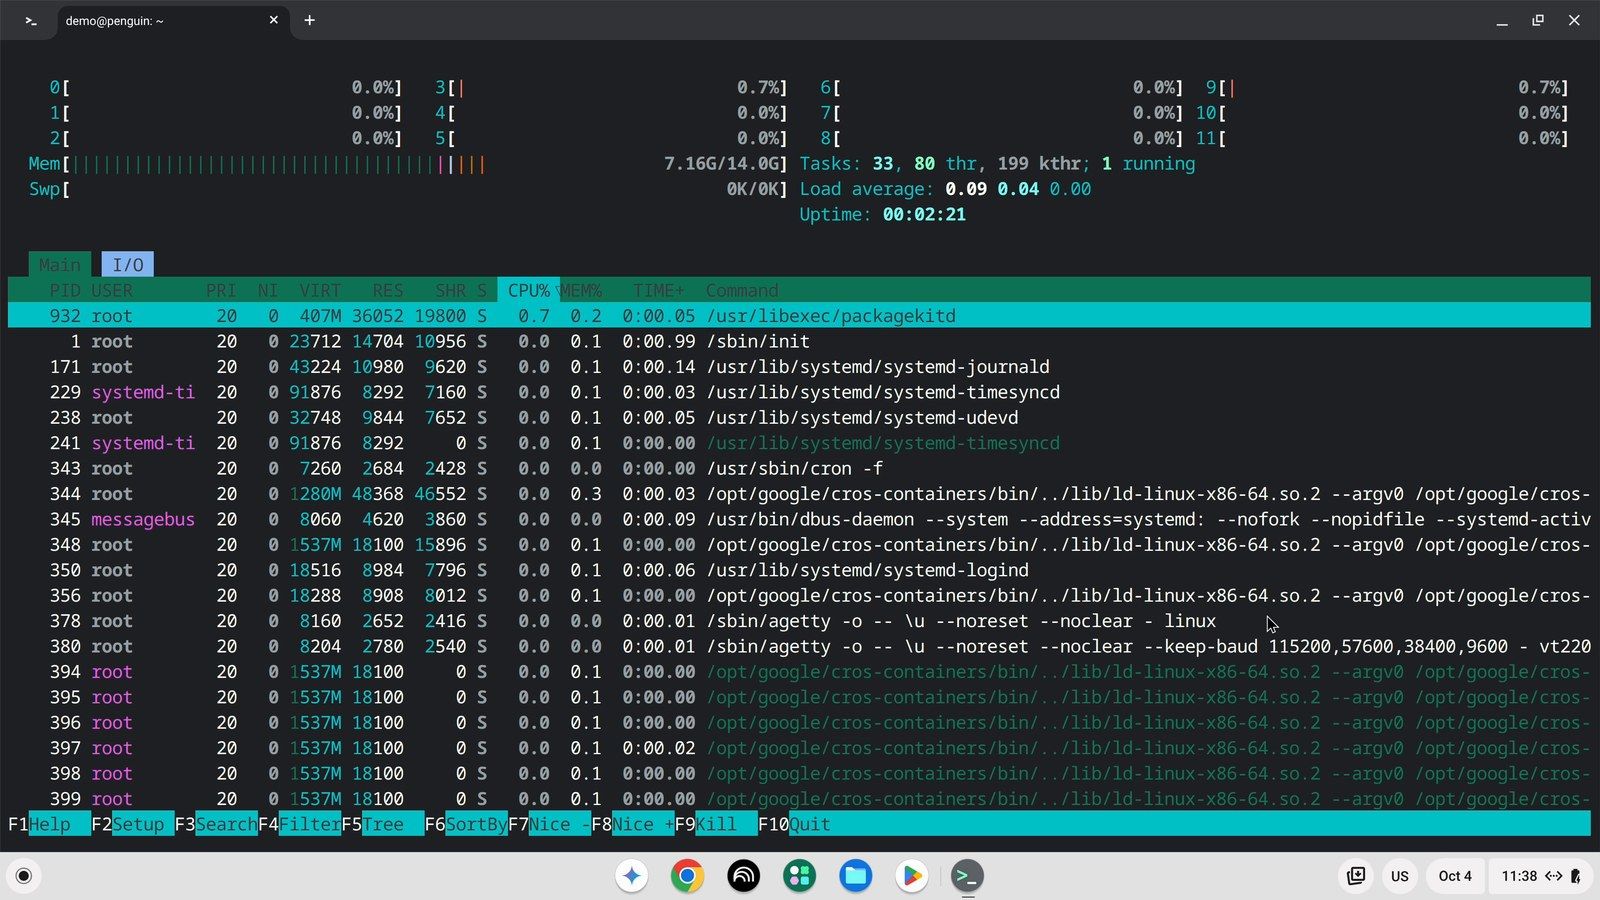
htop shows what is using your processor and memory, and it makes a good first install because it is tiny and you can see it working right away. Install it with:
sudo apt install htopIt needs no other packages, so apt installs it in a few seconds without asking for confirmation. Type htop and press enter to run it. The top of the screen shows a bar for each processor core plus your memory use, and below that is a list of running processes. The numbers update as you watch. Press q to quit and return to the prompt.
Install a Desktop App: GIMP
Graphical Linux apps install the same way. To try one, install GIMP, the free image editor:
sudo apt install gimpThis time apt stops and asks before it continues, because GIMP pulls in over a hundred other packages. The summary above the question shows how many packages it will install, the download size (about 78 MB here), and the disk space it will use (about 332 MB). Type y and press enter . On the Dragonfly Pro, the download and setup took under a minute.
![Terminal output of sudo apt install gimp, ending with a summary of Upgrading 9, Installing 108, Download size 78.2 MB, Space needed 332 MB, and the question Continue? [Y/n]](/i/blog/chromebooks/linux-on-chromebook/apt-install-gimp.1edf91e1bc12.jpg?s=09r3HdVHbsjd&w=1200)
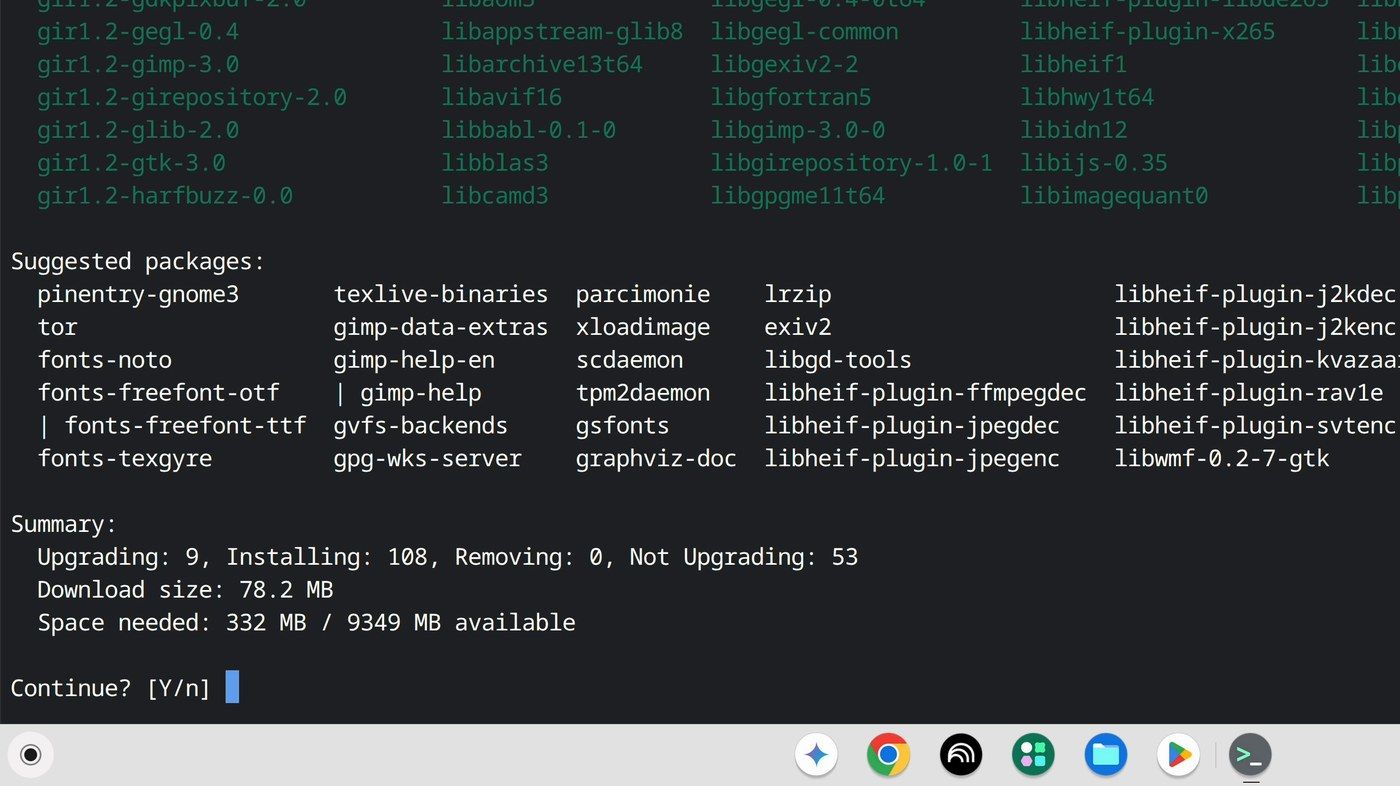
Debian 13 ships GIMP 3.0, so that is the version you get on a new setup. Older Linux environments based on Debian 12 install GIMP 2.10 instead.
Open Linux Apps From the Launcher
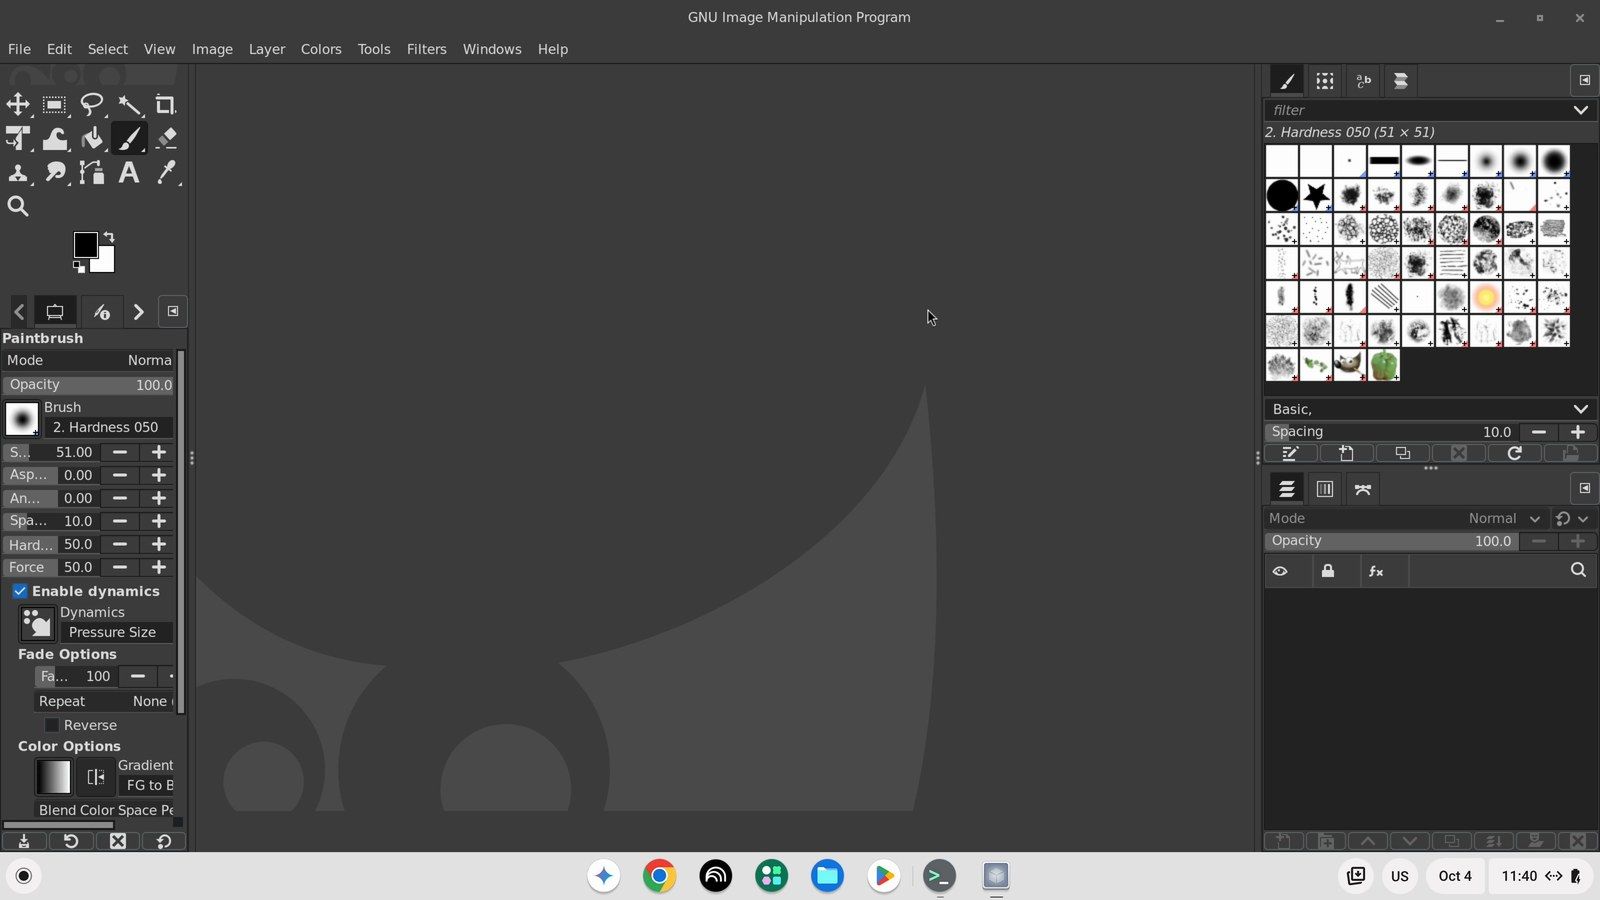
Click the launcher button at the bottom left of the screen. New Linux apps go into a folder named Linux apps, so open it. GIMP is listed under its full name, GNU Image Manipulation Program, which the launcher shortens to “GNU Ima…”. The folder also holds an icon for htop and one for Vim, a text editor that comes preinstalled.
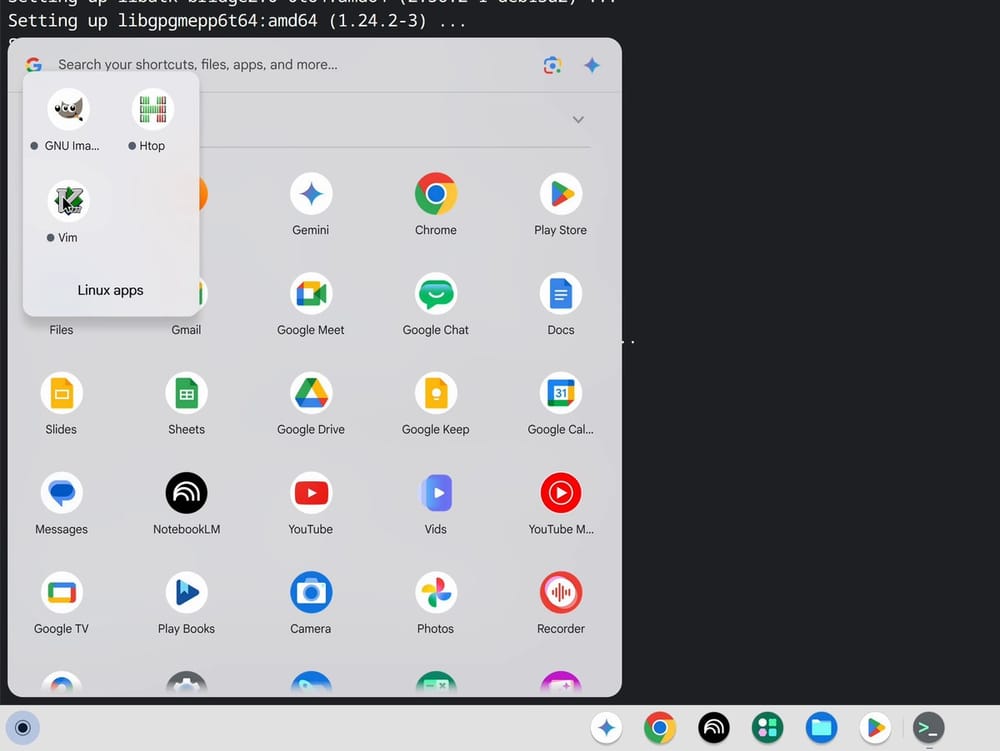
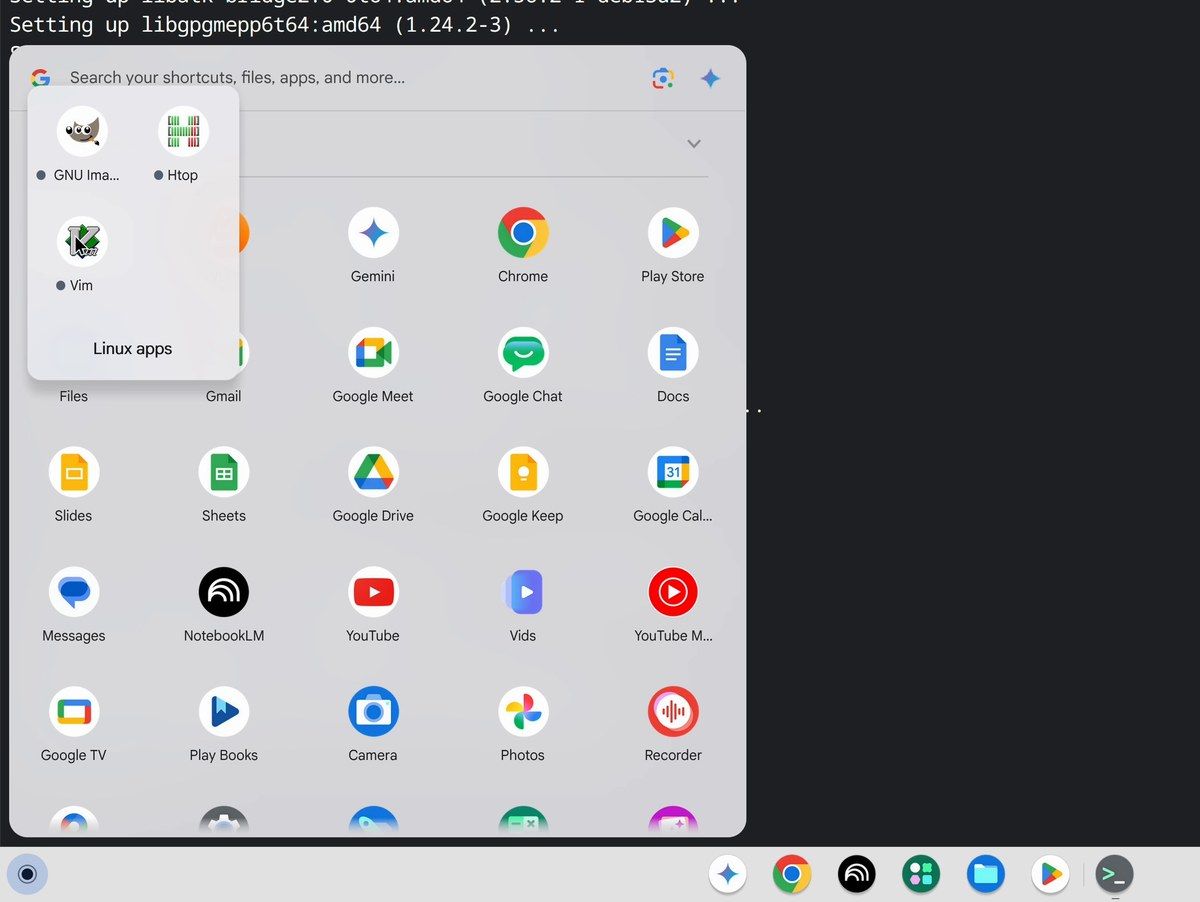
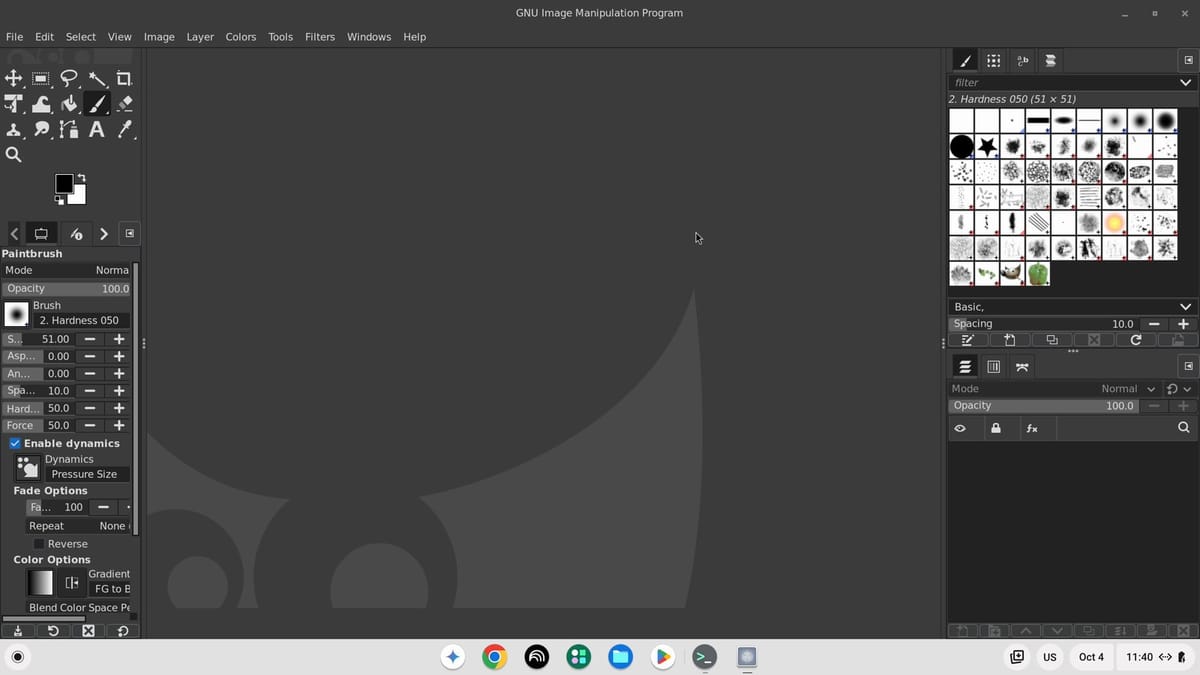
Click the GIMP icon. The first launch takes a little longer, because GIMP loads its plug-ins before the window opens. A welcome window appears; click Close, then click the maximize button to give GIMP the whole screen. You can also launch any Linux app without opening the folder: press the search key, type the app’s name, and press enter . There is no separate step to register Linux apps with ChromeOS.
Get Newer Apps With Flatpak
Not everything you want lives in Debian’s default repositories, and the versions there sometimes lag behind the latest release. For newer software, use Flatpak, a universal Linux package system that keeps apps sandboxed and updated on their own schedule. You set it up once with a couple of commands:
sudo apt install flatpak
sudo flatpak remote-add --if-not-exists flathub https://flathub.org/repo/flathub.flatpakrepo
After that you can install Flatpak apps from the Flathub catalog, and they land in your launcher alongside everything else. Installing Firefox on a Chromebook covers a second browser (including the difference between Intel/AMD and ARM machines), and setting up VLC on ChromeOS gets you a media player that handles the formats the built-in one refuses.
Sharing Files Between ChromeOS and Linux
Your Linux environment and ChromeOS keep their files mostly separate by design, which is part of the sandboxing. In the ChromeOS Files app you will see a Linux files folder, and anything you drop there is visible to your Linux programs. Going the other direction, you can right-click any ChromeOS folder (such as Downloads) and choose Share with Linux to make it available inside Linux. This is how you hand a downloaded file to a Linux app, or pull a file your Linux program created back out to somewhere ChromeOS can see it. The split means a misbehaving Linux app cannot rummage through all of your ChromeOS storage.
Shut Down Linux When You Are Done
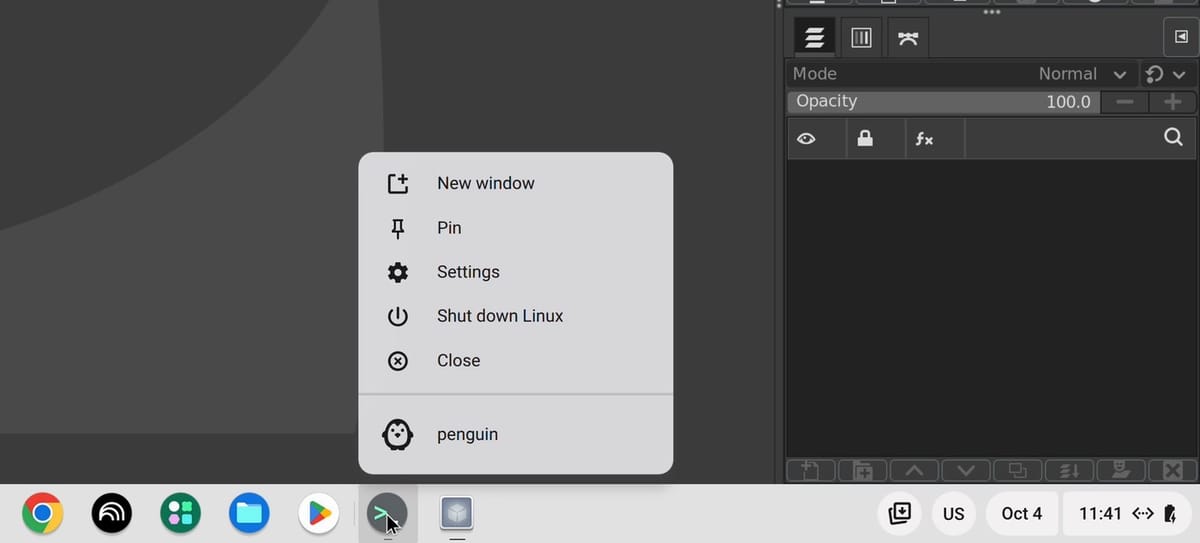
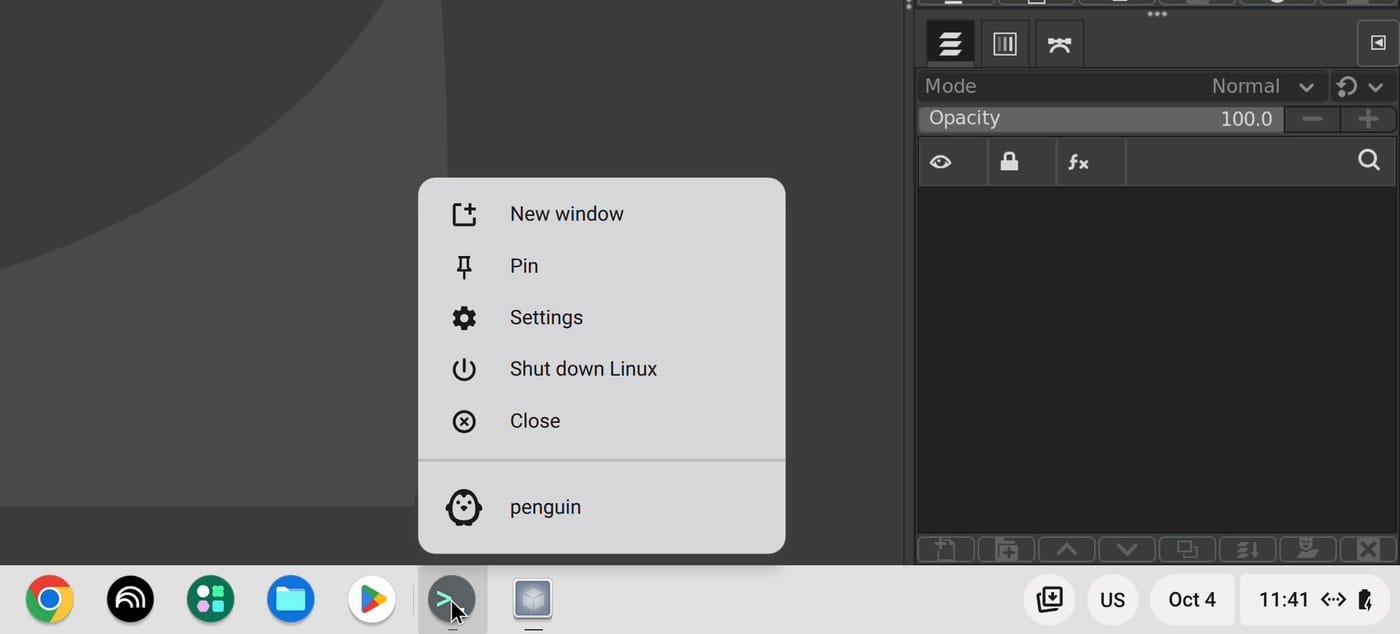
Linux can keep running in the background after you close its windows, holding on to memory that ChromeOS could use. To stop it, right-click the Terminal icon in the shelf at the bottom of the screen and choose Shut down Linux. The next time you open Terminal or a Linux app, Linux starts again on its own.
Troubleshooting Common Snags
If a Linux app you just installed does not appear in the launcher, restart Linux: right-click the Terminal icon in your shelf, choose Shut down Linux, then reopen Terminal, and the launcher should pick up the new app. If graphical apps look tiny or blurry on a high-resolution screen, that is a display-scaling mismatch between ChromeOS and Linux; many apps offer a density toggle when you right-click their launcher icon, and you may need to restart the app for it to take effect.
Chromebooks with small drives can run low on space for Linux. You can increase the Linux disk size from Settings > About ChromeOS: click the Linux development environment row under Developers, then click Change next to Disk size. If Linux feels sluggish, closing some browser tabs frees up memory that ChromeOS and Linux share, and shutting Linux down and starting it again frees the memory it was holding. When something goes badly wrong, you can remove the entire Linux environment from that same page and set it up fresh.
When a Full Linux Install Makes More Sense
Because your Linux runs inside a virtual machine, it does not get direct, unfiltered access to the graphics hardware, low-level USB devices, or the host kernel. That rules out a narrow set of tasks: demanding 3D gaming that leans on the GPU, software that needs custom kernel modules or raw device access, and running a specific distribution that is not Debian-based. If your goal is a particular flavor of Linux with total control of the machine, the built-in environment will frustrate you.
The alternative is a full install, either replacing ChromeOS entirely or dual-booting, which generally requires enabling developer mode or modifying the device firmware. That path gives you complete hardware access and your choice of distribution. In exchange, you give up ChromeOS’s verified boot (and its automatic updates, if you replace ChromeOS entirely), you take on more setup and more ways for things to break, and you lose the tight integration that makes Linux apps feel native. Our piece on using a Chromebook for AI-assisted coding walks through a coding setup that runs entirely in the built-in environment. Try a full install only when you need GPU-heavy games, custom kernel modules, or a distribution that is not based on Debian.


