You can use Ubuntu 26.04 LTS from a Windows 11 PC with nothing extra installed. Ubuntu has a remote desktop server built into Settings, and Windows 11 ships with Remote Desktop Connection. Once both are set up, the whole Ubuntu desktop opens in a window on Windows, and your mouse and keyboard work inside it. This works well for an Ubuntu PC in another room, or one with no monitor plugged in at all.
This guide follows the steps from our video and adds the details the video had no room for: where to find the IP address on Wi-Fi, what to do when Windows says it can’t connect, the blank window after a Force Stop, the firewall, and why closing the window is not the same as logging out. We followed these steps on Ubuntu 26.04.1 LTS with GNOME 50 and on Windows 11.
What you need
You need an Ubuntu 26.04 PC and a Windows 11 PC on the same home network, wired or Wi-Fi. You need your Ubuntu account password, because Settings asks for it before it lets you change remote access. On Windows, the client is Remote Desktop Connection, which is built in. Microsoft’s Windows App from the Microsoft Store also connects to PCs, but the steps below use the built-in app. If you are not sure which Ubuntu release you run, our guide to checking your Ubuntu version shows how to find out, and our guide to upgrading Ubuntu 24.04 to 26.04 covers the move to 26.04.
Desktop Sharing or Remote Login
The Remote Desktop page in Ubuntu’s Settings has two tabs, Desktop Sharing and Remote Login. Desktop Sharing shares the screen that someone is already using at the PC, at that screen’s resolution. Someone has to be logged in, and the remote side sees whatever that screen shows. Remote Login opens a session of your own when nobody is sitting at the PC. You get Ubuntu’s login screen in the window, you sign in, and the desktop takes the size of the Windows window. Remote Login does not need a monitor on the Ubuntu PC.
This guide sets up Remote Login, because it is the one for using an Ubuntu PC from another room or another desk. Both use the Remote Desktop Protocol (RDP), the same protocol Windows uses, which is why the Windows client works without any add-ons.
Open the Remote Login settings
On the Ubuntu PC, press super (the Windows key on most keyboards) and type remote. The top result is Settings, opened on its System page; press enter to open it. There is no direct “Remote Desktop” result, so you land on System first. Click the Remote Desktop row, then the Remote Login tab at the top. You can also get there from the top-right menu: the gear opens Settings, and System is near the bottom of the sidebar.
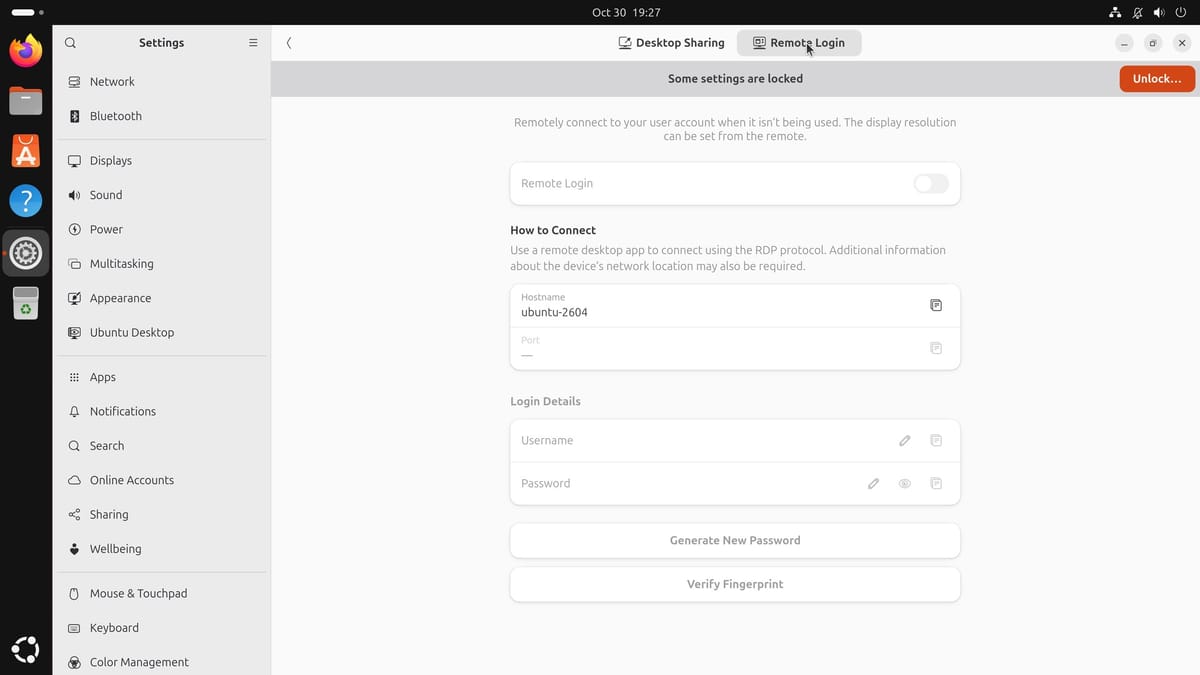
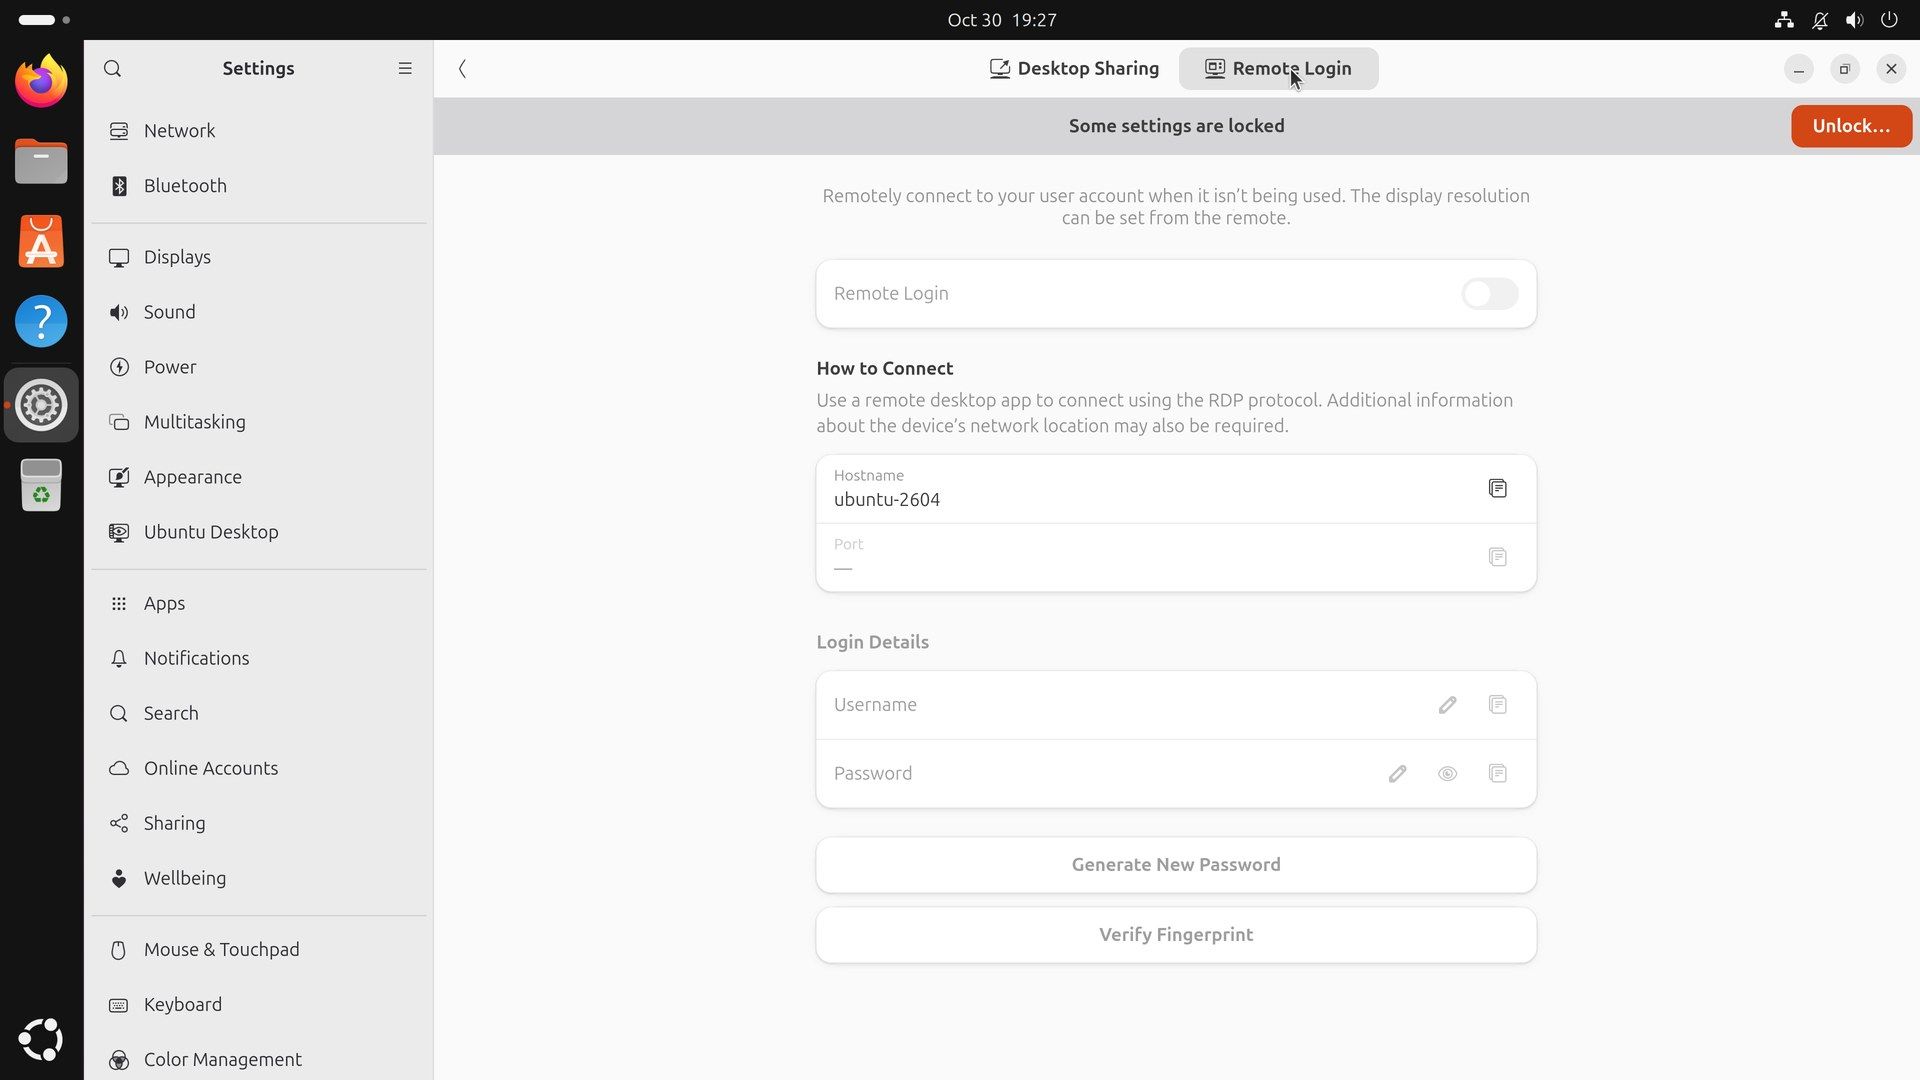
The page opens locked, with a “Some settings are locked” banner. This page controls who can log in to this PC from the network, so Ubuntu asks for your account password first. Click Unlock…, type your Ubuntu password in the Authentication Required box, and press enter . The switch and the edit buttons on the page become active.
Set the login details first, then turn on Remote Login
The Login Details section has a Username and a Password. These are only for remote connections, and they are separate from your Ubuntu account. Windows asks for them when you connect. Click the pencil on the Username row, type a user name, and press enter . Do the same on the Password row. Don’t click the eye button beside the password while someone can see your screen, because it shows the password in plain text.
Fill in both before you touch the switch. Ubuntu’s remote desktop service reads the login details only when it starts. If you turn Remote Login on first and set the user name and password afterwards, the running service still has no details, and every connection from Windows fails with “This computer can’t connect to the remote computer.” The same thing happens when you change the password while Remote Login is on: the old password keeps working and the new one is refused. The fix for both is in the troubleshooting section below.
Now turn on the Remote Login switch. The Port row under How to Connect changes from a dash to 3389. That is the standard RDP port, and it is the port Windows tries when you give it only the PC’s address, so you don’t need to type it.
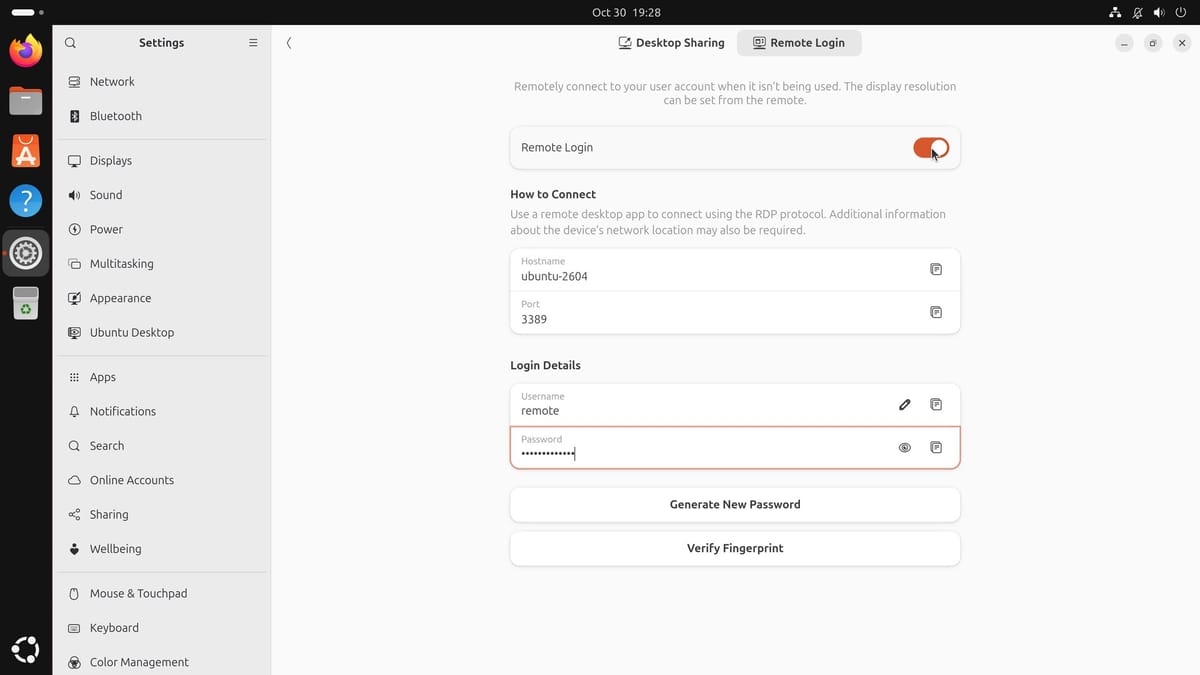
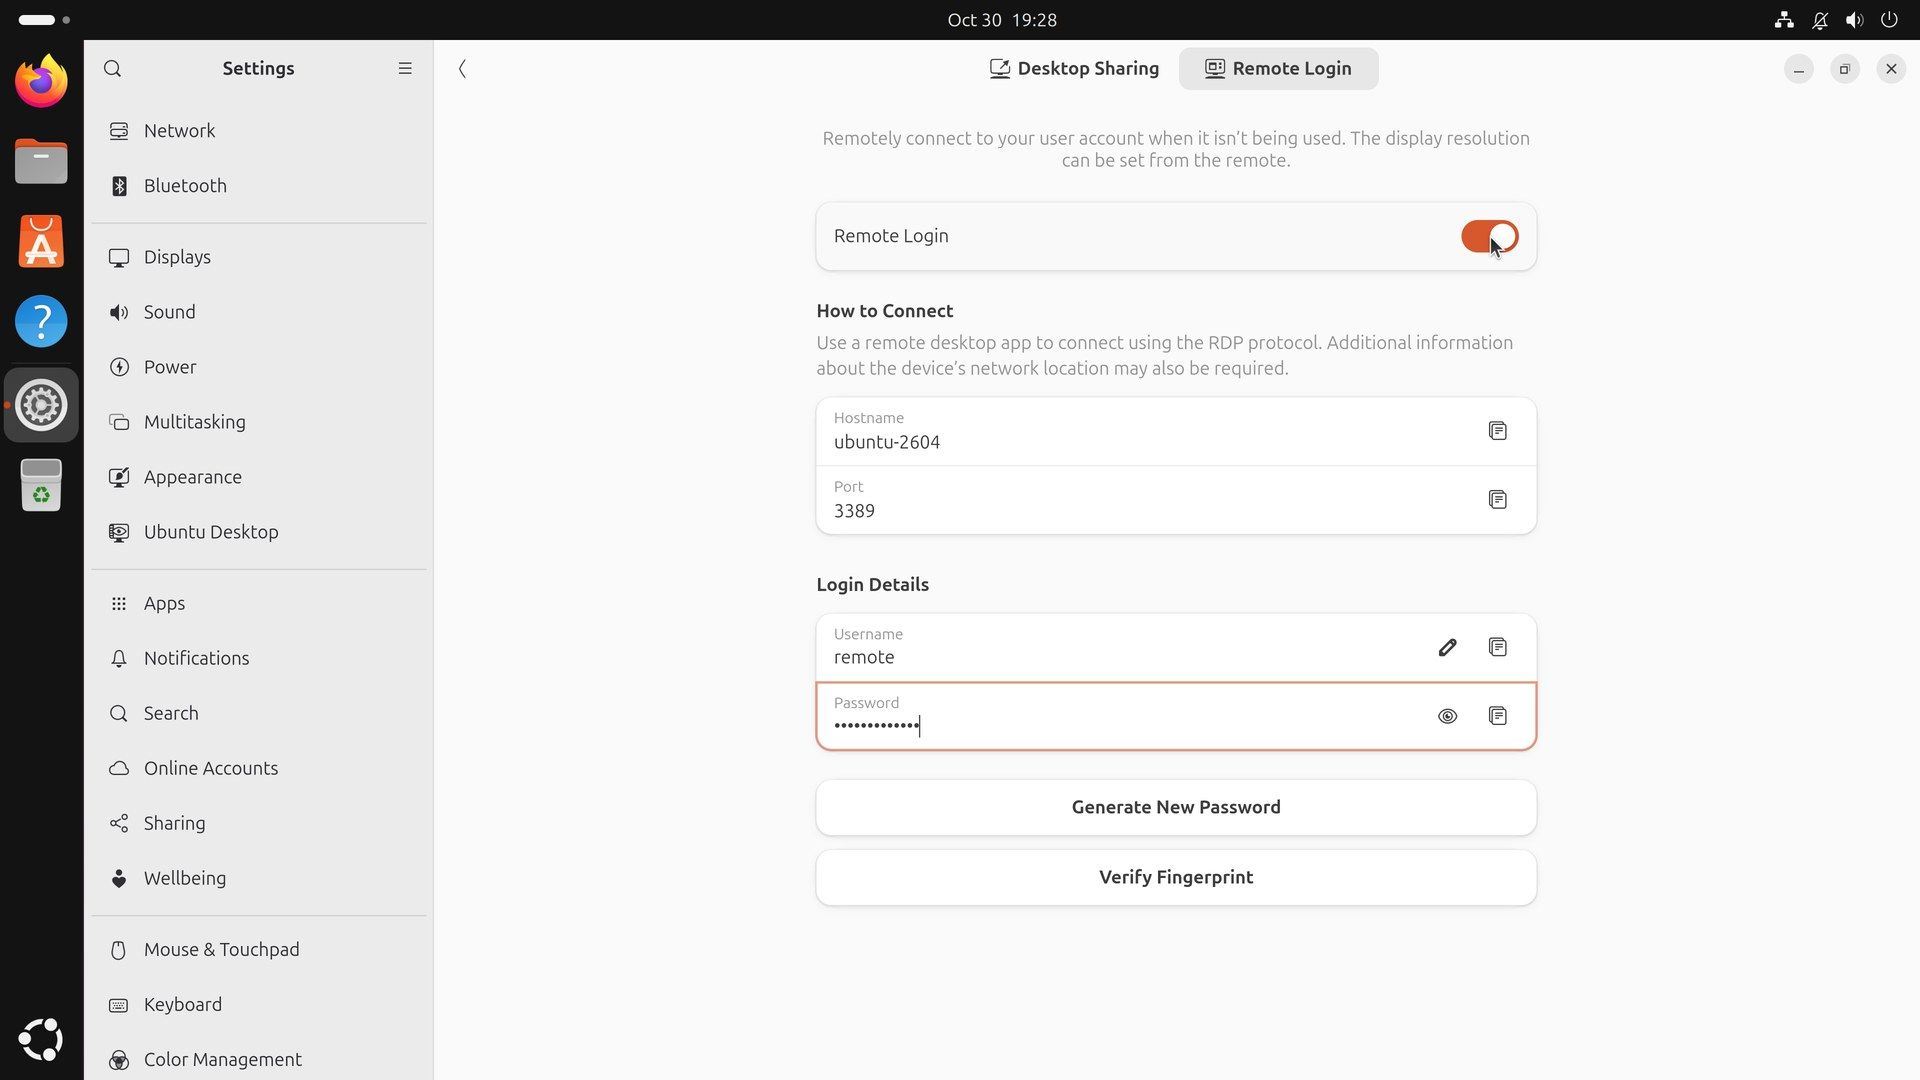
The page also shows a Hostname. Whether Windows can find the PC by that name depends on your router, so use the IP address instead.
Find the Ubuntu PC’s IP address
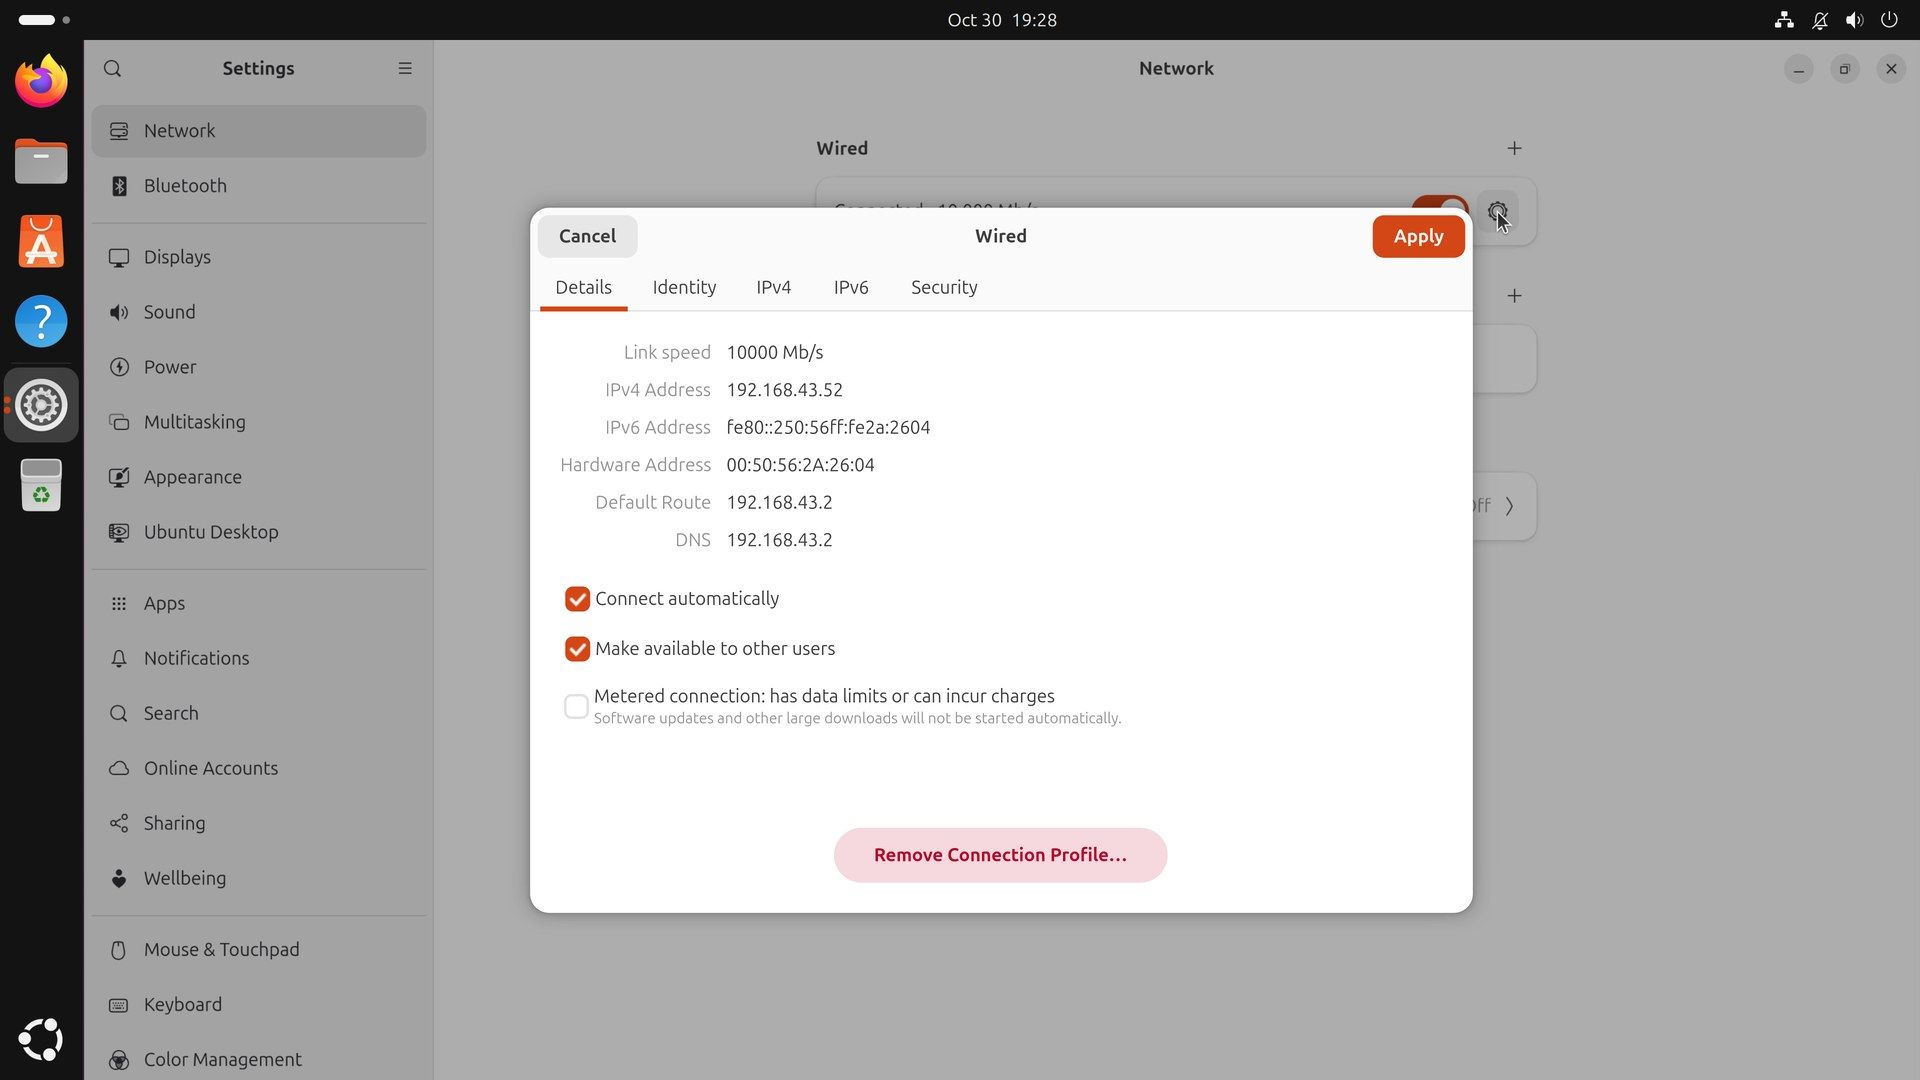
In Settings, click Network at the top of the sidebar. On a wired connection, click the gear next to the connection under Wired; the Details tab shows the IPv4 Address, a number such as 192.168.1.25. That is the number you type on Windows. Click Cancel to close the dialog without changing anything.
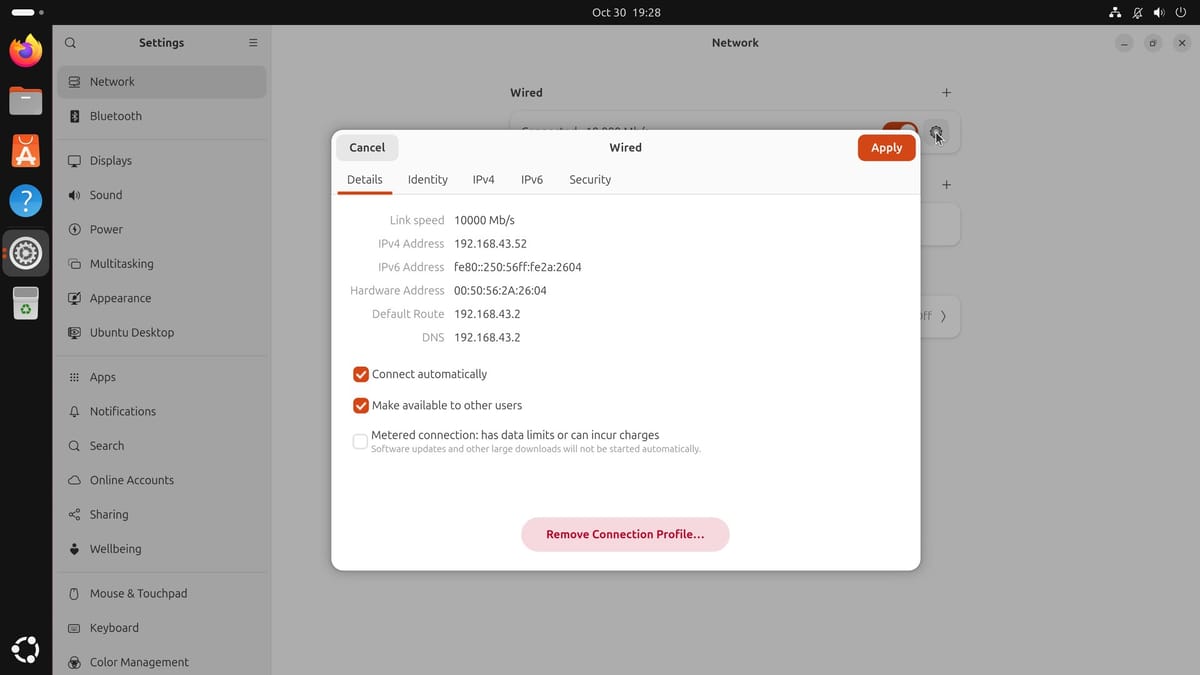
On Wi-Fi, the address is on the Wi-Fi page in the Settings sidebar instead. Click the gear next to the network you are connected to, and the Details tab shows the same IPv4 Address line. If you prefer a terminal, hostname -I prints the address too; if it prints several, use the one that matches the IPv4 Address in Settings.
Your router hands out these addresses, and it can give the PC a different one later, for example after the router restarts. If a connection that worked yesterday stops working, check the address again. Many routers let you reserve a fixed address for one device in their settings, often under the name DHCP reservation.
Log out on the Ubuntu PC
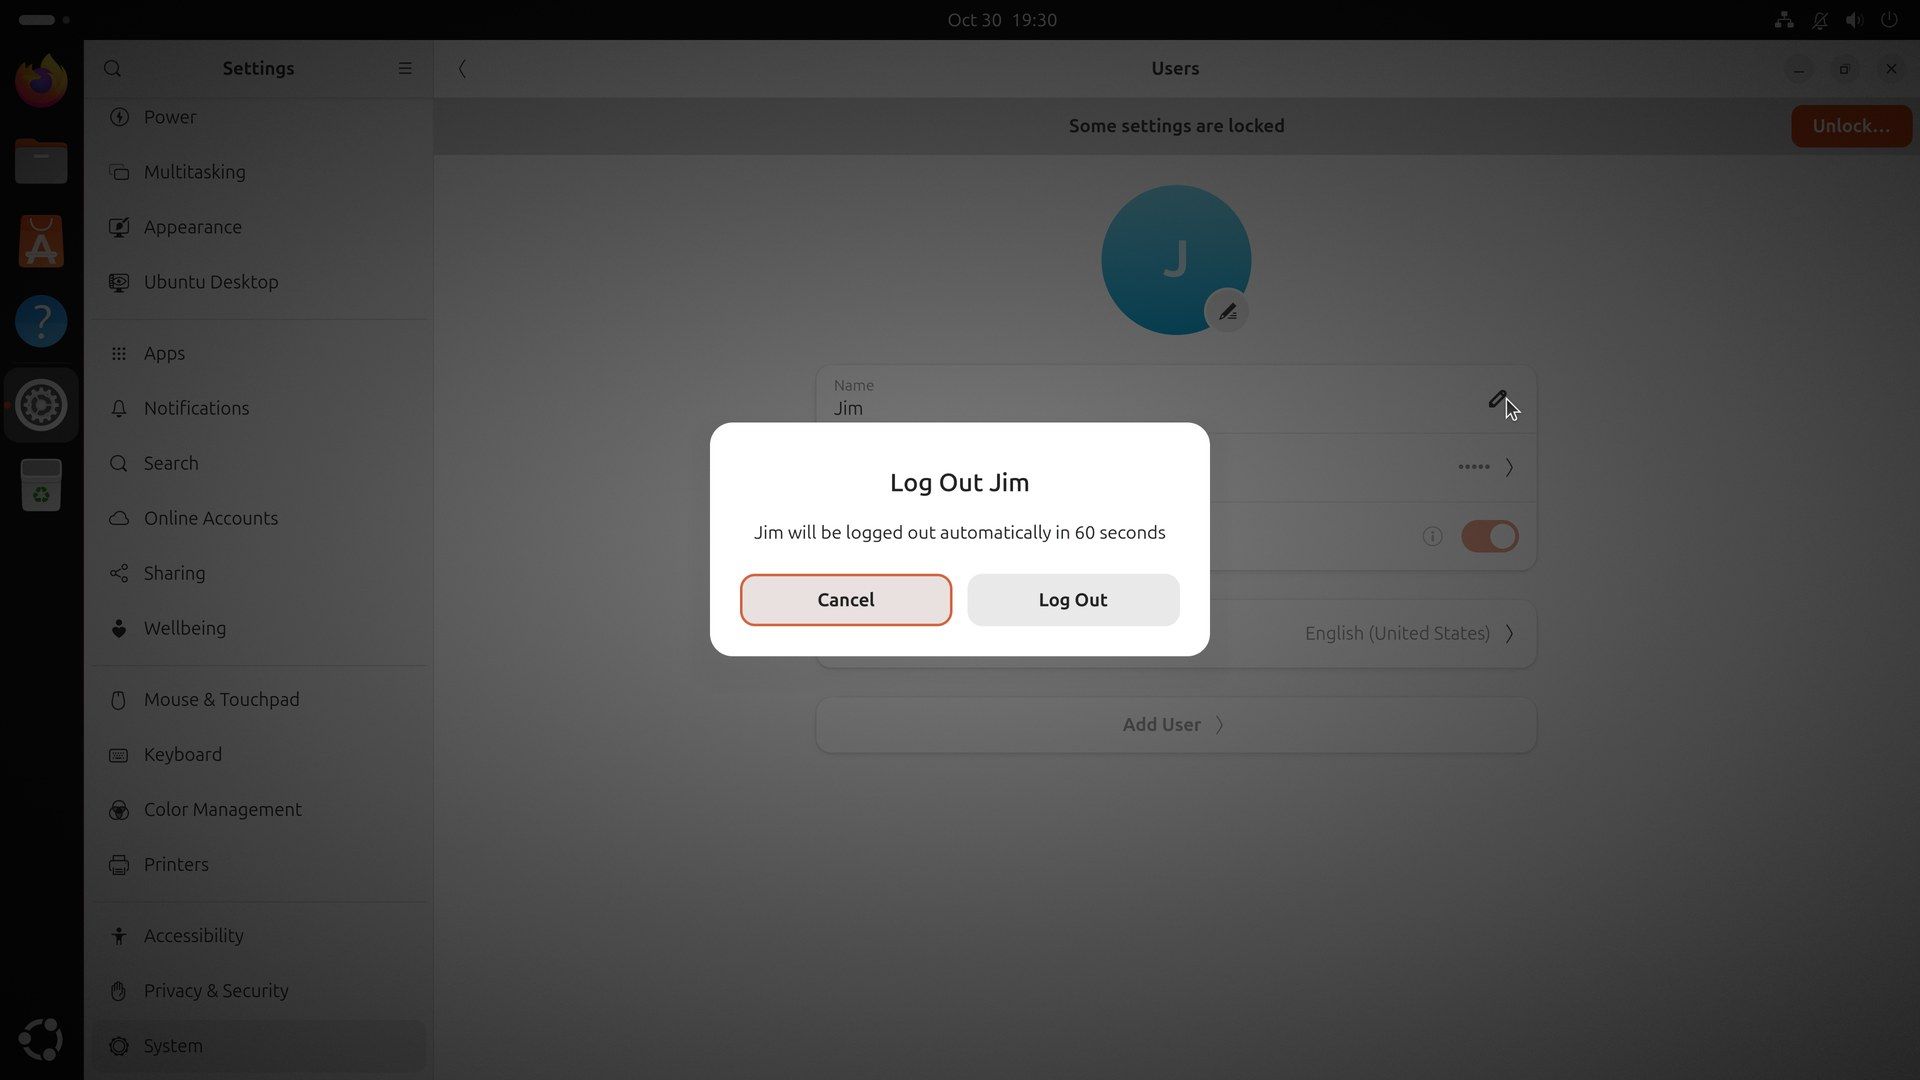
Remote Login can’t open your session while you are still logged in at the PC itself. Before you leave the Ubuntu PC, log out: open the top-right menu, click the power icon, choose Log Out…, and confirm with Log Out. The PC goes back to its login screen, and it can stay there.
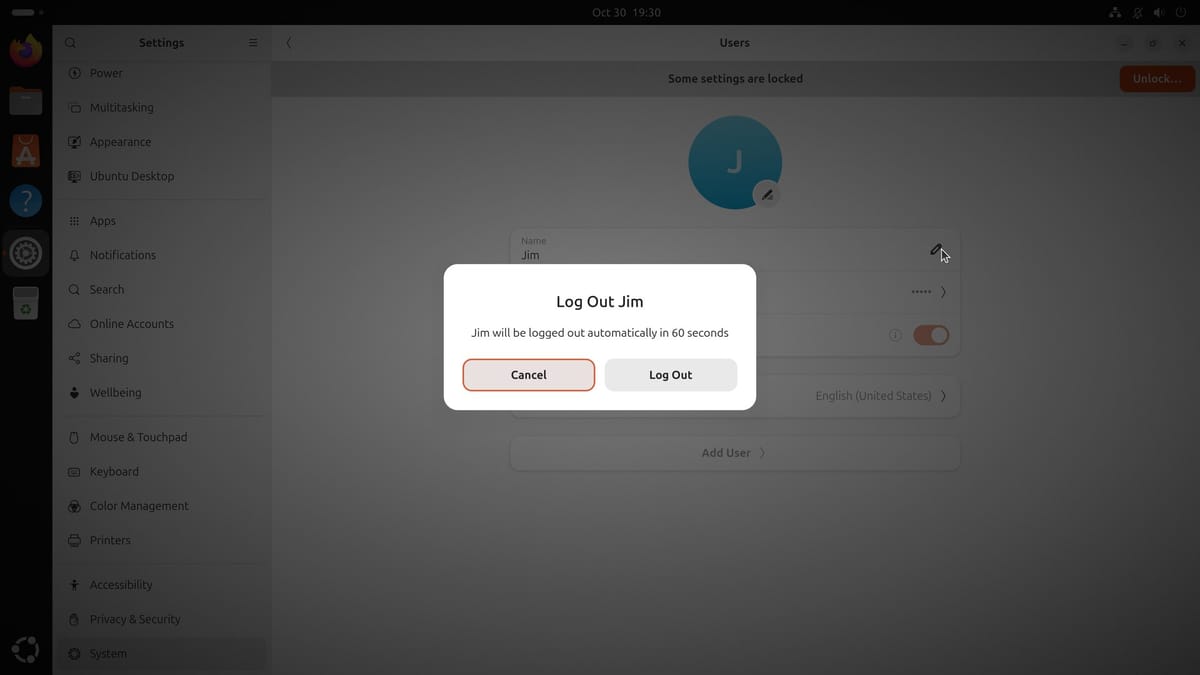
If your PC logs you in by itself when it starts, every restart puts you back in the same spot. To turn that off, open Settings, click System, then Users, click Unlock… and type your password, and turn off the Automatic Login switch.
Connect from Windows 11
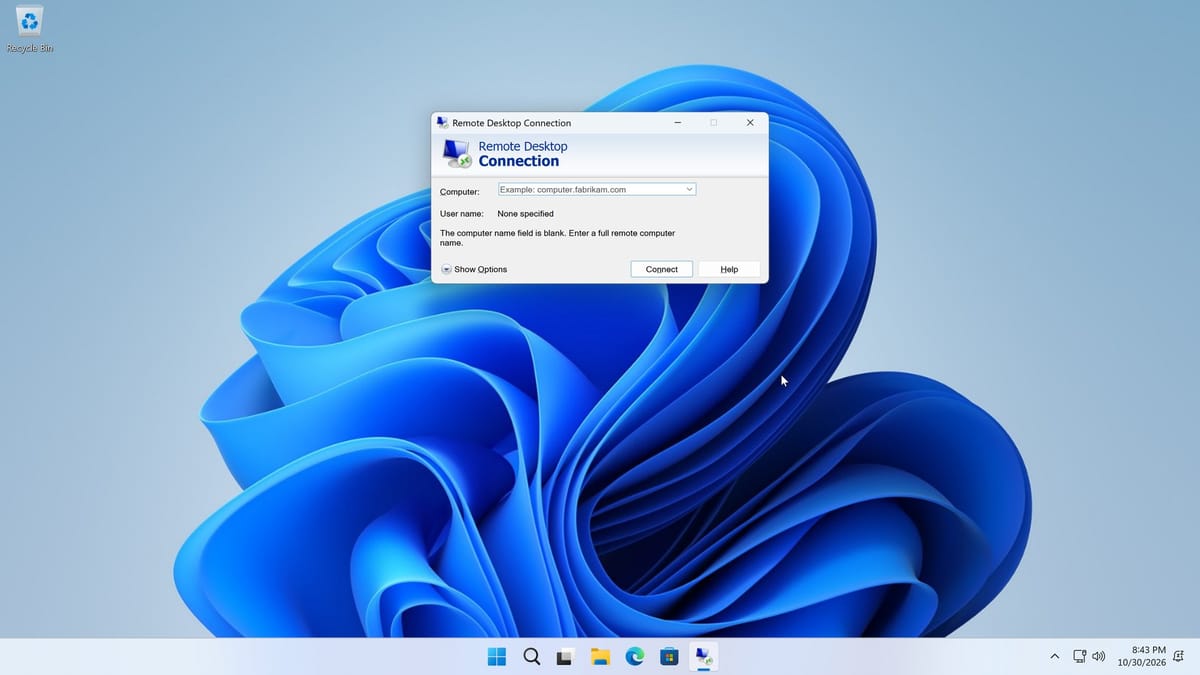
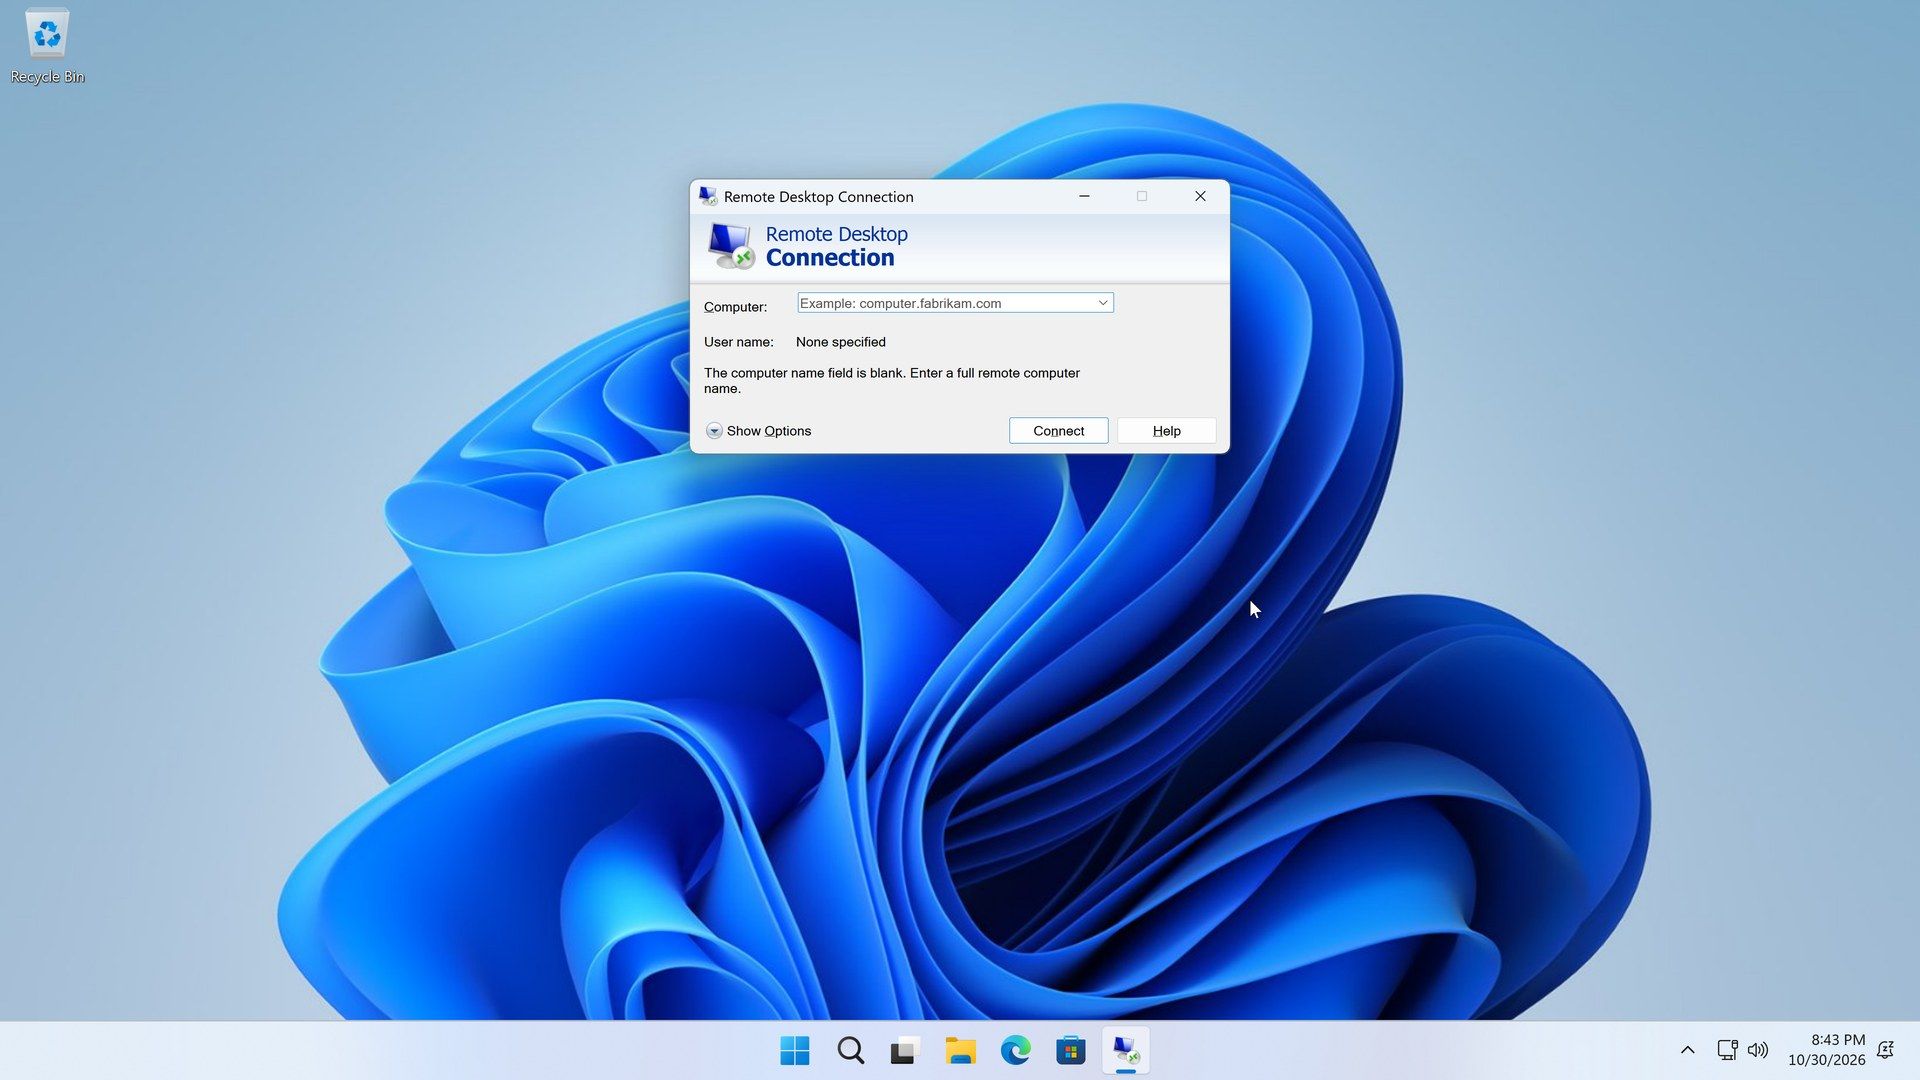
On the Windows PC, press windows r , type mstsc, and press enter . You can also search for “Remote Desktop Connection” in the Start menu. Type the Ubuntu PC’s IP address in the Computer box and click Connect.
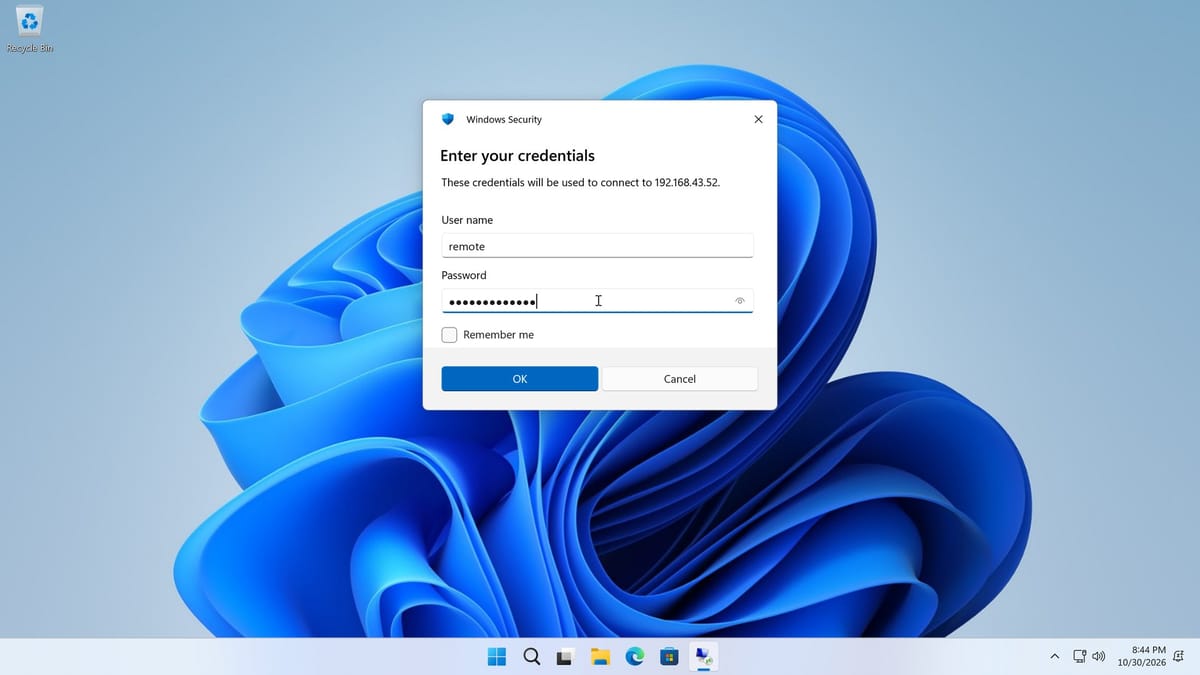
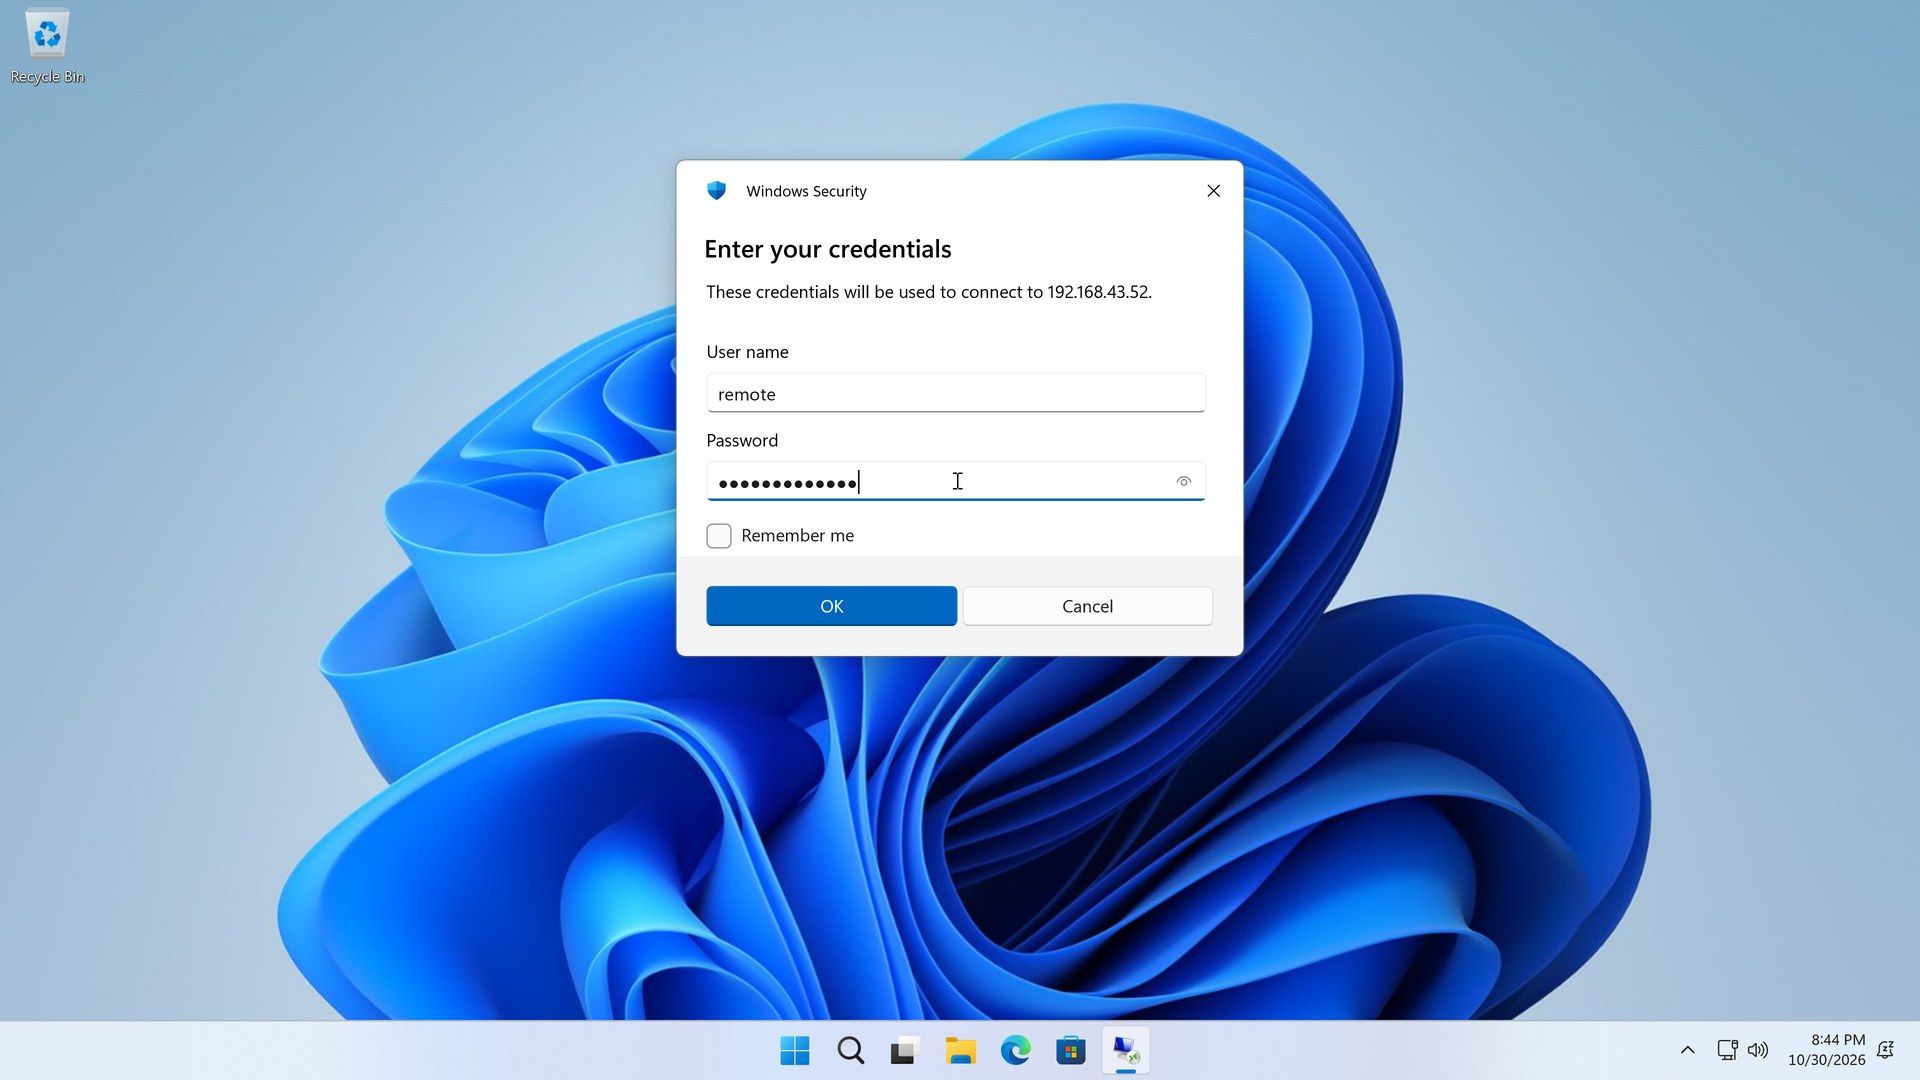
Windows Security asks you to “Enter your credentials.” Type the Remote Login user name and password from Ubuntu’s Login Details, not your Ubuntu account, and click OK. If the box already shows your Windows account, click More choices, then Use a different account. Leave Remember me off if other people use this Windows account.
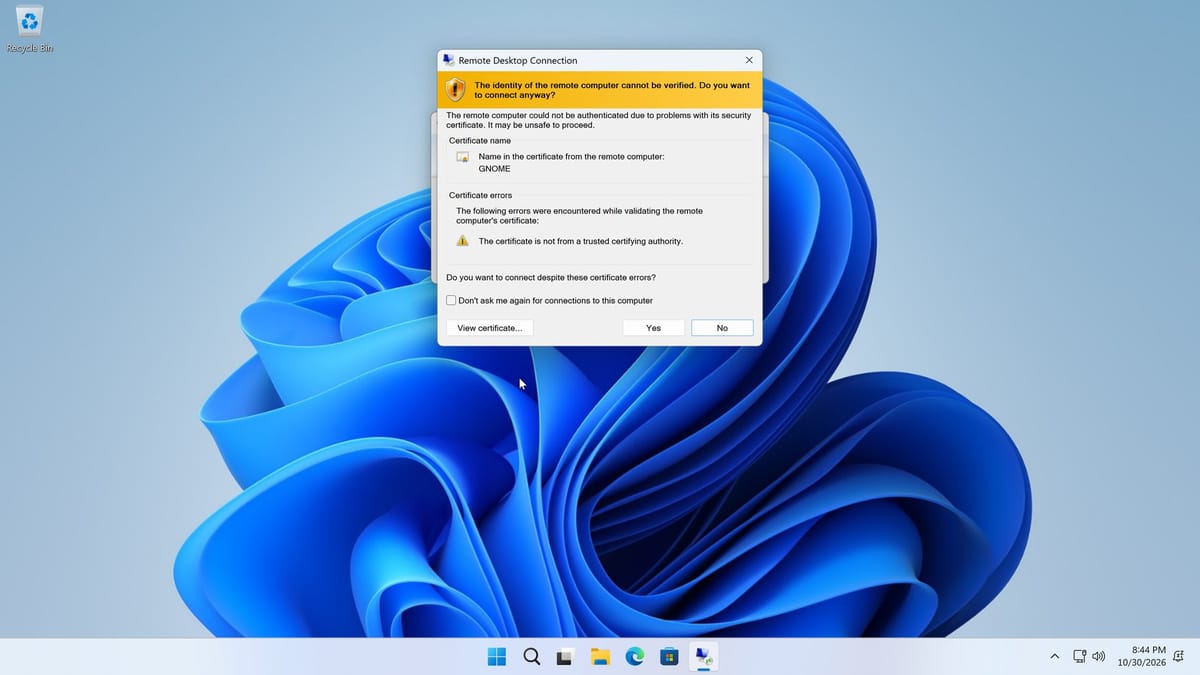
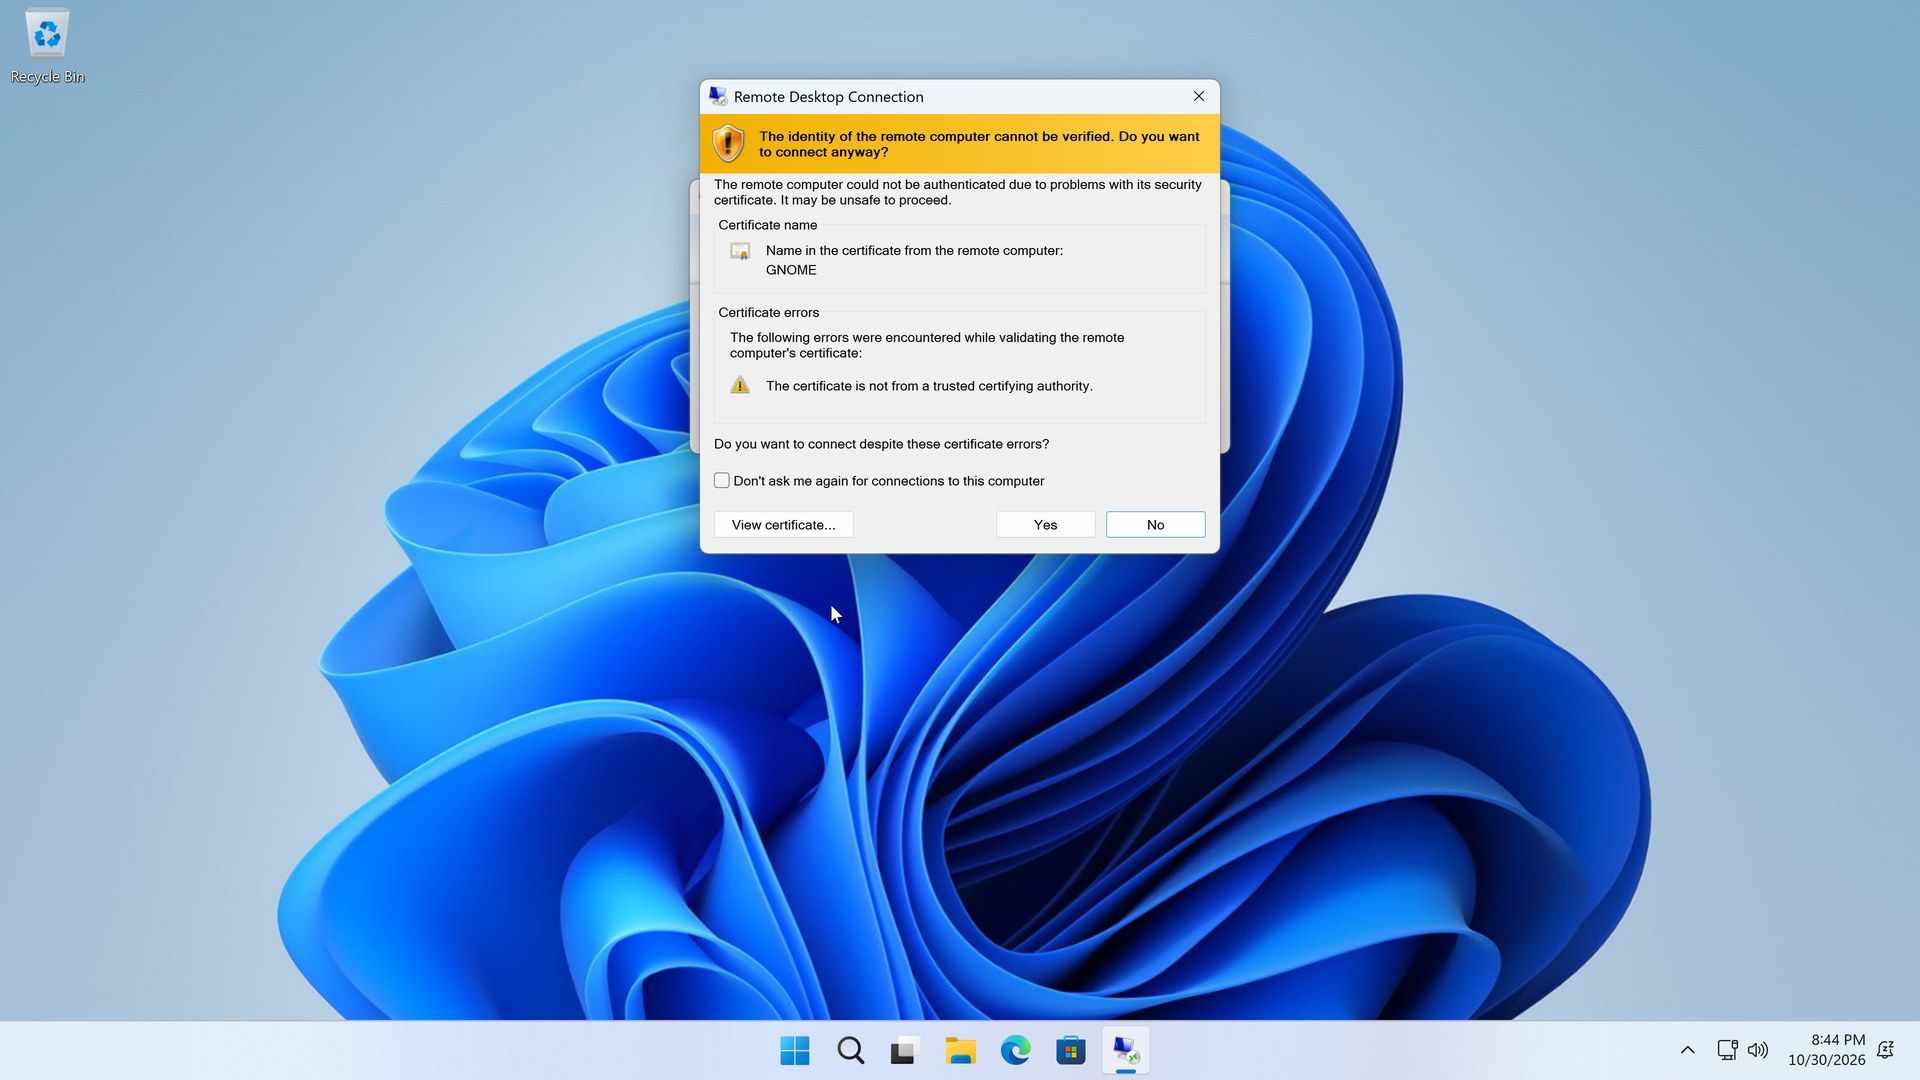
Next, Windows says “The identity of the remote computer cannot be verified. Do you want to connect anyway?” The name in the certificate is GNOME, and the error is that the certificate is not from a trusted certifying authority. Ubuntu made its own certificate when you turned on Remote Login, and no outside authority signed it, so Windows has no way to check it. On your own home network, click Yes. Ubuntu’s Remote Login page also has a Verify Fingerprint button, and GNOME’s help page says its fingerprint and the one your client shows should be identical; in Remote Desktop Connection, the certificate details are under View certificate… in this warning.
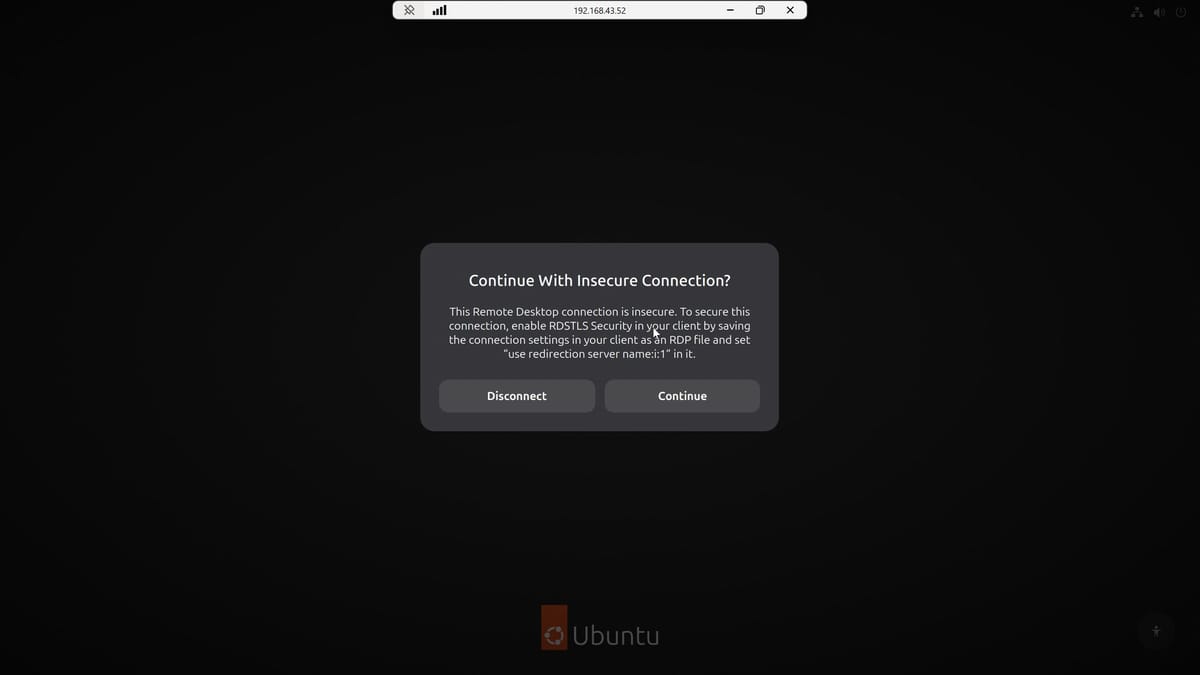
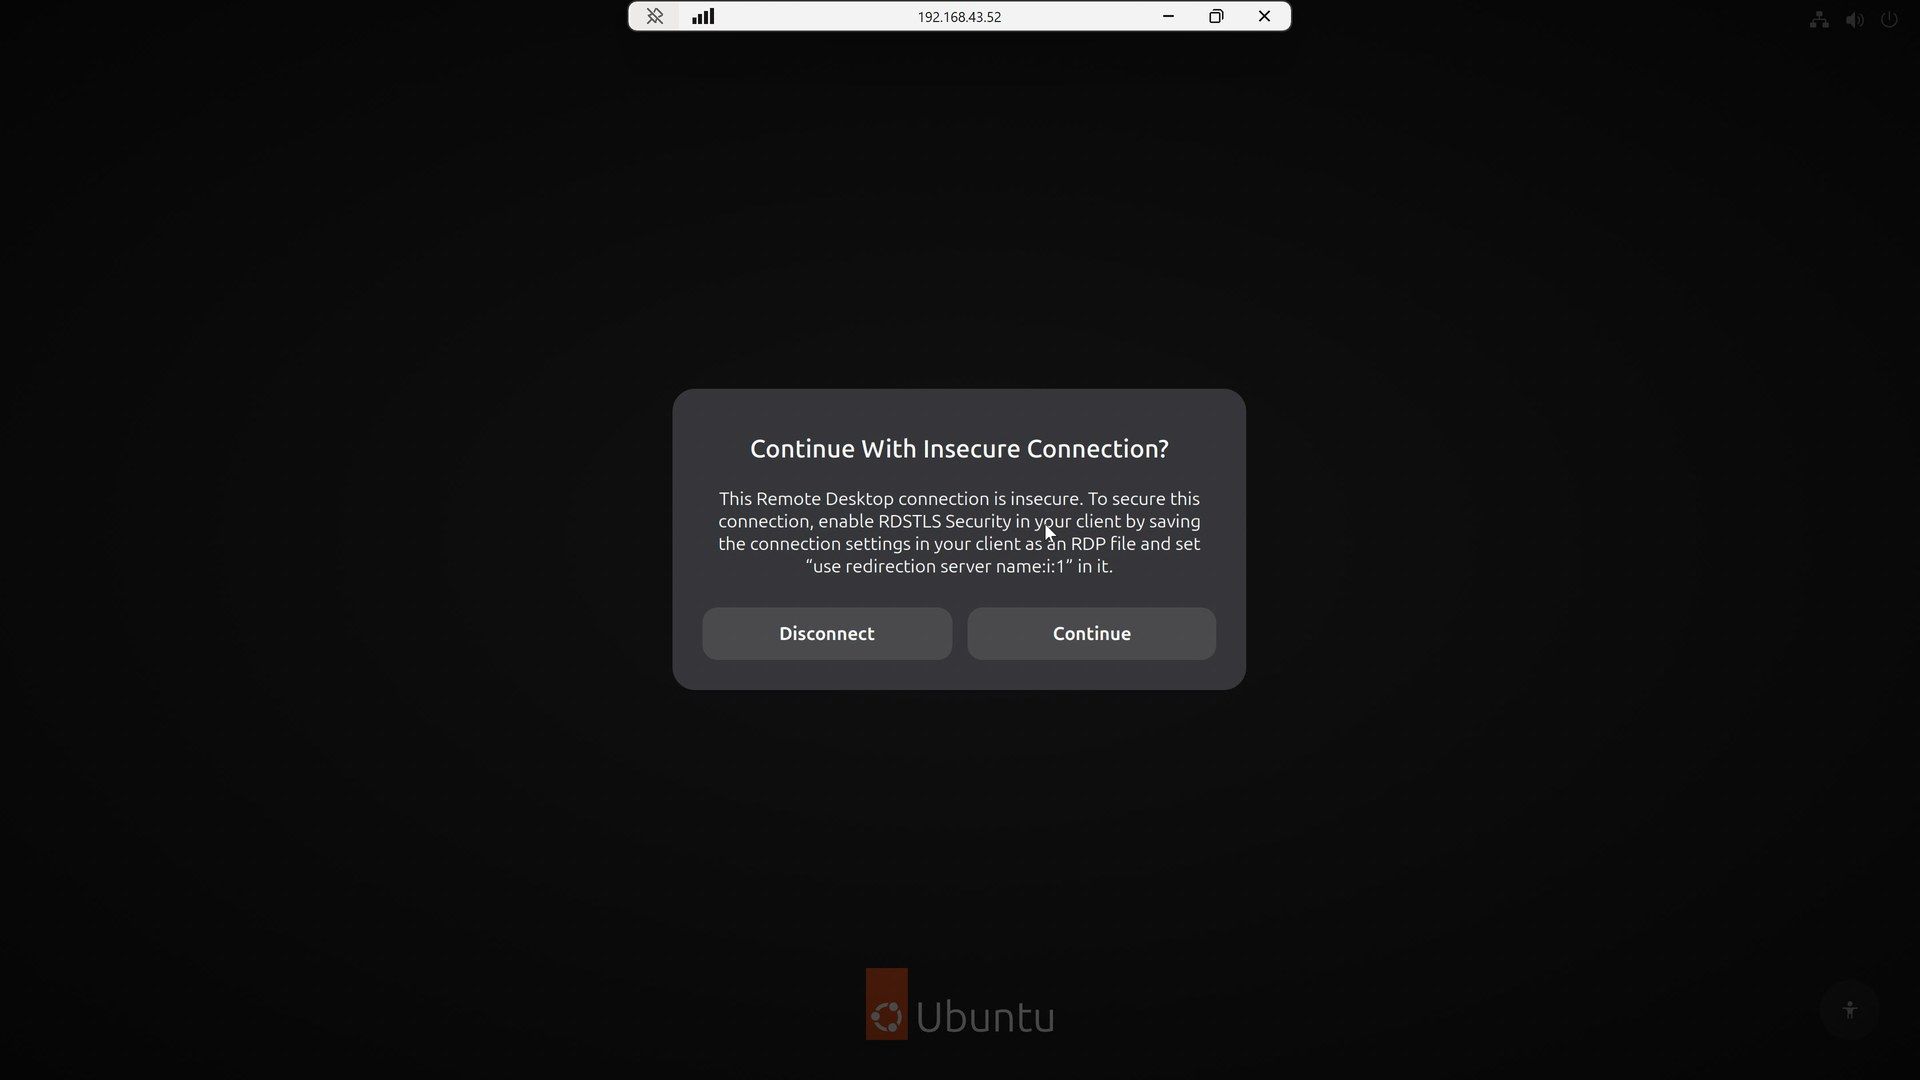
The window then goes full screen, and Ubuntu asks Continue With Insecure Connection? With Remote Desktop Connection, it asks this on every connection. Click Continue.
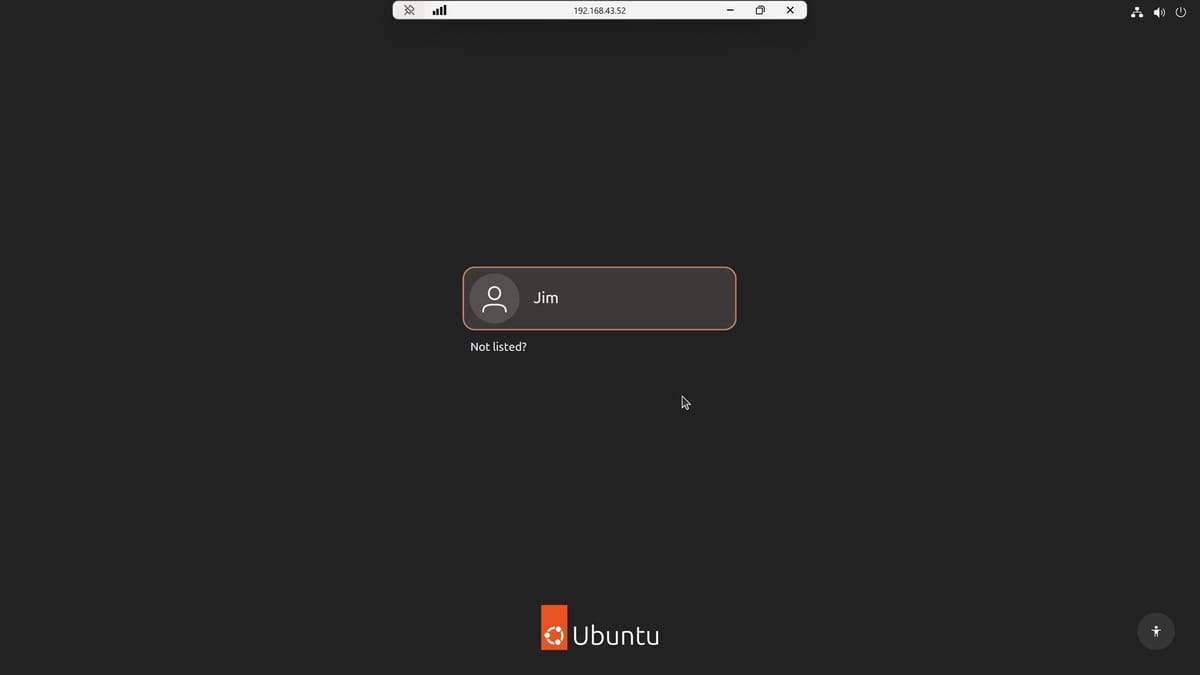
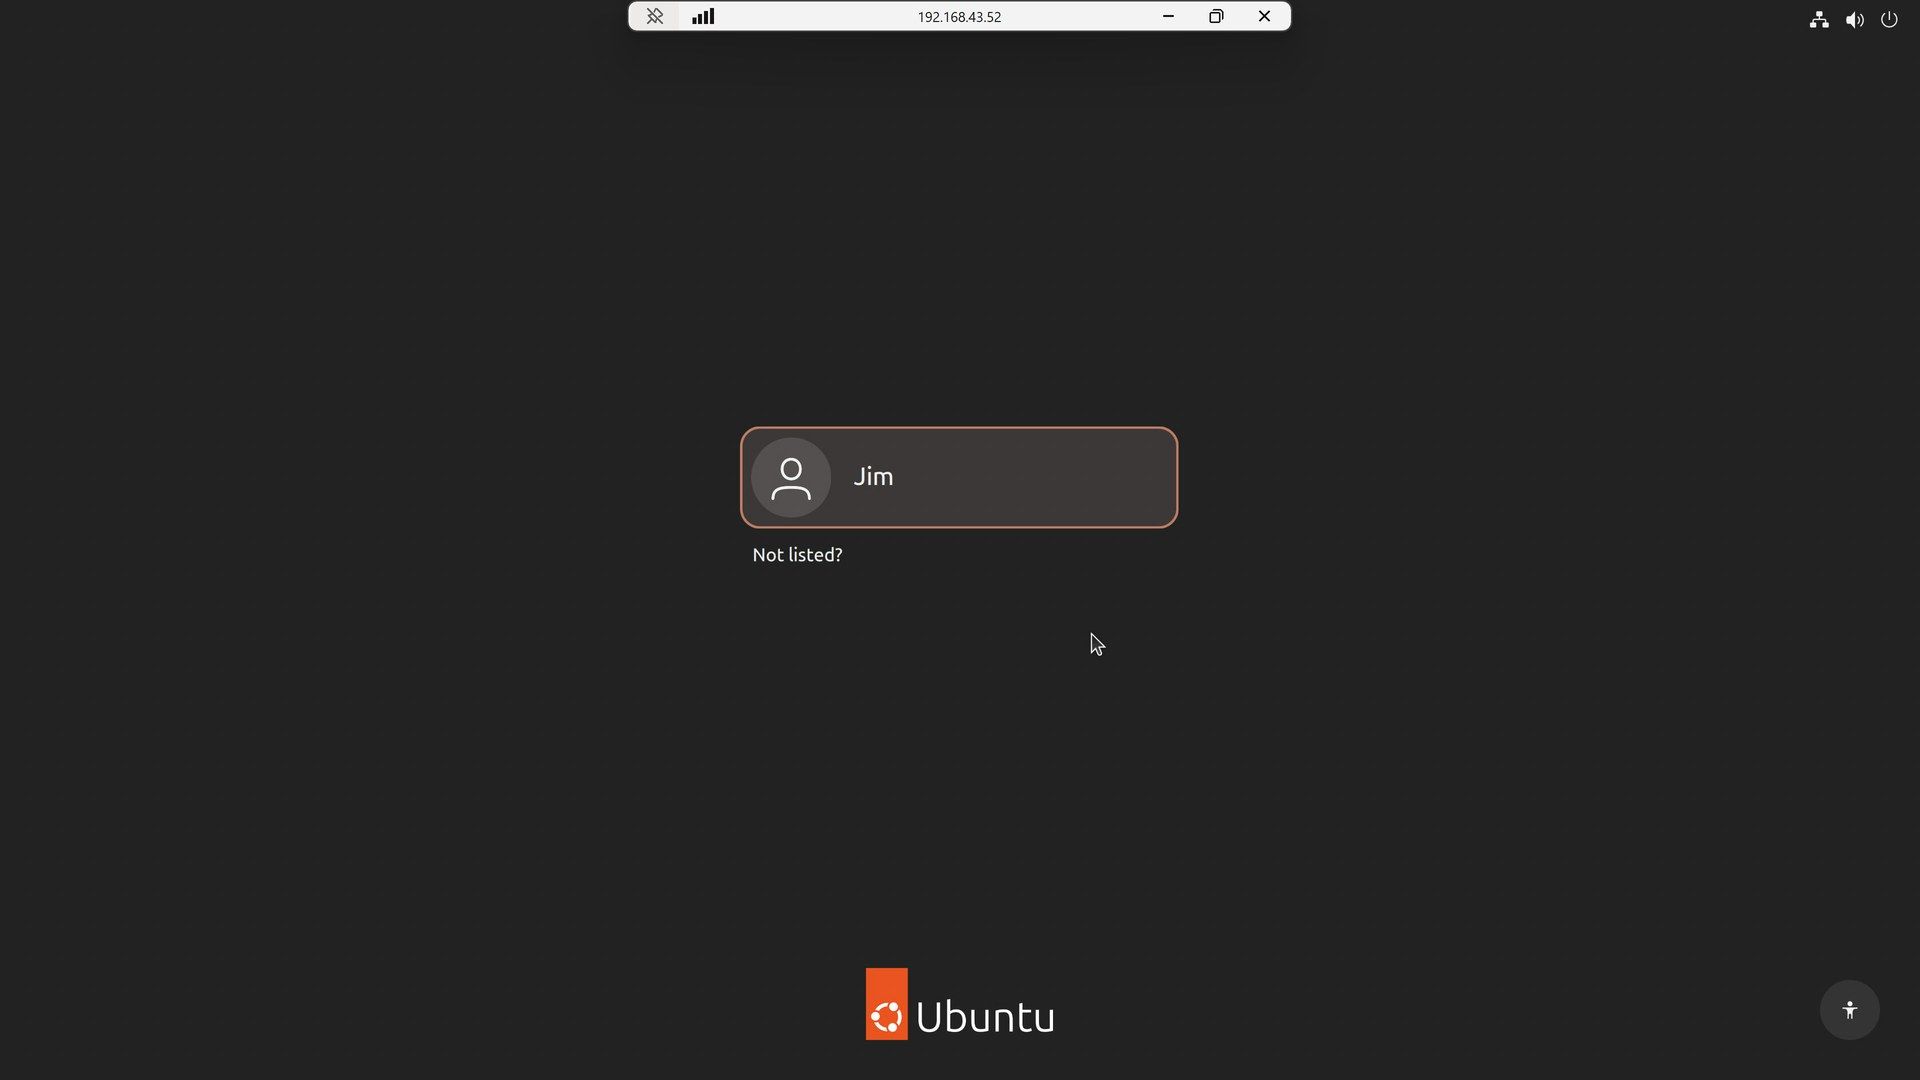
Ubuntu’s login screen opens in the window. It belongs to your new remote session, not to the screen at the PC. Click your account, type your normal Ubuntu password, and press enter . The Ubuntu desktop fills the window, at the size of the Windows screen. The bar at the top shows the PC’s address, with buttons to minimize, restore, or close the connection.
”Continue With Insecure Connection” still means an encrypted connection
The warning is about how Ubuntu passes your connection along inside the PC. Remote Login moves you twice: first from the system service to a login screen, then from the login screen to your own desktop. At each move, Ubuntu offers the client a one-time password. Remote Desktop Connection does not use that one-time password by default, so at each move Ubuntu checks your Remote Login user name and password again instead. SUSE’s engineers describe this hand-over in their article on headless remote sessions in GNOME. The connection itself runs over TLS, the same kind of encryption HTTPS websites use, as Microsoft’s protocol spec describes. Your Remote Login password guards each of those steps.
Session Already Running means you are still logged in at the PC
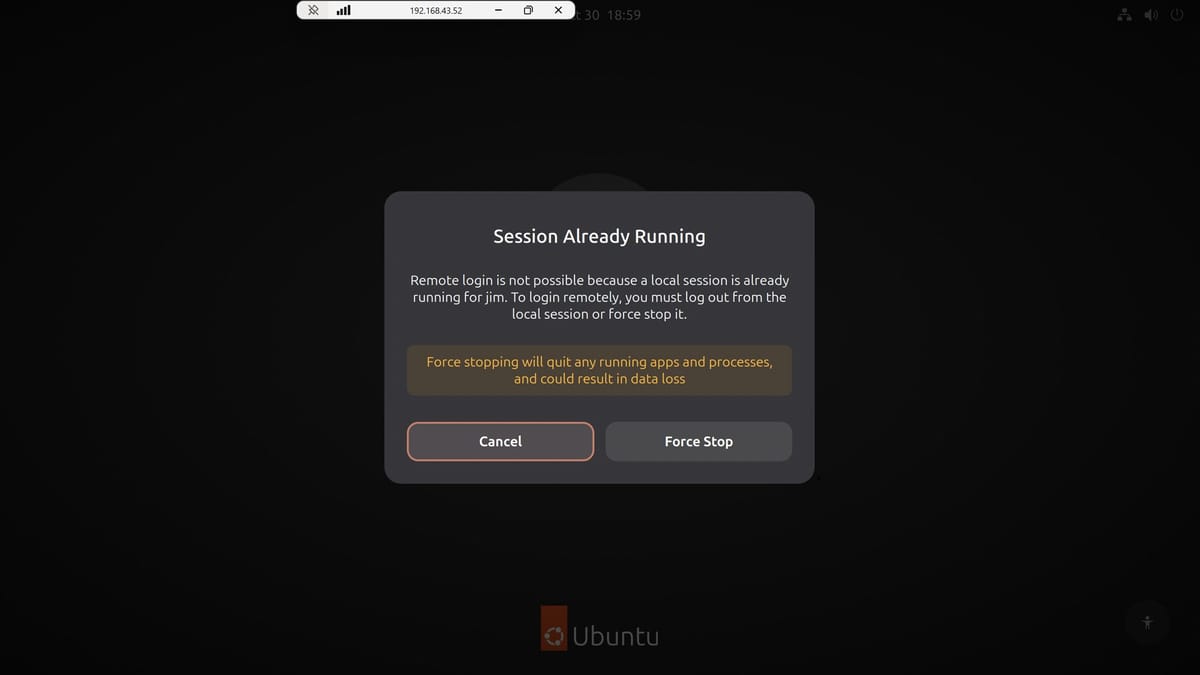
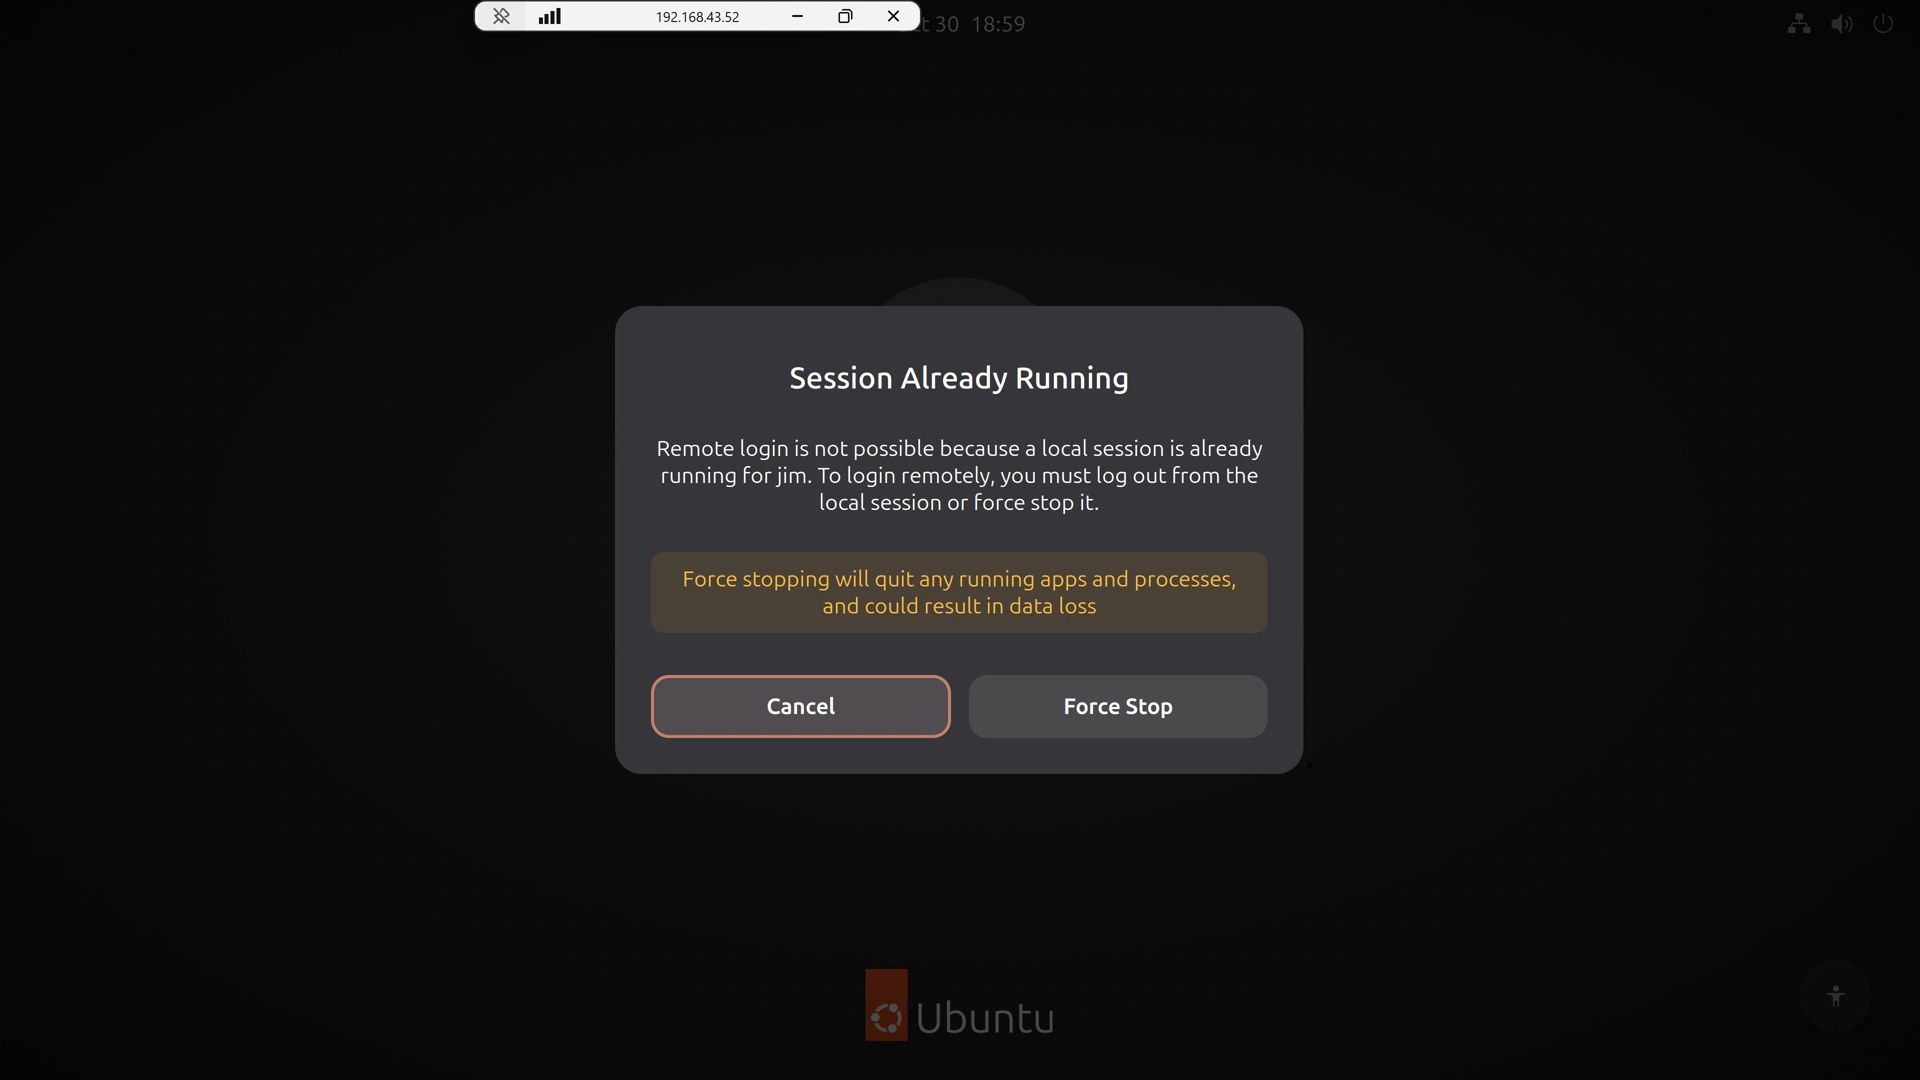
If you forget to log out at the Ubuntu PC, signing in from Windows shows Session Already Running: “Remote login is not possible because a local session is already running for” your account. Remote Login won’t open a second session for an account that is logged in at the PC. You get two buttons. Cancel leaves everything as it is; walk over and log out at the PC, then connect again. Force Stop ends the session at the PC from where you are. The dialog warns that it “will quit any running apps and processes, and could result in data loss,” so any unsaved work at the PC is gone.
After a Force Stop, the window can stay blank: a dark grey screen with only the connection bar at the top. Close the connection with the X on the bar; Remote Desktop Connection goes back to its first window. Click Connect again and go through the same prompts, and this time the Ubuntu desktop opens.
Close the window or log out
Closing the window with the X on the bar disconnects, but your remote session keeps running on the Ubuntu PC. The next connection from Windows picks it up where you left it, with your apps still open. While that session is open, a login at the PC itself hits the same Session Already Running conflict.
Logging out ends the session. In the remote desktop, open the top-right menu, click the power icon, choose Log Out…, then Log Out. Remote Desktop Connection closes the full-screen window and goes back to its first window, and the PC is free for a login at the keyboard. If you share the PC with others, or will sit at it later, log out.
Keep Remote Login on your home network
Don’t forward port 3389 on your router: that opens this login to the whole internet. Microsoft’s page on reaching a PC from outside your network says opening a PC to the internet “isn’t recommended” and that “it’s preferable to use a VPN.” To reach the Ubuntu PC from somewhere else, connect to your home network with a VPN first. With the VPN on, Microsoft explains, the client “acts like it’s part of the same network,” and you connect to the same local IP address as at home.
Give Remote Login a password you don’t use anywhere else, since it is the credential reused through each step of the connection. When you’re not using Remote Login, turn the switch off. With it off, the Remote Login service stops and no longer accepts connections. To turn it back on later, unlock the page and click the switch; the login details stay saved.
Troubleshooting
“This computer can’t connect to the remote computer,” or a new password is refused. This happens when the login details were set or changed while Remote Login was on, because the service read them only when it started. Open the Remote Login tab, unlock it if needed, and turn the Remote Login switch off, then on again. The next connection uses the current details. From a terminal, this command does the same:
sudo systemctl restart gnome-remote-desktop.serviceA restart of the PC works too. If the error stays, check that the IP address has not changed and that Remote Login is still on.
The firewall. Ubuntu’s firewall, ufw, is off on a fresh install (Ubuntu’s firewall documentation says it “is initially disabled”), so you don’t need to open a port. If you turned it on yourself, check with sudo ufw status, and allow the RDP port:
sudo ufw allow 3389/tcpIf you also use Desktop Sharing, allow its port too with sudo ufw allow 3390/tcp (Ubuntu moves it to 3390 when both are on; see the next item).
Desktop Sharing and Remote Login both on. Both want port 3389. When Remote Login is on, it keeps 3389, and Ubuntu moves Desktop Sharing to 3390 with a notification: “The Desktop Sharing port has changed from 3389 to 3390.” GNOME’s help describes the same behavior. To reach Desktop Sharing from Windows, add the port to the address, as in 192.168.1.25:3390. After Remote Desktop Connection has accepted the Remote Login certificate for an address, it can refuse the Desktop Sharing connection to the same address with “an unexpected server authentication certificate was received from the remote computer.” Using only Remote Login avoids that.
A blank or black window. After a Force Stop, close the connection and connect again, as described above. Desktop Sharing mirrors the PC’s real screen, so it needs someone logged in at the PC, and it shows only what that screen shows. For a PC nobody is sitting at, use Remote Login, which does not depend on the PC’s screen.
Old guides that install xrdp. Older guides set up remote desktop on Ubuntu with the xrdp package. Ubuntu 26.04’s built-in Remote Login does the same job without it. xrdp also listens on port 3389 by default, so if you installed it earlier, remove it with sudo apt remove xrdp before you use Remote Login, so the two don’t compete for the port.
Related guides
If you are setting up a new Ubuntu machine for this, our guide to moving from Windows 10 to Linux covers the choices before you install.