
macOS has no package manager like apt or pacman. Command-line tools and apps each come from their own download page, and each one updates in its own way. Homebrew is a package manager for macOS. You paste the install command from its website into Terminal. From then on, brew install adds command-line tools, and brew install --cask adds casks, which are mostly Mac apps.
Below, you install Homebrew from brew.sh and add it to your PATH. Then you install Node.js as a command-line tool and Visual Studio Code as a Mac app, and keep them current with update, upgrade, uninstall, and cleanup. The last part covers the Homebrew app, the official graphical front end released with Homebrew 7. The steps match Homebrew 7.0.11 and version 0.6.0 of the app.
What you need
Homebrew runs on macOS 15 Sequoia or later. The installer warns on anything older. Apple silicon Macs get full support. Since Homebrew 7.0.0, Intel Macs are a lower support tier with no new prebuilt packages, and Homebrew stops running on them after September 1, 2027. The brew.sh install command no longer installs on Intel Macs, so the steps below need an Apple silicon Mac. If you own an Intel Mac, our look at what to do with an Intel Mac after Tahoe 26 covers the options.
You also need an administrator account, because the first install creates Homebrew’s folder and only an administrator can do that. The installer needs Apple’s Command Line Tools, which include git. If the Mac does not have them yet, the installer downloads and installs them for you before it continues. The Homebrew app has a higher floor, macOS 26 Tahoe or later, but Homebrew itself works without the app.
Install Homebrew from brew.sh
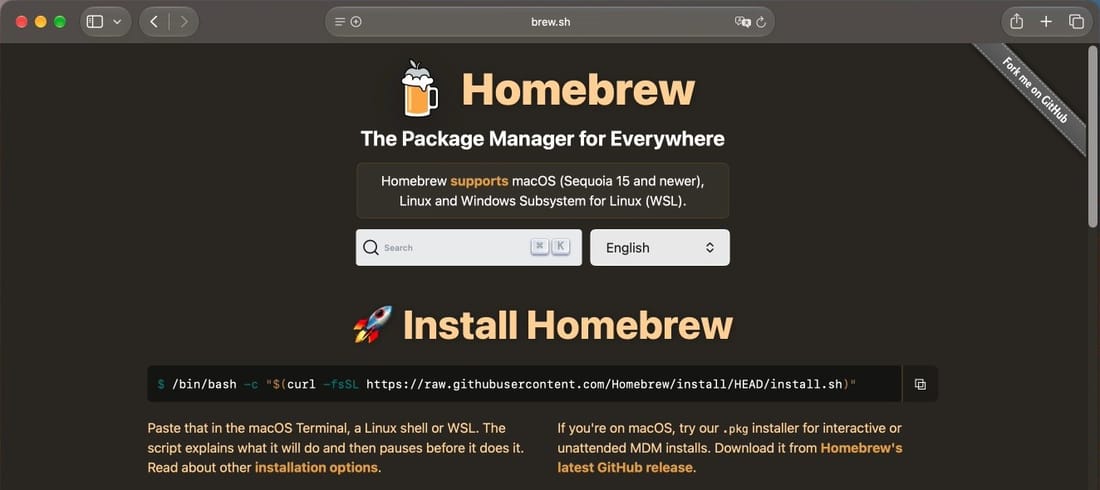
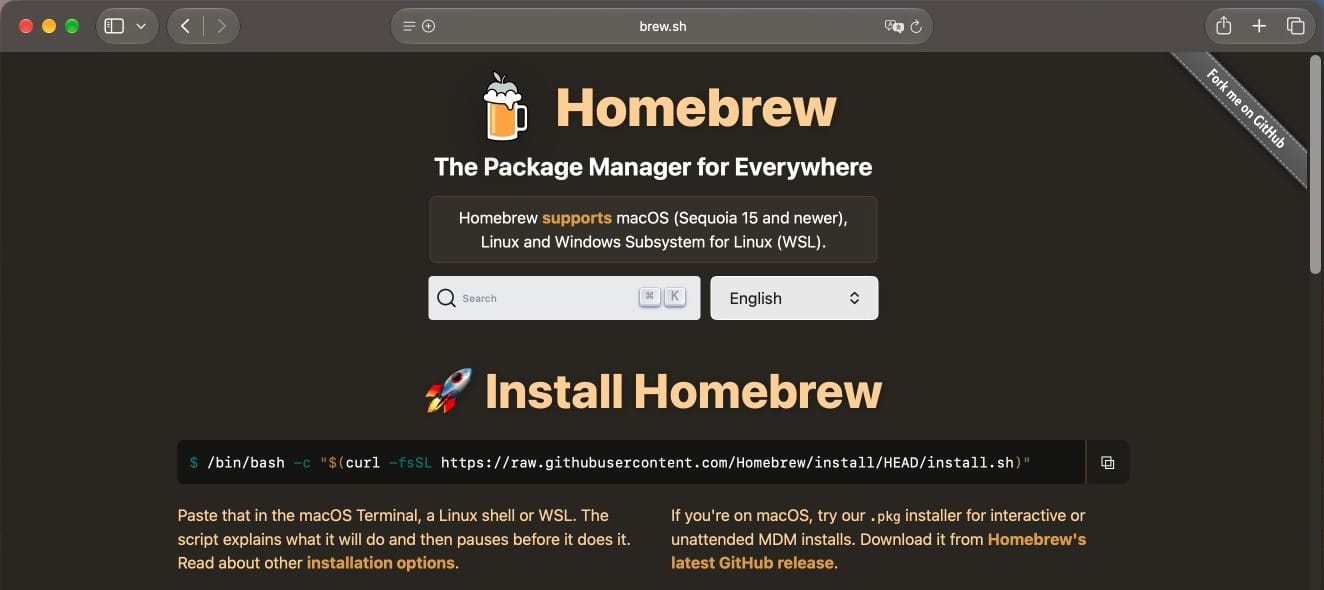
Open Safari, go to brew.sh, and click the copy button at the right end of the command under Install Homebrew. The command is:
/bin/bash -c "$(curl -fsSL https://raw.githubusercontent.com/Homebrew/install/HEAD/install.sh)"It downloads the installer script from Homebrew’s GitHub repository and runs it with bash. Under the command, the page says the script “explains what it will do and then pauses before it does it.” If you want a second opinion before you run any install script, you can ask an AI coding agent to read it and explain what it changes. Our guide to installing AUR packages safely walks through the same habit on Arch.
Open Terminal with Spotlight: press command space , type Terminal, and press return . Paste the command with command v and press return . The script runs in this order:
- It checks for
sudoaccess and asks for your Mac password. Nothing shows on screen while you type it. - It lists the files and folders it will add under “This script will install” and “The following new directories will be created”.
- It stops at “Press RETURN/ENTER to continue or any other key to abort”. Press return to go on. Any other key ends the install before anything changes.
- It creates Homebrew’s folder, downloads Homebrew with git, and runs a first update.
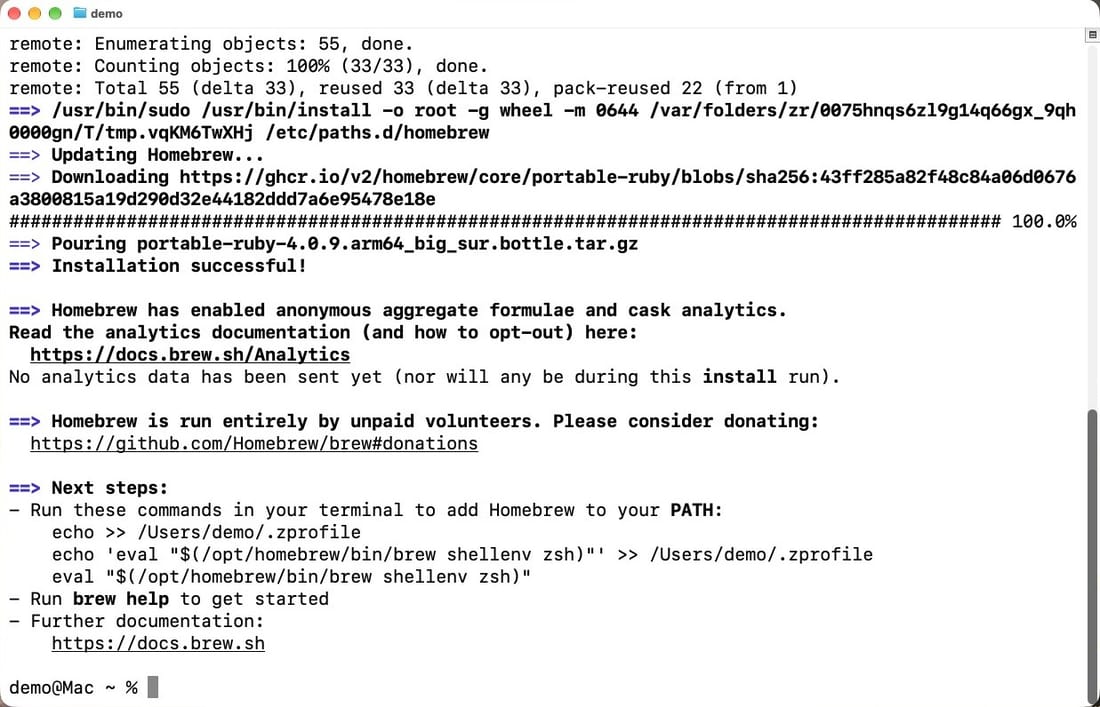
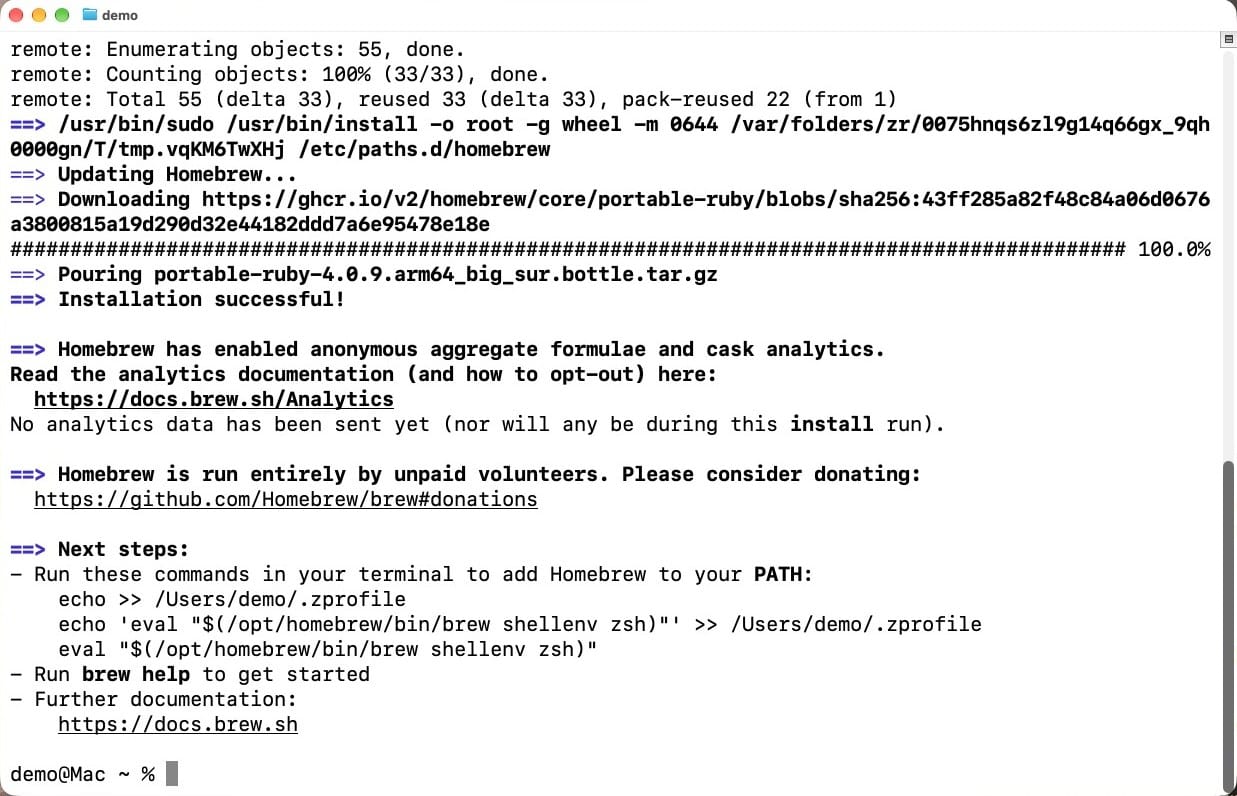
The output shows “Installation successful!” and a note that Homebrew collects anonymous analytics by default. No analytics are sent during the install itself. To turn them off for good, run this once the PATH step in the next section is done:
brew analytics offAdd brew to your PATH
The last block of the installer output is headed Next steps. On a Mac with the default zsh shell, it prints three lines with your own user name in the paths. For a user named demo, the lines read:
echo >> /Users/demo/.zprofile
echo 'eval "$(/opt/homebrew/bin/brew shellenv zsh)"' >> /Users/demo/.zprofile
eval "$(/opt/homebrew/bin/brew shellenv zsh)"
Copy them from your own Terminal rather than from this page, so the paths match your account. The PATH is the list of folders Terminal searches when you type a command. The first two lines set it up for every new Terminal window, and the third line sets it in the window that is already open, so you can use brew right away.
Check that the shell finds brew:
brew --versionIt prints the version, Homebrew 7.0.11 at the time of writing.
Formulae and casks
Homebrew installs two kinds of package. A formula is a package Homebrew builds itself from the project’s source code. brew.sh describes formulae as command-line tools, libraries, and services, and most of them install as a bottle, a prebuilt copy that Homebrew compiled ahead of time, so nothing compiles on your Mac. A command-line tool is a program you run by typing its name in Terminal, like git or ffmpeg; it has no window and prints its results as text.
A cask installs the developer’s own finished release, the same file their download page offers. Most casks are Mac apps, programs with a window like Visual Studio Code or Firefox, and brew moves them into the Applications folder. Other casks add fonts, plugins, or installer packages, and some also add a command for Terminal, as the Cask Cookbook lists.
Install Node.js, a command-line tool
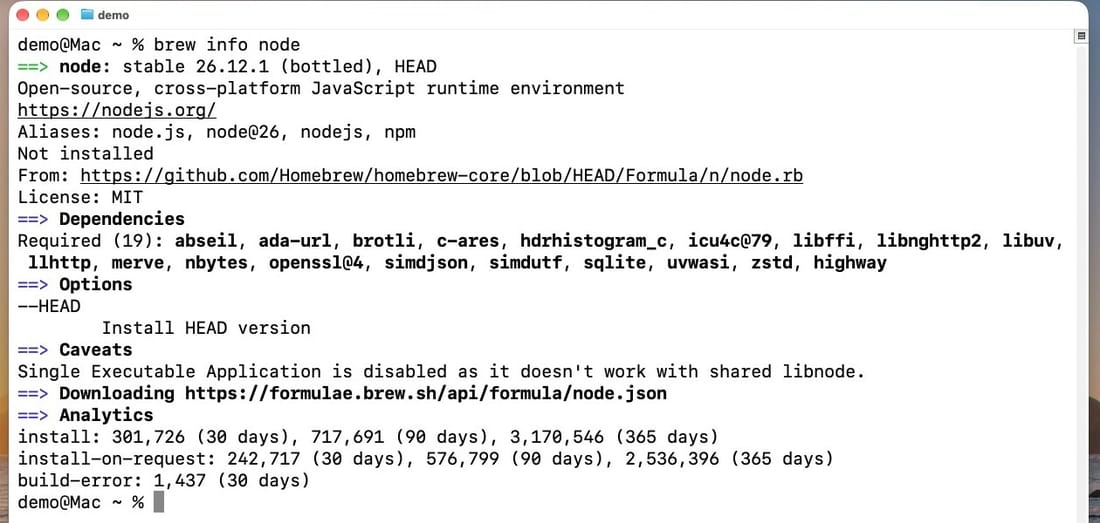
Node.js runs JavaScript programs outside a web browser. Many coding tools need it, and macOS does not include it. Its formula is called node. Start with brew info, which shows what you would get before you install anything:
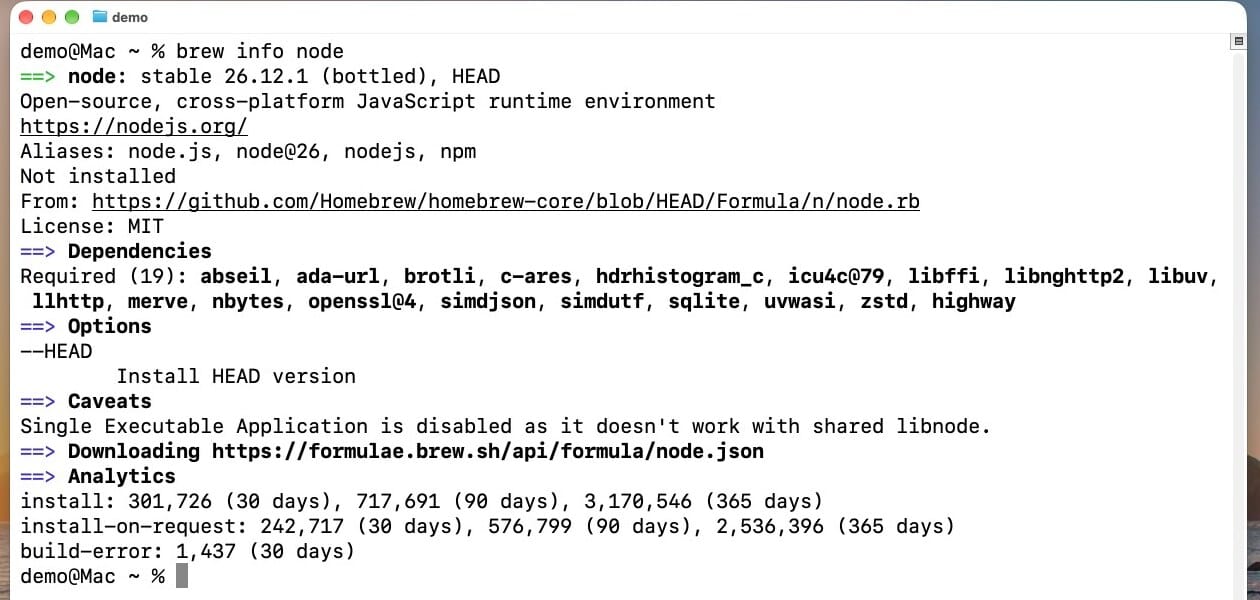
brew info nodeThe output gives the version, the description, the homepage, and “Not installed”. The Dependencies section lists the other formulae Node.js needs, 19 of them for Node.js 26.12.1. brew search node finds related packages too, under separate Formulae and Casks headings.
Install it:
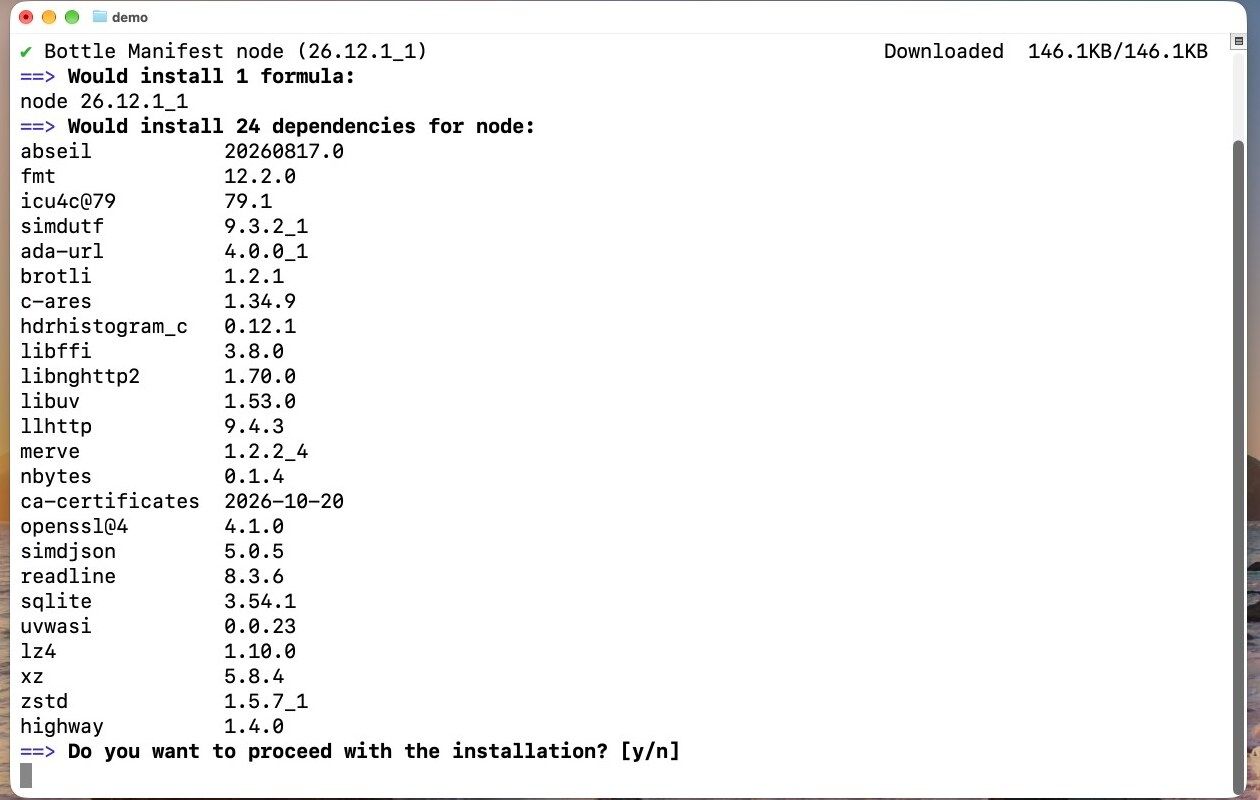
brew install nodeHomebrew lists Node.js and every package it will add with it. The required formulae bring in a few more of their own, so the list reads “Would install 24 dependencies for node”. Then it asks “Do you want to proceed with the installation? [y/n]”. Type y to go on. There is no password prompt: after the first setup, installing formulae needs no password or sudo, as the Homebrew installation docs state.

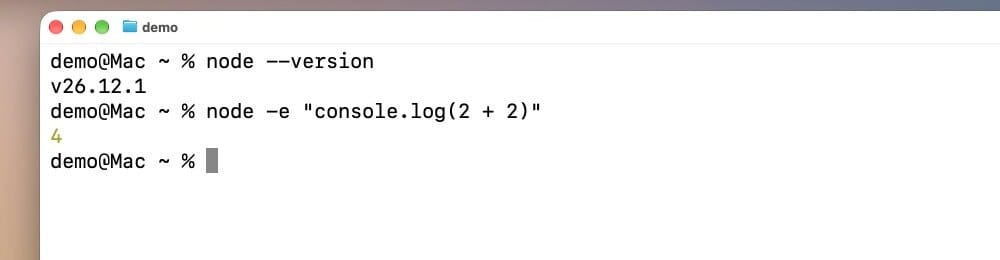
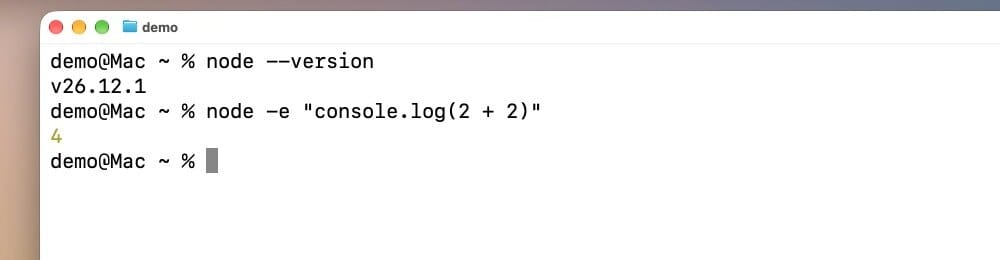
When the prompt comes back, check that Terminal finds Node.js and run one line of JavaScript:
node --version
node -e "console.log(2 + 2)"
The first command prints the version, v26.12.1 here. The second prints 4.
Install Visual Studio Code, a Mac app
Visual Studio Code is a free code editor from Microsoft, and its cask is visual-studio-code. Casks use the same install command with --cask before the name:
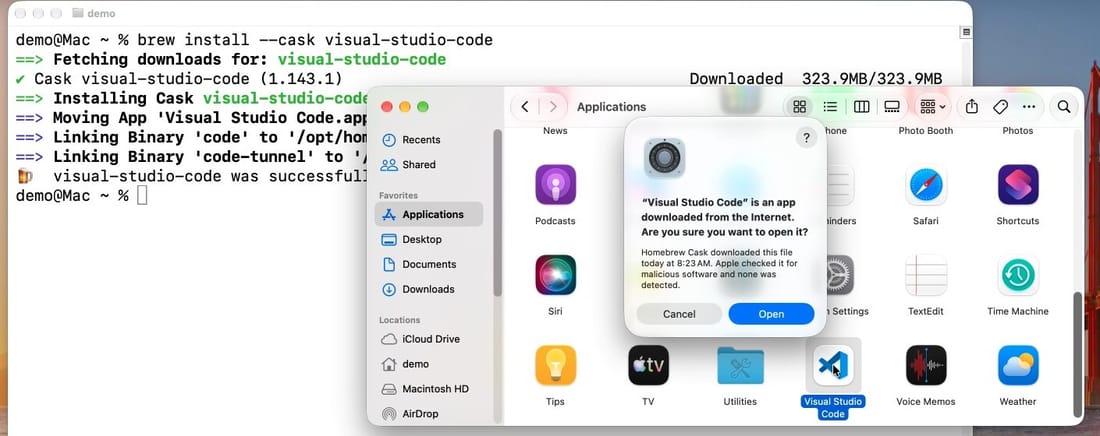
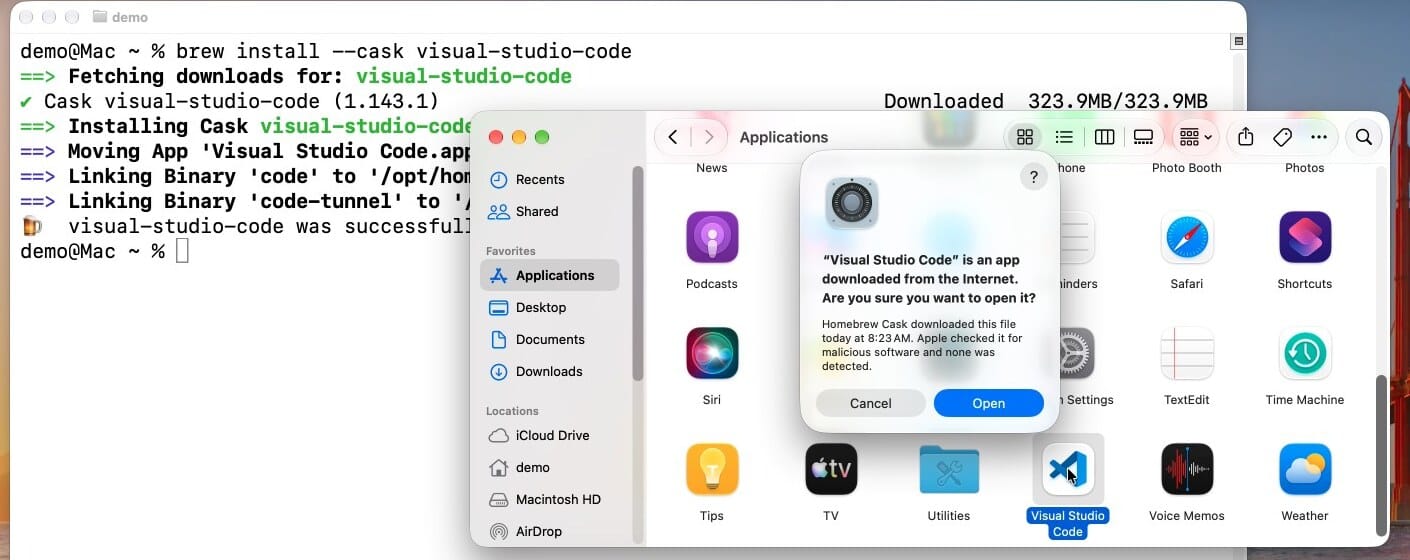
brew install --cask visual-studio-codeThe --cask flag tells brew you want the cask, in case a formula has the same name. Brew downloads the release Microsoft publishes and moves Visual Studio Code into the Applications folder. This cask also adds a code command, so you can open the editor from Terminal.
Open the app the usual Mac way. Click Finder in the Dock, then click Applications in the sidebar; Visual Studio Code is listed with the apps that came with the Mac. Double-click it. The first time you open an app installed this way, macOS asks whether you want to open an app downloaded from the internet. The dialog says Homebrew Cask downloaded the file and that Apple checked it for malicious software. Click Open.
Back in Terminal, brew list shows what you installed: node and its dependencies under Formulae, and visual-studio-code under Casks.
Update, upgrade, uninstall, and clean up
These brew commands cover upkeep. If you know apt, the names map closely:
| brew command | What it does | Closest apt command |
|---|---|---|
brew update | Refreshes Homebrew and its package lists | apt update |
brew outdated | Lists packages that have a newer version | apt list --upgradable |
brew upgrade | Installs newer versions of outdated packages | apt upgrade |
brew uninstall <name> | Removes a package, plus dependencies nothing else needs | apt remove |
brew cleanup | Removes old versions and old downloads | apt clean |
To keep packages current, run brew update, then brew upgrade. On a fresh install, brew upgrade finds nothing to do, because every package is new. You rarely need brew update by hand: Homebrew updates itself before installs, at most once every 24 hours by default, per the Homebrew manpage.
To remove Node.js:
brew uninstall nodeBrew removes Node.js and the 24 dependencies it installed only for Node.js. It also prints two warnings that it kept the configuration files of openssl@4 and ca-certificates. That is expected, and you can leave those files alone.
brew cleanup clears out old versions and old cached downloads. Homebrew already runs a cleanup on its own after installs and upgrades, so a new setup has little to remove.
Install the Homebrew app
The Homebrew project makes the app, and its GitHub repository is called BrewUI. It needs macOS 26 or later, and it installs as a cask like Visual Studio Code:
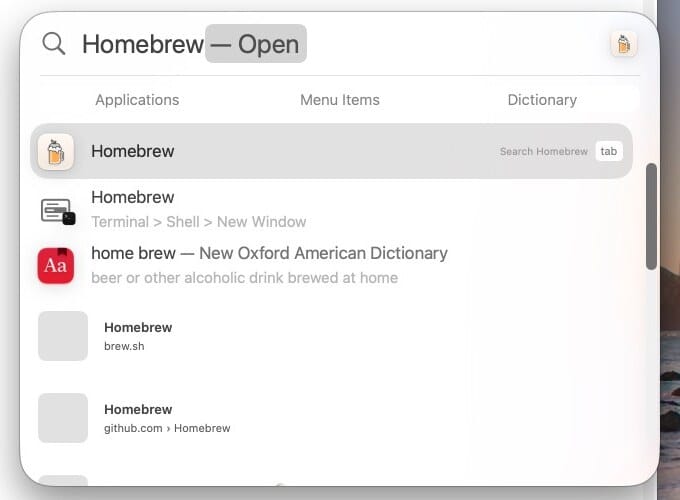
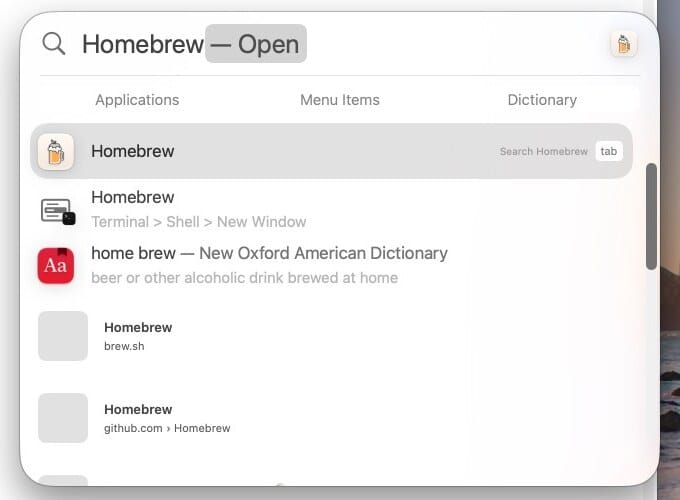
brew install --cask homebrew-appOpen it with Spotlight. Click the magnifying glass at the top right of the screen, or press command space , type Homebrew, and press return to open the top result, the Homebrew app. macOS asks the same downloaded-from-the-internet question as for Visual Studio Code; click Open. The app opens straight on its Installed page, with no setup screen and no sign-in.
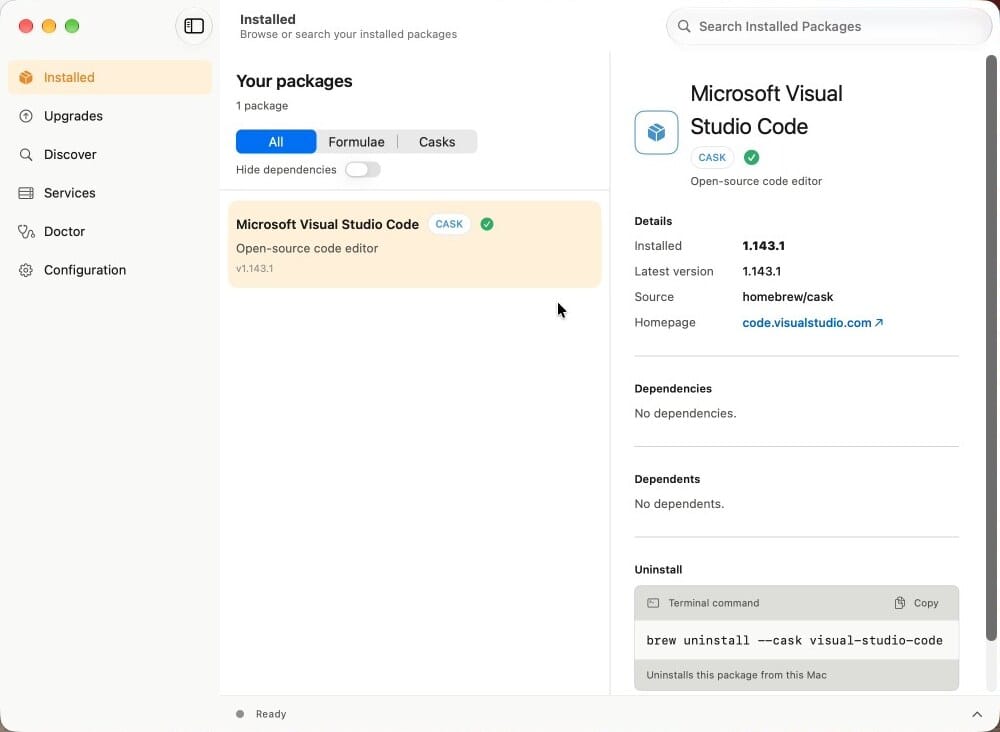
Installed lists Visual Studio Code, the app you added from Terminal; the app shows it under its full name, Microsoft Visual Studio Code. The app runs the brew command underneath, so Terminal and the app always see the same packages. Every detail pane shows the exact brew command an action will run, with a Copy button for pasting it into Terminal.
Install, upgrade, and check packages in the app
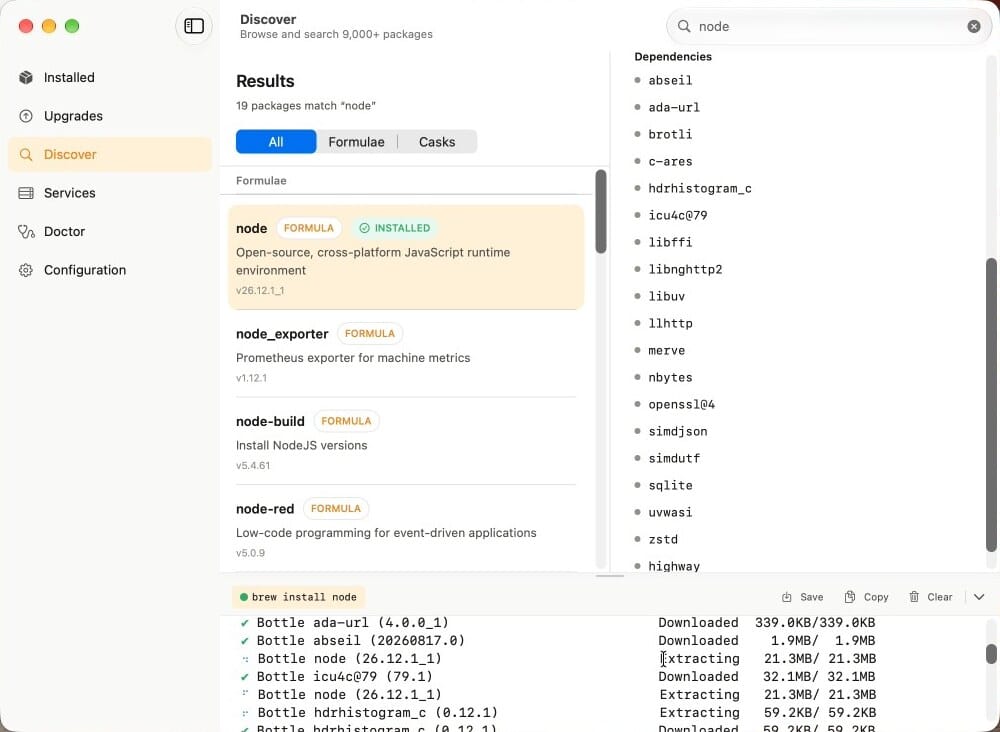
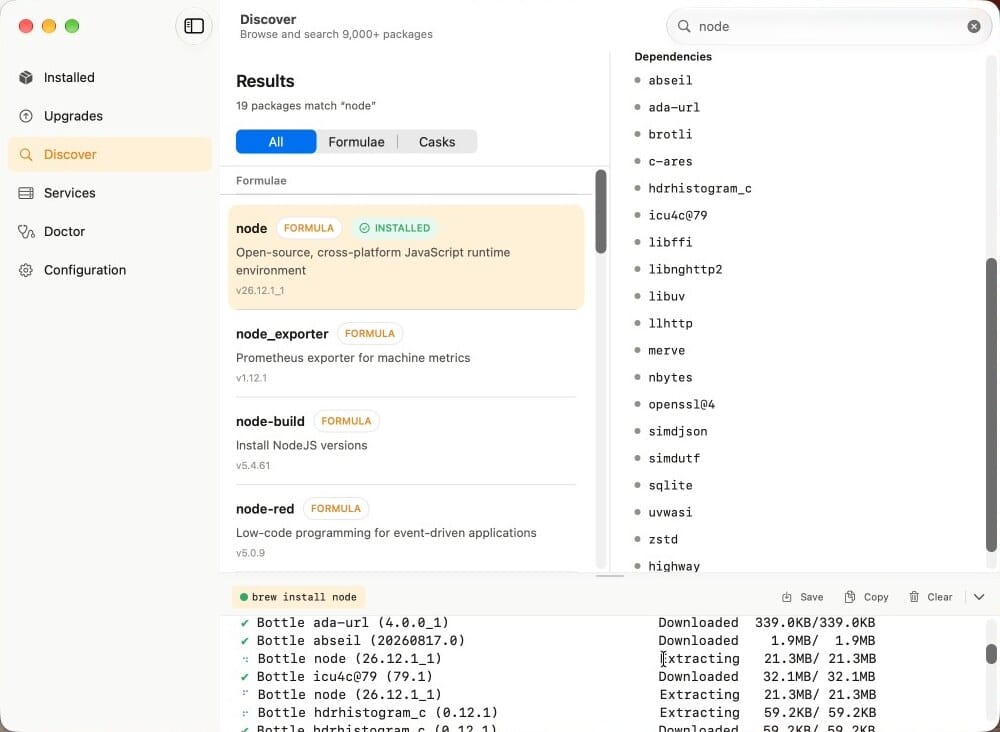
Discover searches all of Homebrew’s packages, formulae and casks together. Type node in the search field and pick node, the formula you removed in Terminal. The detail pane lists its dependencies and, further down, the command the Install button runs: brew install node. Click Install. The app does not ask y/n first. A console opens at the bottom of the window with brew’s own output, the same lines Terminal prints, and node gets a green Installed badge when it finishes.
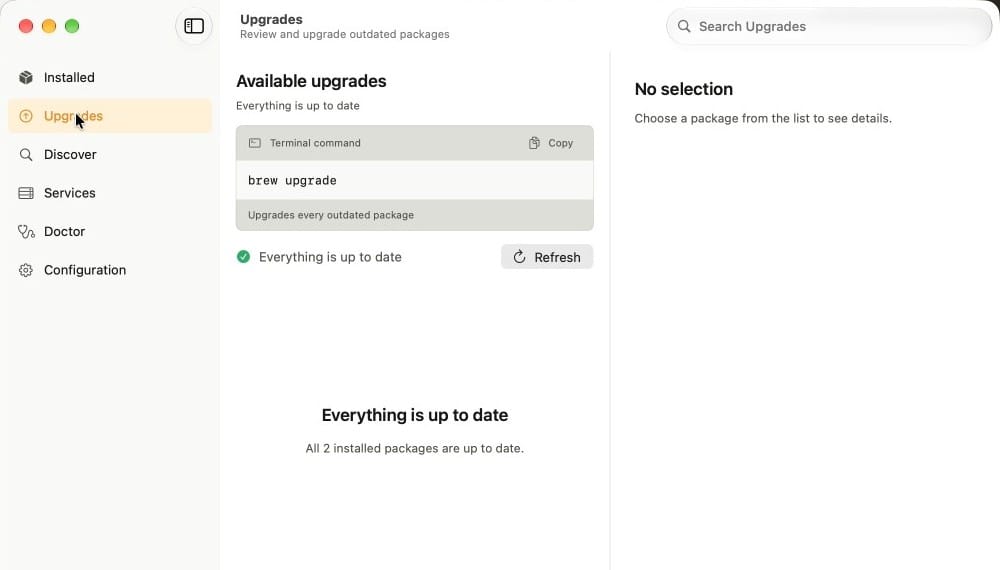
Most pages in the sidebar match a brew command. The Upgrades page is the app’s version of brew upgrade. It lists outdated packages with an Upgrade button for each and has a Refresh button that checks again. With nothing outdated, it says “Everything is up to date”.
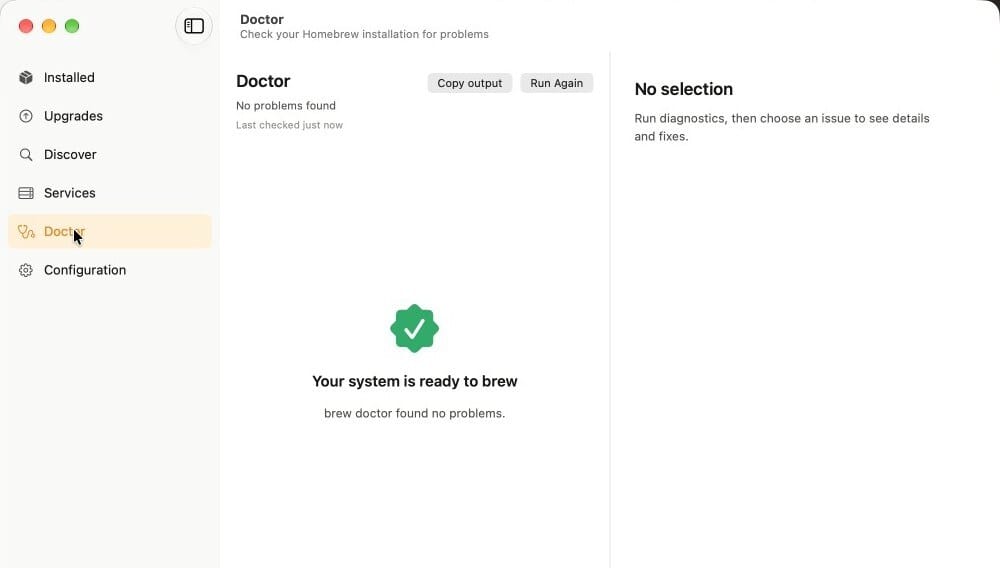
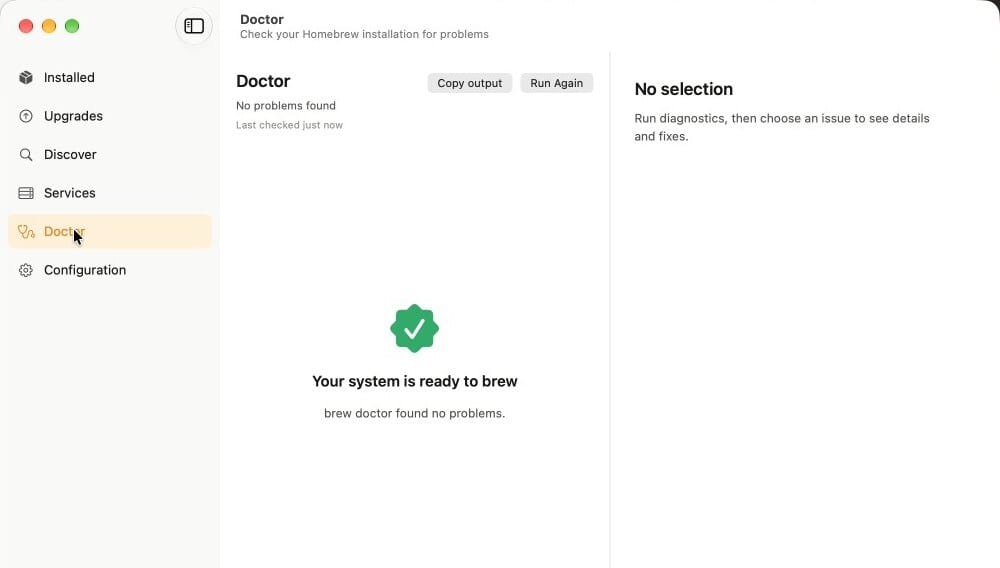
Open Doctor and it runs brew doctor, which checks the Homebrew install for problems, and shows the result. On a healthy install it reads “Your system is ready to brew”, with Copy output and Run Again buttons.
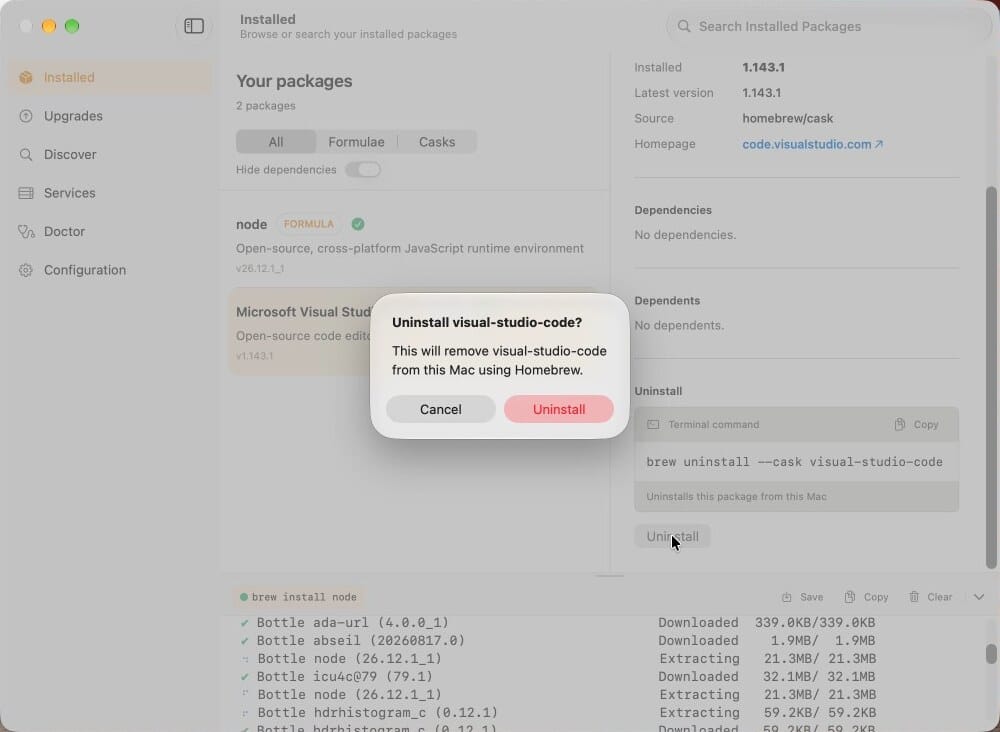
To remove an app, select it on the Installed page and click Uninstall at the bottom of its detail pane. The app asks for confirmation first, then the console shows brew removing Visual Studio Code from the Applications folder.
The Services page lists background services from installed formulae, such as a database server, but it cannot start or stop them; use brew services in Terminal for that. Configuration shows the output of brew config.
Troubleshooting
zsh: command not found: brew after the install. The current window does not have brew on its PATH yet. Run the eval line from the Next steps block, or open a new Terminal window after running the two echo lines.
The installer waits at the Command Line Tools. The installer normally downloads and installs them through Apple’s software update tool. If that fails, it falls back to a macOS window that asks you to install the tools and prints “Press any key when the installation has completed.” Finish the install in that window, then return to Terminal and press a key.
The Homebrew app says it cannot find Homebrew. The app looks for brew only where the brew.sh installer puts it. Install Homebrew with the brew.sh command first, then open the app again.
The Homebrew app does not install. The cask needs macOS 26 or later. On macOS 15, Homebrew itself still works in Terminal.
Bring over your Linux tools
Run brew search for each tool you use on Linux to see whether Homebrew has it, then brew info to see what it pulls in before you install it. More Mac guides are in our Mac section.


