
LCOS, the Lunduke Computer Operating System, is a free desktop Linux system led by Bryan Lunduke of The Lunduke Journal. Version 1.0.0 came out on November 1, 2026. It is built on Devuan, a version of Debian without systemd, so it starts up with sysvinit instead. It ships Lunduke’s own build of the Linux 7.2.6 kernel, which the LCOS FAQ calls a hard fork, made without the kernel’s Rust support. Windows are drawn by XLibre, a fork of the X.Org X11 server, and the desktop is Xfce 4.20 with the Clearlooks theme, a look Lunduke sums up as “Modern Tech. 90s UI.”
The README lists the ideas Lunduke builds LCOS around: no age or ID verification, no online accounts needed, no built-in AI features, “No Weird Politics”, no systemd, and no forced Rust clones. It also says LCOS is not a community project and that Lunduke has total control over it. The steps match LCOS 1.0.0 as of November 2, 2026.
What you need
The LCOS FAQ gives these requirements:
| Minimum | Recommended | |
|---|---|---|
| Processor | 64-bit x86 (Intel or AMD) | same |
| Memory | 2 GB | 4 GB |
| Disk | 10 GB | 20 GB or more |
| USB stick | 2 GB |
There is no 32-bit or ARM version. LCOS boots on BIOS or UEFI firmware, including the 32-bit UEFI on some older Macs and tablets, but Secure Boot must be off, because the LCOS kernel is not signed for it. The FAQ says Intel, AMD, and NVIDIA graphics work with the built-in open-source drivers. A fresh install takes about 3.6 GB of disk, and there is no swap by default; the FAQ says that running out of memory closes a program rather than slowing the system down.
Download and check the ISO
The ISO is on the 1.0.0 release page and on lunduke.com/lcos.html. No account is needed. The file is lcos-100.iso, 1,534,459,904 bytes (about 1.5 GB). Its SHA256 checksum, from the SHA256SUM.txt file on the release page, is:
6be0bec6f967642e4e0cfd51ded577b43c29f9ce58b31abfd1d83b245902fd15Run the command for your system in the folder with the download, and compare the result with that line:
sha256sum lcos-100.iso                  # Linux
shasum -a 256 lcos-100.iso              # macOS
certutil -hashfile lcos-100.iso SHA256  # Windows (Command Prompt)
If the two do not match, download the file again. To install on a PC, write the ISO to a USB stick as a raw image. This erases the stick. The FAQ names balenaEtcher on Windows and macOS, Rufus on Windows in DD Image mode, and Ventoy. On Linux, dd works; replace sdX with your USB stick, and check the name with lsblk first, because dd overwrites whatever drive you give it:
sudo dd if=lcos-100.iso of=/dev/sdX bs=4M status=progress conv=fsyncSettings for a VMware virtual machine
LCOS 1.0 installed and ran in VMware Workstation. When you create the VM, pick Debian 13.x 64-bit as the guest operating system, and give it 4 GB of memory and a 40 GB SATA disk. Then open the VM’s Settings, go to Options, Advanced, set the firmware type to UEFI, and untick Enable secure boot, since LCOS does not support Secure Boot in a VM any more than on a PC.
The sound card needs one change by hand. LCOS works with Intel HD Audio, not the Ensoniq card: Lunduke said on X that the LCOS kernel leaves the Ensoniq driver out for now, because of an upstream bug. Workstation’s settings window does not choose the sound card model, so power off the VM, open its .vmx file in a text editor, and set this line (change it if it reads es1371):
sound.virtualDev = "hdaudio"With that set, the sound card shows up as “HDA-Intel - HD-Audio Generic” in LCOS. For other virtual machine apps, the FAQ says to use virtio or std graphics in QEMU/KVM (its VMware SVGA adapter does not start the desktop, and QXL is unreliable), and warns that the mouse pointer can be invisible in VirtualBox with some graphics options.
LCOS ships open-vm-tools, but not the desktop part that resizes the screen to fit the VMware window. In VMware, the screen can start at 1280x800, and a 1920x1080 setting picked in Settings, Display, may not last past a reboot. If that happens to you, make X start at your size with a small config file. Open a terminal and run:
sudo tee /etc/X11/xorg.conf.d/10-monitor.conf <<'EOF'
Section "Monitor"
    Identifier "Virtual1"
    Option "PreferredMode" "1920x1080"
EndSection
EOF
Then reboot. Virtual1 is the name of VMware’s virtual display (run xrandr to see yours), and you can put any size from Settings, Display, in place of 1920x1080. To undo it, delete the file.
Boot the live system
Boot from the USB stick or the ISO. The boot menu shows the LCOS logo and these entries: “Live system (amd64)”, “LCOS (safe graphics)”, “Live system (amd64 fail-safe mode)”, and “Utilities…”. Press enter on the first one. The live system runs LCOS from the download without touching your disk, and it logs in by itself as “LCOS Live User”. If anything asks for a password in the live session, the FAQ gives the user lcos and the password live.
The live desktop has an Install LCOS icon. Double-click it, and the installer opens without asking for a password. It does not need an internet connection, according to the FAQ.
The installer pages
The installer is Calamares, titled “Lunduke Computer Operating System Installer”. It has six pages, and the bar on the left shows only the name of the current one.
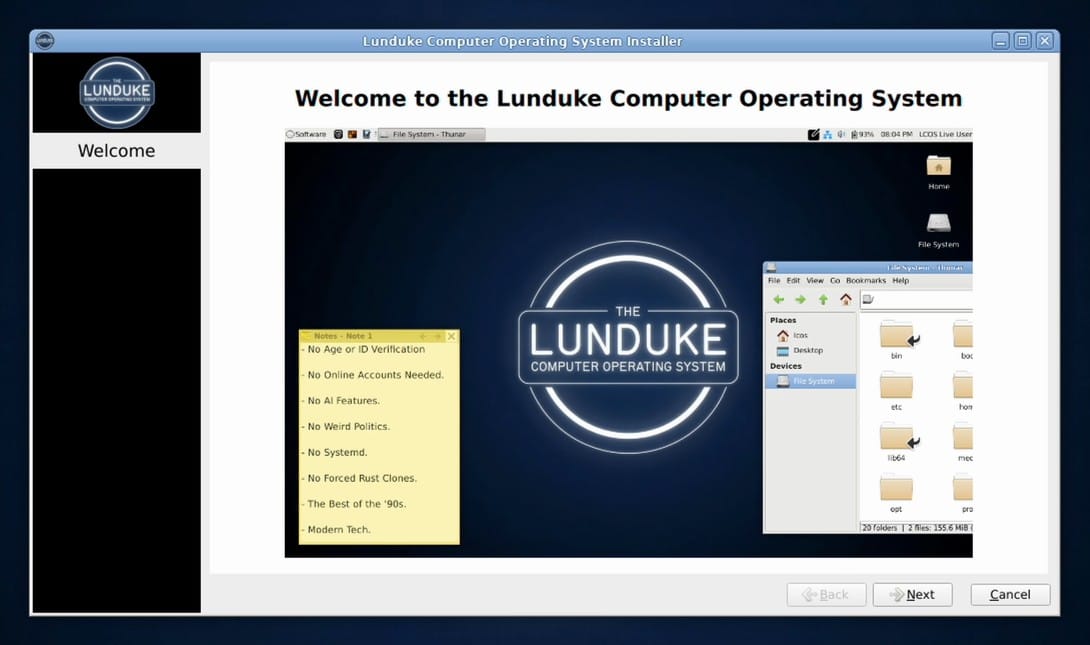
The Welcome page shows a picture of the desktop with a note that lists Lunduke’s aims, from “No Age or ID Verification” to “Modern Tech.” Click Next.
The Location page starts on Region America, Zone New York, with American English for the language and for number and date formats. Pick your own time zone on the map or in the lists; each format has a Change button.
The Keyboard page starts on Generic 105-key PC and English (US), with a box where you can type to test the layout.
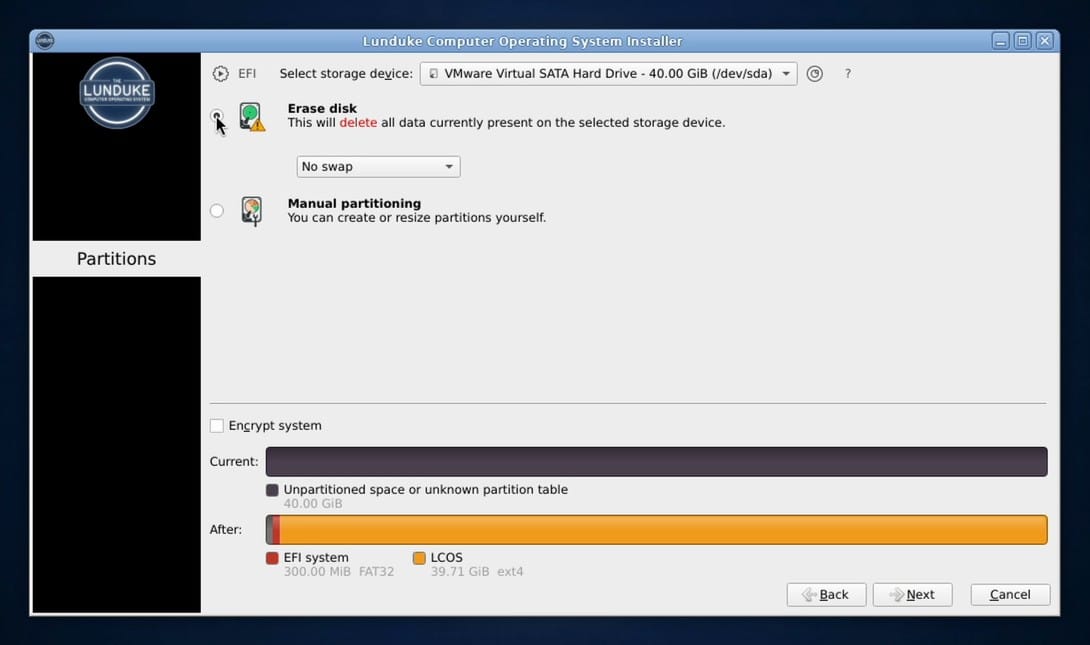
The Partitions page starts with nothing picked, and Next stays greyed out until you choose. Pick the drive at the top, then one of two options:
- Erase disk wipes the whole drive and puts LCOS on it: a 300 MiB EFI partition and an ext4 partition for the rest. Back up anything you need first.
- Manual partitioning lets you create or resize partitions yourself, for example to keep another system on the same drive.
With Erase disk picked, a swap menu appears, set to No swap. Encrypt system, at the bottom, is unticked; tick it to lock the disk behind a passphrase that you type once at each boot. The Current and After bars show the drive before and after.
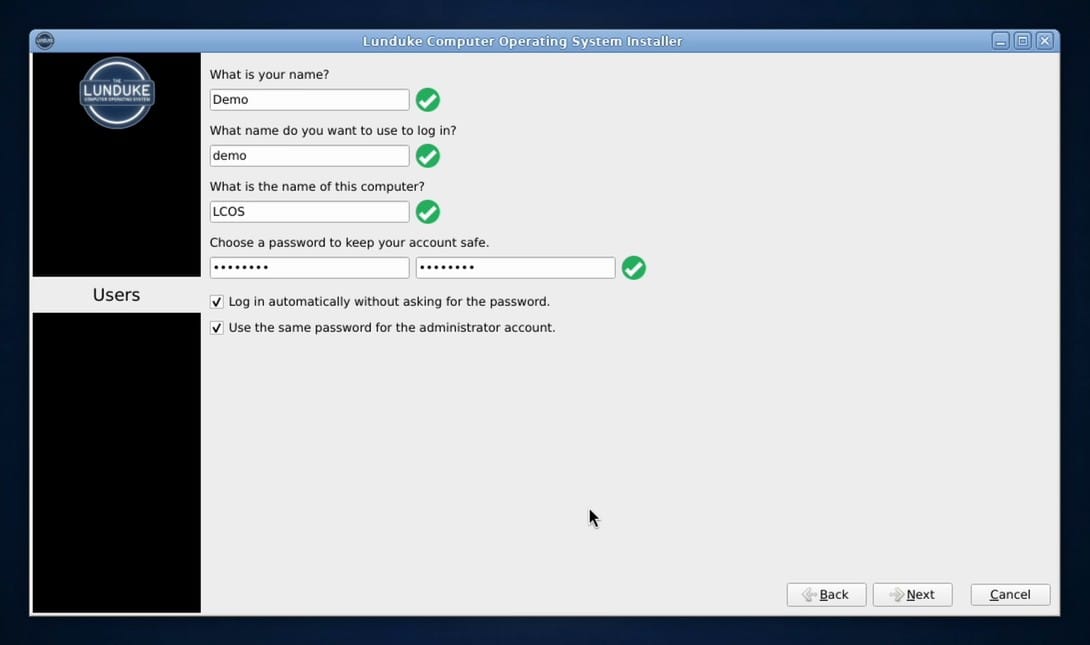
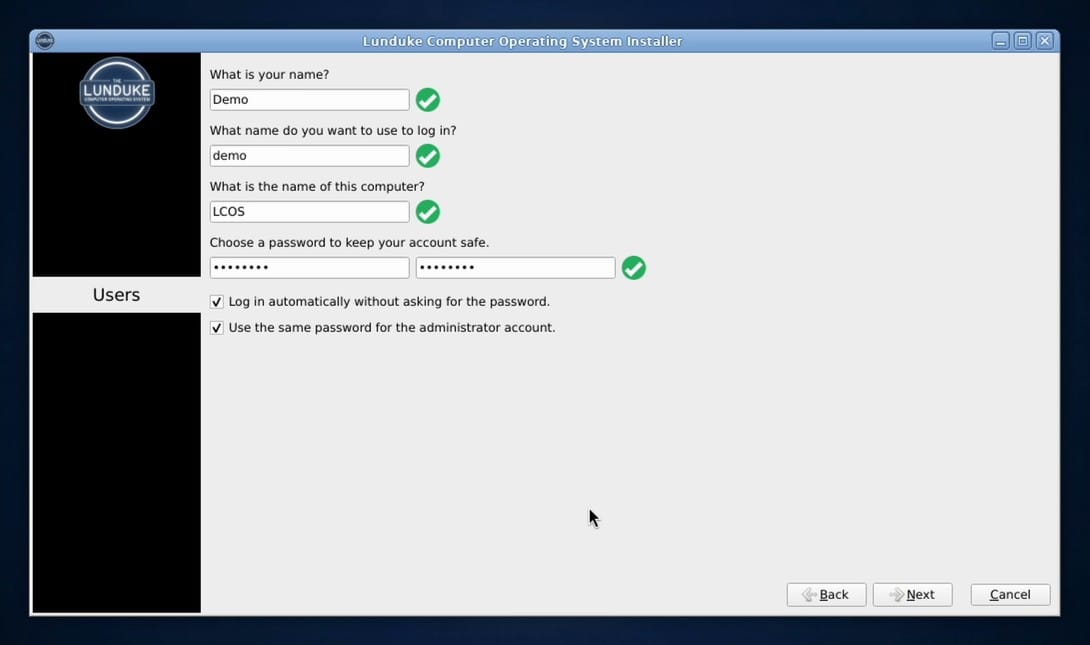
The Users page asks for your name, a login name, a name for the computer, and a password, typed twice. Typing your name fills in the login name, and the computer name starts as LCOS. There is no step for an online account or a network.
Two boxes sit under the password. The first, “Log in automatically without asking for the password”, is ticked by default, so the computer starts straight to the desktop. If other people can reach the computer, untick it here. The second, “Use the same password for the administrator account”, is unticked, which adds a second pair of password boxes for the administrator account. Tick it if you want one password for both.
The Summary page lists every change: the time zone, language, keyboard, and each partition the installer will create. Its Next button now reads Install. There is no licence to accept and no confirmation box, so the install starts as soon as you click Install. Go back and check the Partitions line before you click.
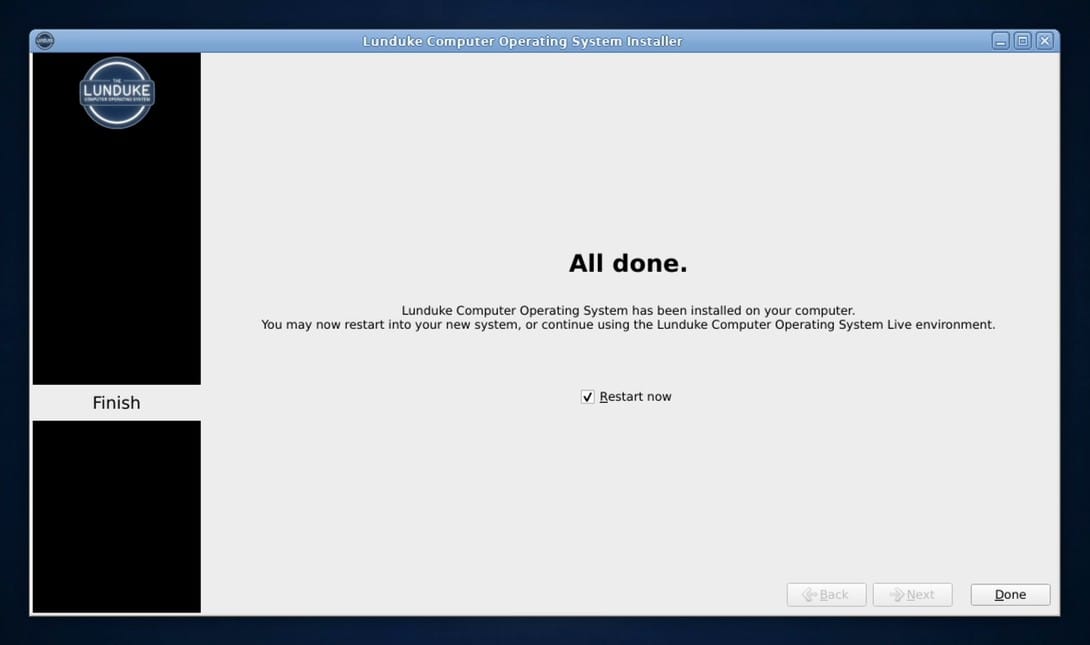
A slideshow of LCOS and its apps plays above the progress bar while the files copy. In a VM with four cores and 4 GB of memory, the install took about three minutes. The last page says “All done.” with Restart now ticked. Click Done, and remove the USB stick or disconnect the ISO when the PC restarts.
The first boot and the desktop
The installed system’s boot menu has “LCOS GNU/Linux”, “Advanced options for LCOS GNU/Linux”, and “UEFI Firmware Settings”, and it starts the first entry after a few seconds. With automatic login on, LCOS opens the desktop with no password, welcome app, or first-run questions.
The desktop has one panel along the top. At the left end, the Software menu works like a Start menu, with groups for Settings, Accessories, Games, Graphics, Internet, Multimedia, Office, and System, plus About This Computer and Log Out at the bottom. Next to it are launchers for the Brave Origin browser, the Cool Retro Term terminal, and the Lunduke Edit text editor. The network, volume, and power icons sit at the right end beside the clock and your name. The desktop holds Home, File System, and Trash icons.
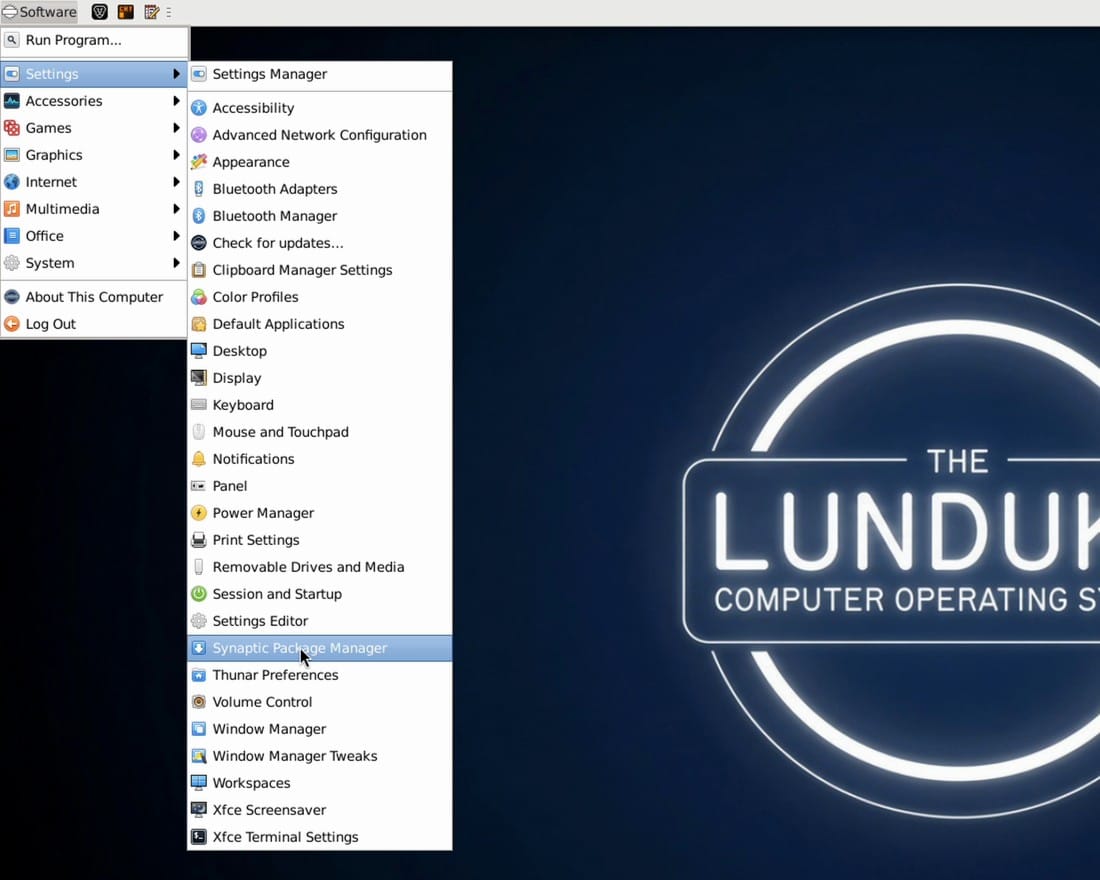
A few keys work from anywhere: alt with F1 opens the Software menu, alt with F2 opens the application finder, ctrl alt t opens Cool Retro Term, and the Super (Windows) key with e opens the Thunar file manager. Dragging a window to a screen edge tiles it.
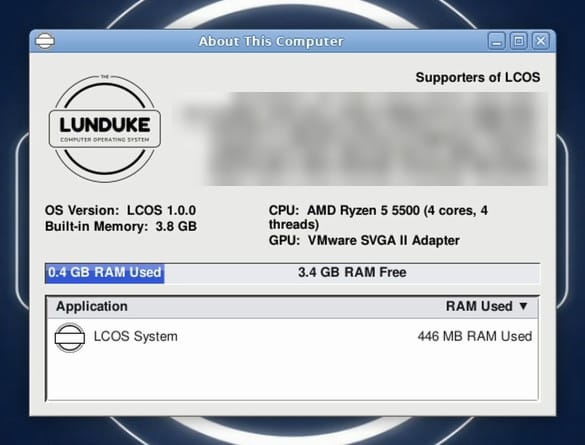
About This Computer shows the LCOS version, the built-in memory, the processor and graphics, a bar of memory in use, and a list of programs by memory use. It also scrolls a list of names, the supporters of LCOS. With only that window open after a fresh boot in a virtual machine with 4 GB of memory, it reported LCOS itself using 446 MB. The number changes from boot to boot, and it moves a little while the window is open.
Updates and adding software
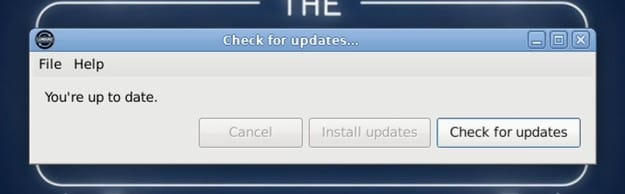
Updates have their own tool. Open Software, Settings, Check for updates… (the System group has the same entry) and click its Check for updates button. It asks for your password, downloads the package lists, and reports the result. With nothing to install, it says “You’re up to date.” and the Install updates button stays greyed out. From a terminal, this does the same job:
sudo apt update && sudo apt full-upgrade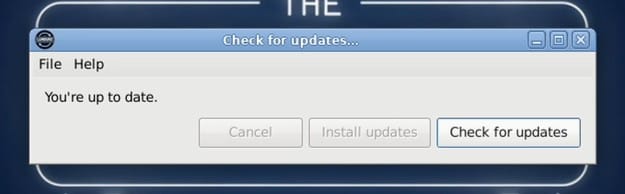
Run an update check once soon after the install. A fresh install has no package lists yet, so until the first check, installing a downloaded .deb file with GDebi can fail with a “Dependency is not satisfiable” error, according to the FAQ.
To add software, open Synaptic Package Manager, which sits in both the Settings and System groups. It asks for your password, then lets you search the package lists and mark programs to install. Packages come from Devuan’s “excalibur” release (Debian 13 package versions), Brave’s own repository, and Lunduke’s LCOS repository, so sudo apt install <package> works too. The FAQ also gives steps for Steam (Valve’s .deb through GDebi) and for NVIDIA’s proprietary driver on cards from the GTX 16 series onward; the open-source driver is the default.
Turn on the screen lock, or turn off automatic login
The screensaver and screen lock are both off by default. A PC left running stays open to anyone at the keyboard, and with automatic login on, so does a PC that someone restarts.
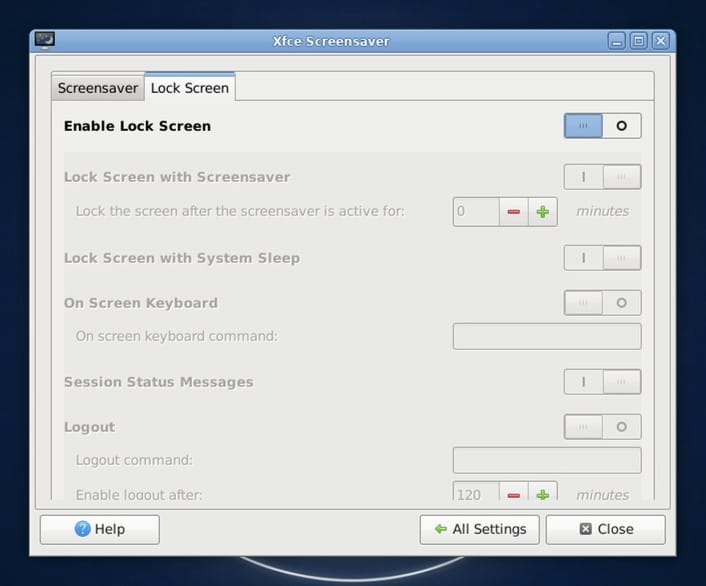
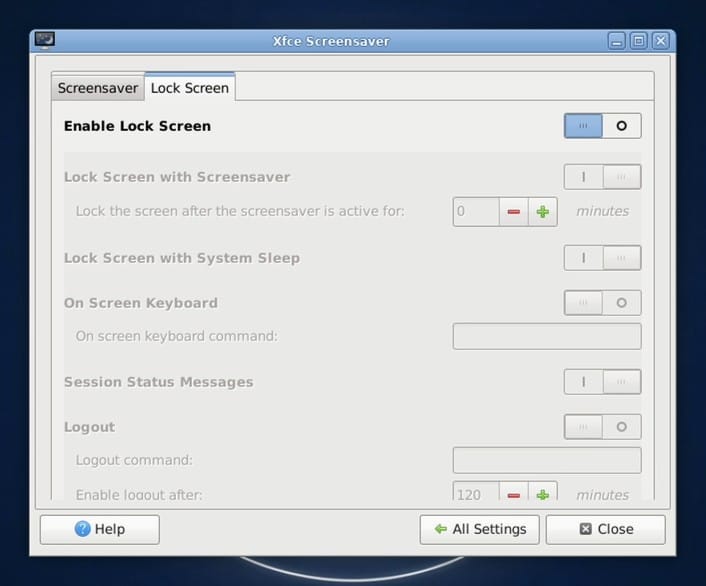
To turn on the lock, open Software, Settings, Settings Manager, and click Xfce Screensaver. The same window also opens from the Xfce Screensaver entry near the end of the Settings group; on a small screen, scroll down to it with the arrow at the foot of the menu. Open the Lock Screen tab and turn on the “Enable Lock Screen” switch at the top. Every option below it stays greyed out until you do. The Screensaver tab has its own Enable Screensaver switch, also off. The FAQ adds that you can lock the screen by hand at any time from the user menu at the right end of the panel.
If you left automatic login on during the install and want it off, the FAQ gives this command, which comments out the setting in both LightDM files:
sudo sed -i 's/^autologin-user=/#autologin-user=/' /etc/lightdm/lightdm.conf /etc/lightdm/lightdm.conf.d/50-lcos.confReboot afterwards. The login screen hides the user list, so type your login name and then your password.
The apps written for LCOS
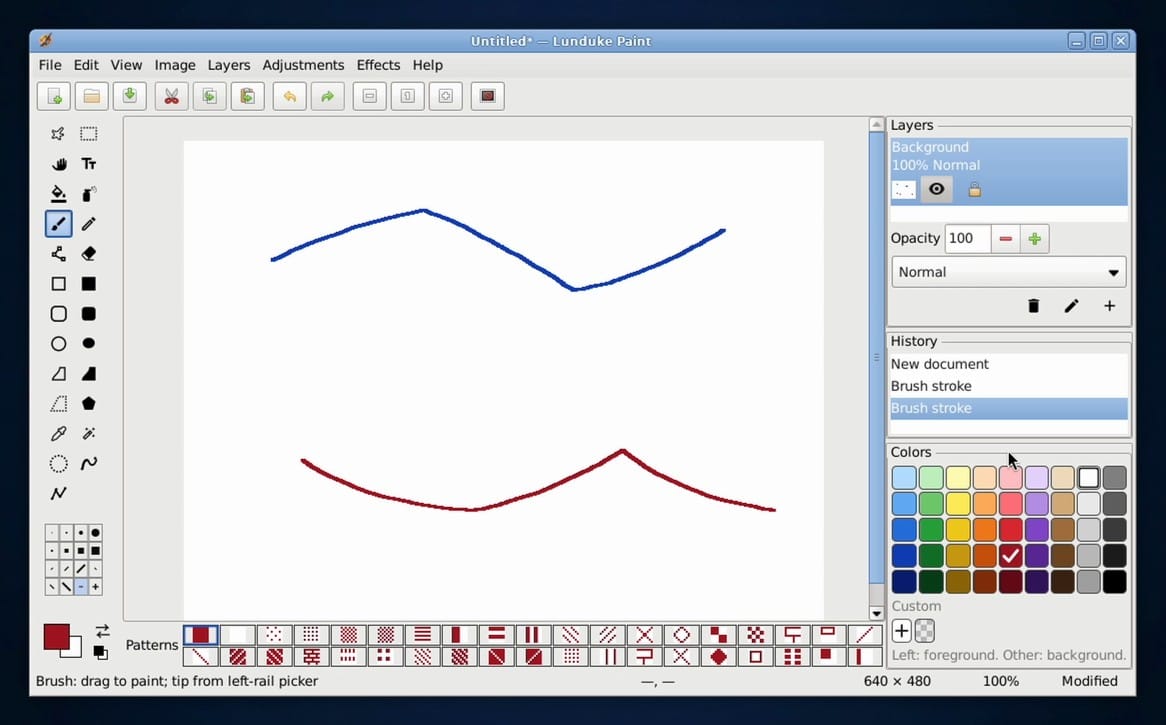
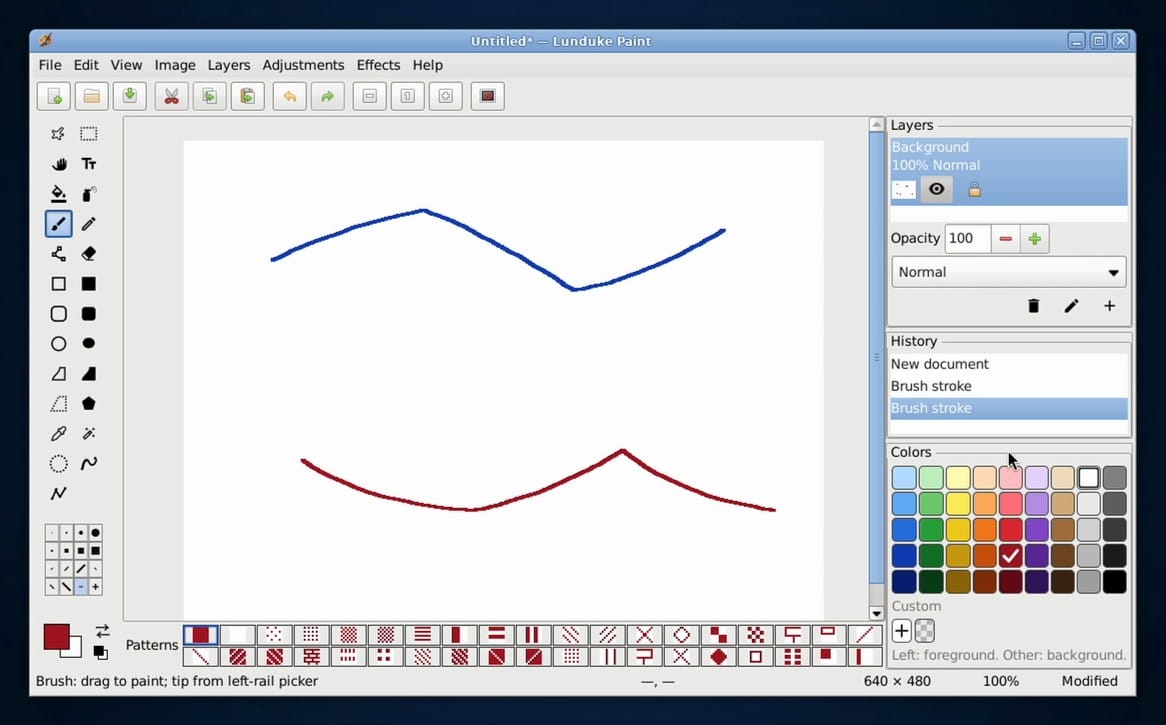
Lunduke Paint, in the Graphics group, is a paint program with layers, a History panel, a color palette, and a row of fill patterns. Each stroke adds a line to the History panel, which Lunduke describes as visual undo. New images start at 640 x 480.
Lunduke Edit is a plain text editor with line numbers and File, Edit, Search, Text, and Help menus. Its status bar shows the line, the column, the encoding, and the size in bytes as you type.
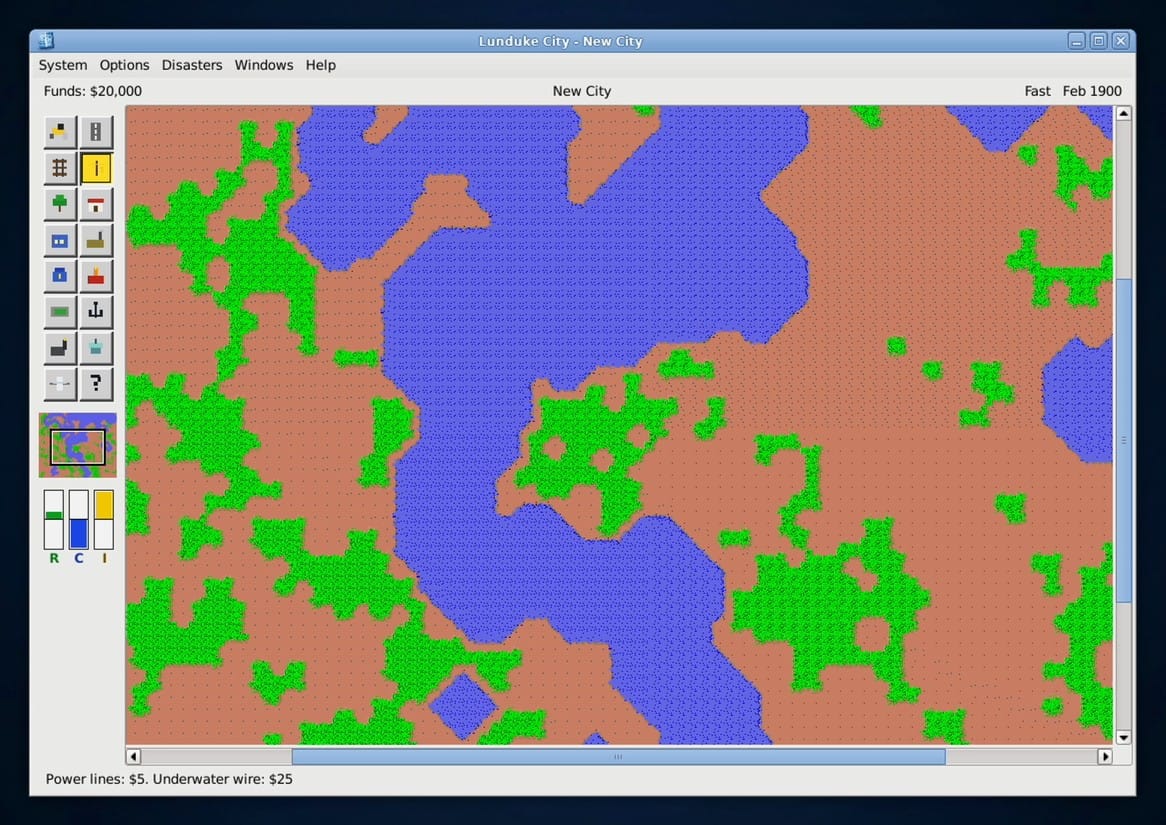
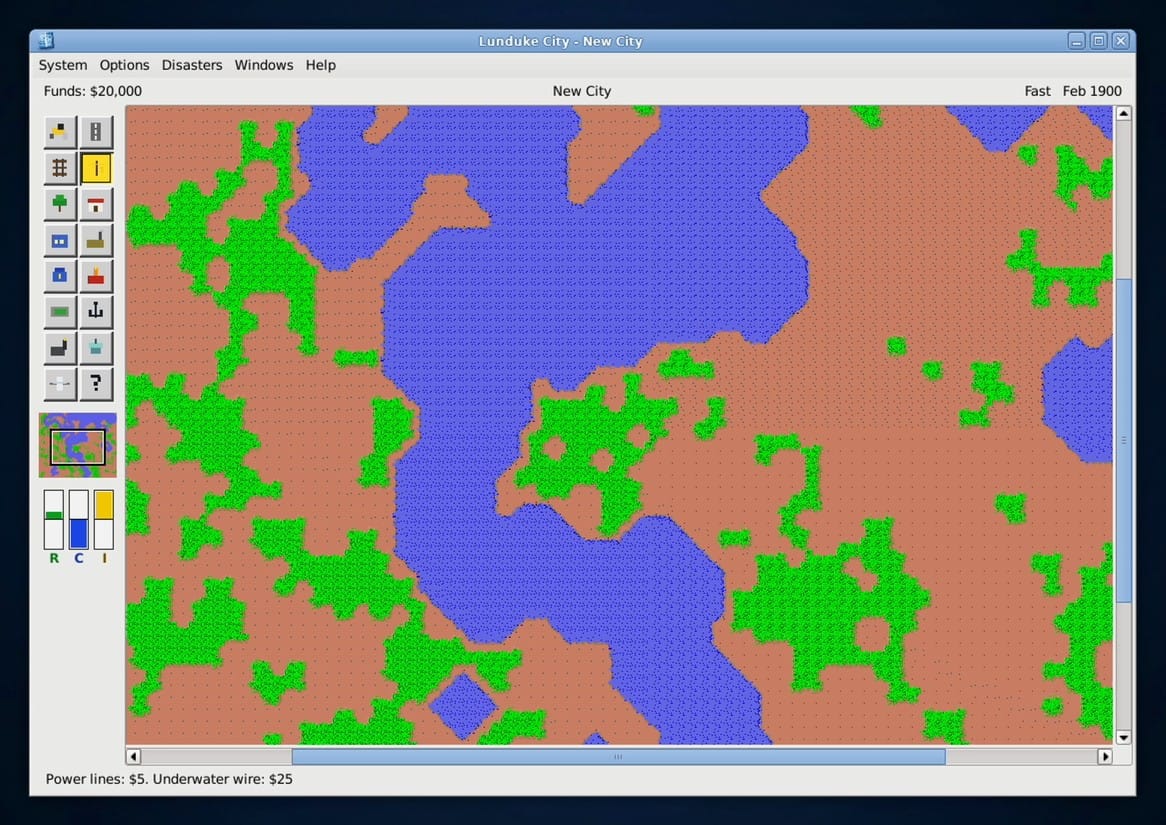
Lunduke City, in the Games group, is a city builder. Lunduke says it is built on Micropolis, the open-source release of the original SimCity code. A new city starts paused in January 1900 with $20,000 in funds. Pick a speed under Options to start the clock, then use the tool palette on the left to zone land, build roads, and lay power lines. The bars marked R, C, and I show demand for residential, commercial, and industrial zones.
Games, the browser, and office apps
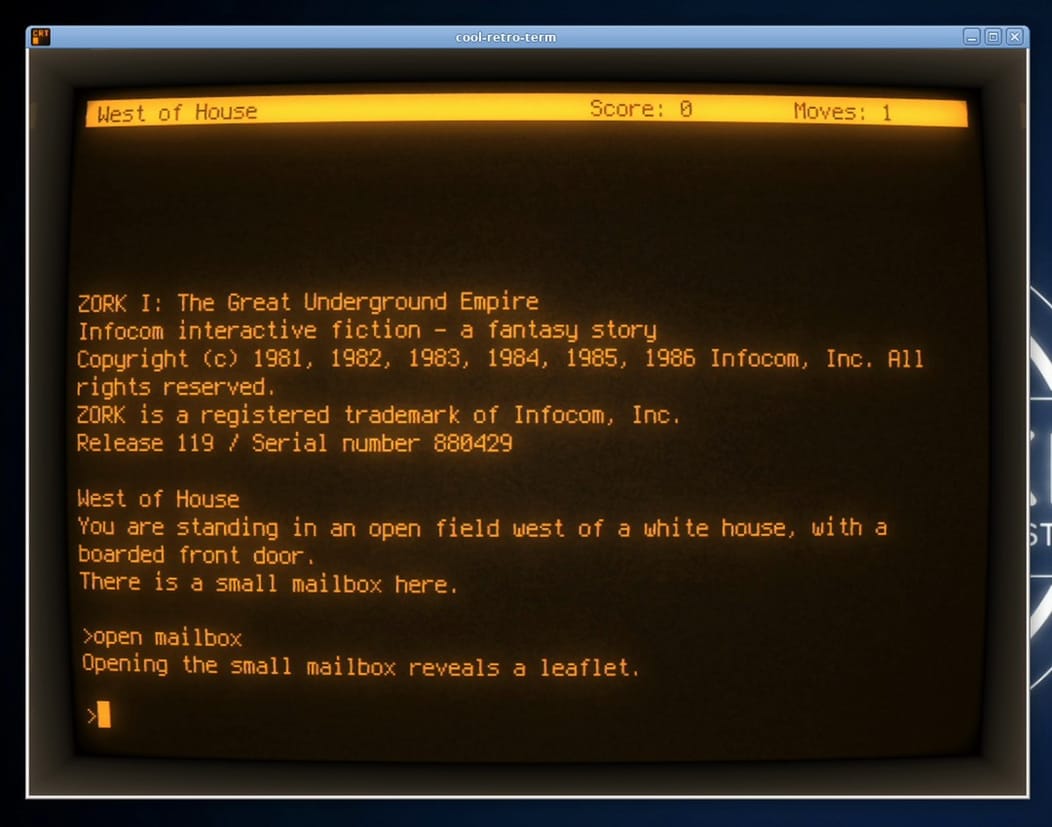
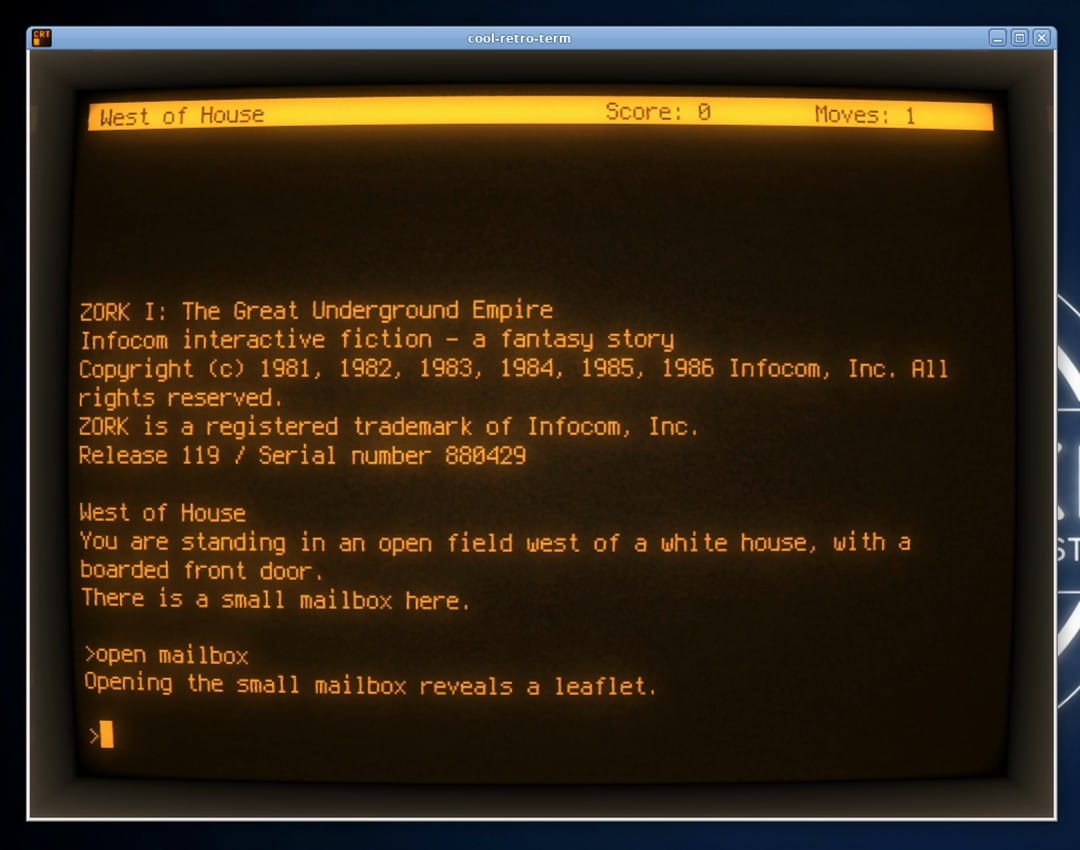
The Games group also has Zork I, II, and III, the Infocom text adventures from the early 1980s. Each opens in Cool Retro Term, the default terminal, which draws its text like the amber screen of an old monitor. You play by typing short commands such as open mailbox. The same group has Maelstrom, a shooter in the style of Asteroids, and AisleRiot Solitaire.
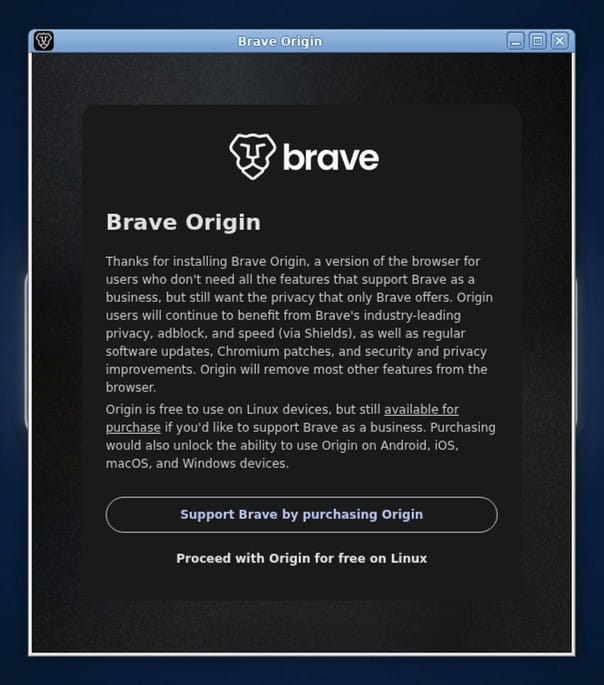
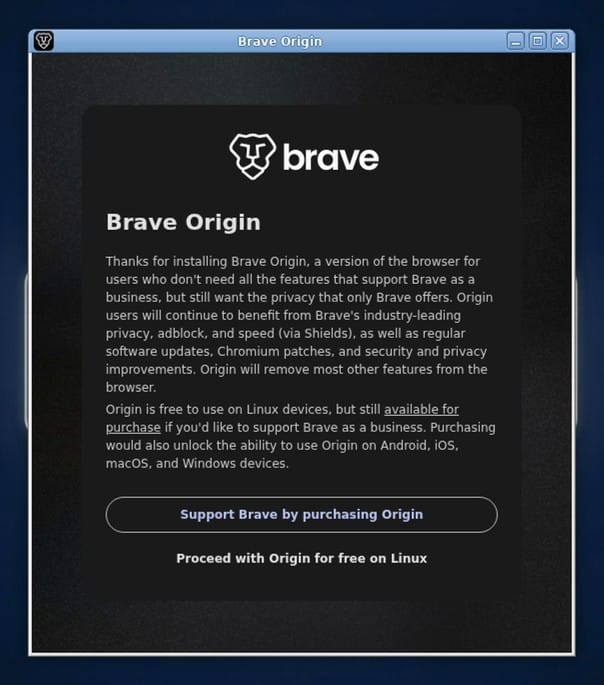
The web browser is Brave Origin, a version of Brave with most of its extra features removed. Its first window says Origin is free on Linux and offers a purchase that also unlocks it on Android, iOS, macOS, and Windows. Click Proceed with Origin for free on Linux to skip the purchase, then go through or skip Brave’s welcome steps. Brave Origin’s new tab page has a Brave Search box that reads “Ask anything, find anything…”.
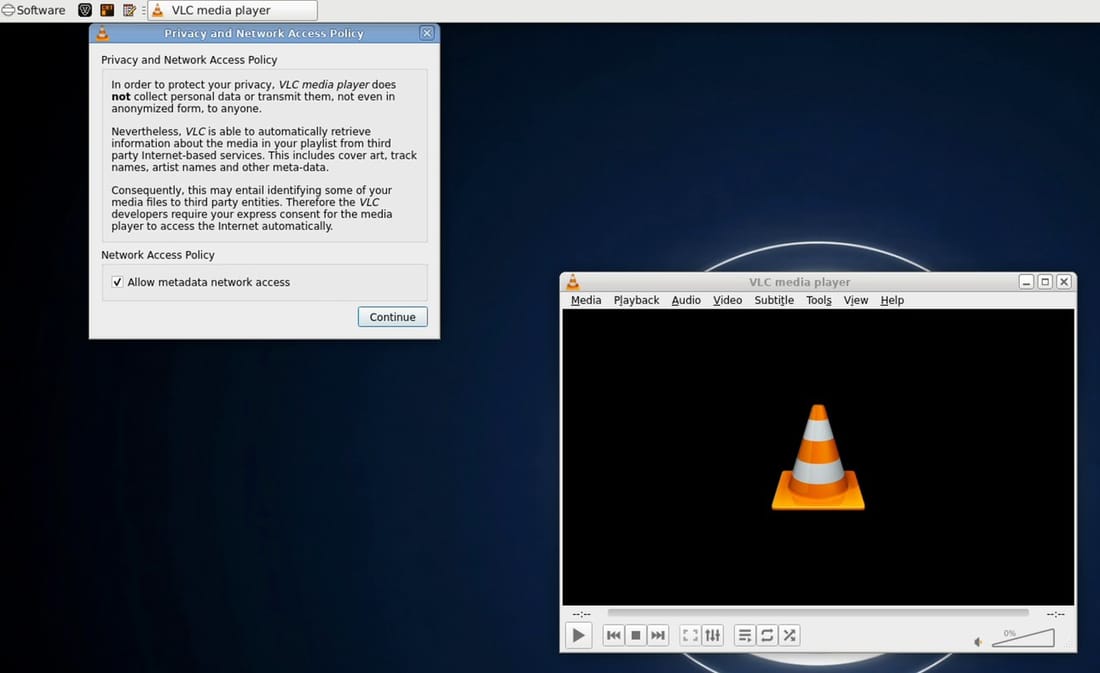
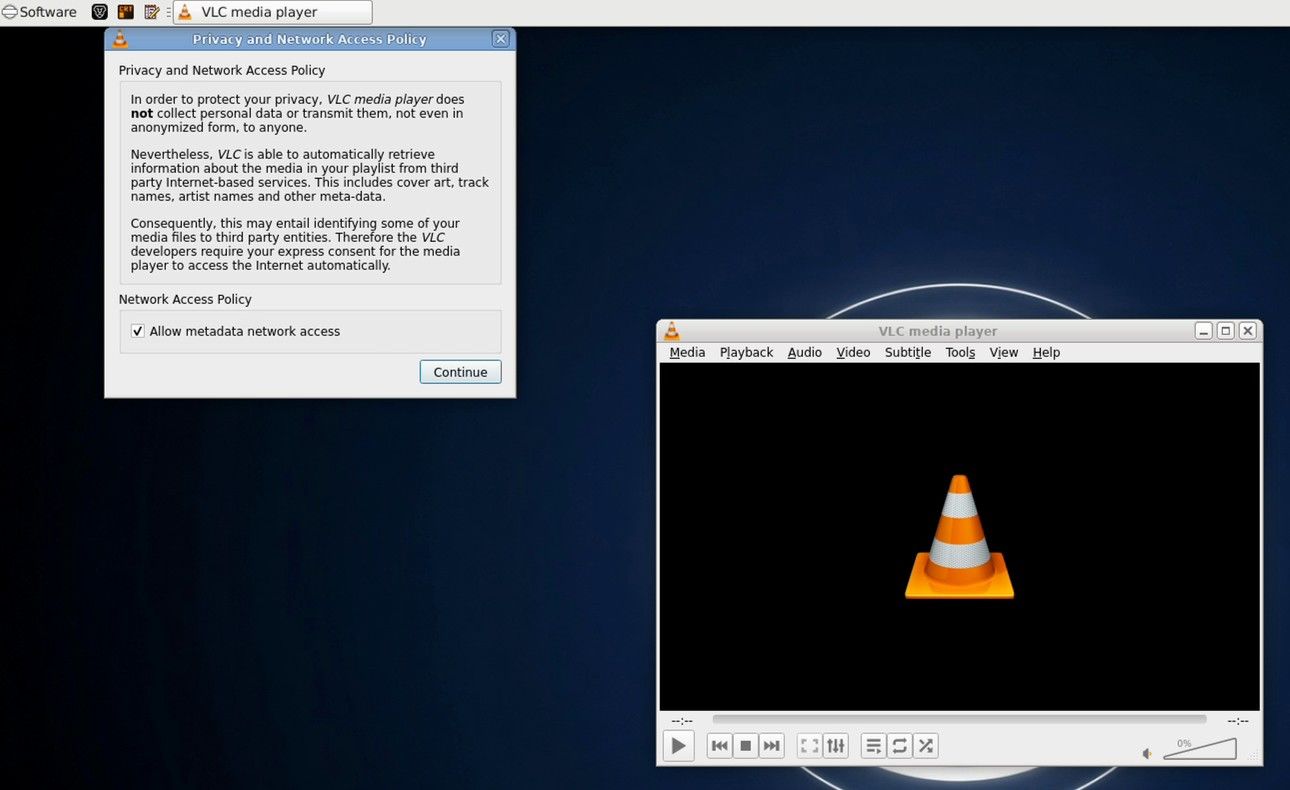
For office work, the Office group has Gnumeric for spreadsheets and AbiWord for documents. VLC, in the Multimedia group, plays video and music. The first time it starts, it opens a “Privacy and Network Access Policy” dialog next to the player, with “Allow metadata network access” ticked; that setting lets VLC look up cover art and track names online. Untick it if you prefer, then click Continue.
The System group holds Thunar, Xfce Terminal (if you prefer a plain terminal), htop, GParted, Synaptic, Check for updates, and GDebi. There is no dark theme; the FAQ says you can install one yourself.
Troubleshooting
The USB stick shows “bad shim signature” and won’t boot. Secure Boot is on. Open the firmware setup at power-on (often F2, F12, Del, or Esc), turn off Secure Boot, save, and boot the stick again. In a VMware VM, untick Enable secure boot in Settings, Options, Advanced.
The screen is black after the boot menu. Pick “LCOS (safe graphics)” or the fail-safe entry from the live boot menu. The FAQ asks you to report your graphics card on GitHub if that works.
Next is greyed out on the Partitions page. No option is picked by default. Choose Erase disk or Manual partitioning, and Next turns on.
No sound in a VMware VM. The VM is probably using the Ensoniq card, which the LCOS kernel does not include. Power off, set sound.virtualDev = "hdaudio" in the .vmx file, and start the VM again.
The VM keeps going back to 1280x800. Add the 10-monitor.conf file from the VMware section above, with the size you want, and reboot.
GDebi says “Dependency is not satisfiable” and Install stays greyed out. Run Check for updates (or sudo apt update) once, then open the .deb file again.
Where to get help
Bug reports go to GitHub Issues, which anyone can read; the FAQ asks for your computer model, graphics card, and LCOS version. Questions and suggestions go to The Lunduke Journal Forum, which is open only to Lunduke Journal subscribers. The source for each package is linked from the release’s package list, and the ISO build recipe and the kernel have their own repositories.
For another new Linux system, see our first look at Pond, Butterfly’s Arch-based Linux on niri. If you are moving from Windows 10 and comparing systems, our guide to Linux distros for Windows users covers Linux Mint, Zorin OS, and others.


