
Omarchy is an Arch Linux setup from DHH that comes ready to use. Windows sit side by side as tiles, so nothing overlaps, and most actions start from the keyboard. A small, low-cost box runs it on your own monitor. The steps here come from an Omarchy 4.5 install on a GMKtec NucBox G2, which has an Intel N100, 12 GB of RAM, and a 256 GB drive, connected to a 4K screen by HDMI.
DHH posted on September 21, 2025 that he had “been truly shocked by how good mini PCs have gotten.” On August 28, 2025, he wrote about people who have “the latest Macs sitting unused off to the side while an old ThinkPad or a cheap Beelink is running the main show.” Mitchell Hashimoto, a HashiCorp co-founder, posted on July 11, 2025 about Omarchy on his Beelink SER9: “Least amount of tinkering I’ve ever needed for desktop Linux.” That SER9 has a much faster chip than the N100 here, which is entry level. The N100 drove a 4K screen at 60 Hz.
For a fuller look at why developers pick these boxes, read how Omarchy turned budget mini PCs into developer workstations.
What You Need
You need the mini PC, a monitor, and a USB stick of 8 GB or more. Writing the ISO erases the stick. You can download the ISO and write the stick on any computer you have, running Windows, macOS, or Linux.
Use a wired keyboard or one with a 2.4 GHz dongle. Omarchy’s manual says the disk encryption prompt at startup can’t take a password from a Bluetooth keyboard, and a mini PC has no built-in keyboard to fall back on. Our box was on wired Ethernet, so these steps don’t cover Wi-Fi.
A full disk install erases the drive you pick, and on a new mini PC that drive may hold Windows. Back up anything you want to keep before you start.
Download the ISO and check its fingerprint
The ISO is one large file that holds the whole installer. Open Omarchy’s release page, find the ISO download link (the x86_64 one if the page lists more than one), and save the file. It is over 6 GB. Copy the SHA-256 value listed with the link, because that value is the fingerprint of the file Omarchy published.
Now make the same fingerprint from your copy. On Linux, run this in a terminal:
cd ~/Downloads
sha256sum omarchy-*.iso
On a Mac, the tool has a different name:
cd ~/Downloads
shasum -a 256 omarchy-*.iso
On Windows, open PowerShell. It prints the value in capital letters, which doesn’t change the match:
cd ~\Downloads
Get-FileHash .\omarchy-*.iso -Algorithm SHA256
If the two values differ, download the ISO again. The ISO’s README says a damaged download otherwise shows up as a pacman “invalid or corrupted package” error several minutes into the install.
Verify the signature with gpg
The fingerprint catches a damaged file. The signature goes further and proves that Omarchy built the ISO. This check is optional. gpg comes with many Linux systems; on a Mac or Windows you install GnuPG first (brew install gnupg on a Mac with Homebrew, or Gpg4win on Windows).
The signature file sits on the same server as the ISO, with .sig added to the name. Run these commands in the folder that holds the ISO, and replace ISO-NAME with the name of the file you downloaded, leaving off .iso:
gpg --keyserver hkps://keys.openpgp.org --recv-keys 40DFB630FF42BCFFB047046CF0134EE680CAC571
wget -q https://iso.omarchy.org/ISO-NAME.iso.sig
gpg --verify ISO-NAME.iso.sig ISO-NAME.iso
The output must include this line:
Good signature from "Omarchy <pkgs@omarchy.org>"You will also see WARNING: This key is not certified with a trusted signature!. Omarchy’s README says to expect that, since it means only that you have not signed the key yourself. On Windows, or wherever the wget line is missing or gives an error, paste that address into a browser and save the .sig file in the same folder.
Write the ISO to a USB stick
A plain file copy won’t boot, so the ISO needs a writing tool. The manual names balenaEtcher for Mac or Windows and caligula for Linux.
balenaEtcher has three steps: select the image, select the drive, and flash. Check the drive it selects, because that drive gets erased. On Linux, caligula runs in a terminal and asks you to pick the drive:
caligula burn omarchy-*.isoIf those tools fail, try Raspberry Pi Imager, which runs on Windows, macOS, and Linux. Its Use Custom option writes an image file from your computer. One owner whose Beelink would not start the installer got it working with Imager and a slower stick.
Choose a plain stick over a very fast one. An open Omarchy issue reports that fast sticks built on SSD controllers fail to boot the ISO, though the cause isn’t settled, and owners on the Imager issue found that a slower stick worked. Plug the stick directly into the mini PC as well. A commenter on that issue advises trying a different stick, plugged in directly and not through a hub.
Check Secure Boot and TPM in the BIOS
Plug in the stick and start the mini PC. The logo screen names two keys in small print. On the G2, delete opens the BIOS and f7 opens the boot menu. Other makers use other keys, so read your own logo screen.


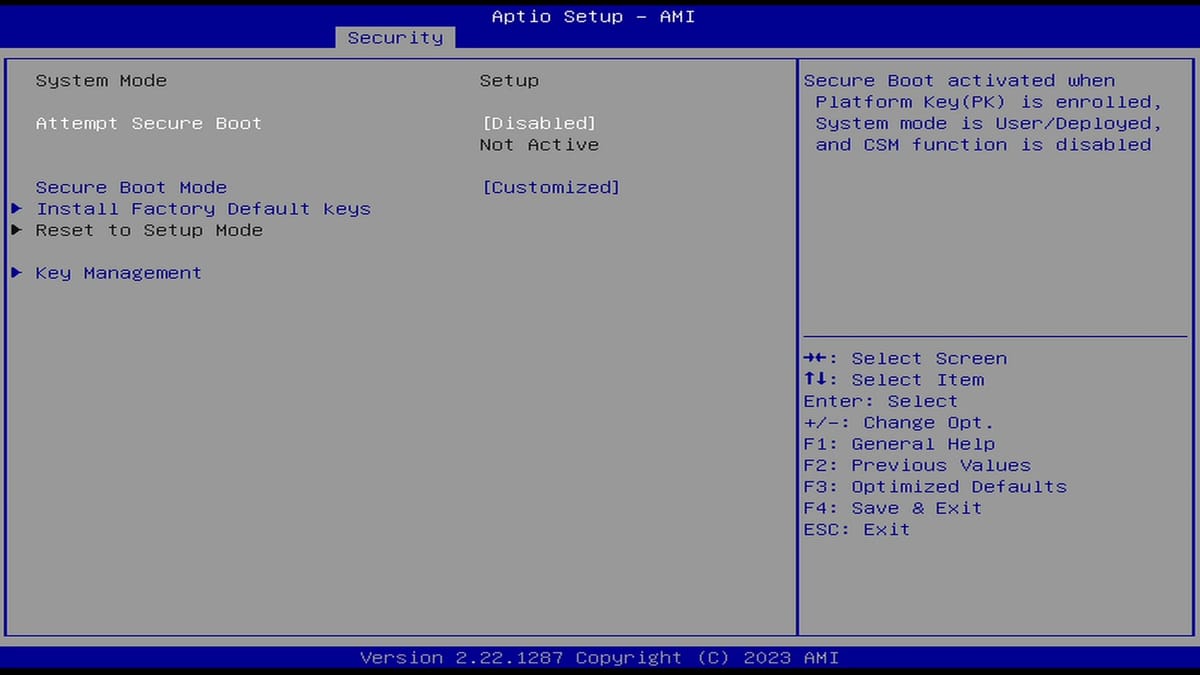
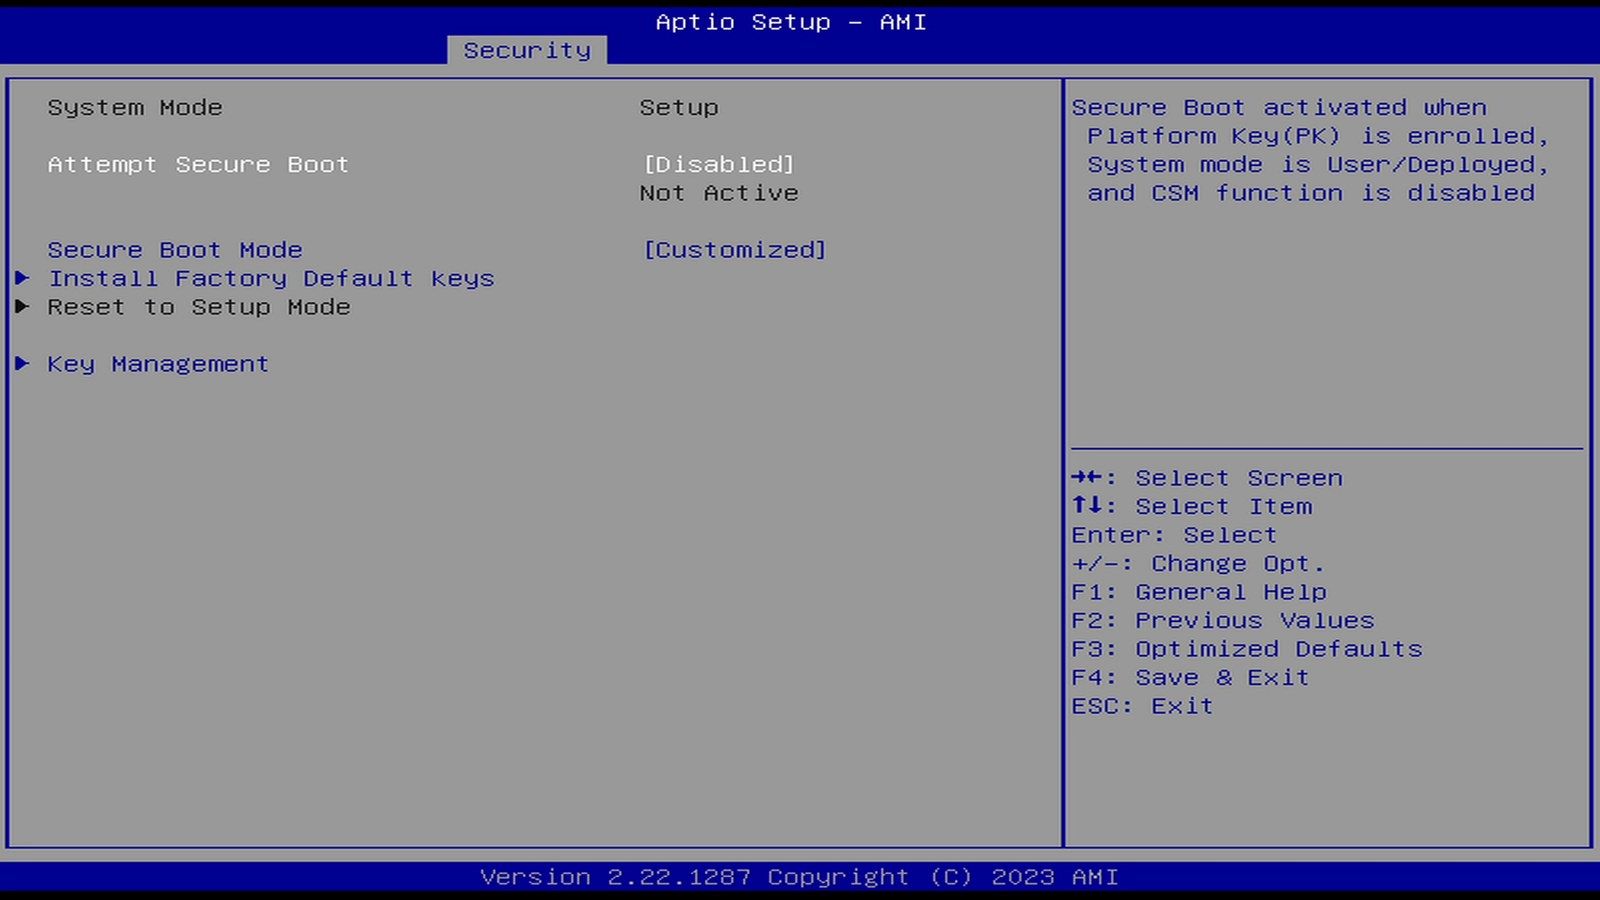
The manual says “You must turn off Secure Boot and/or TPM in the BIOS.” Secure Boot is a BIOS check that starts only signed software, and signed Secure Boot is still only a plan for the ISO. On the G2’s AMI BIOS, the setting is on the Security tab, under Secure Boot, in the row called Attempt Secure Boot. Ours already read Disabled. Set yours to Disabled if it isn’t, then press the BIOS’s save key. On this BIOS, that is f4 .
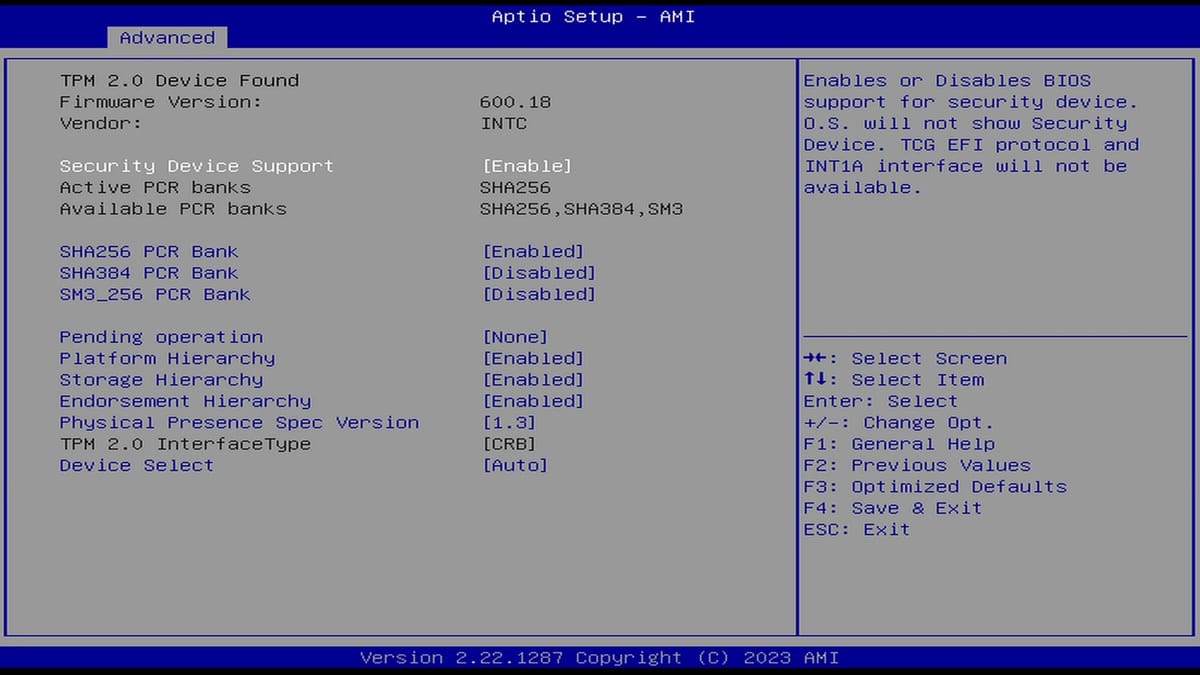
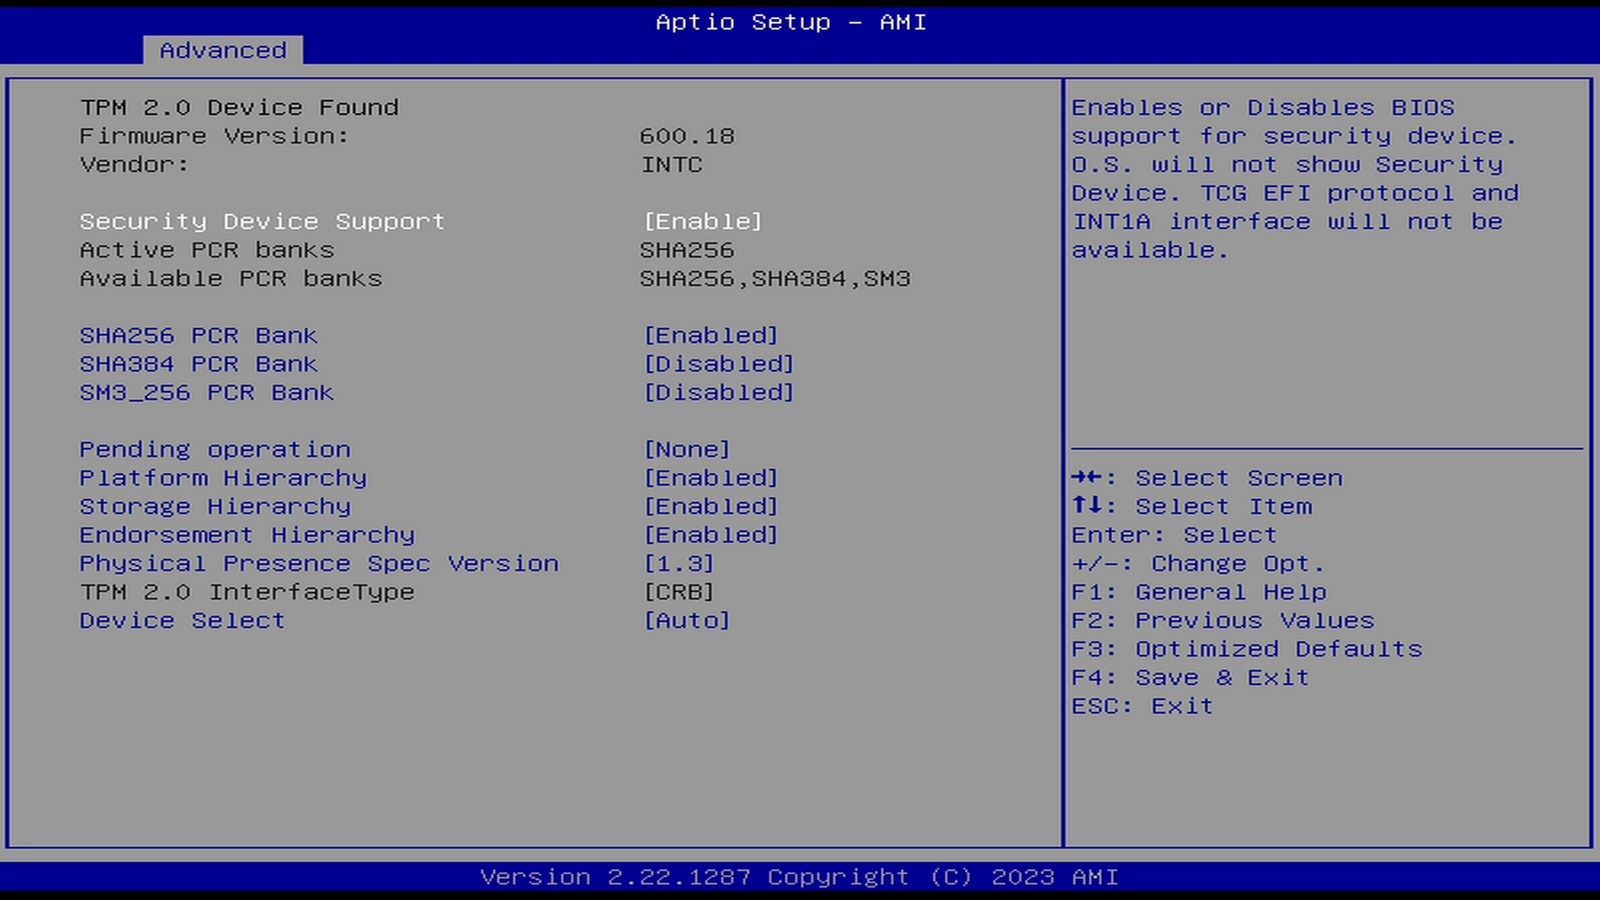
TPM is a part of the computer that stores security keys. On the G2 it is under Advanced, Trusted Computing, in the row called Security Device Support. Ours read Enable, and with Secure Boot off, the box installed and booted normally, so we left it on. If your installer won’t start with Secure Boot off, turn TPM off as well.
Boot the stick and answer the installer’s questions
Restart and press the boot menu key. Pick the row that starts with UEFI: and names your stick. The ISO opens on the installer, with “Press Return to Start Install” on the first screen. Return means the enter key.
The questions come in this order: language, keyboard layout, time zone, username, password, hostname. The time zone starts on a guess, and typing filters the list. The password field shows a hint before you type: “Used for user + root, and disk encryption when enabled.” So one password covers your login, the administrator account, and the disk.
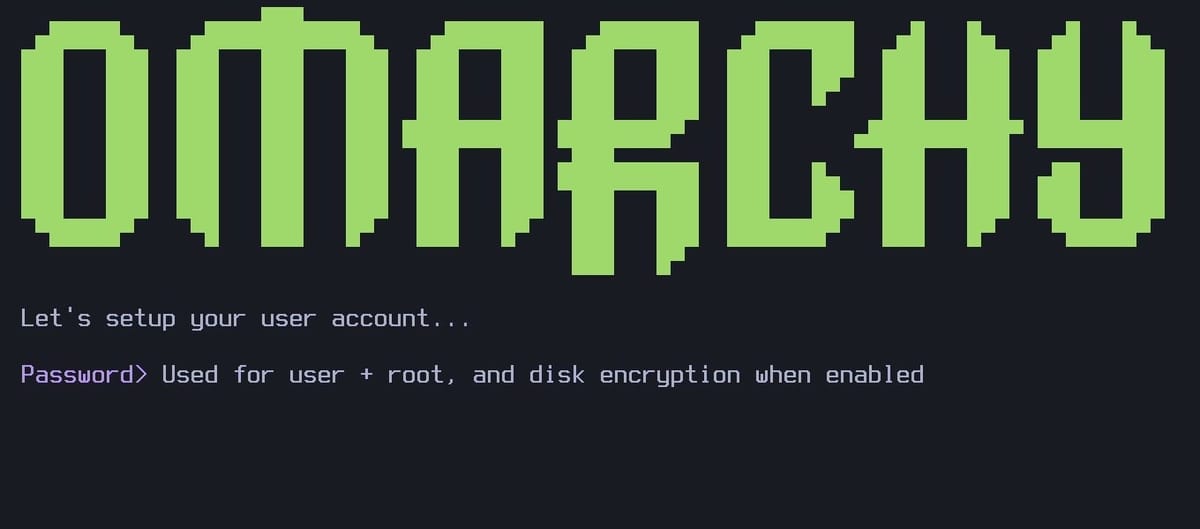
The hostname is this computer’s name on your network, and leaving it blank names it omarchy. A table of every answer comes next, with “Does this look right?” under it. Choosing “No, change it” lets you fix a typo before the installer touches a drive.
Pick the disk and the install mode
The disk list shows each drive’s device name, size, and model, plus the formats already on it. The installer leaves the USB stick off the list. If your box has two drives, or a Windows drive you want to keep, read the size and model before you press enter .
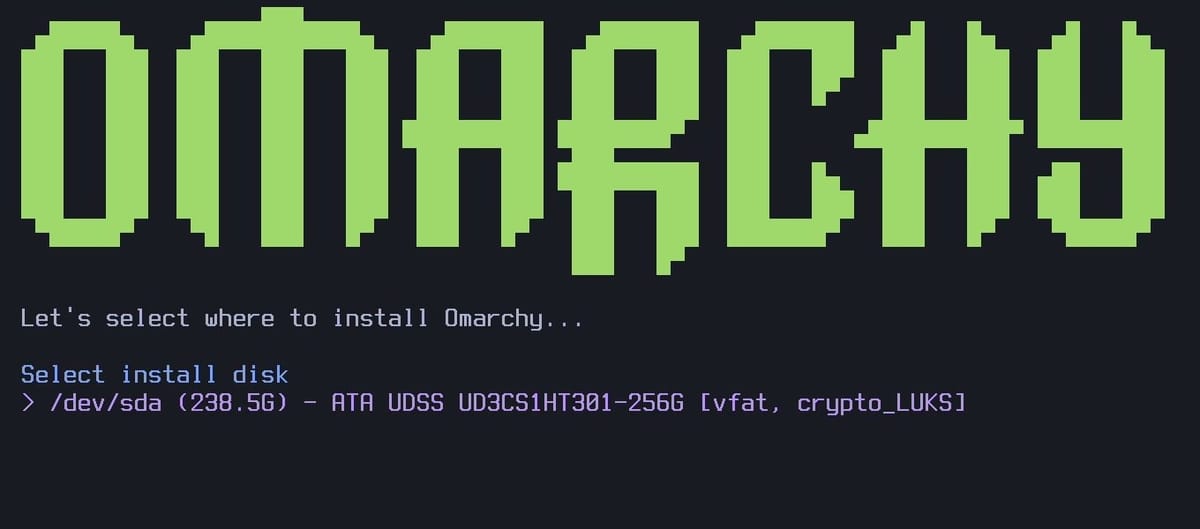
The next screen offers Full disk install, Free space install (alongside existing data), and Choose a different disk. esc goes back to the disk list.
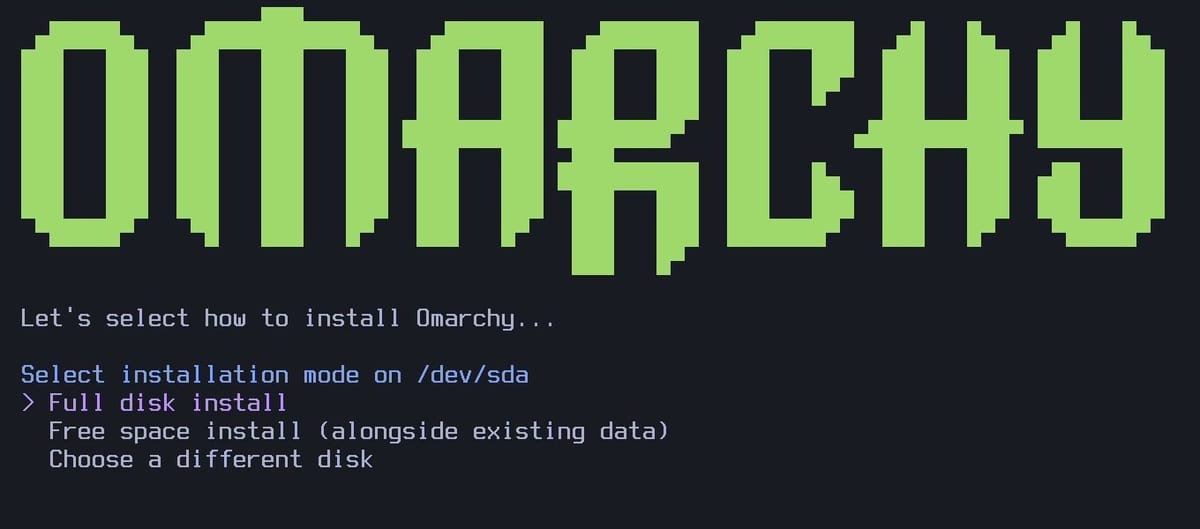
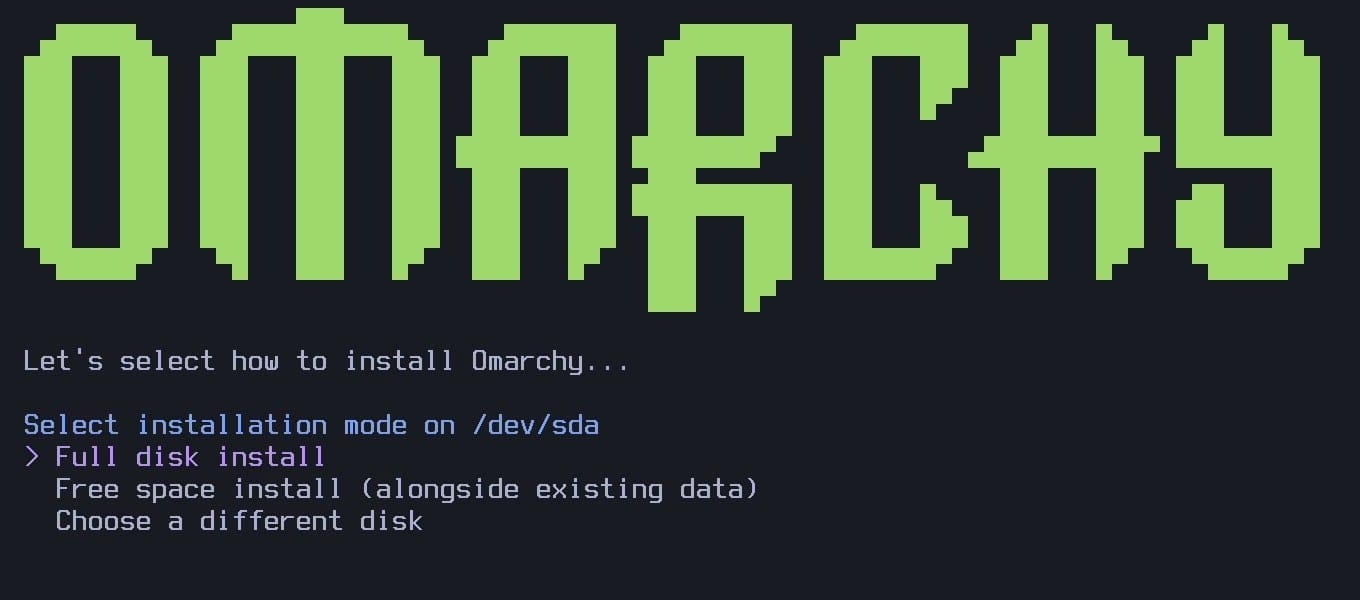
Free space install puts Omarchy in the unallocated space on the drive and leaves the rest alone. It needs at least 32 GB free. With less, the installer stops at “Not enough free space” and offers Back or Open partition tool. To make room beside Windows, the manual’s dual-boot page says to shrink the Windows partition with Shrink Volume in Disk Management. The same page says this mode doesn’t work with BitLocker, so turn BitLocker off in Windows first, under Settings, Privacy & Security, Device encryption. We installed with Full disk install, so we did not run a free space install to the end.
Choose encryption and run the install
After you choose Full disk install, the next screen warns: “Everything will be overwritten. There is no recovery possible.” Disk encryption, which scrambles the drive so only your password opens it, is on unless you change it. ctrl c switches the button to “Yes, install without encryption”, and a second ctrl c switches it back. With encryption on, you type the password at every start. To begin, press enter on the button, which reads “Yes, install” with encryption on.
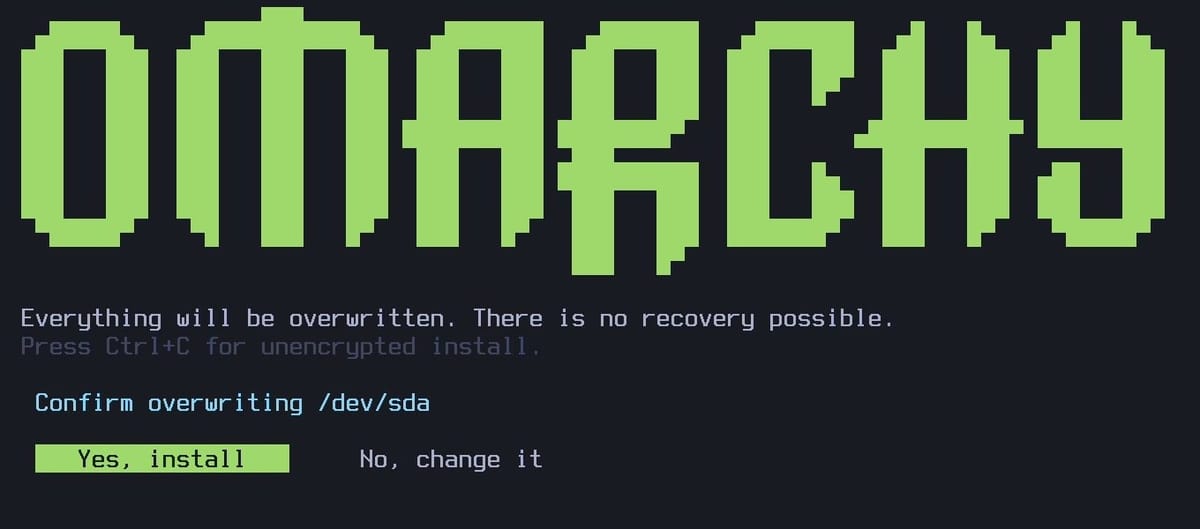
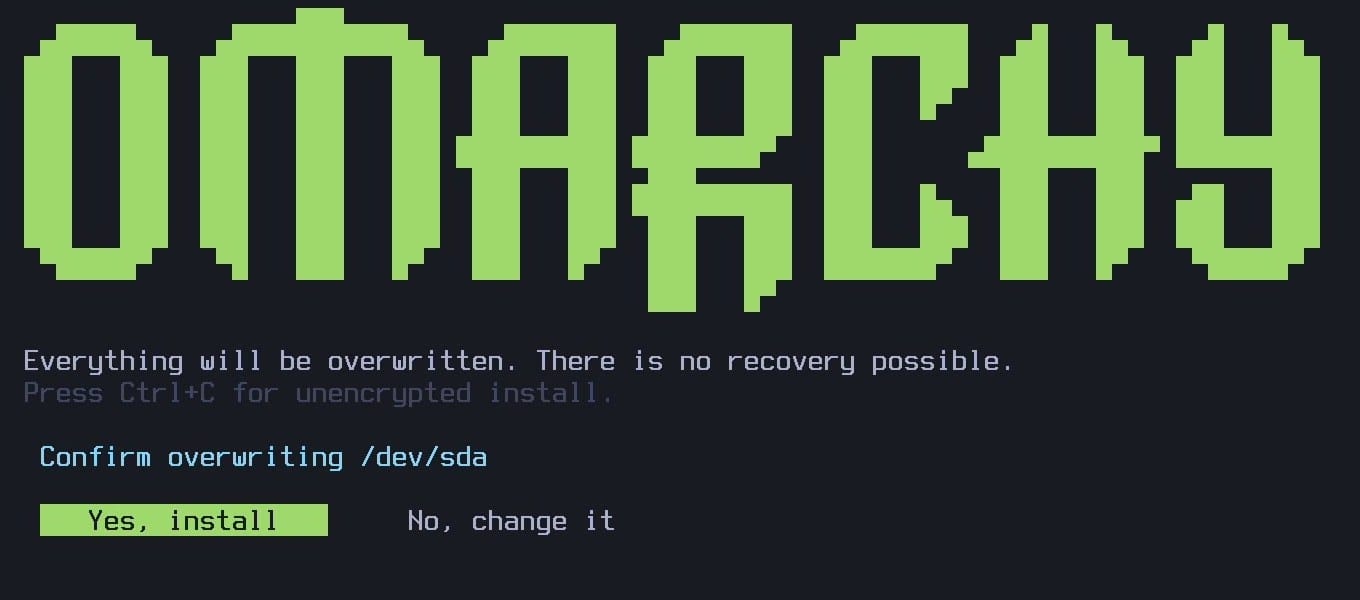
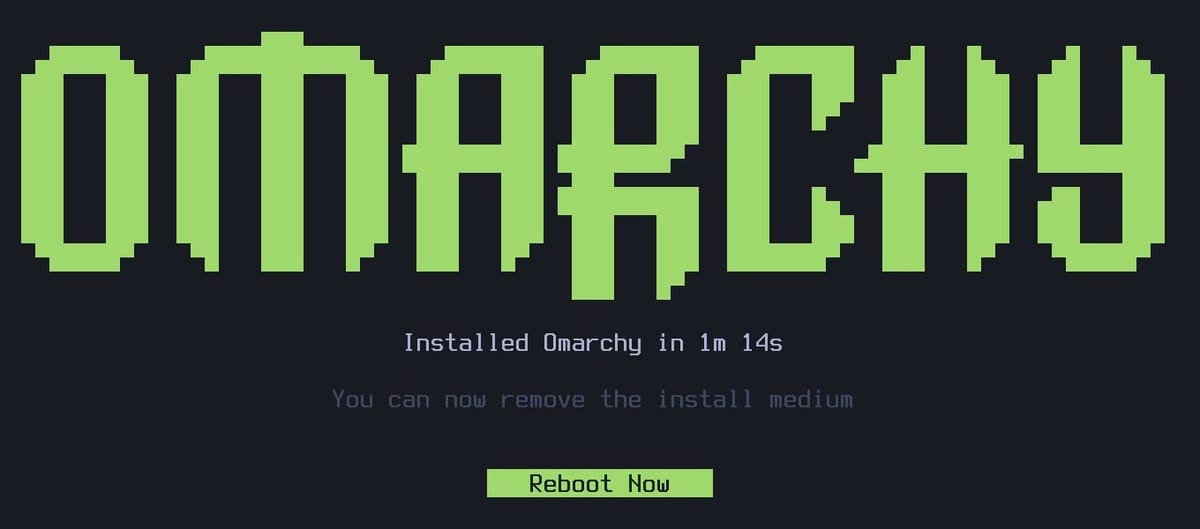
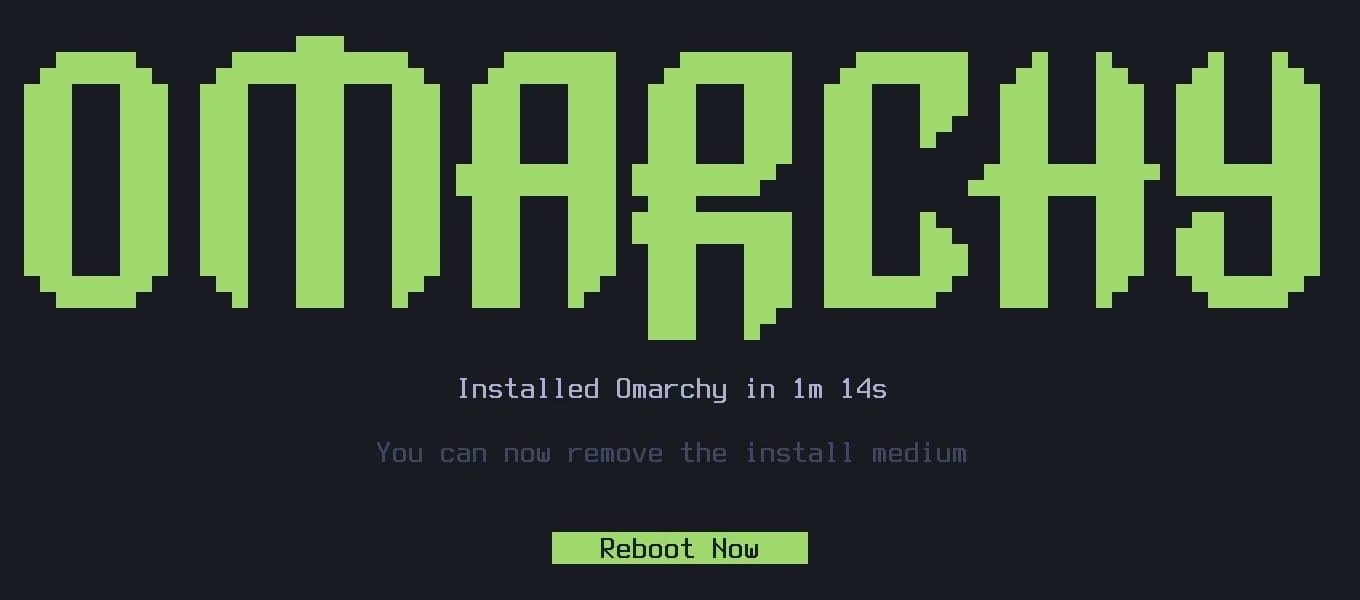
The install then runs on its own. The manual says under a minute on the fastest modern machines and no more than 5 minutes on an older computer. On this N100, our runs took between 54 seconds and 2 minutes 19 seconds. The finish screen reports the time and says you can remove the install medium, so pull the stick and choose Reboot Now.
Make the screen readable
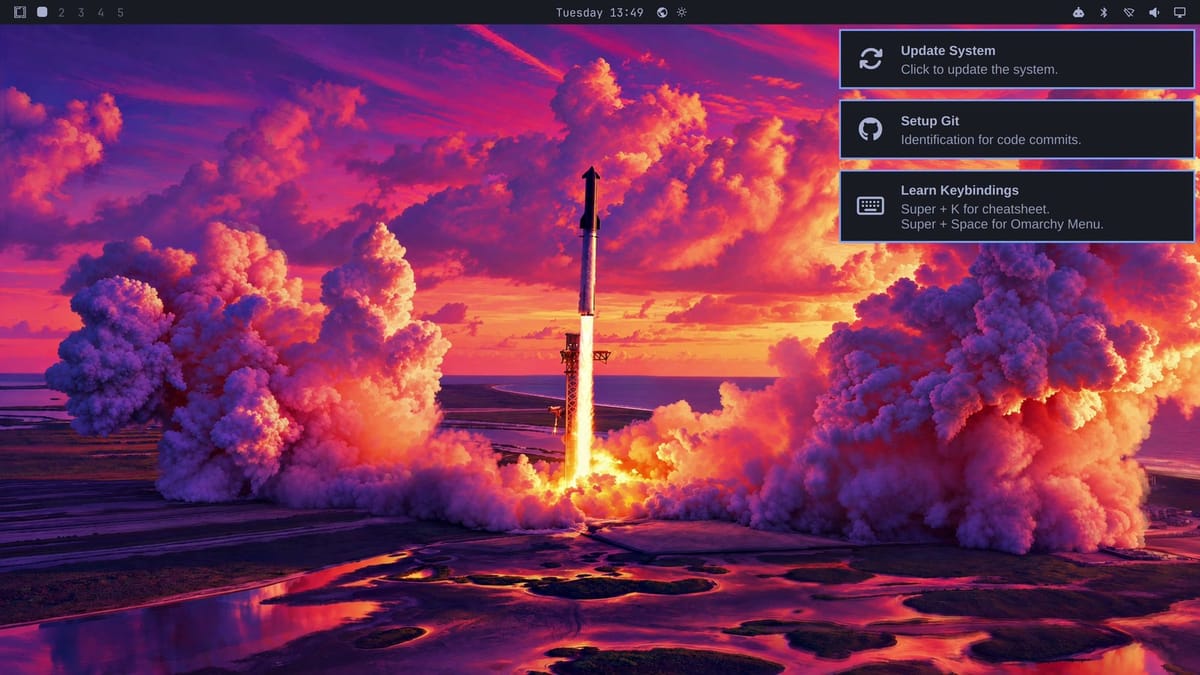
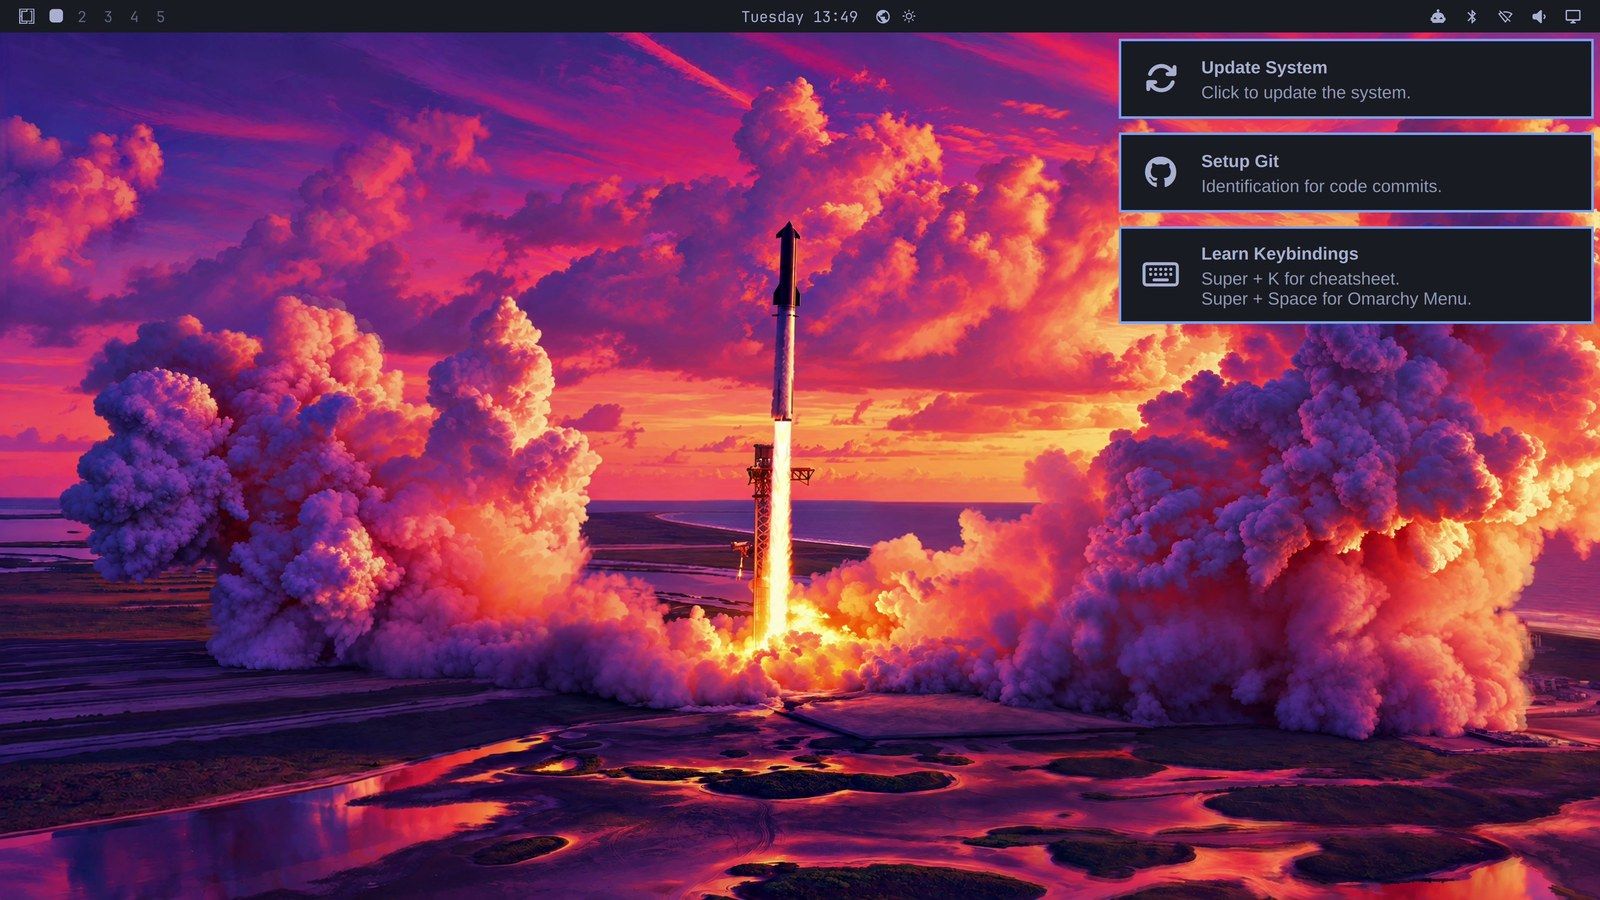
First boot stops at a password box. Your installer password opens the disk, and no second login follows. On a wired connection, three notification cards then appear at the top right: Update System, Setup Git, and Learn Keybindings. Each one stays until you act on it.
Omarchy picks a starting scale for each monitor. Ours started at 1 on the 4K screen, which left the top bar and cards very small.
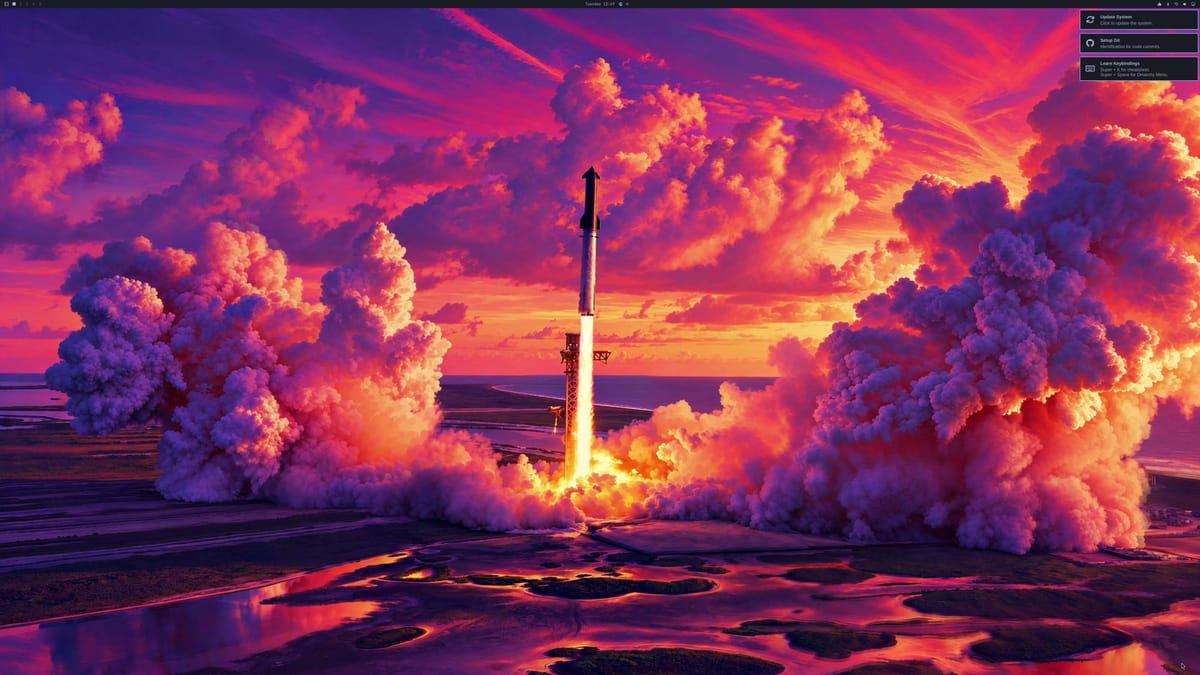
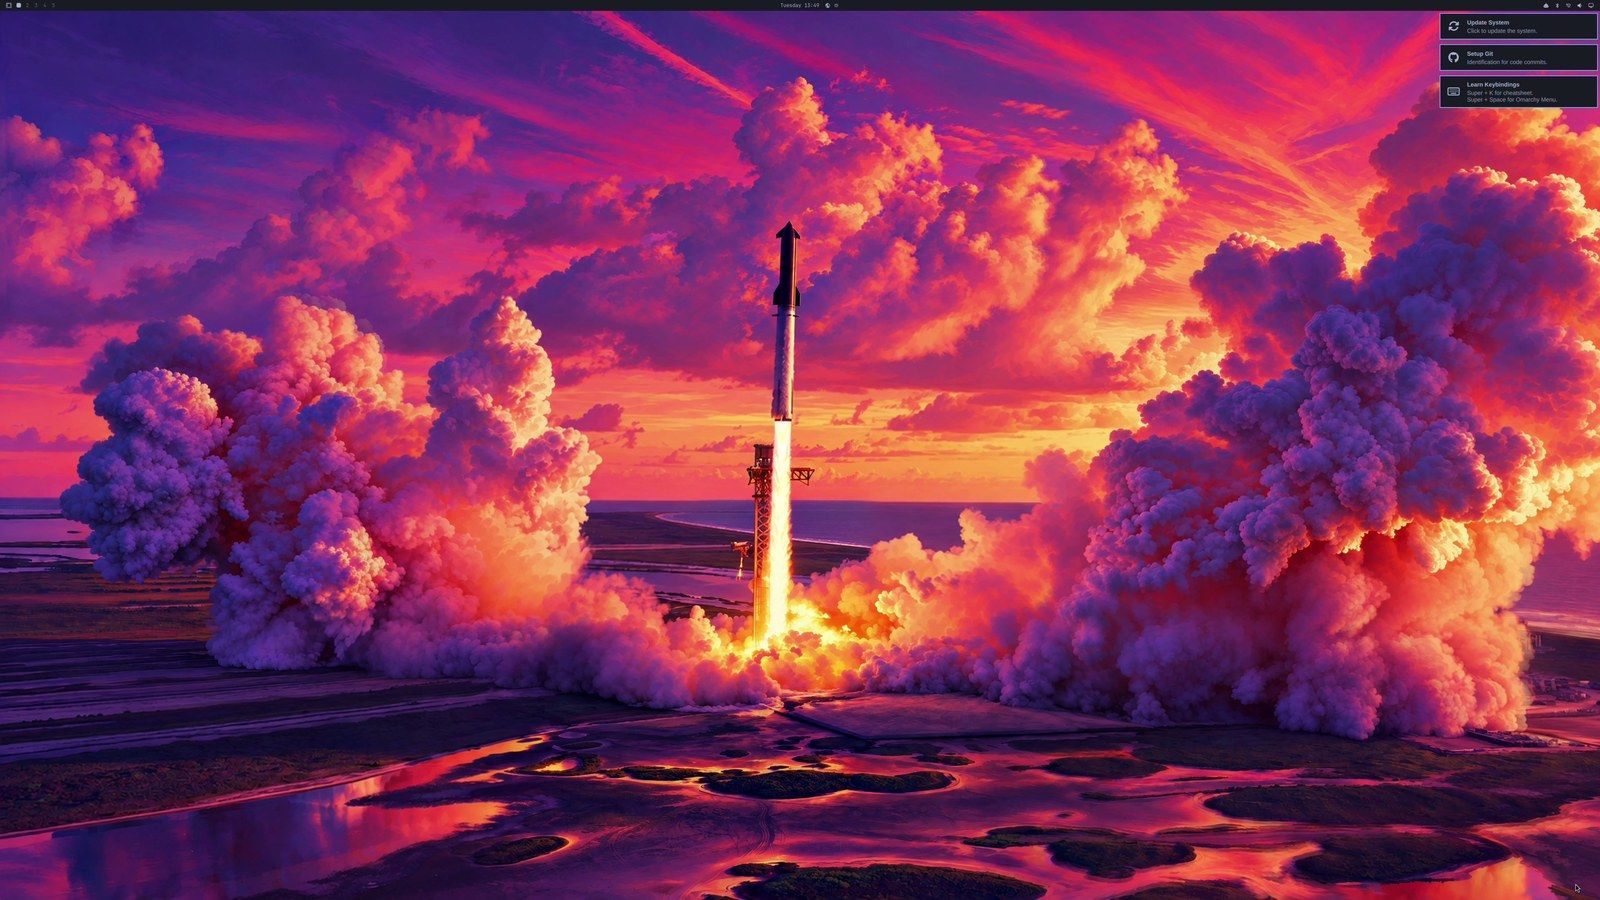
super / makes everything larger, one step at a time (Super is the Windows key on a PC keyboard). The steps are 1, 1.25, 1.6, 2, 3, and 4, and super alt / steps back down. The wallpaper goes black for about two seconds after each press, which is normal. The scale you pick stays after a reboot.
The terminal font is a separate setting. Its size is in the Foot terminal’s settings file, and the stock size is 9. Press super enter to open a terminal and run this line, which sets it to 18, the size we used. Any terminal you open afterward uses the new size:
sed -i 's/size=9/size=18/' ~/.config/foot/foot.iniOmarchy has no menu entry for this size. Changing the font from Appearance, Font runs omarchy-font-set, which rewrites that line back to size 9, so run the sed line again after a font change.
Size 18 is large at scale 3. A tiled terminal fits 85 characters across, and a floating one fits 59 across by 17 lines. The warning box at the start of the first update wraps and its top scrolls off. The About window, which lists the system’s details from the Omarchy menu, is clipped. The btop system monitor needs 80 characters by 24 lines, so it refuses to start in a floating window. Size 14 showed the whole warning box, and size 12 fit both the box and About.
Use 18 for the largest text, or 14 to see that warning box whole. That sed line only matches the stock 9, so to change a size you already set, name the old size:
sed -i 's/size=18/size=14/' ~/.config/foot/foot.iniSet up git
Git tracks changes in code, and it stamps each saved change with a name and an email. If you don’t write code, close the Setup Git card with its X, and it stays gone after a reboot.
To open the card from the keyboard, super ctrl , selects the cards. Move down to Setup Git with and press enter . The window asks for your full name and email address, then “Sign in to GitHub?”. That sign-in is optional. To skip it, press to move to No and press enter .
Find your way around
super k opens the list of keyboard shortcuts, and super space opens the Omarchy menu with the installs, updates, and settings. Typing filters both, and the first esc clears what you typed. Our guide to six shortcuts to learn first goes further.
super enter opens a terminal and super shift enter opens the browser beside it. super shift 2 moves a window to workspace 2 and follows it there. super w closes a window, and super ctrl t opens the theme picker.
super l doesn’t lock the screen on Omarchy 4.5. It cycles the workspace layout from tiling to scrolling, then to floating with a dock, and a third press returns to tiling. To lock, press super esc and choose Lock, the second row of the System menu.
Run the first update
The Update System card installs whatever has changed since the ISO was built. super , acts on the newest card, or use the card selection from the git step. Omarchy warns “You cannot stop the update once you start!” and asks you to stay on power, so keep the box plugged in.
The update asks for your password, and the terminal shows nothing as you type. Ours installed a new kernel and its headers, then asked to reboot because the kernel changed. A new card also appears during the update, Set your default agent, which picks the AI coding agent that helps with Omarchy. You can pick one or press esc to skip it for now.
Before changing anything, the update saved a snapshot of the system files. This command lists it:
sudo snapper list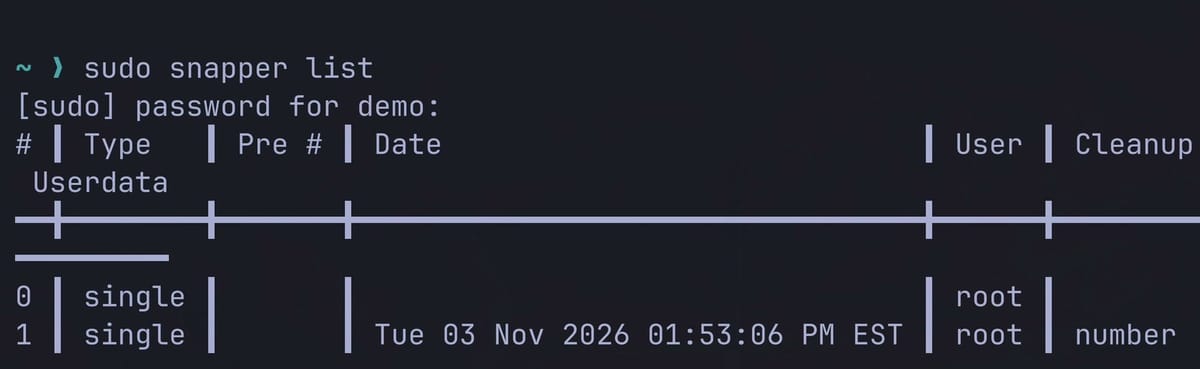
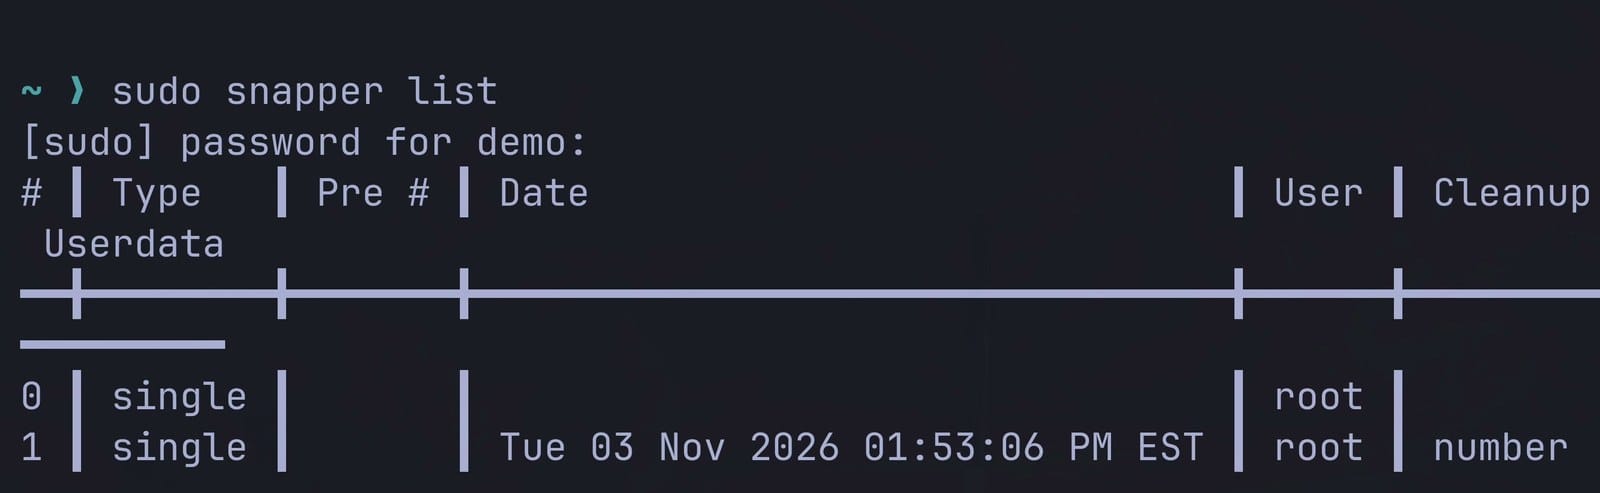
You can start the computer from that snapshot if an update breaks something, and our snapshot guide walks through it. A snapshot covers system files, not your home folder, so it won’t bring back your documents.
Compare your box on our chart
Our mini PC comparison chart lists all the mini PCs we track, and you can search and filter it. The results in this section are from November 3, 2026. They change as prices change, so expect different rows and counts.
The G2 has an Intel N100 with 12 GB of RAM, and the N100 is an entry-level chip. The chart shows each chip’s CPU Mark, PassMark’s speed score, where higher is faster. The N100 scores 5,305.
The search box at the top of the chart takes plain words. We typed “Faster than an Intel N100, with 12 GB of RAM or more, under $300” and it turned that into filters for price, RAM, and chip speed, with 10 matches.
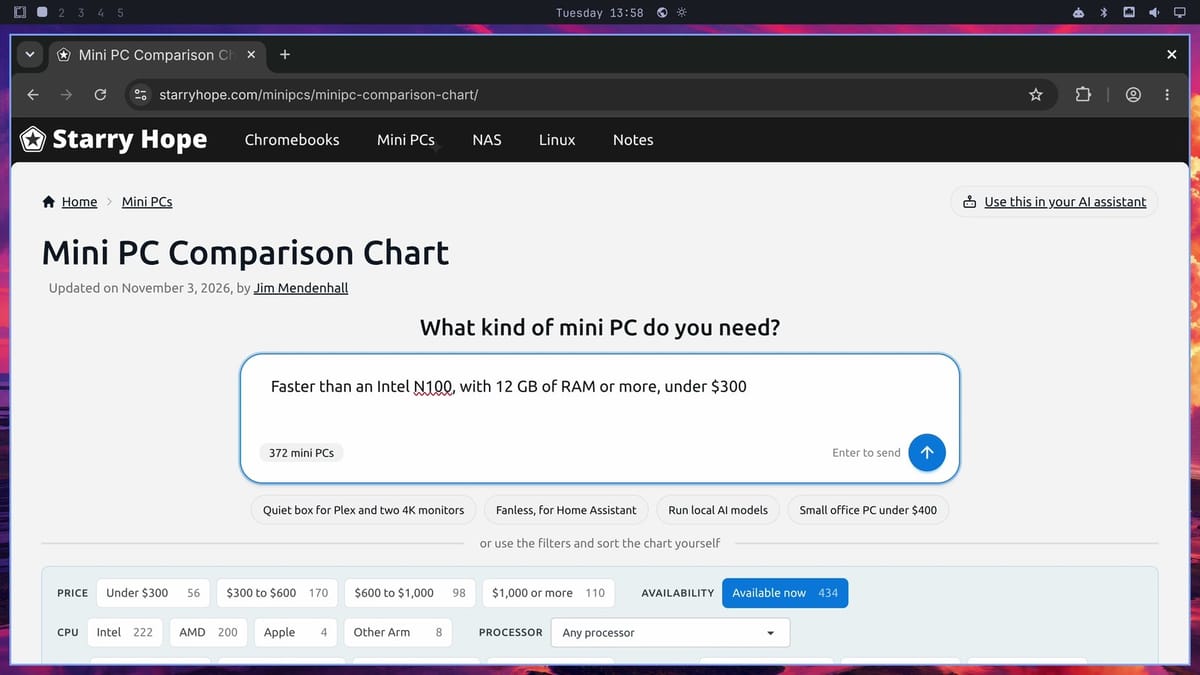
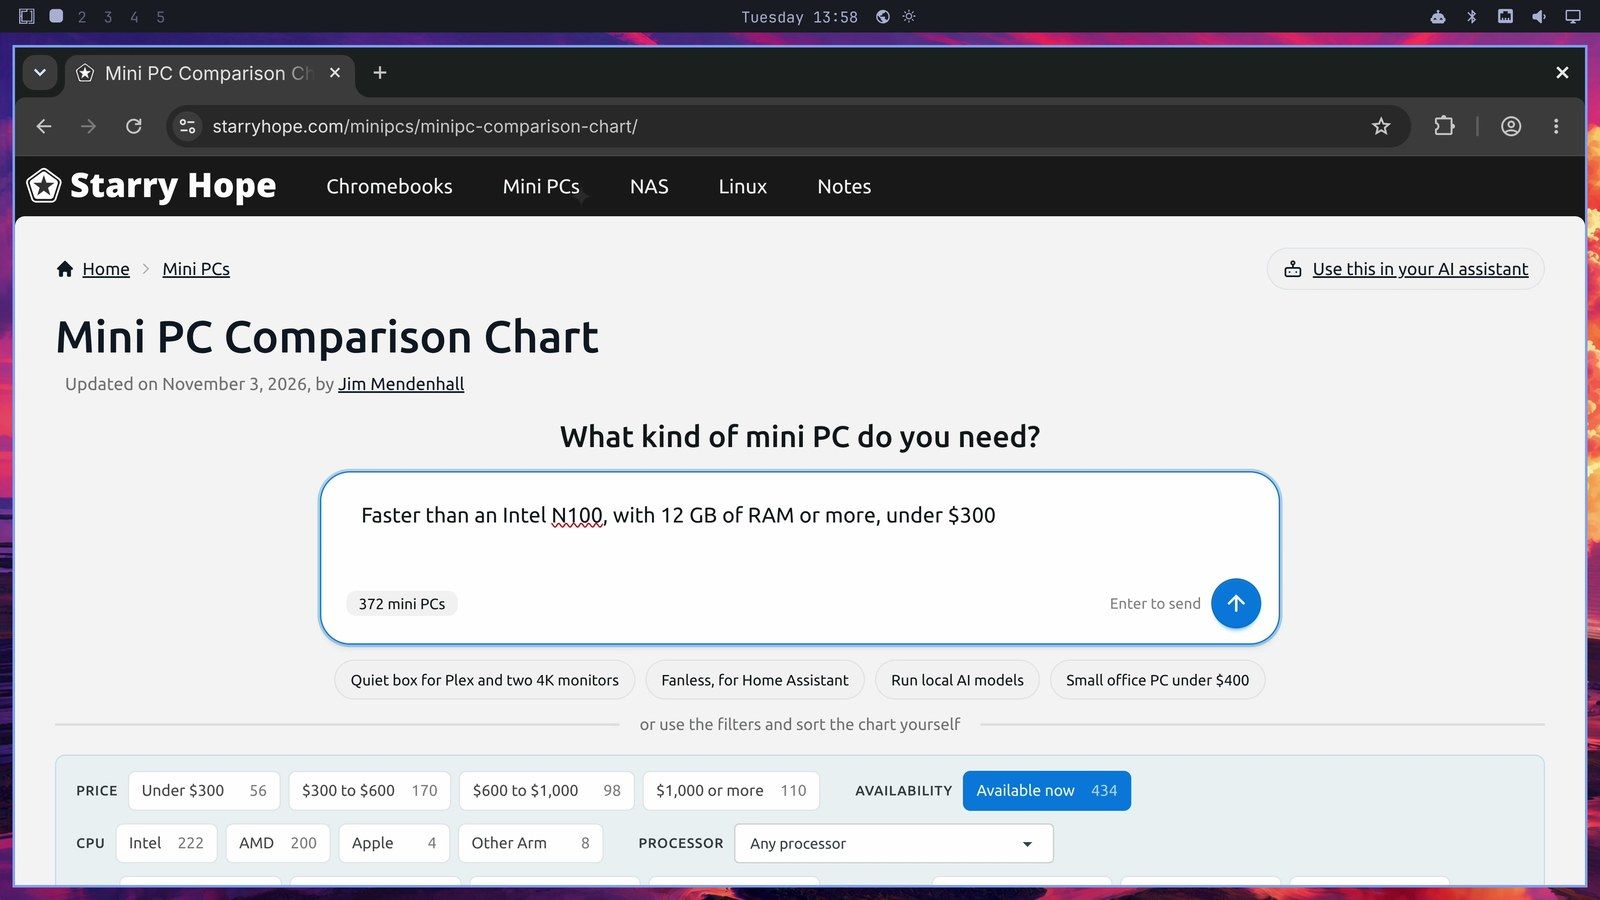
Under the search box, filter buttons cover price, RAM, ports, and more. Turn on Under $300, then click the Performance header to put the highest scores first. Performance is our own score, built from CPU Mark and RAM, and it leaves out graphics. The top row was marked Barebone, so it ships with no RAM or drive and its price leaves those out. The first row with RAM and a drive was the Beelink SER5 MAX, whose Ryzen 7 5800H scores 21,131, about four times the N100. Check the chart before you buy, because chips faster than the N100 show up at this budget.
OCuLink is a port for connecting an external graphics card, and its button shows only the mini PCs that have one. Fanless shows only mini PCs with no fan. The buttons also work together: 2.5 GbE or faster (a wired network speed) plus 16 GB or more of RAM keeps only the mini PCs with both. Plain words work for these too, and asking for a mini PC with OCuLink under $800 found 11 matches.
To see two boxes side by side, press + Compare on a row. The bar at the bottom reads “1 of 4 selected”, and Compare selected stays off until you pick a second. Press it to open an overlay with price, Performance rating, operating system, processor, and more for each box. esc or the X closes it.
To rank by value, the Price-Performance Index lists mini PCs by CPU Mark per dollar, in price bands.
Troubleshooting
The installer won’t start from the stick. Try another stick, a slower one if you have it, plugged directly into the box. Then try writing it with Raspberry Pi Imager. Check Secure Boot again, and turn TPM off if it is still on.
The start fails because the installer can’t read the stick. An open issue from ThinkPad and Legion owners reports this right after GRUB, the small program on the stick that starts Linux, has done its job. Their workaround is to unplug the stick just after GRUB hands over to Linux and plug it back in while Linux is still looking for its boot device. The issue gives no on-screen cue for that moment, so it may take more than one try, and one owner says the boot then ended on a black screen.
The install stops with an “invalid or corrupted package” error. The ISO is probably damaged. Download it again, and check the fingerprint before you write the stick.
The monitor loses its signal when you leave the box alone. The screensaver starts at about 150 seconds with no input. At about 300 seconds the session locks and the display turns off, so a monitor may report no signal. Any key wakes it to an “Enter Password” box, which goes dark again in about five seconds unless you start typing. Our box came back normally after 30 minutes idle at 4K over HDMI.
Wrapping Up
This N100 drove a 4K screen at 60 Hz, at scale 3. Windows and web pages opened with no stutter in what we recorded. The chip’s hottest reading was 90 degrees Celsius during the update, and it settled back to about 50.
Compiling large projects calls for a faster chip, and big new games call for stronger graphics. Our Omarchy hardware guide names four mini PCs, from the Beelink EQ mini to the GMKtec EVO-X2, and the comparison chart lists the chip and graphics for every box.
If you run Omarchy on a mini PC, tell us in the comments on our video of this install which one you have and how it’s been going.


