
The Antigravity CLI is Google’s AI coding agent for the terminal. Its command is agy. You type what you want in plain words, it writes a plan, and it asks before it runs a command or creates a file. Google’s free plan includes the CLI, with a usage limit that refreshes every week.
There is no ChromeOS app for it. The CLI runs in the Chromebook’s Linux environment, the Debian system that ChromeOS runs next to your other apps. This guide installs agy, signs it in with a Google account, and has it plan and build a small web app that opens in Chrome.
If you would rather not use Linux at all, Google AI Studio builds apps from a prompt in the browser. For a second terminal agent, our guide to Claude Code on a Chromebook follows the same pattern with Anthropic’s tool.
What You Need
Linux turned on. Linux is off by default, and it is not available on every Chromebook. Some older models do not support it, and on a Chromebook from school or work, the administrator can block it. To check yours, open Settings, click About ChromeOS, and look for Linux development environment under Developers. If the row shows a Set up button, Linux is off. Turn it on with our guide to installing Linux on a Chromebook, or follow the video version on YouTube.
A 64-bit Chromebook. The installer has builds for 64-bit Intel and AMD chips and for 64-bit ARM. On anything else, it stops with an “Unsupported architecture” message.
A personal Google account. Google’s Antigravity FAQ says the product is “available for personal Google Accounts in approved geographies,” and it is not available to anyone under 18. A Google Workspace account (a work or school address) can fail the sign-in check; the Troubleshooting section below has the fix. Google’s plans page lists the CLI for every plan. The free plan gets “a meaningful quota, refreshed weekly.” Google AI Pro and Ultra refresh every five hours, and Pro also has a weekly limit.
About 250 MB of Linux disk space. The agy program itself was about 212 MB on our Chromebook, and its settings and conversation folder grew to about 19 MB after one project. If Linux is short on room, open Settings, click About ChromeOS, click Linux development environment, and click Change next to Disk size. If the Chromebook itself is low on space, our guide to freeing up space on a Chromebook shows where it went.
Install the Antigravity CLI
Open the launcher, type terminal, and press enter . The Terminal app opens on its start page. Click penguin, the name of the Linux container, to get a Linux prompt. If you do not see penguin, Linux is not on yet (see What You Need).
Run the install command from Google’s Antigravity quickstart:
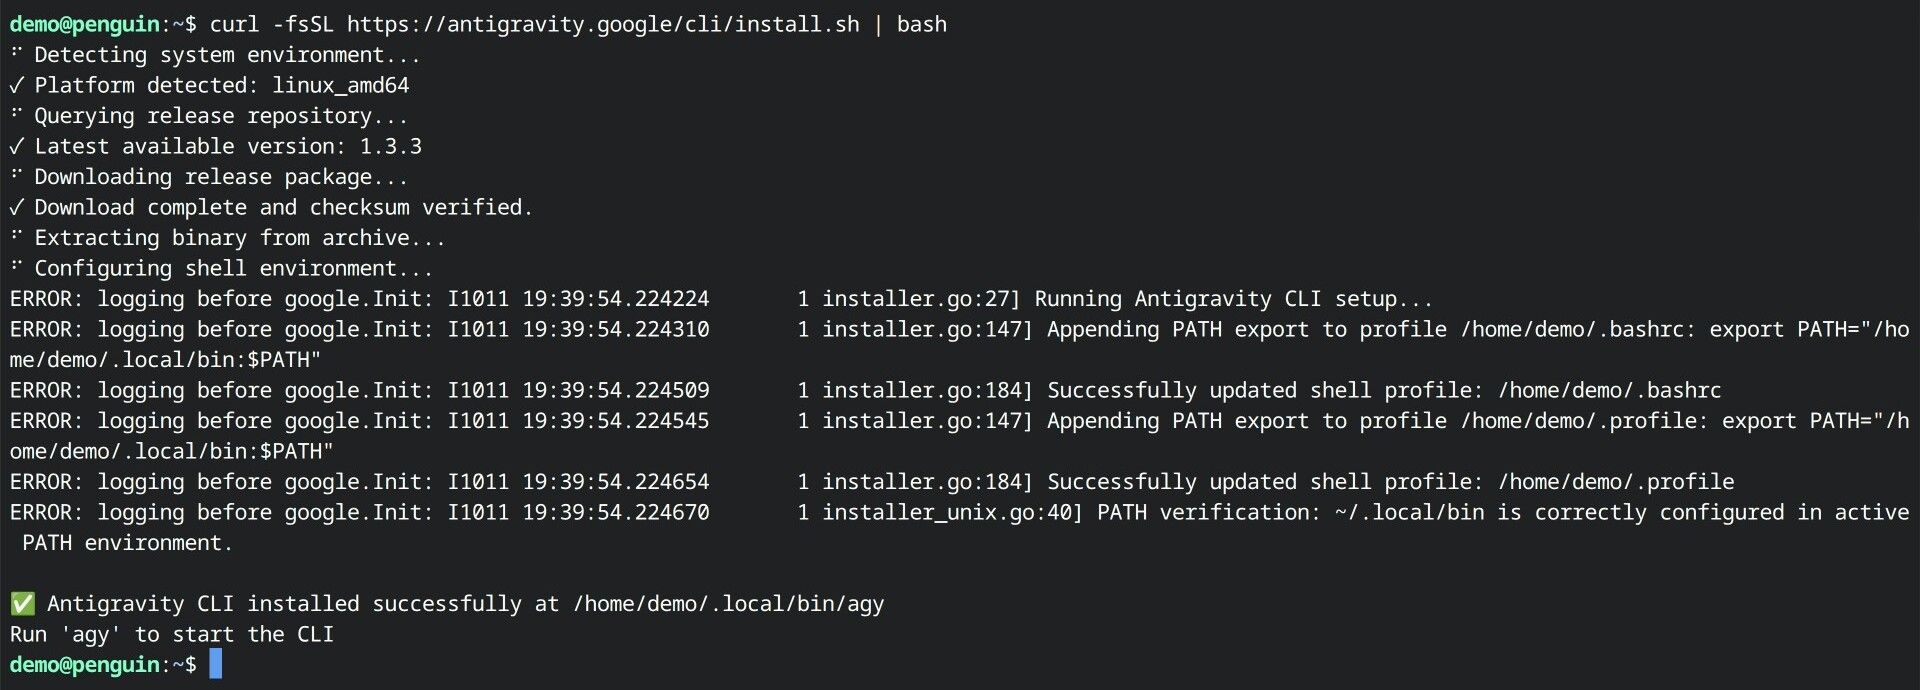
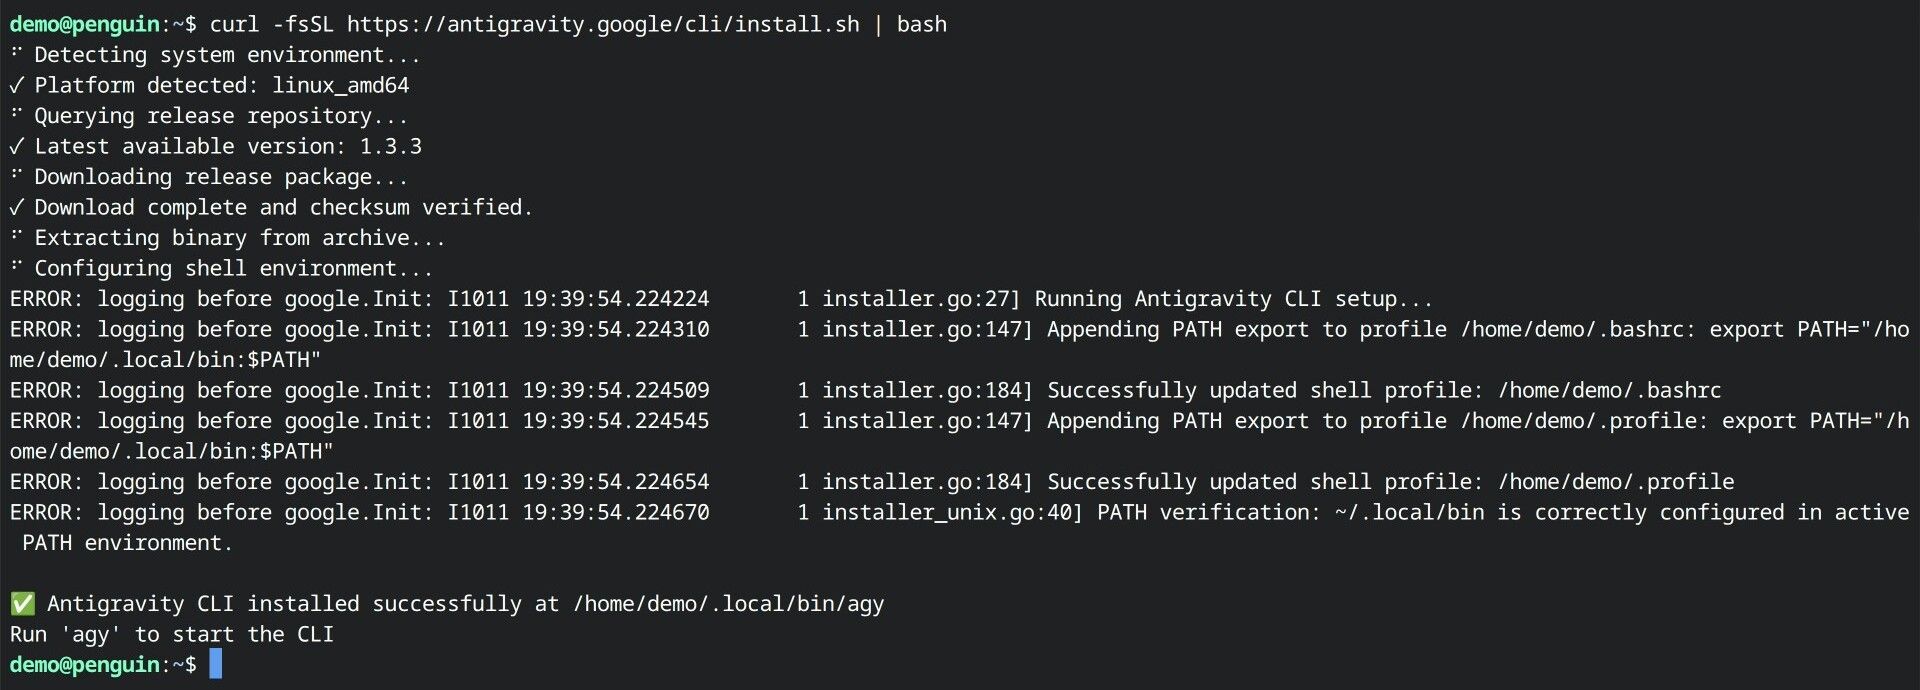
curl -fsSL https://antigravity.google/cli/install.sh | bashThe installer detects the Chromebook’s platform (linux_amd64 on an Intel or AMD model), downloads the latest version, and checks the download against a checksum. The install took about 3 seconds in our test. It puts the program in ~/.local/bin/agy and adds that folder to your PATH in ~/.bashrc and ~/.profile.
Six lines in the output start with ERROR: logging before google.Init. Despite the label, these are setup messages that report the PATH lines the installer added. The install finished when you see “Antigravity CLI installed successfully” and “Run ‘agy’ to start the CLI”.
Check the install:
agy --versionIt prints the version number (1.4.2 on our Chromebook in October 2026). If the terminal answers agy: command not found, this Terminal tab started before the installer changed your PATH. Load the new setting, or open a new tab:
source ~/.bashrcMake a Project Folder and Sign In
The agent works on the files in the folder you start it from, so give each project its own folder. This one is for the fractal app built later in this guide:
mkdir fractals && cd fractals
agy
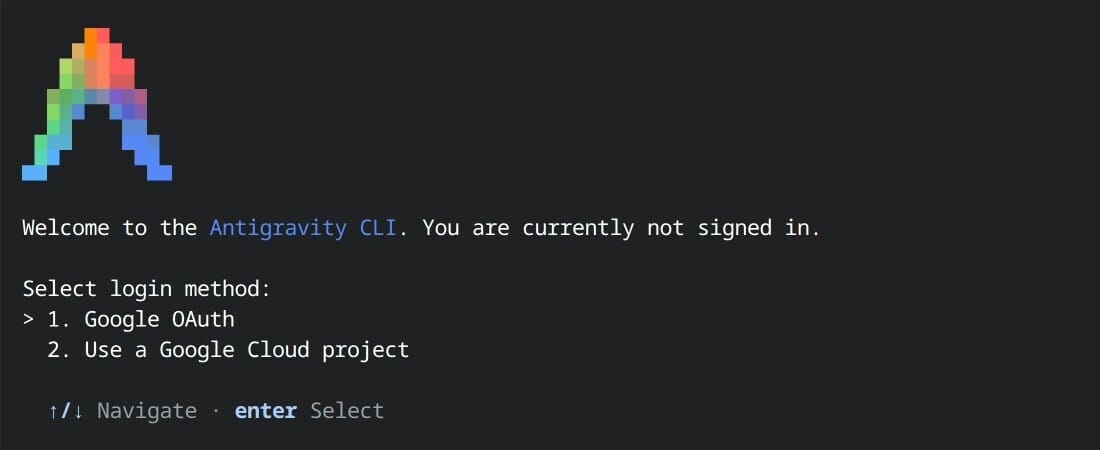
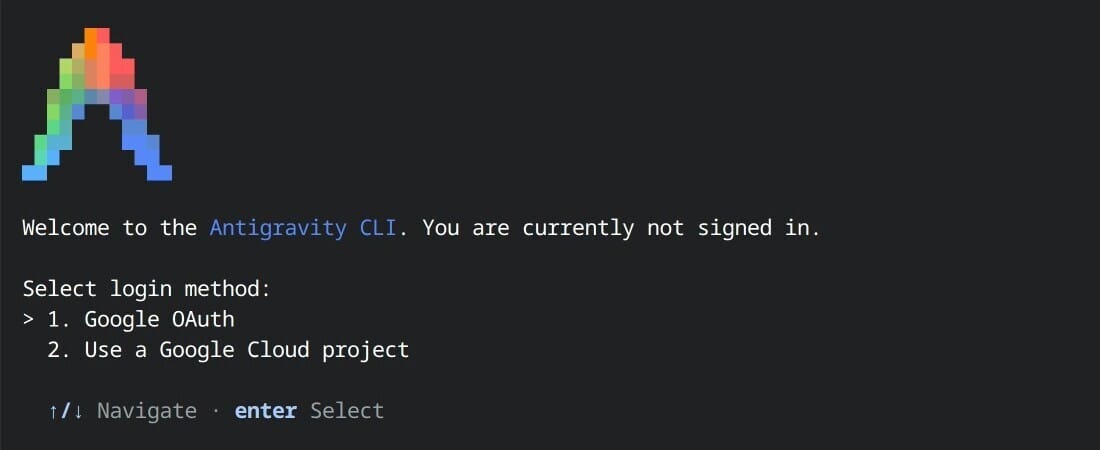
The first run says you are not signed in and asks for a login method. Google OAuth signs in with a Google account. Use a Google Cloud project is for business accounts that pay through Google Cloud or a Gemini Enterprise license. Press enter on Google OAuth.
Chrome opens a “Choose an account to continue to Google Antigravity” page. Pick your account. The next page is titled “Make sure that you downloaded this app from Google.” You installed the CLI from Google’s own address, so click Sign in.
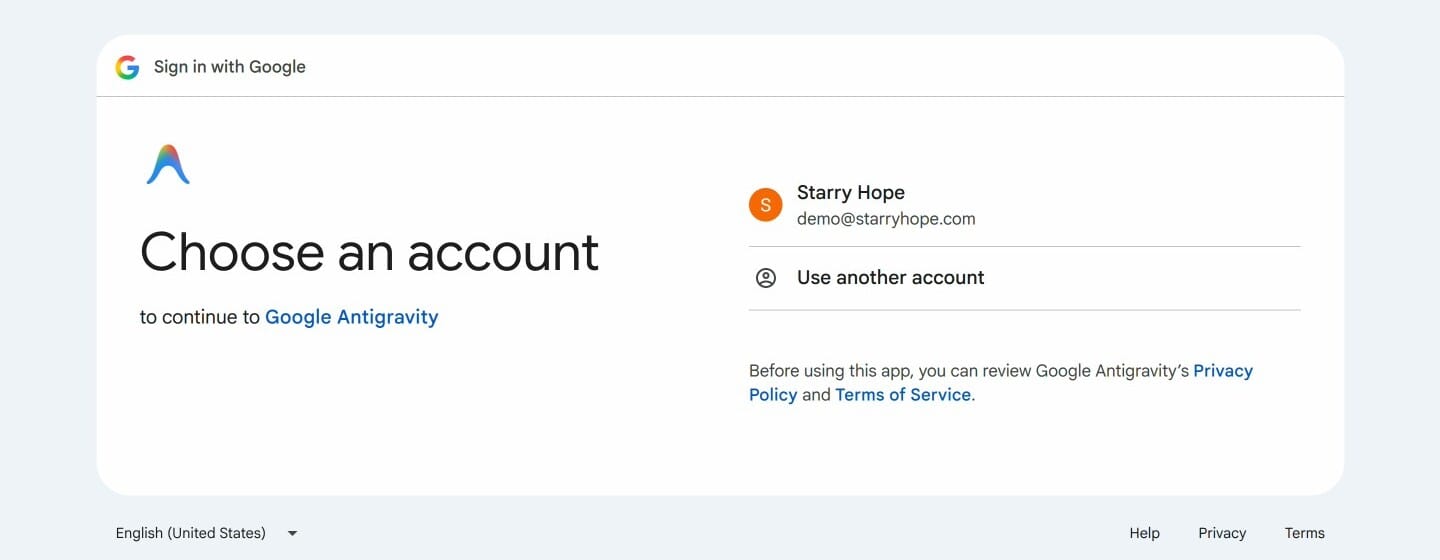
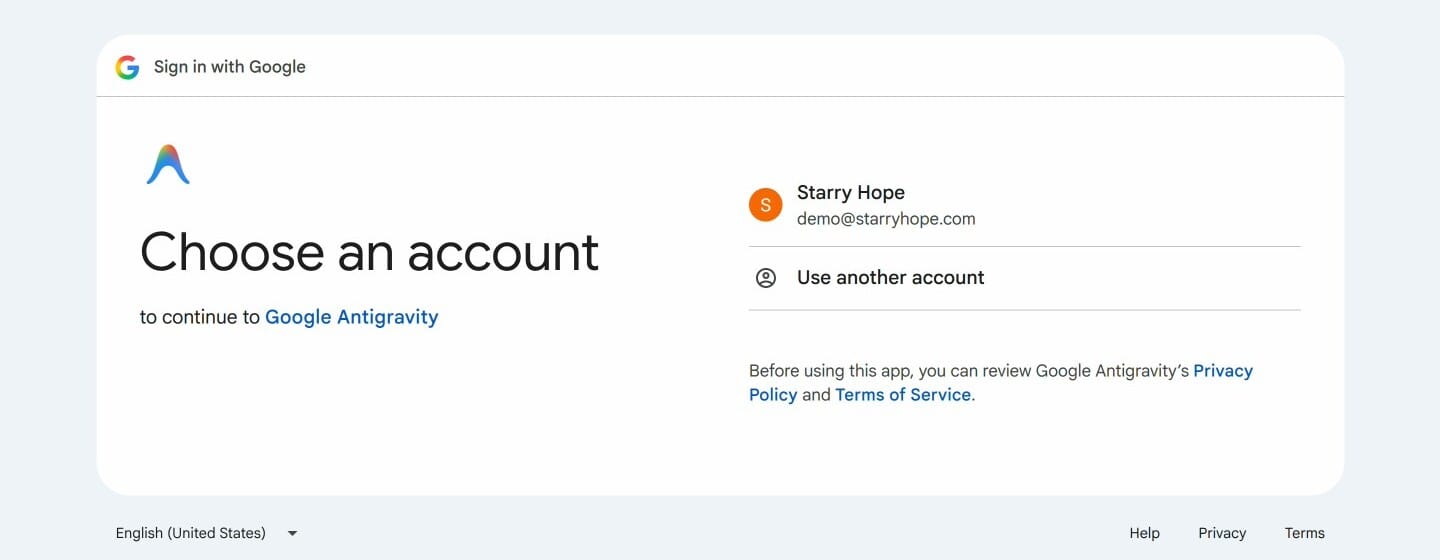
Google then shows a page that says “Paste this code into your application to complete authentication,” with a one-time code and a Copy to Clipboard button. Click the button and switch back to the Terminal. At the “paste the authorization code below” prompt, press ctrl shift v to paste, then enter . Treat the code like a password and do not share it.
The terminal also prints the full sign-in address. If Chrome did not open, copy that address into Chrome yourself. You can also open it on another device, sign in there, and type the code back into the terminal.
Finish the First-Run Setup
Three short screens follow the sign-in. Move with the arrow keys and press enter to choose.
Color scheme. The list has terminal, light, dark, solarized, colorblind-friendly, and tokyo night themes, with a preview box next to it. terminal keeps the colors your Terminal window already uses.
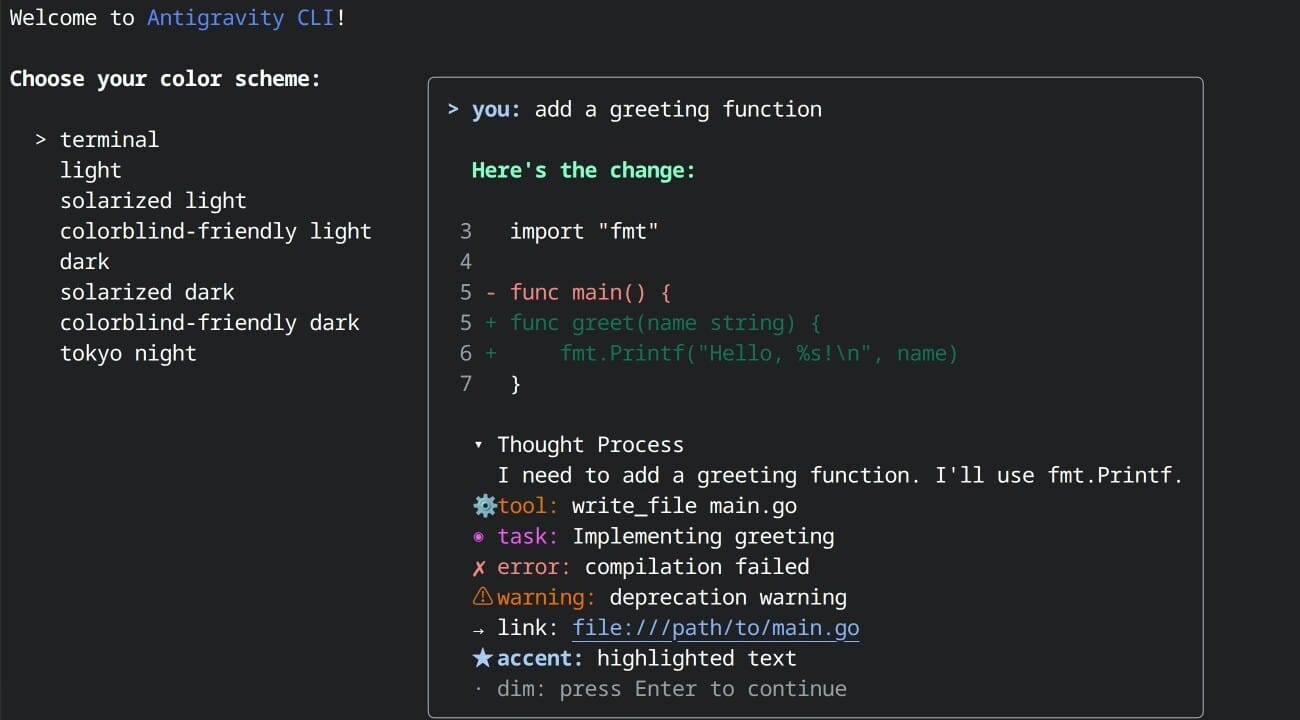
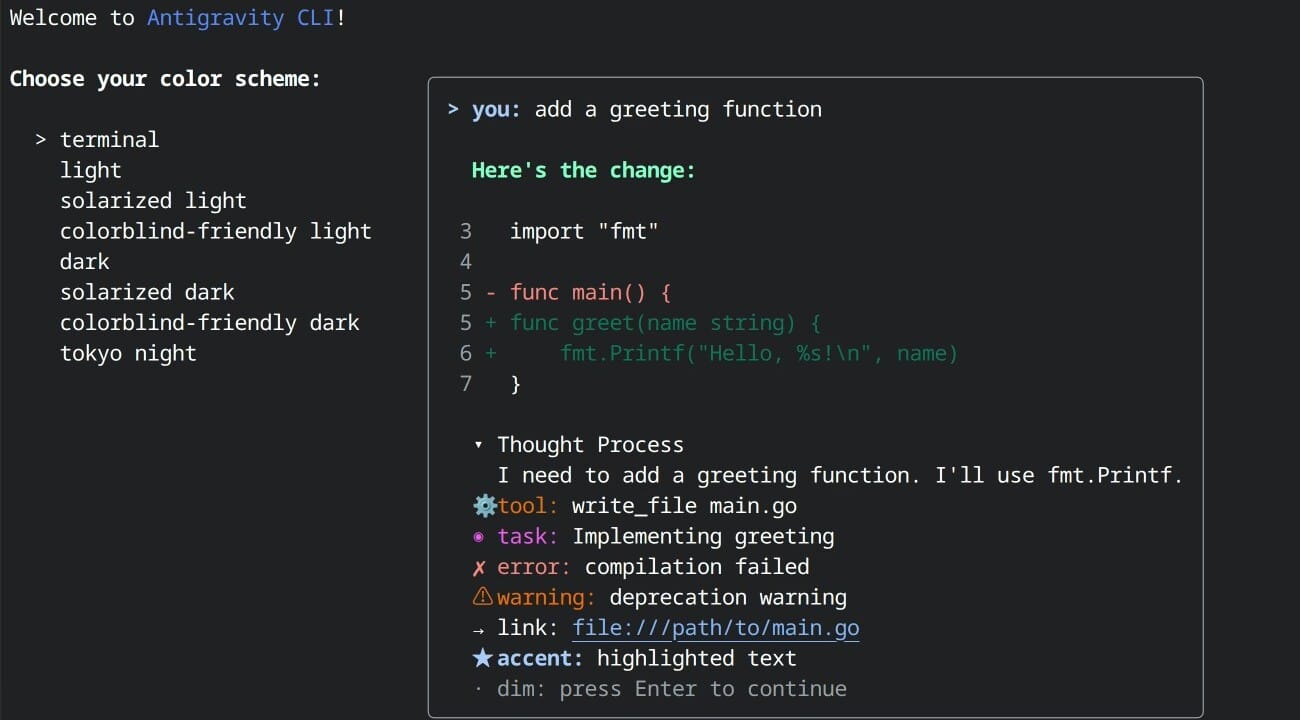
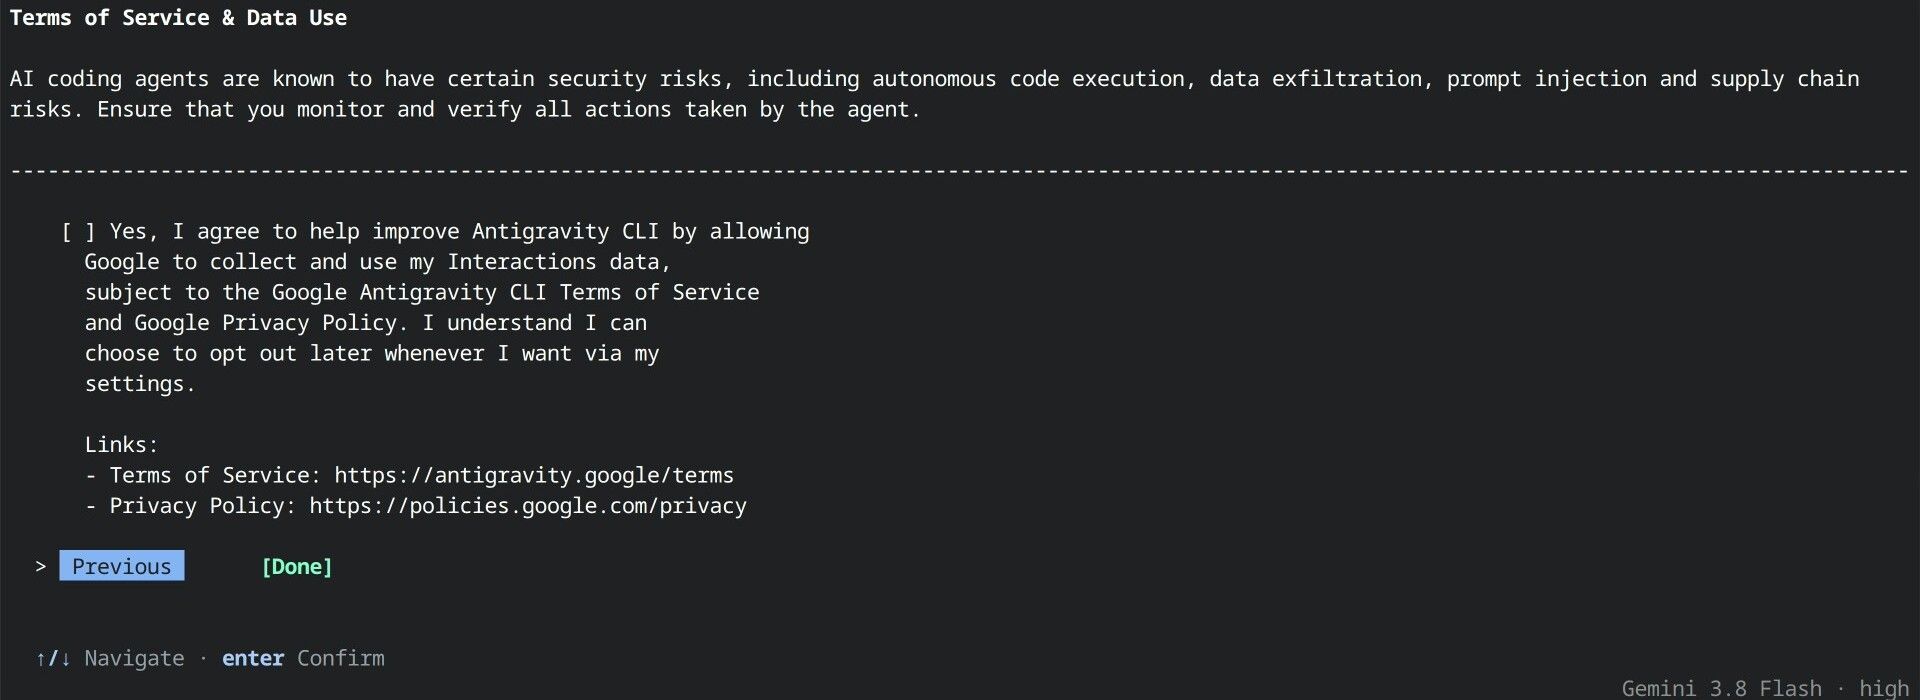
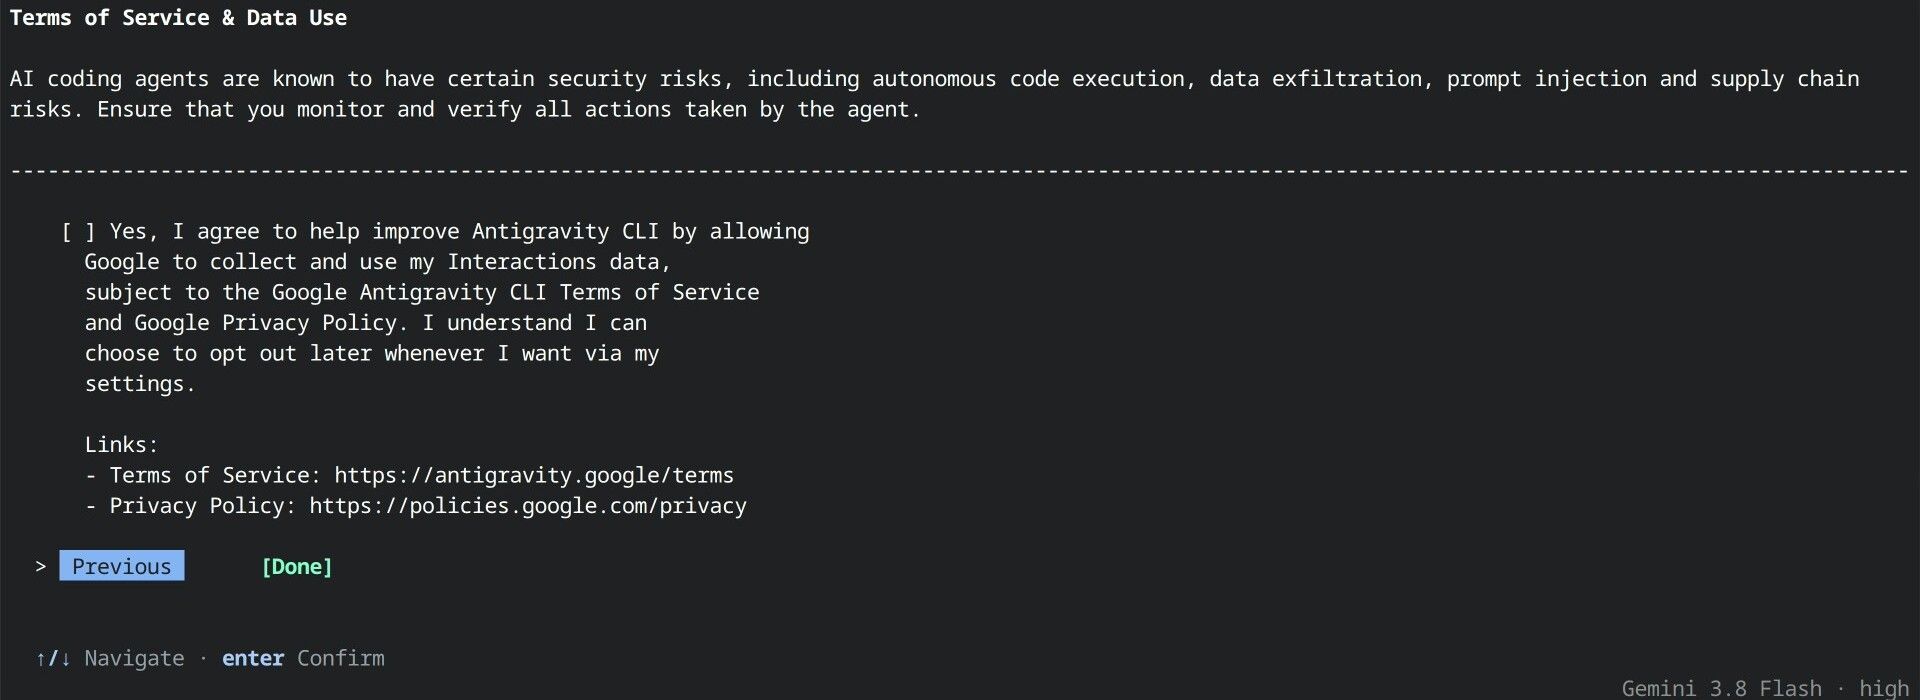
Terms of Service & Data Use. This screen warns that AI coding agents carry security risks, such as running code on their own and prompt injection, and asks you to check what the agent does. Below that is a box that starts with “Yes, I agree to help improve Antigravity CLI by allowing Google to collect and use my Interactions data,” followed by links to the terms and the privacy policy. The box is ticked at the start. Press enter on it to untick it if you do not want to share that data, then move to Done and press enter . The screen says you can change the choice later in the settings.
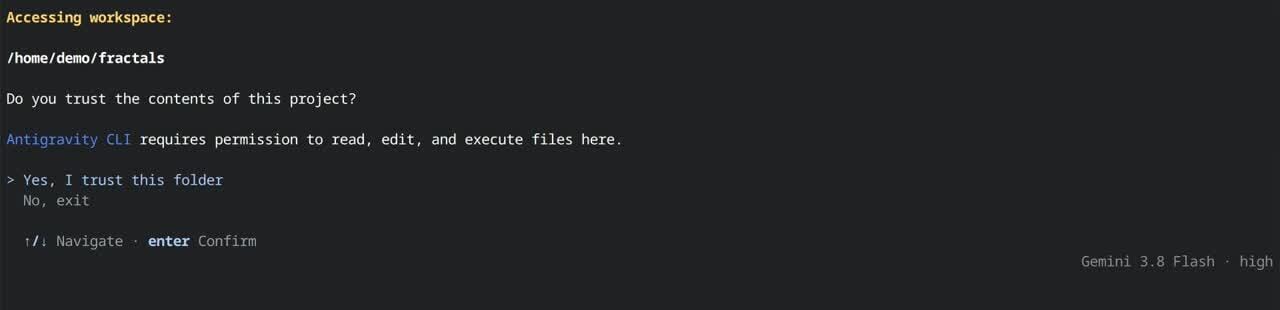
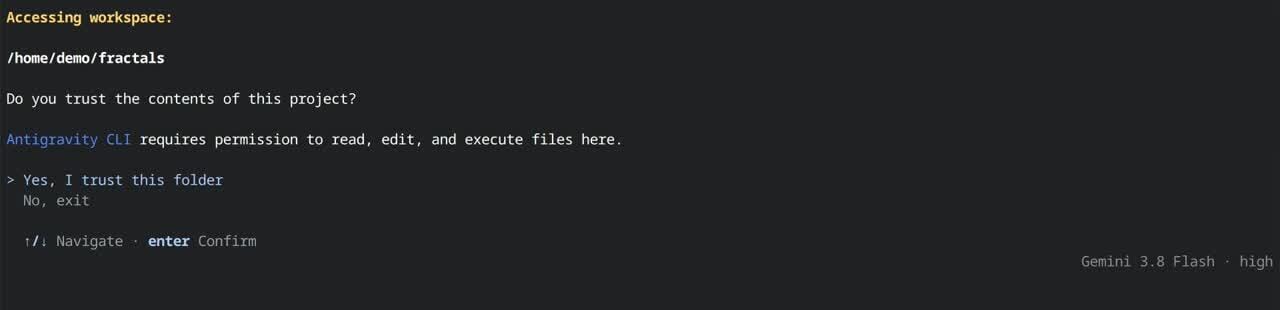
Workspace trust. The CLI shows the folder path and asks “Do you trust the contents of this project?” It needs permission to read, edit, and run files there. This is the empty folder you made a moment ago, so choose Yes, I trust this folder.
Google’s quickstart also lists a rendering mode screen (Alt-Screen, which takes over the whole window, or Inline, which keeps the output in the terminal history). Version 1.4.2 did not show it on our Chromebook. If your version shows it, either choice works.
The main screen opens with a header: the CLI version, your account, the model, and the folder. On the free plan, the account line ends with “(Antigravity Starter Quota)”. If a notice about verbosity appears, press esc to close it.
Give It a First Task in Plan Mode
Plan mode makes the agent research and write a plan before it changes anything. Type / to open the command menu, type plan, and press tab to complete it. The menu describes it as “Plan carefully before executing a task.” Type the task on the same line. This is the request we used:
Build a Mandelbrot fractal explorer that runs in Chrome. Click to zoom in, right-click to zoom out, and add a menu to switch color palettes. Use plain HTML and JavaScript, and serve it with Python on port 8000.It needs nothing beyond what Chromebook Linux already has: our Linux container came with Python 3, and Chrome opens pages that Linux serves on localhost.
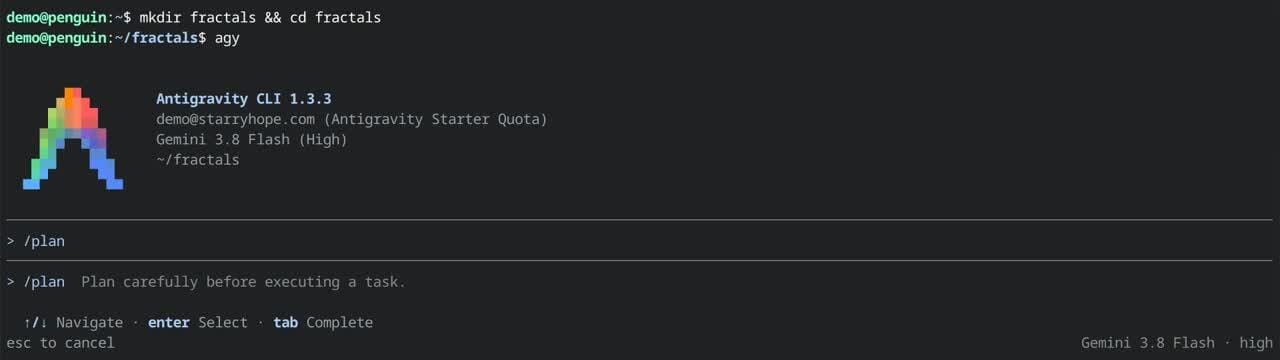
Press enter . Before it runs any command, even one that only lists files, the CLI asks. Each request shows the command and four choices:
- Yes, run command runs it once.
- Yes, and always allow in this conversation allows every command that starts the same way (for example, every
lscommand) until you exit. - Yes, and always allow saves that rule to the CLI’s settings file, so it applies in later sessions too.
- No, cancel rejects the command.
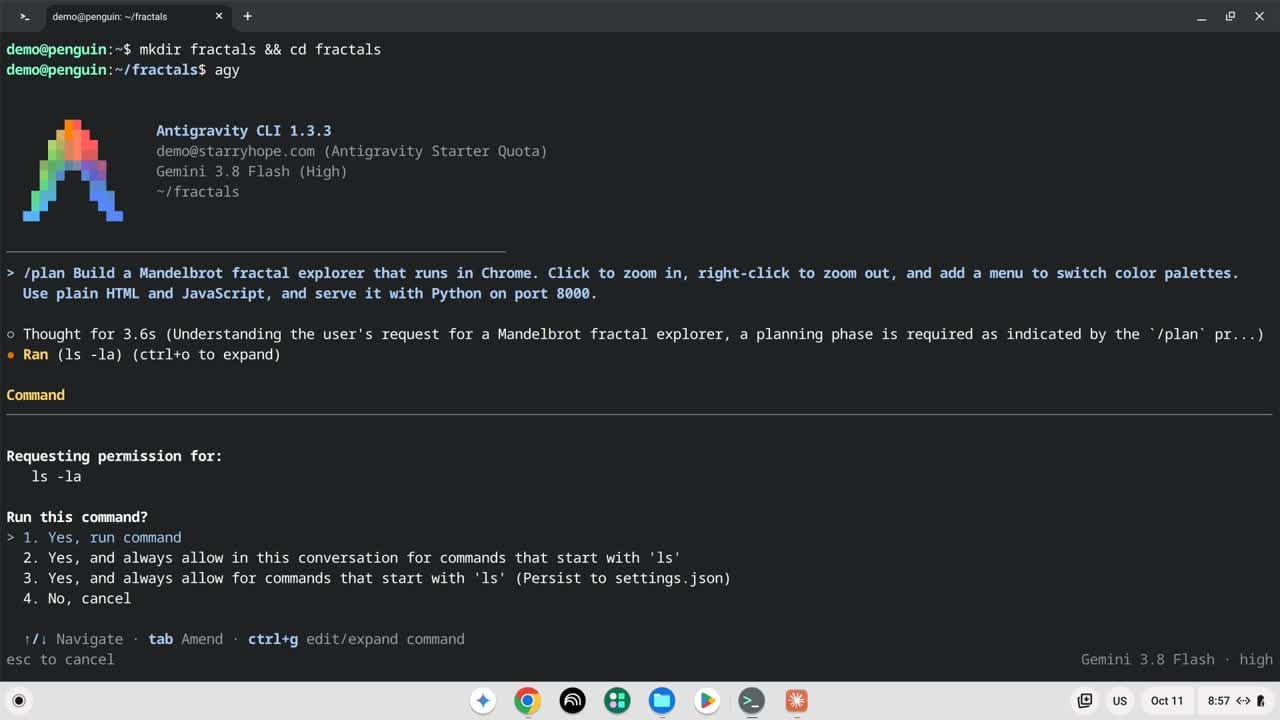
The first requests are read-only checks, such as the Python version, so Yes, run command is safe for those. Read each command before you approve it, and pick No, cancel for anything you do not want run.
Review and Approve the Plan
When the plan is ready, the CLI prints a short summary and saves the full plan as an artifact, a Markdown file you review before work starts. The right edge of the screen shows “1 artifact · /artifact to review”.
Press ctrl r to open the review panel. It lists the plan with open, approve, and reject, and a key line at the bottom: p previews the plan in the panel, ctrl g opens it in a text editor, y approves, n rejects, and esc closes the panel.
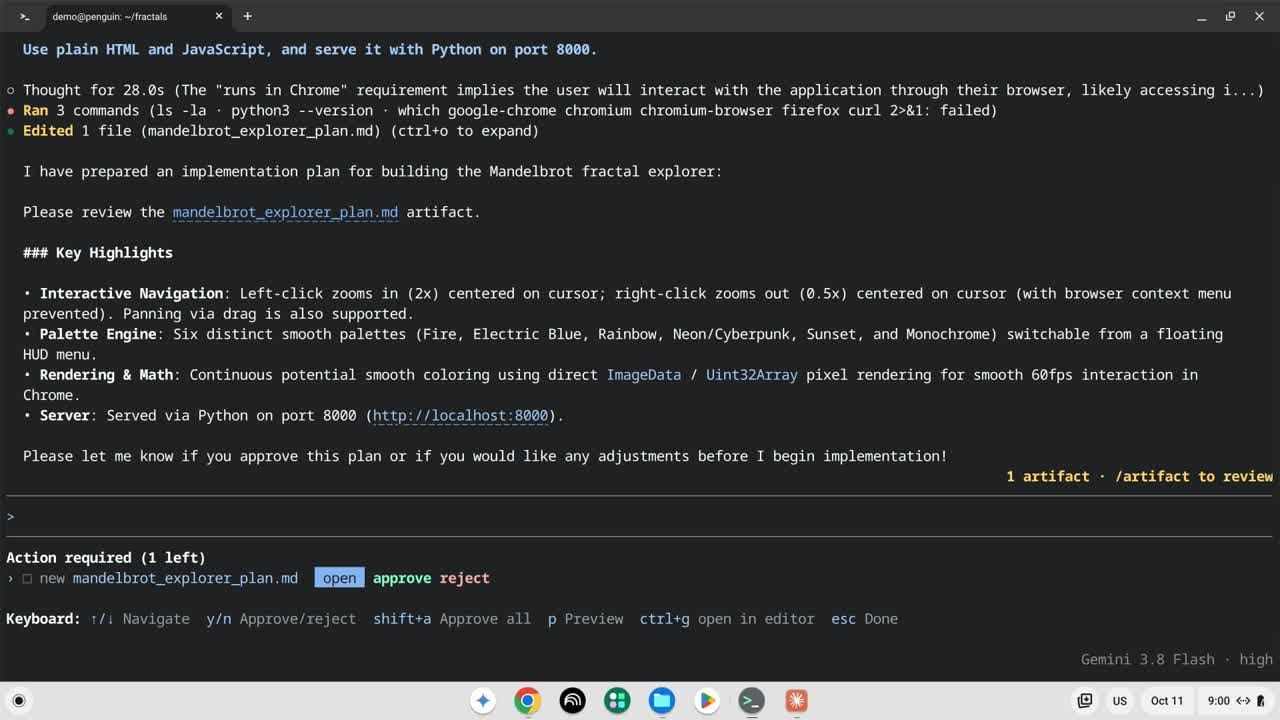
Press p and check that the plan covers what you asked for. If it does, press y , and the agent starts writing code. If it missed something, press n and type what to change at the prompt.
Let It Build and Run the Result
The agent asks before it creates each file, with a preview of the new code in green. Choose Yes, allow creation to accept a file. To stop answering for every file, press shift tab . That switches to accept-edits mode, and the status bar at the bottom shows accept-edits. File writes then go through without a question. Commands still ask first, so you approve starting the web server and the test requests the agent sends to it.
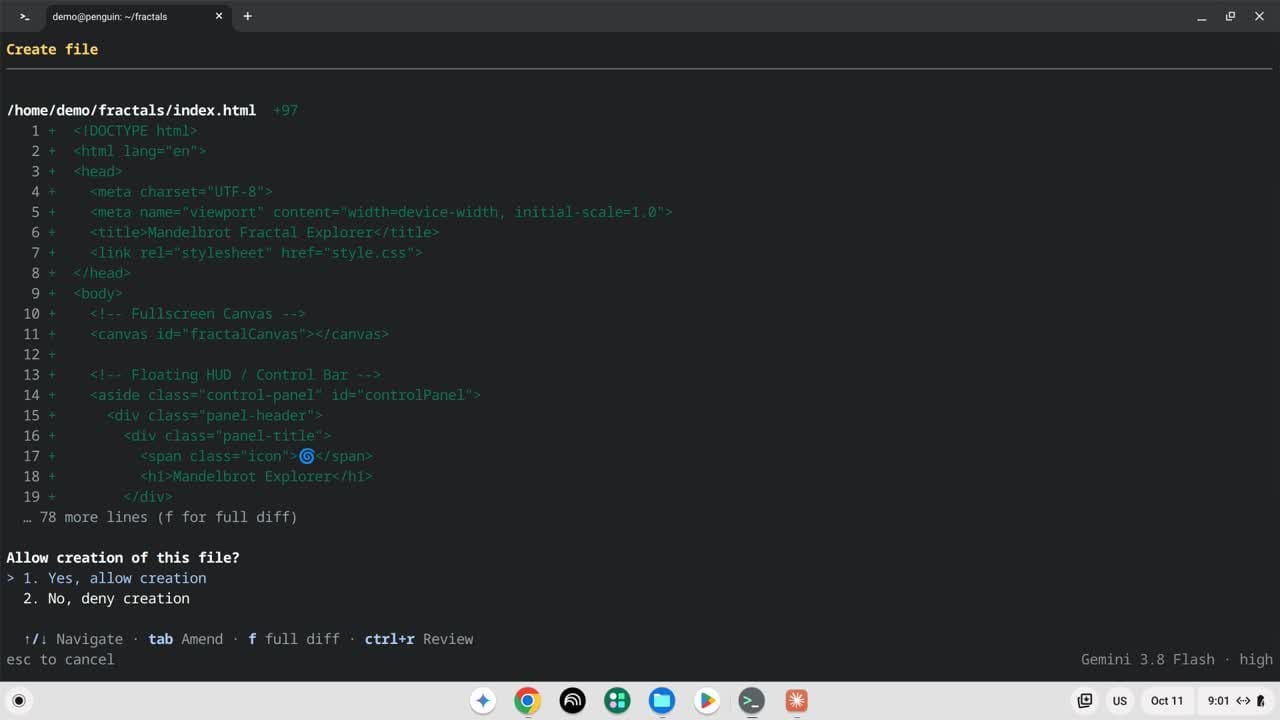
Each press of shift tab moves to the next of three modes: the default, which asks before edits and commands; accept-edits; and plan mode, which only researches and plans.
This build took about 9 minutes on our Chromebook, including the 14 requests we approved by hand. At the end, the agent lists the controls, the project files, and the address http://localhost:8000. The Python server keeps running in the background as a task; type /tasks to see it. Click the address, and Chrome opens the page.
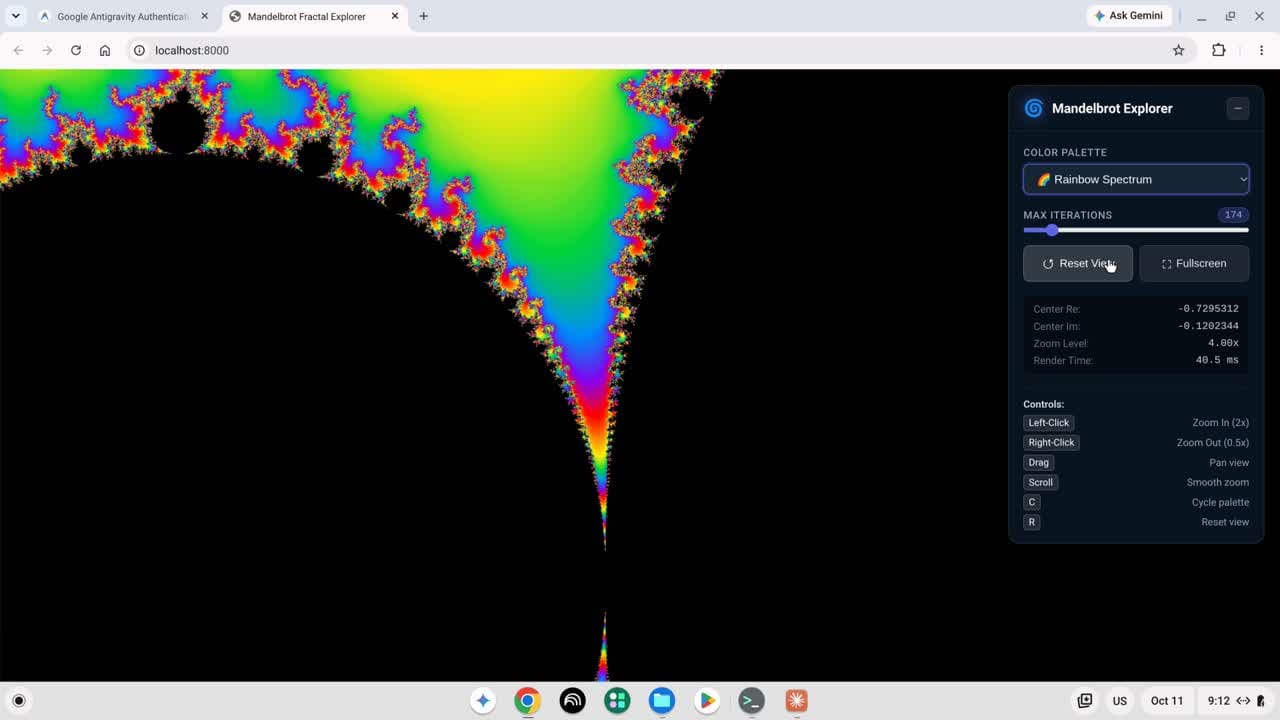
Your result will look different from ours. The agent writes new code on each run, so the file names, the palette list, and the panel layout change from one run to the next. In our latest test, the page opened on a palette named Electric Blue (blue on black), not the colors in this screenshot.
Commands and Keys Worth Knowing
Type / at the prompt for the full command list; our version listed 44 commands. Google’s CLI reference describes them, though it lists plan mode as /planning where version 1.4.2 shows /plan. These are the ones a first session needs:
| Command or key | What it does |
|---|---|
/plan | Plans the task before it runs anything |
/usage | Shows how much of your quota is left |
/model | Switches the model for this and later sessions |
/diff | Shows the changes the agent made |
/rewind | Rolls the conversation back to an earlier message |
/help | Lists commands and shortcuts |
/exit | Closes the CLI and returns to the shell |
| ctrl r | Opens the artifact review panel |
| ctrl o | Shows or hides the details of a tool call |
| shift tab | Cycles default, accept-edits, and plan mode |
| shift enter | Starts a new line in the prompt |
| esc | Closes a panel or stops the current reply |
/usage shows the weekly limit for the Gemini models and a separate limit for the Claude and GPT-OSS models that /model also offers. On our free account, the fractal build used about a tenth of the weekly Gemini limit (from 100 percent left to about 89 percent).
/exit stops any server the agent started and prints a command to resume the conversation later (agy -c continues it).
Troubleshooting
“Eligibility check failed: Your current account is not eligible for Antigravity.” This appears after sign-in with some accounts, such as a Google Workspace address. The message has a link to verify the account. With a Workspace account, the link opened a “Verify your info to continue” page with a QR code. After we scanned it with a phone, the next agy start worked with no new sign-in. The other way is to sign in with a personal Google account, which the FAQ suggests.


agy: command not found. Run source ~/.bashrc or open a new Terminal tab. If that does not help, check that ~/.bashrc ends with the export PATH= line for ~/.local/bin, and add it if it is missing.
The CLI hangs or says the secret keyring is locked. The CLI keeps its sign-in in the Linux keyring. Google’s troubleshooting page says to unlock the keyring and make sure a D-Bus session is running. On Chromebook Linux, installing GNOME Keyring should fix it; then start agy again:
sudo apt install gnome-keyringCtrl+V does not paste the code. The ChromeOS Terminal app pastes with ctrl shift v , not ctrl v .
Update, Sign Out, or Remove It
The CLI updates itself in the background while you use it, so you do not need to run the installer again; the installer says so if you try. To turn automatic updates off, Google’s troubleshooting page gives this line for ~/.bashrc:
export AGY_CLI_DISABLE_AUTO_UPDATE=trueTo sign out, type /logout at the prompt. It removes your sign-in from the keyring, and the next agy start asks you to sign in again.
To remove the CLI, sign out first, then delete the program and its settings folder. The second command deletes your saved conversations and settings:
rm ~/.local/bin/agy
rm -rf ~/.gemini/antigravity-cli
Your project folders stay where they are. The PATH line the installer added to ~/.bashrc and ~/.profile is harmless to leave, and you can delete it with any text editor.
These steps were tested in October 2026 on an HP Dragonfly Pro Chromebook with Debian 13 in the Linux container and Antigravity CLI 1.4.2. If Linux is new to you, our guide to installing Linux on a Chromebook covers the Terminal, apt, and Linux apps in more depth.


