
Omarchy has a Development menu that installs programming languages and starts databases. Languages go in through mise, a version manager that keeps several versions of a tool side by side and switches to the versions a project asks for when you change into its folder. Databases such as PostgreSQL run in Docker containers.
This guide uses that menu to set up Ruby on Rails, Node.js, and PostgreSQL, then runs a small Rails app on all three. The walkthrough below was done on the Omarchy 4.5 release candidate (4.5.0 RC2) with mise 2026.10.23.
What you need
This guide uses Omarchy 4.5 RC2 or later; the last section lists what differs on 4.0. You also need a network connection, because the menu rows download everything they install. Omarchy uses the Super key for its shortcuts, and on a PC keyboard that is the Windows key. Our list of Omarchy shortcuts to learn first covers the menu and the terminal.
Docker, Docker Compose, and Lazydocker come preinstalled, so there is nothing to add before you start.
Open the Development menu
Press super space to open the Omarchy menu, then choose Install, then Development. The list starts with Ruby on Rails, Docker DB, and JavaScript, followed by Go, PHP, Python, Elixir, Zig, Rust, Java, .NET, OCaml, Clojure, and Scala. A row with an arrow, such as JavaScript, opens a second list.
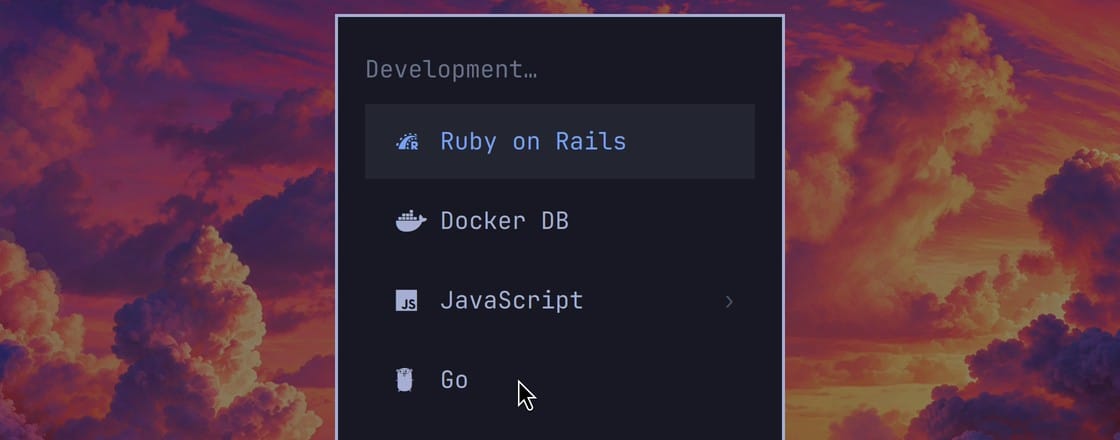
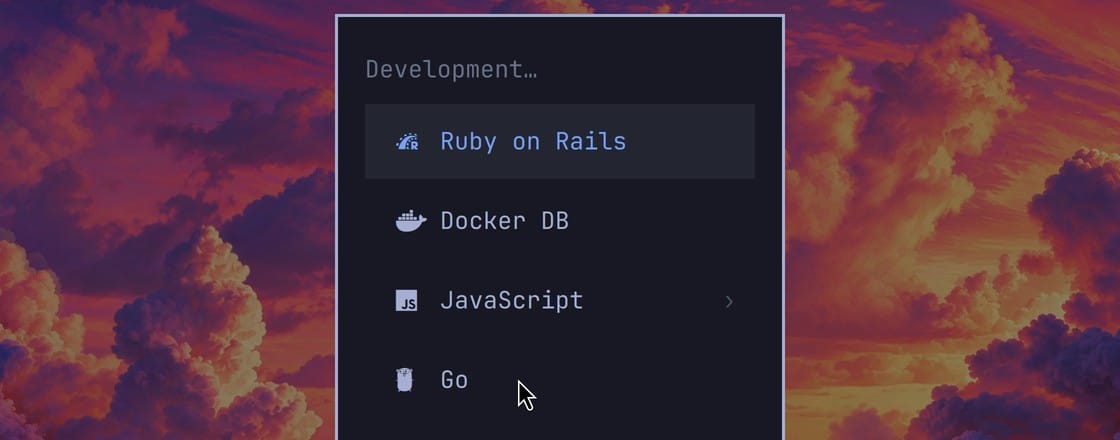
Each language row opens a floating terminal that runs the install and ends on “Done! Press any key to close…”. A key press closes the window, and the menu does not come back on its own. Once a language is installed, its row stays in the list, greyed out with a check mark.
Install Ruby on Rails
Pick Ruby on Rails. mise downloads a precompiled build of the latest Ruby (4.0.9 when we filmed) and sets it as your global Ruby. The row then installs Rails as a gem, along with its dependencies: 39 gems, ending with rails-8.1.4.
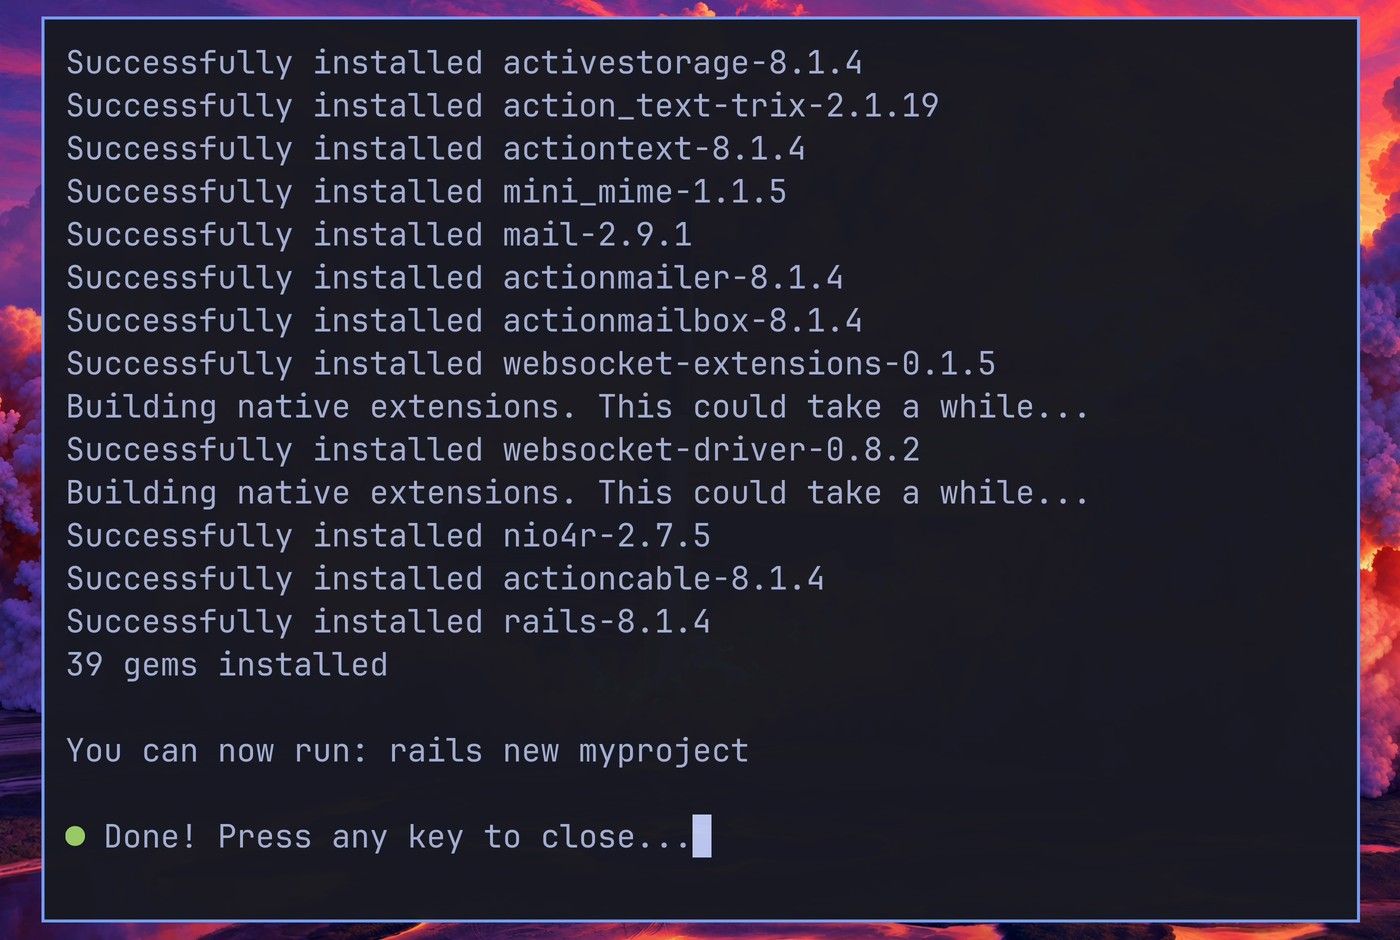
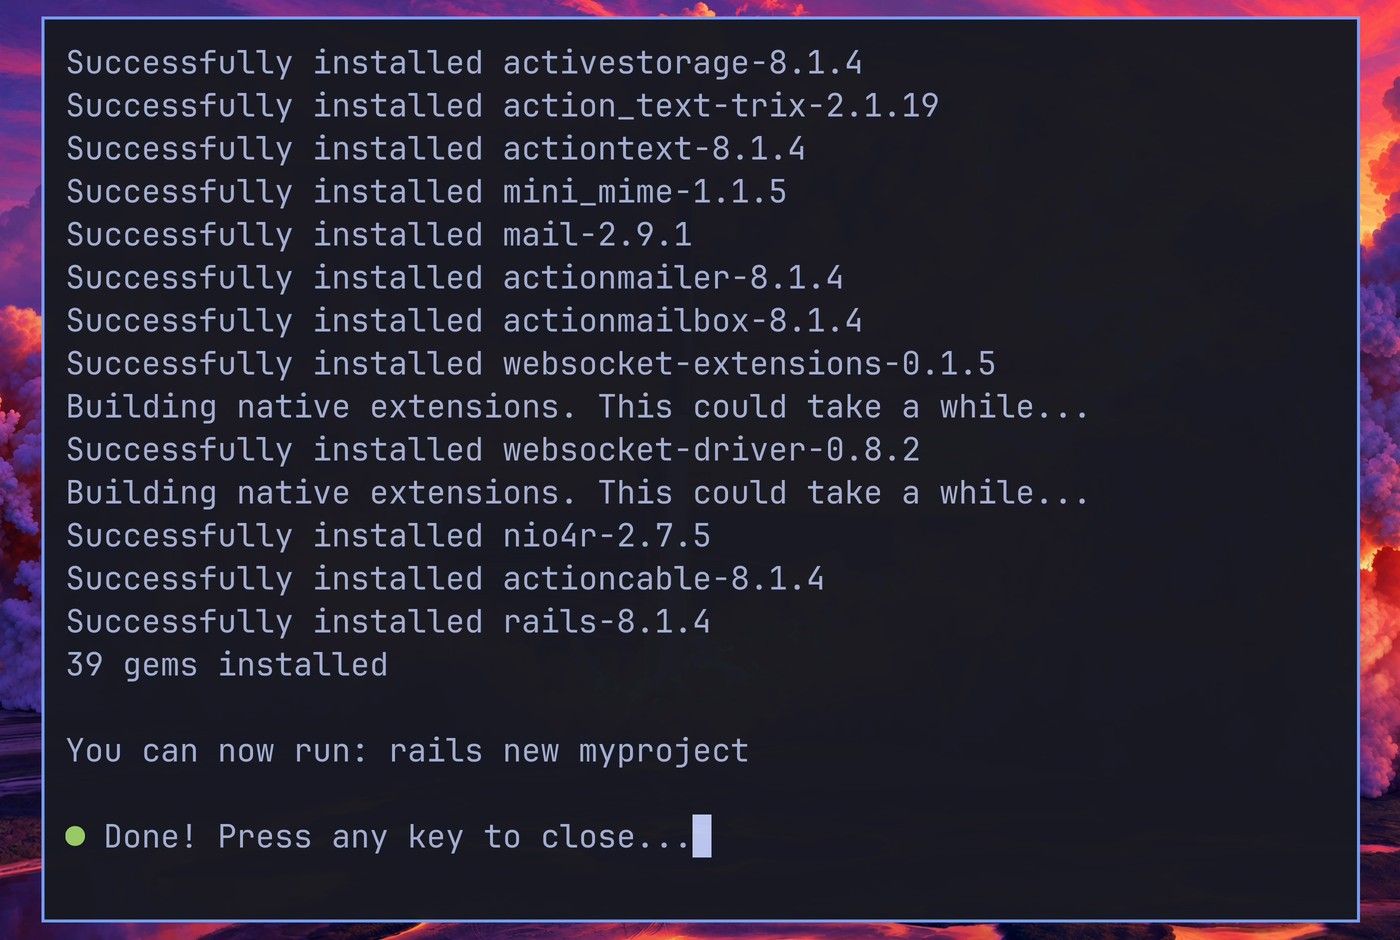
At the end, the installer suggests rails new myproject for starting a project. On some runs a notice about a new RubyGems release appears above that line; it does not stop the install.
The row also changes a few settings. It writes ruby = "latest" to the [tools] table of ~/.config/mise/config.toml, sets mise to use precompiled Ruby builds, and turns on mise’s support for .ruby-version files, so a project with only a .ruby-version file gets its Ruby from mise too. Last, it adds a ~/.gemrc that skips gem documentation.
Install Node.js
Open the Development menu again with super space , Install, Development. Ruby on Rails is now greyed out with a check mark. Pick JavaScript, then Node.js; Bun and Deno sit below it.
Node.js is one of Omarchy’s default mise tools, so the row only runs mise install node. It installed the latest Node, 26.13.0.
Add a second Node version with mise use -g
Some projects still need an older Node, and mise keeps both versions. Open a terminal with super enter and run:
node -v
mise use -g node@22
node -v
mise ls node ruby
The first node -v prints v26.13.0. mise use -g node@22 installs Node 22 and makes it the global default, which covers every folder outside a project. mise reports installed 1 tool in 4.2s: node@22.23.4 and writes node = "22" to ~/.config/mise/config.toml. The second node -v prints v22.23.4.
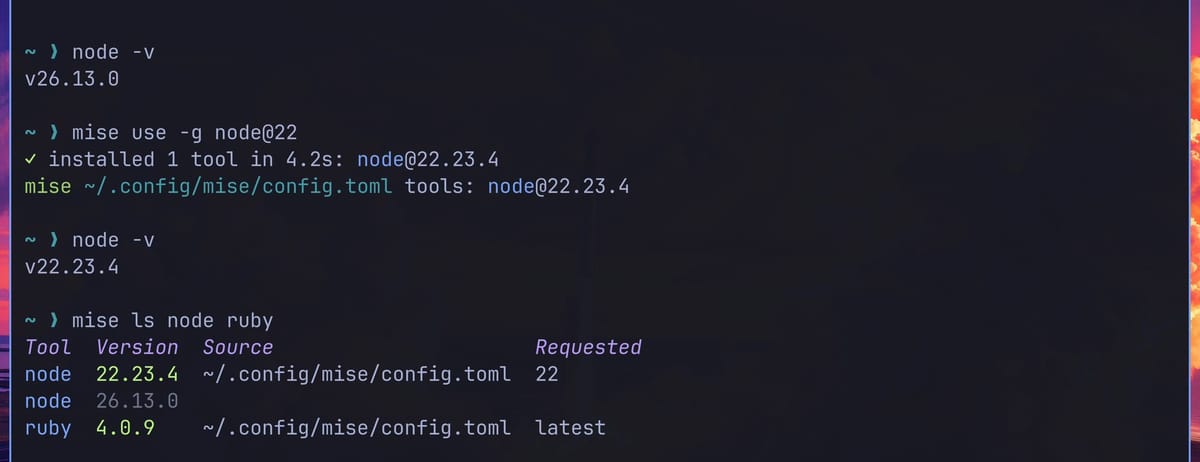
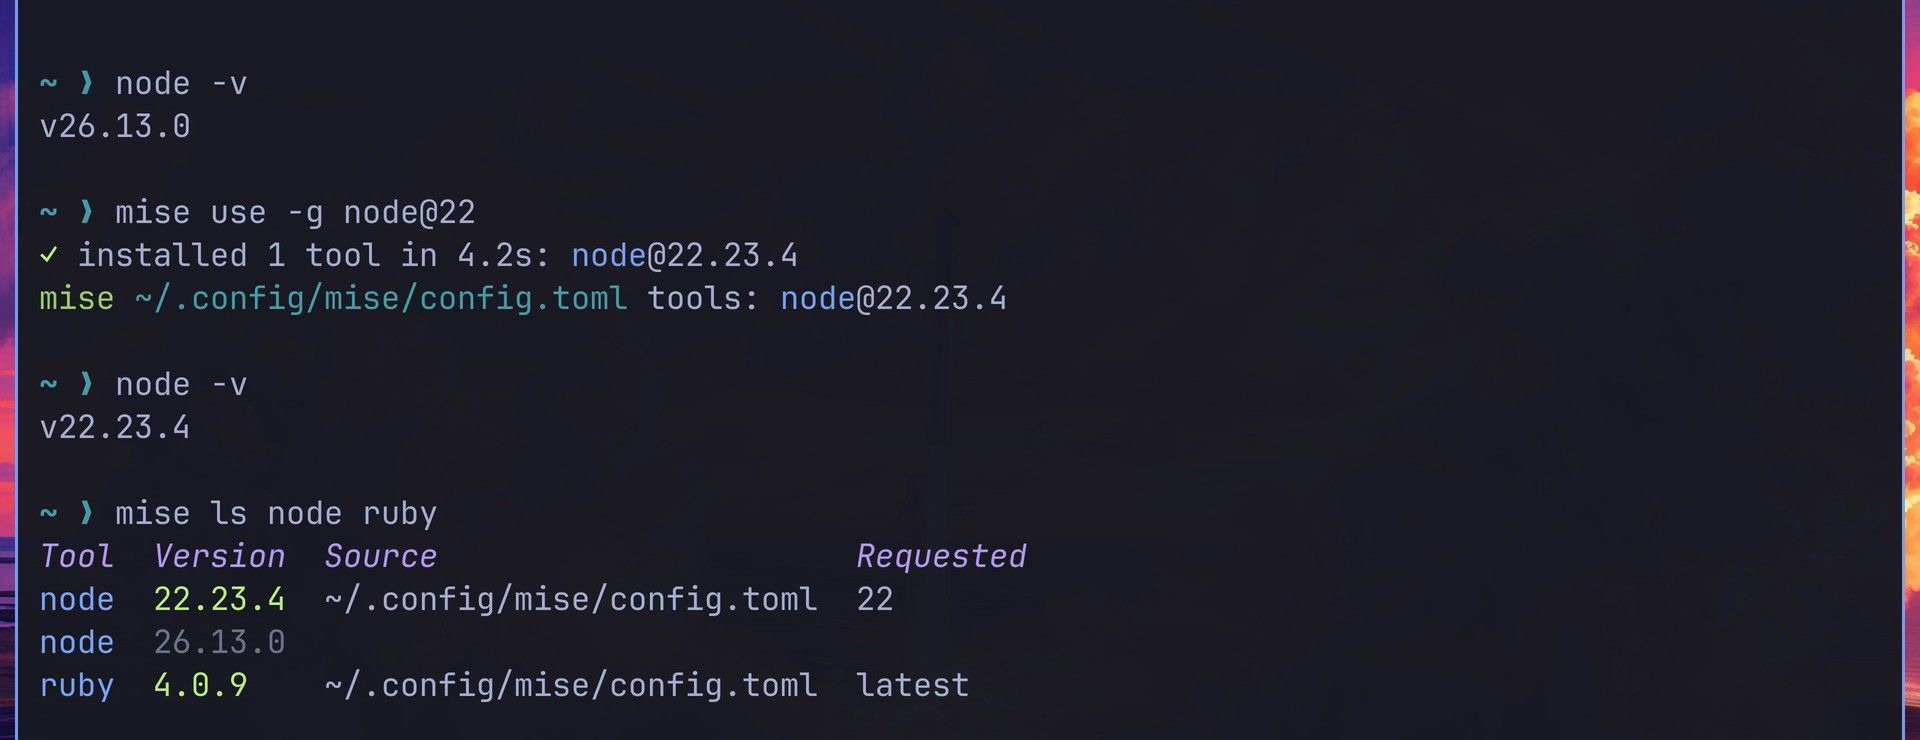
mise ls node ruby lists both Node versions. Node 22.23.4 is active, with ~/.config/mise/config.toml as its source, and 26.13.0 is shown dimmed: installed, but not in use.
Name the tools when you run mise ls. On Omarchy 4.5, mise also knows about more than 20 default tools that install only on first use (gh, uv, and a long list of AI coding CLIs among them), so a bare mise ls prints a long list.
Pin versions per project with mise.toml
A project’s versions live in a mise.toml file in its folder. Our sample is bookshelf, a small Rails app that keeps a list of books. Its mise.toml pins Ruby 3.4 and Node 24, and its [env] table sets the database URL:
[tools]
ruby = "3.4"
node = "24"

[env]
DATABASE_URL = "postgresql://postgres@localhost:5432/bookshelf_development"
mise exports DATABASE_URL whenever you are in the folder, so Rails finds the database without any change to config/database.yml.
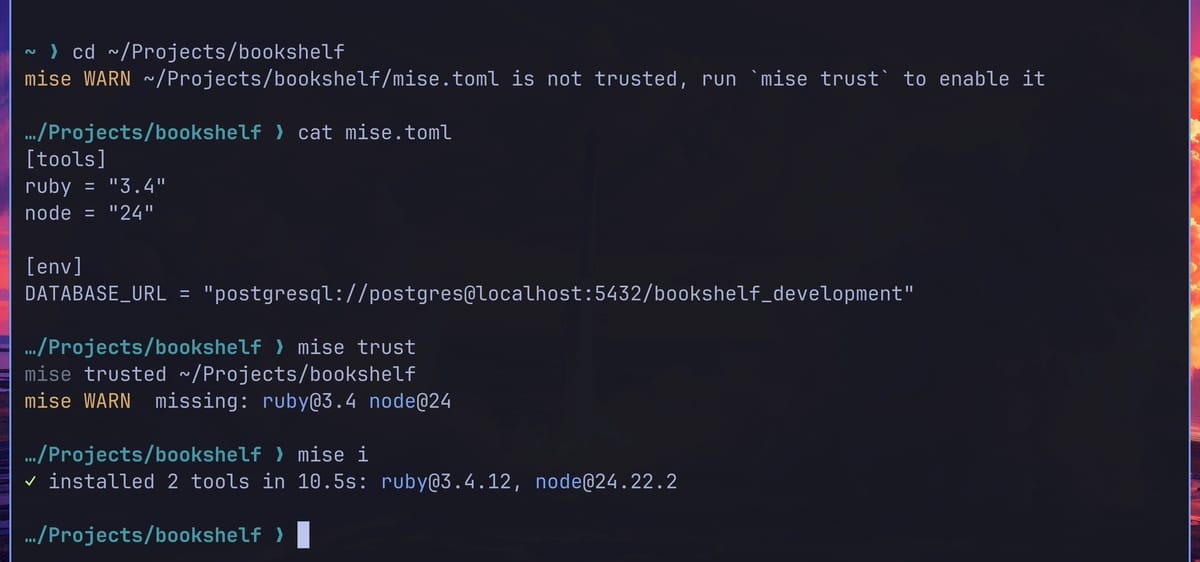
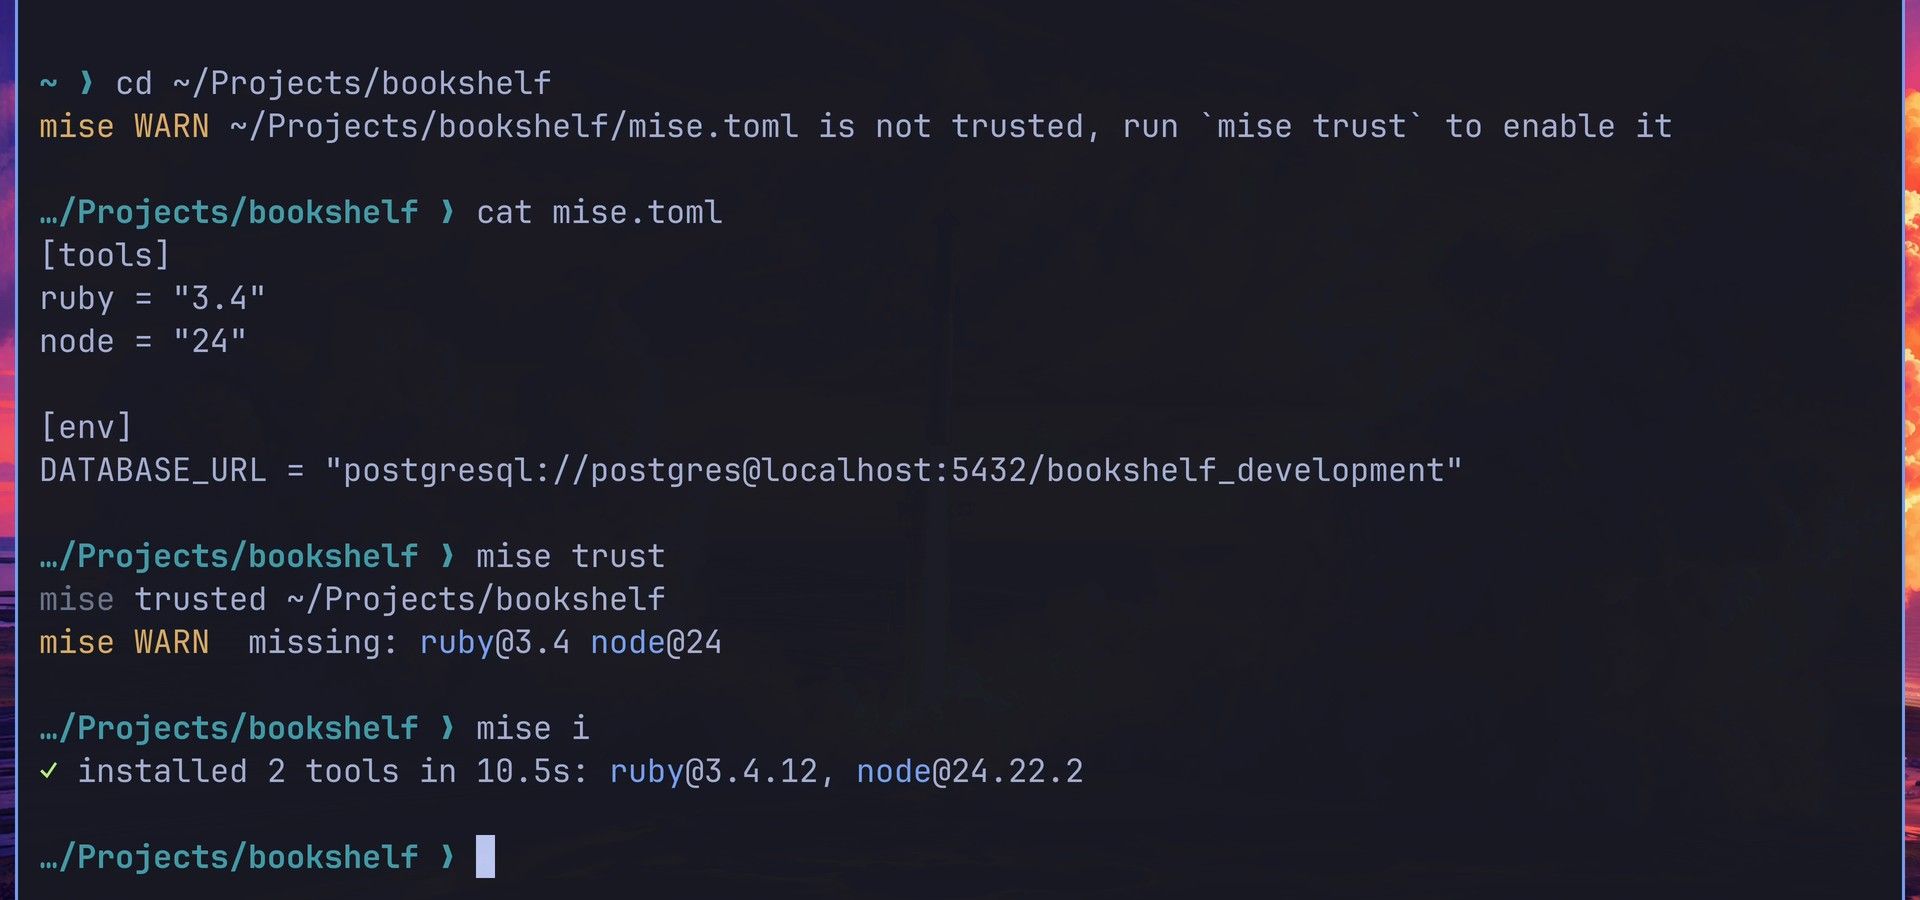
The first time you change into the folder, mise warns that the file is not trusted:
cd ~/Projects/bookshelfmise WARN ~/Projects/bookshelf/mise.toml is not trusted, run `mise trust` to enable itThe mise documentation explains why: “Trust lets mise load the parts of a config file that can run code or change your environment.” A file with only plain tool versions needs no trust; this one asks because of its [env] table. Read the file, then trust it and install what it asks for:
cat mise.toml
mise trust
mise i
mise trust prints mise trusted ~/Projects/bookshelf and then lists the versions that are missing: ruby@3.4 node@24. mise i, short for mise install, fetches both. It reported installed 2 tools in 10.5s: ruby@3.4.12, node@24.22.2.
Check that the versions follow the folder
Run each command at its own prompt:
ruby -v
node -v
cd ~
ruby -v
node -v
Inside the project, Ruby reports 3.4.12 and Node reports v24.22.2. Back in the home folder, mise switches you to Ruby 4.0.9 and Node v22.23.4 again.
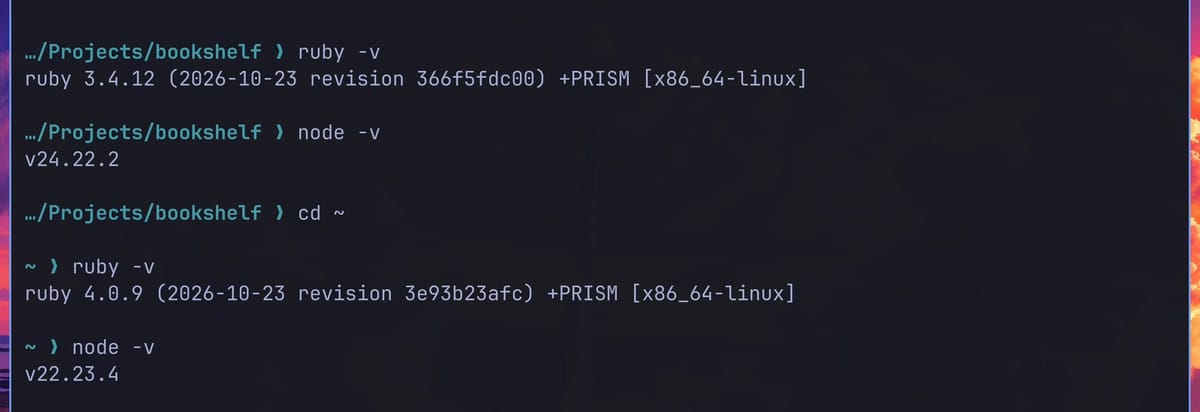
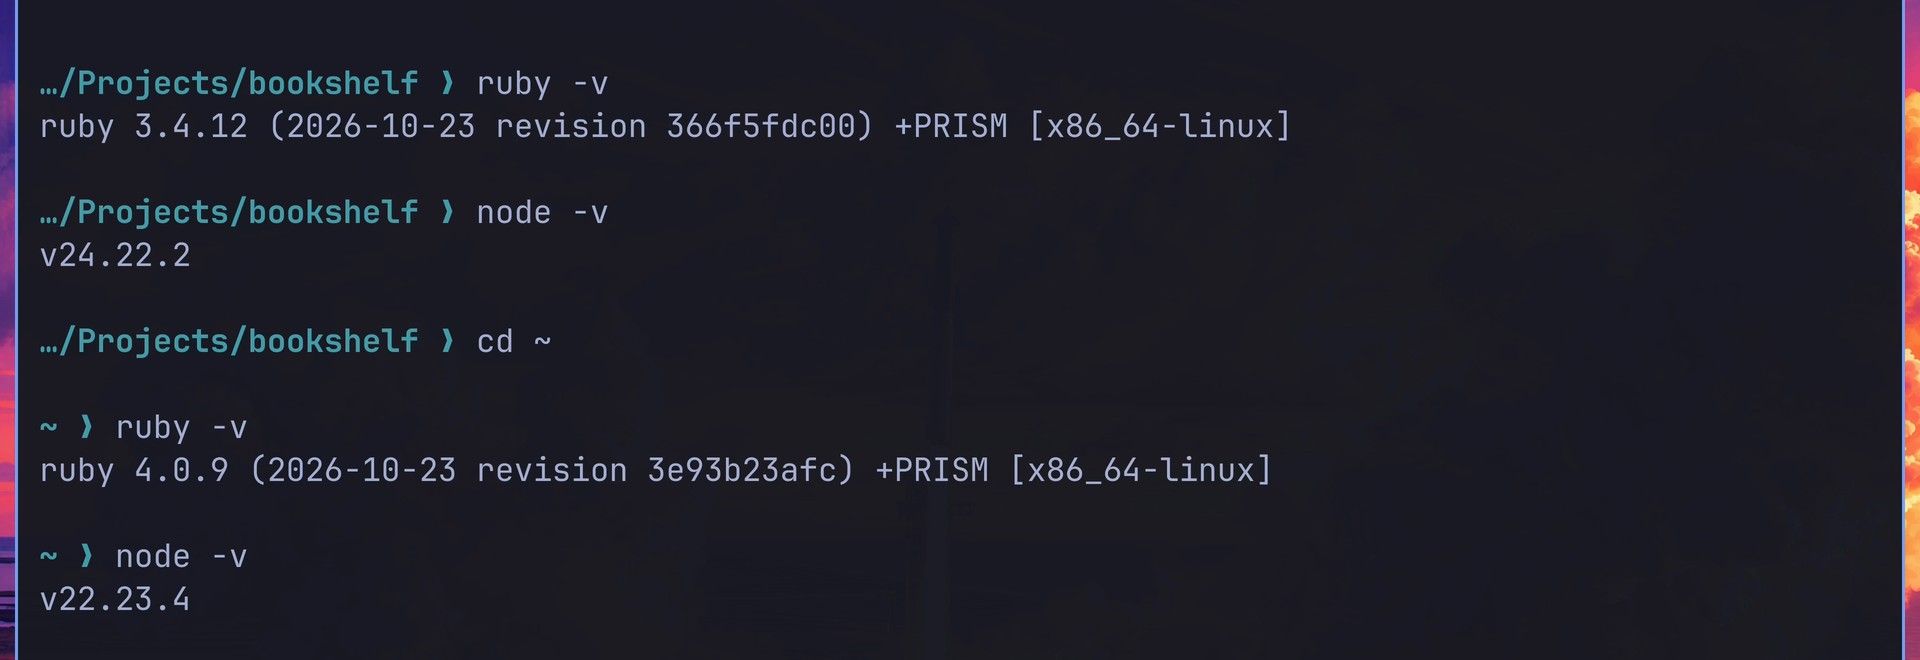
mise updates the versions when the next prompt draws. A one-liner such as cd ~ && ruby -v still prints the project’s Ruby, because the change has not happened yet when ruby -v runs.
Use the GitHub CLI that mise sets up
The GitHub command line tool, gh, is another Omarchy default mise tool. It is set up ahead of time but downloads only the first time you run it:
gh --version
gh auth status
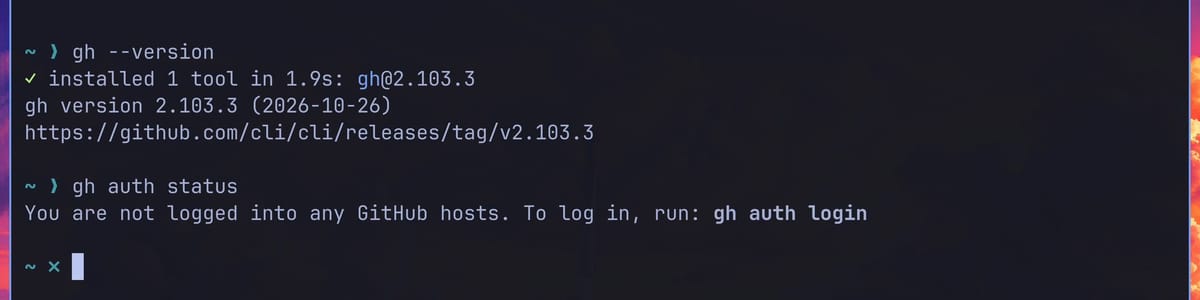
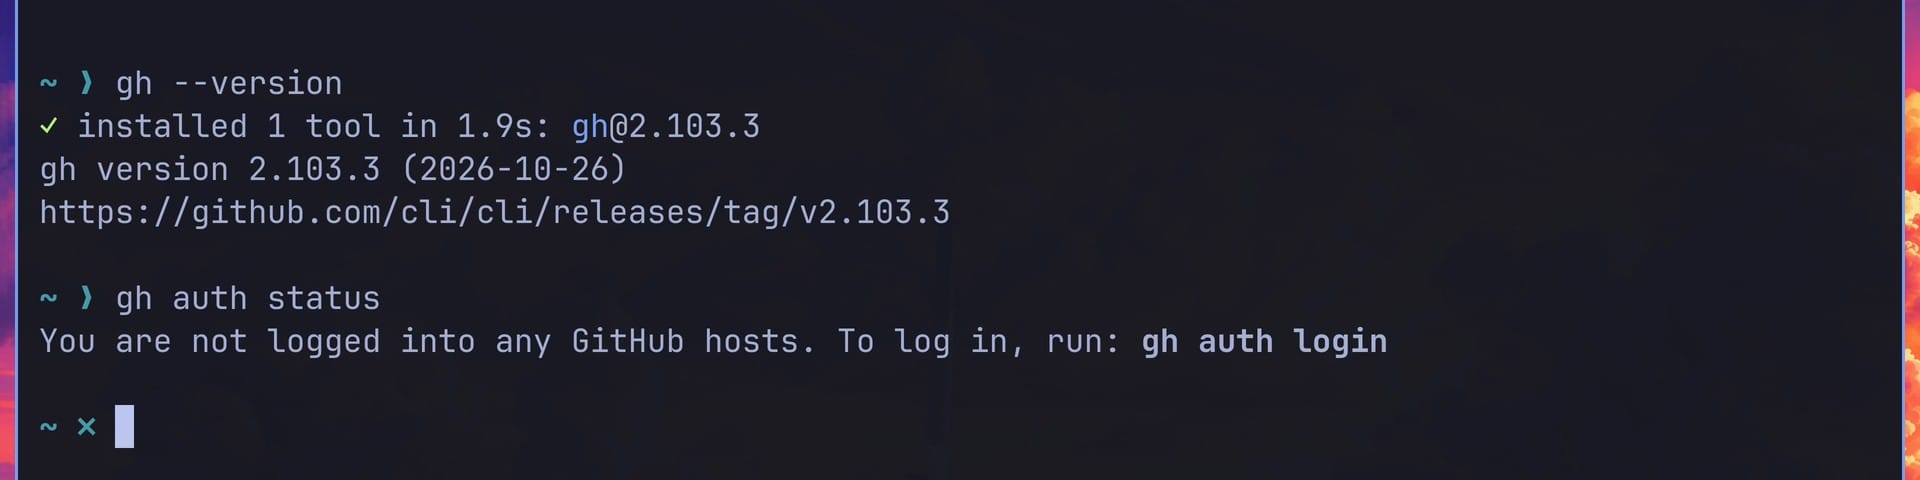
The first gh --version installed it (installed 1 tool in 1.9s: gh@2.103.3) and then printed gh version 2.103.3. gh auth status says “You are not logged into any GitHub hosts. To log in, run: gh auth login”. Run gh auth login when you are ready to sign in.
Use your own copy of a tool with disable_tools
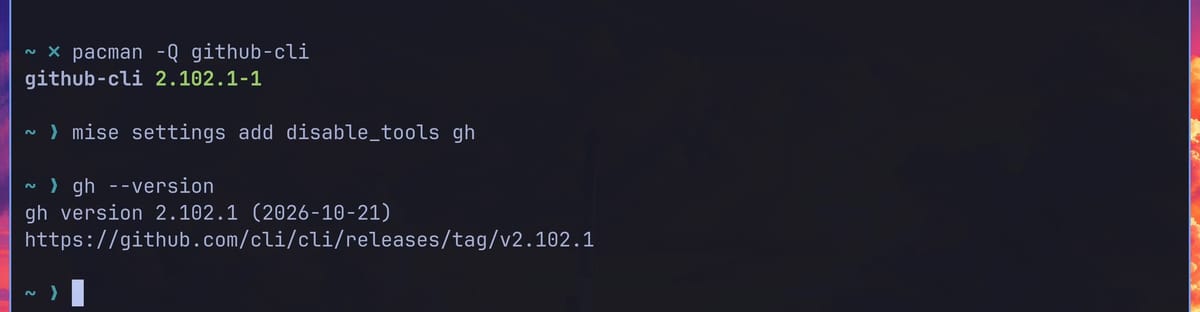
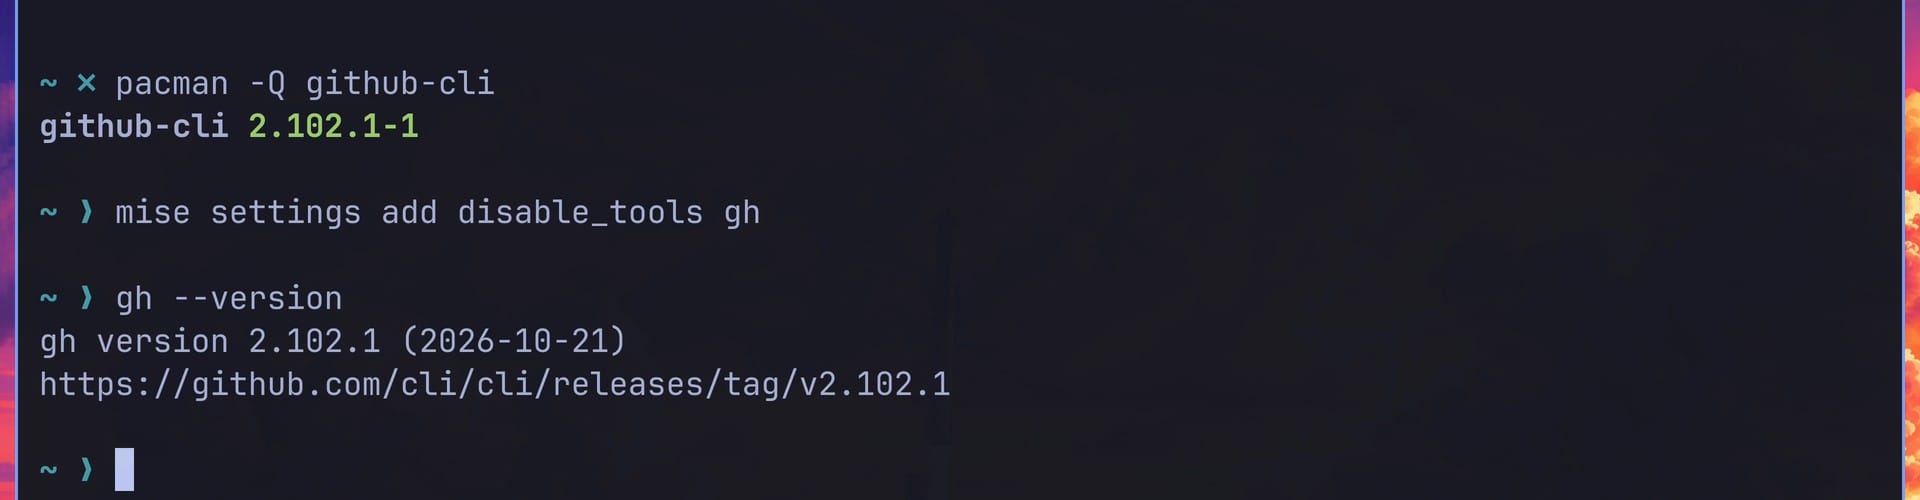
Omarchy is based on Arch Linux, and pacman is its package manager. If you have also installed gh with pacman (the github-cli package), mise’s copy still runs first. With both installed, pacman -Q github-cli showed github-cli 2.102.1-1, but gh --version printed 2.103.3, the mise version.
The disable_tools setting tells mise to leave a tool alone:
mise settings add disable_tools gh
gh --version
The setting command prints nothing. On the next prompt, gh --version printed gh version 2.102.1, the pacman copy. It took effect in the open terminal, with no restart or reshim.
The same setting works for any other default tool you would rather install yourself. To undo it, remove gh from disable_tools in ~/.config/mise/config.toml.
Start PostgreSQL with Docker DB
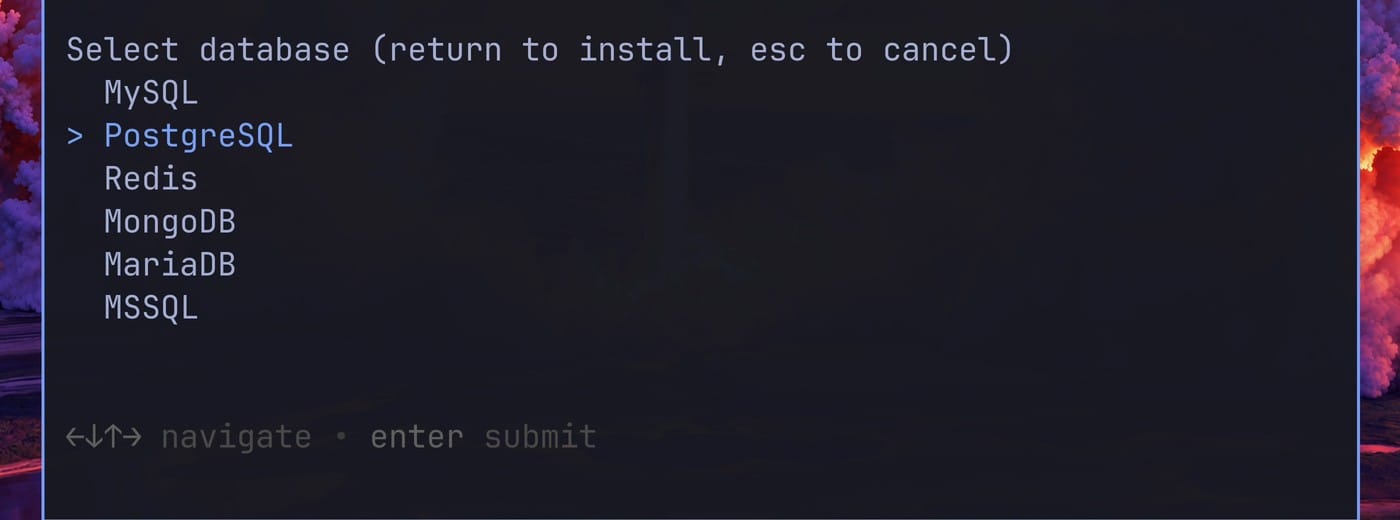
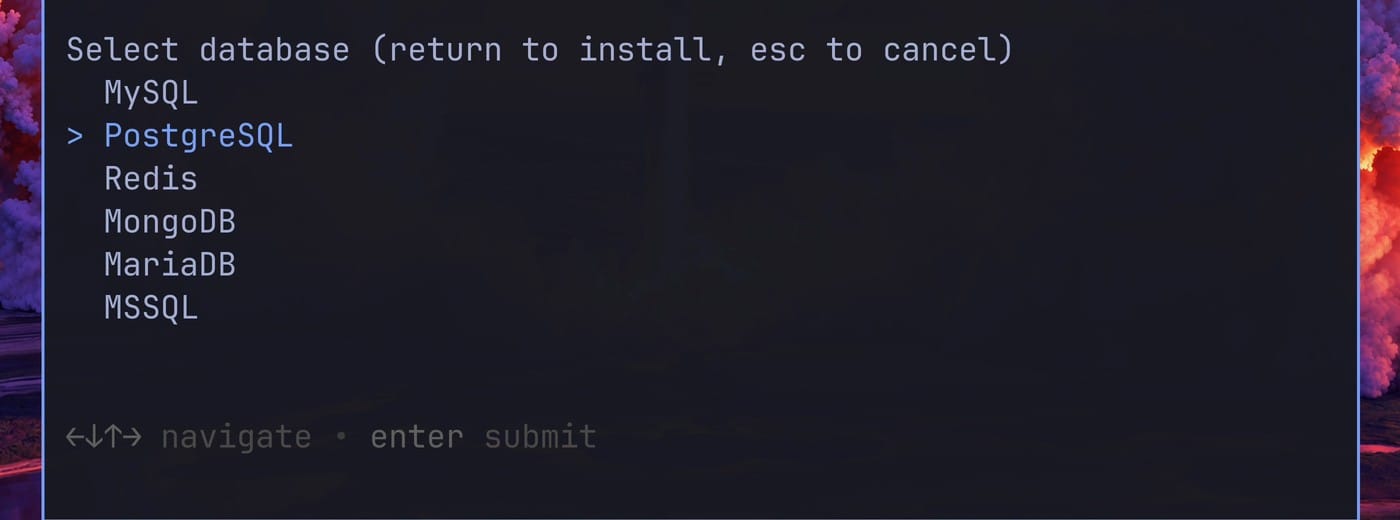
Databases start from the same menu. Press super space , then Install, Development, Docker DB. A floating terminal lists the databases it can start: MySQL, PostgreSQL, Redis, MongoDB, MariaDB, and MSSQL.
Clicks do nothing in this list. Press once to move to PostgreSQL, then enter .
The row runs Docker through sudo, so it may ask for your sudo password in that window first. It then pulls the postgres:18 image (647 MB on disk) and starts the container. This is the command it runs:
sudo docker run -d --restart unless-stopped -p "127.0.0.1:5432:5432" --name=postgres18 -e POSTGRES_HOST_AUTH_METHOD=trust postgres:18The -p option binds port 5432 to localhost only, so other machines on your network cannot reach the database. POSTGRES_HOST_AUTH_METHOD=trust lets connections in without a password, which is why the DATABASE_URL above has no password in it. That suits a local development database; do not open the port to the network as it is.
Watch the container in Lazydocker
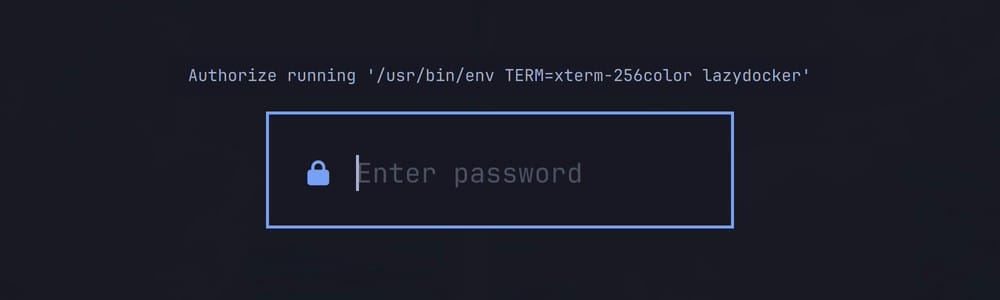
Lazydocker is a dashboard for containers that runs in the terminal. Press super shift d to open it. A password prompt appears first: Omarchy runs Lazydocker with admin rights, because your user is not in the docker group and access to Docker is as good as root. The prompt asks again on each launch.
After the password, the postgres18 container is listed as running, and the Logs tab is open. The last log line reads “database system is ready to accept connections”. Press ] to move to the Stats tab, where a graph tracks the container’s CPU use, and [ to move back. q closes Lazydocker, and the container keeps running.
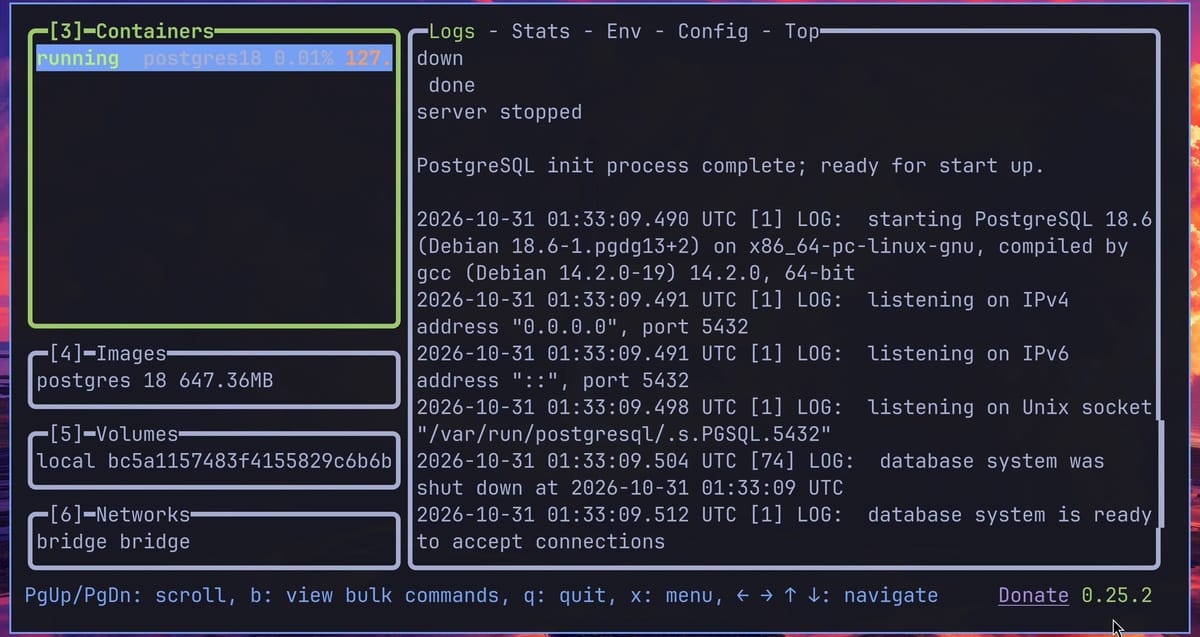
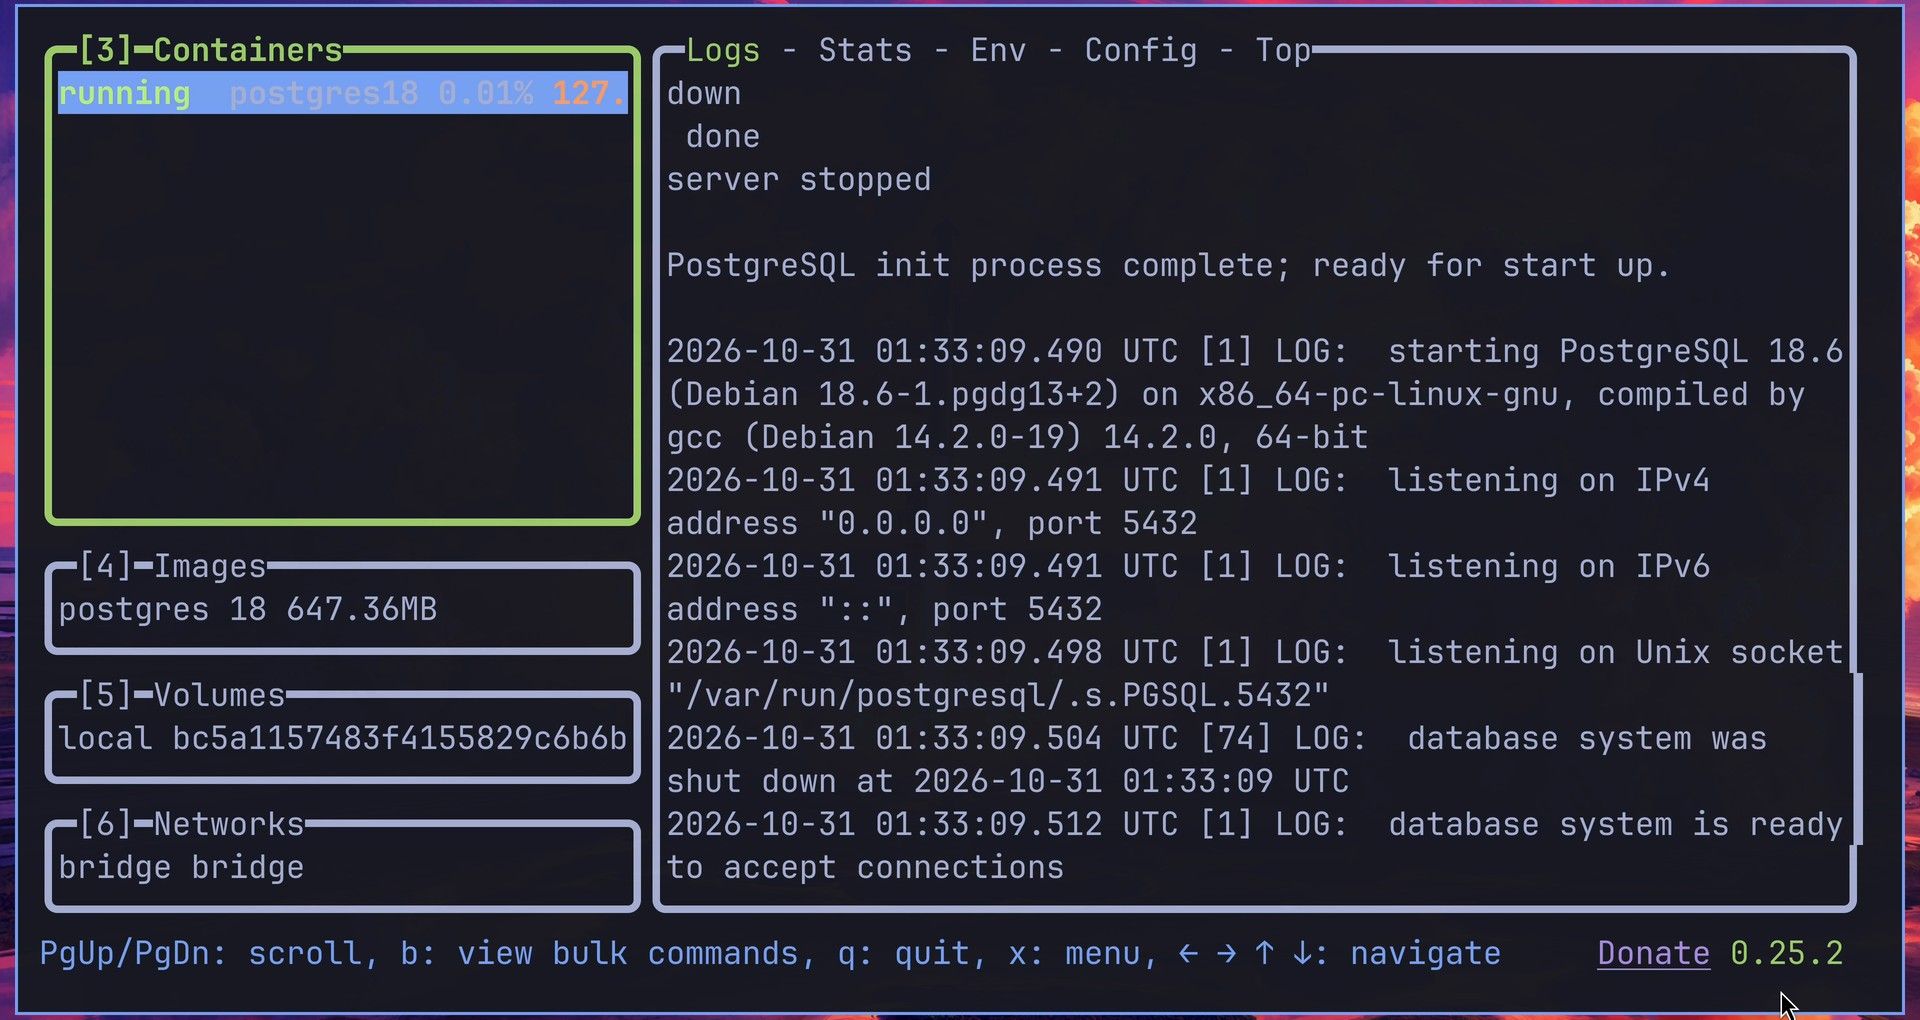
If you open Lazydocker after the Rails step below, the PostgreSQL log also shows a FATAL line saying that bookshelf_development does not exist. It comes from the check Rails makes before it creates the database, so it is expected.
Run the Rails app on the database
Open a terminal with super enter , change into the project, and prepare the database:
cd ~/Projects/bookshelf
bin/rails db:prepare
bin/rails server
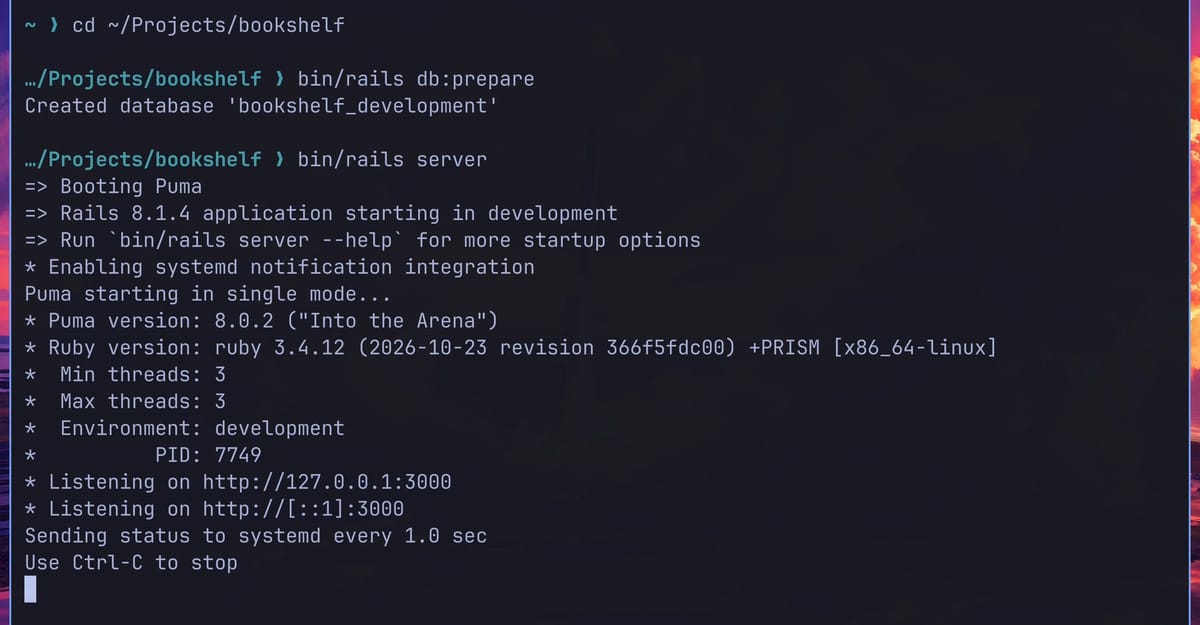
bin/rails db:prepare reads DATABASE_URL from mise, connects to the container, and prints “Created database ‘bookshelf_development’”. It also loads the books table from db/schema.rb without printing anything more. bin/rails server starts Puma, and its banner shows the project’s Ruby, 3.4.12, and “Listening on http://127.0.0.1:3000”.
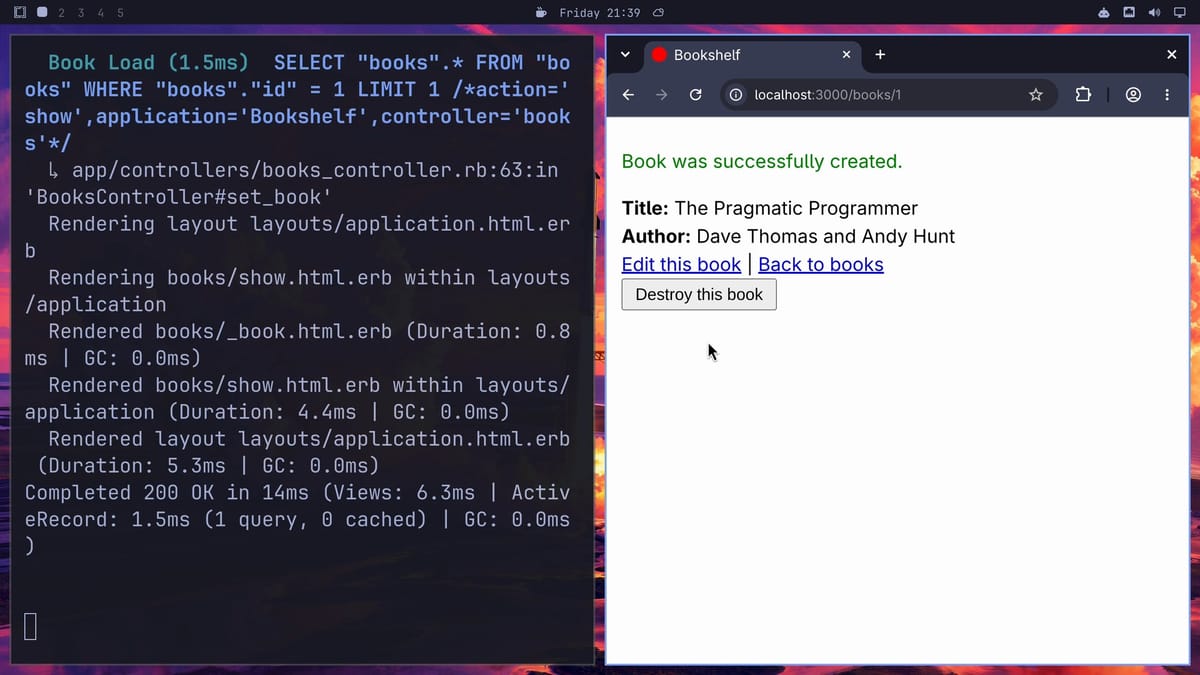
Press super shift enter to open the browser, and go to localhost:3000. The Books page is empty at first. Click New book, fill in a title and an author, and click Create Book. The page says “Book was successfully created.”, and the book is saved to PostgreSQL inside the container. The terminal on the left logs each request.
Press ctrl c in the terminal to stop the server.
How the sample app was made
The bookshelf app is a small Rails 8.1 app. We created it under Ruby 3.4.12 with rails new bookshelf -d postgresql, plus flags that skip git, Kamal, Thruster, CI, Docker, and tests, then added a scaffold with bin/rails generate scaffold Book title:string author:string, and set root "books#index" in config/routes.rb. We removed the .ruby-version file that rails new writes, so the Ruby pin lives in mise.toml with the rest. Its gems are installed into the project’s vendor/bundle folder. For your own project, put the tool versions in the [tools] table of a mise.toml and the database URL in [env], then run mise trust, mise i, and bundle install on each machine that checks it out.
Docker does not start at boot
Omarchy enables only Docker’s socket, not the service, so Docker starts the first time something talks to it. The container has --restart unless-stopped, but after a reboot port 5432 stays closed until Docker starts. The first sudo docker ps starts Docker, and postgres18 comes back up right away.
If you want the database running as soon as the machine boots, enable the Docker service:
sudo systemctl enable dockerTroubleshooting
Docker DB says the container name is already in use. Picking PostgreSQL a second time fails with “container name /postgres18 is already in use”, because the first container still exists. Start it with sudo docker start postgres18, or remove it with sudo docker rm -f postgres18 and pick the row again.
A command still uses the old version. mise switches versions when the prompt redraws. Run cd on its own line and the version check on the next one. If a project’s versions do not apply at all, check for the “is not trusted” warning and run mise trust.
mise runs its own copy of a tool you installed with pacman. Add the tool to disable_tools, as shown for gh above. The 4.5 release candidate also includes omarchy-mise-default-tools disable, which turns off all of Omarchy’s default mise tools at once.
Lazydocker shows “running postg” and cut-off tabs. It opens tiled beside any other window on the workspace, at half width. Close the other window, or switch to an empty workspace, before you open it.
What changed from Omarchy 4.0
On Omarchy 4.0.6, the current stable release when we filmed, the Development menu hides a language once it is installed, where 4.5 shows it greyed with a check mark. Node.js on 4.0.6 is set with mise use --global node rather than coming from a default tool list. The Docker DB row and the Lazydocker shortcut work the same way on both.
If you are new to Omarchy, what Omarchy is explains the rest of the desktop, and what Omarchy installs and how to remove it covers the apps it ships with, Lazydocker among them.


