OpenClaw is a free, open source personal AI agent. Its gateway runs as a background service on your own computer, and you chat with it in a web app. The agent can also read and change files and run commands, so check its security settings before you give it real work. Omarchy 4.0.4 lists OpenClaw in the Install > AI section of its menu.
This is the written companion to our OpenClaw video. We installed OpenClaw from the Omarchy menu, ran its setup wizard with a ChatGPT account, sent one prompt, and then went through the permission levels and the security pages in its settings. Every step below was done on Omarchy 4.0.4 with OpenClaw 2026.9.8 from Omarchy’s package repository.
What you need
You need a working Omarchy install and an account with an AI provider. The wizard offers OpenAI, OpenRouter, xAI, Google, Anthropic, and a longer list behind “More”. We used a ChatGPT account through OpenAI’s device code sign-in, which draws on that plan’s usage limits rather than a pay-per-use API key. You can finish that sign-in on the same computer or on your phone.
Omarchy uses the Super key for most shortcuts; on a PC keyboard that is the Windows key. If the Omarchy shortcuts are new to you, our list of Omarchy shortcuts to learn first covers the terminal, the menu, and closing windows.
Install OpenClaw from the Omarchy menu
Press super space to open the Omarchy menu, go to Install, then AI, and pick OpenClaw from the list. A terminal opens, and pacman may ask for your password before it installs four packages: OpenClaw itself plus Node.js and two small libraries it needs. Together they come to 685.18 MiB.
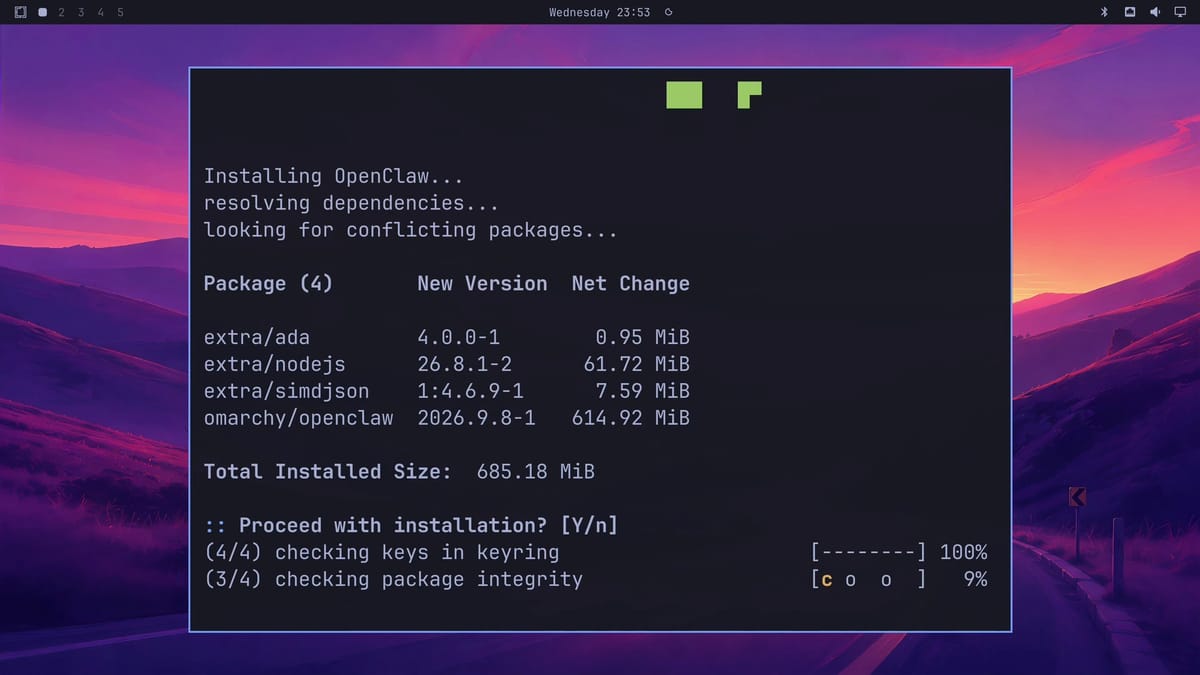
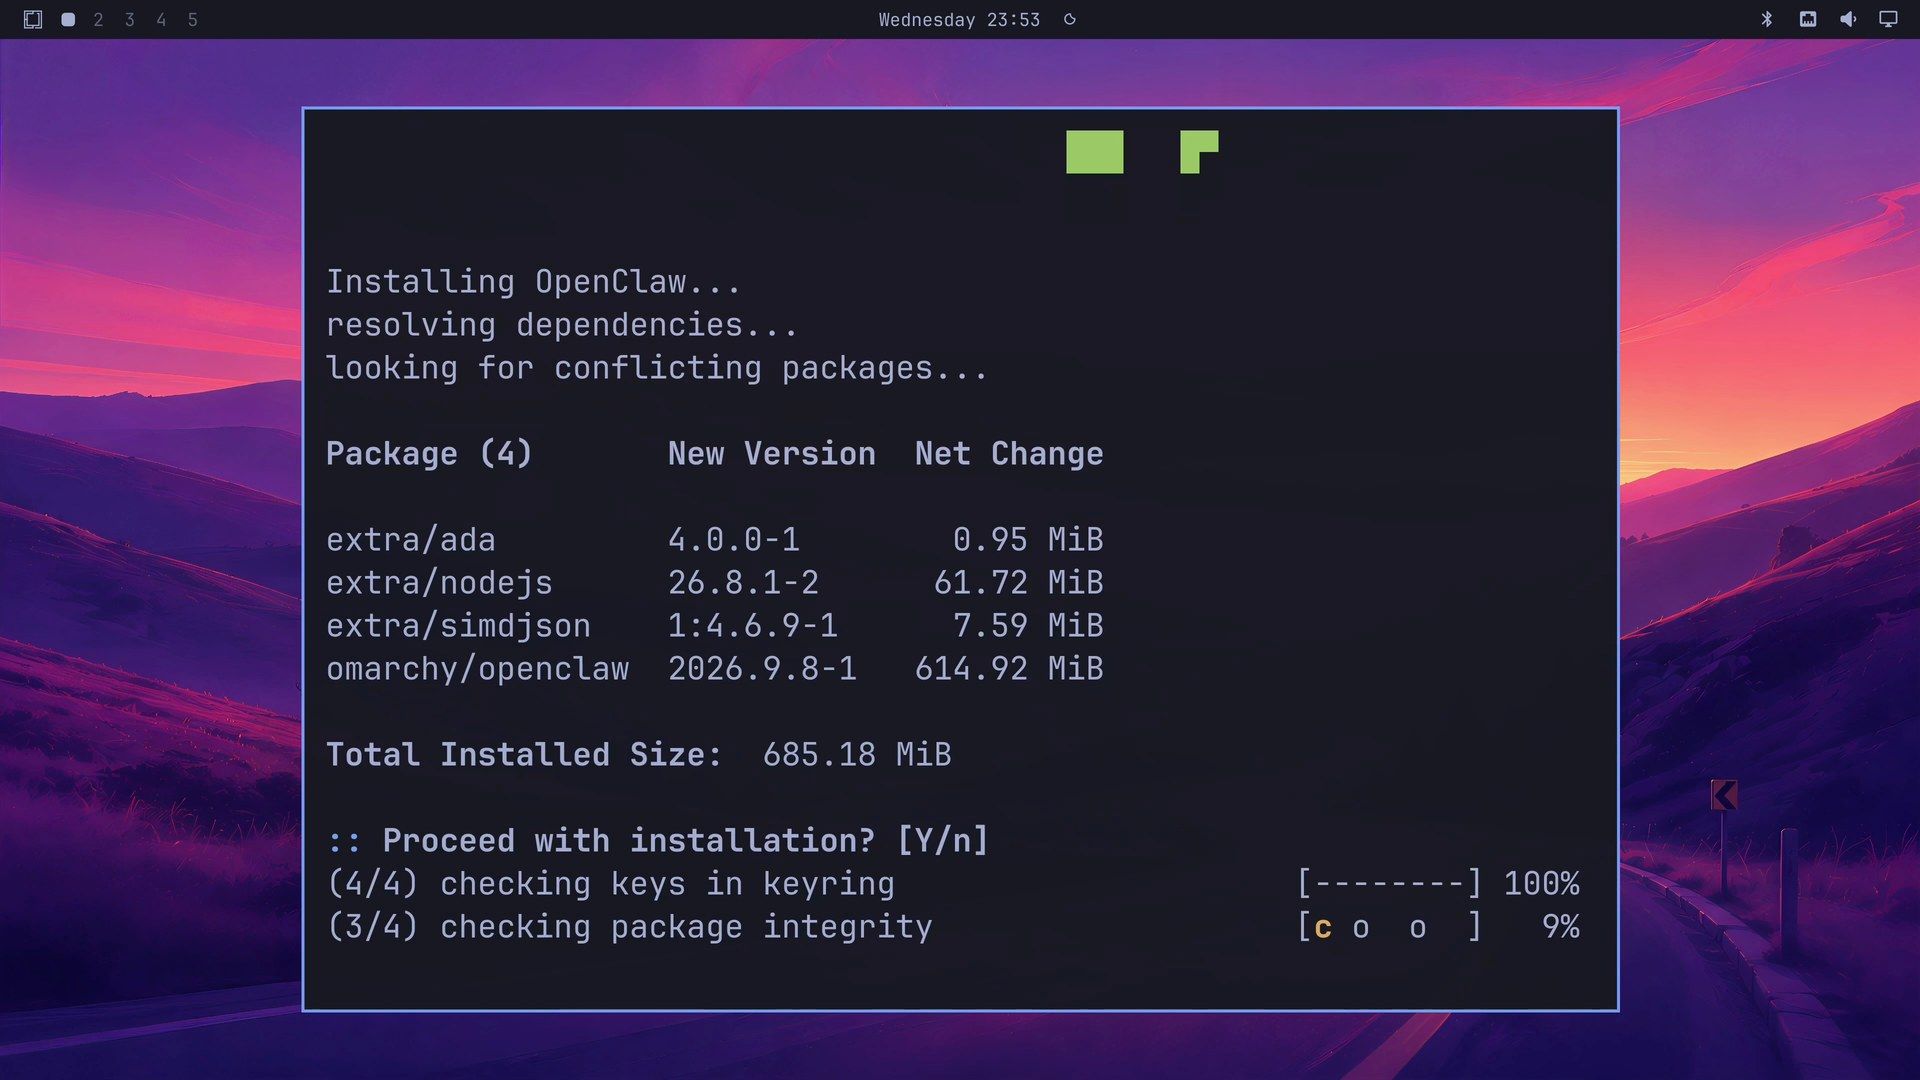
When pacman finishes, the installer adds an OpenClaw web app to the app launcher and starts OpenClaw’s setup wizard in the same terminal. The wizard draws boxes and long lists, so press super f to give the terminal the full screen before you read anything. In the small floating window, the wizard’s boxes draw broken; full screen redraws them cleanly.
Accept the security notice
The wizard opens with a security notice. It lists a recommended safer setup (pairing or allowlists for chats, a sandbox, tools with only the permissions they need, and secrets kept outside the folders the agent can reach) and two commands to run regularly. It ends with a question: “I understand this is personal-by-default and shared/multi-user use requires lock-down. Continue?”
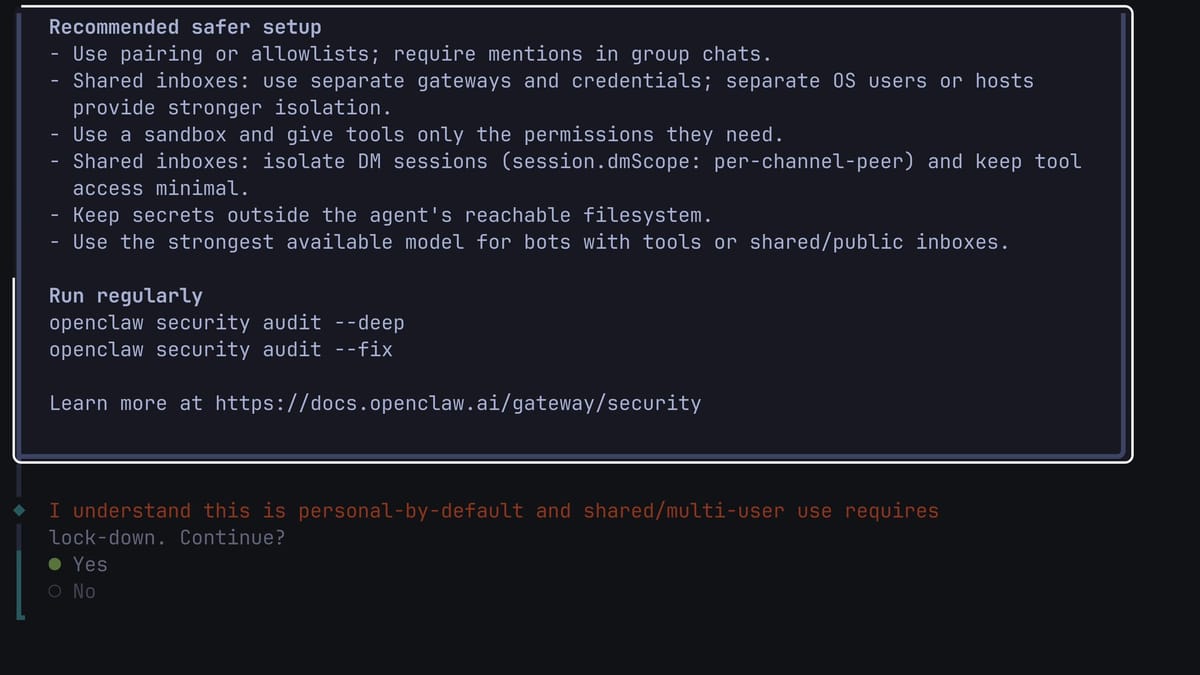
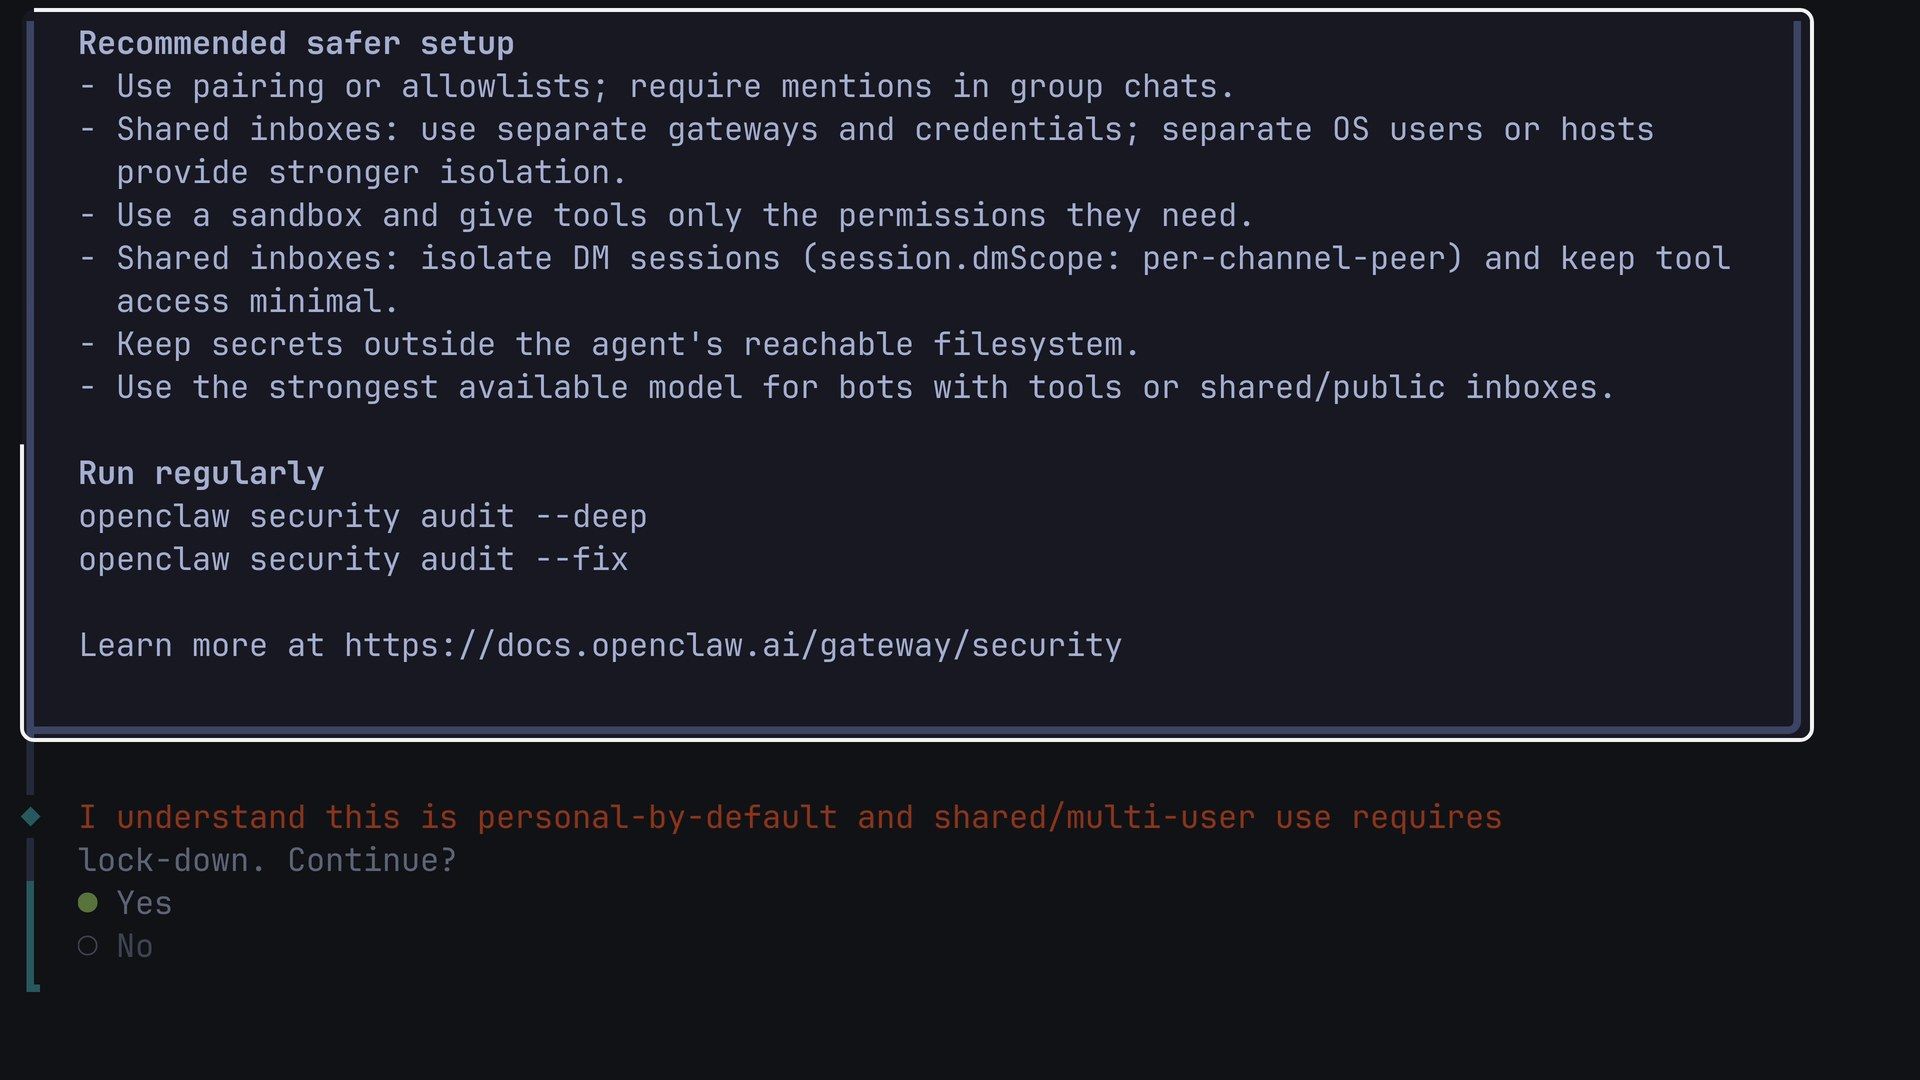
Personal by default means OpenClaw expects one person on one computer. Sharing one agent with other people, or connecting it to a group chat, needs the extra lock-down that the OpenClaw security docs describe. For a personal setup, choose Yes and press enter .
The next screen, “Help make OpenClaw better?”, asks whether to share anonymous feature statistics with the daily update check. No thanks is preselected. You can check or change the choice later with openclaw telemetry show and openclaw telemetry on|off.
Read the QuickStart summary
The QuickStart summary says the gateway listens on port 18789 and binds to loopback (127.0.0.1), the address that only this computer can reach. Every connection needs a generated secret, and Tailscale exposure is off. Other devices on your network cannot reach the agent unless you change those settings yourself.
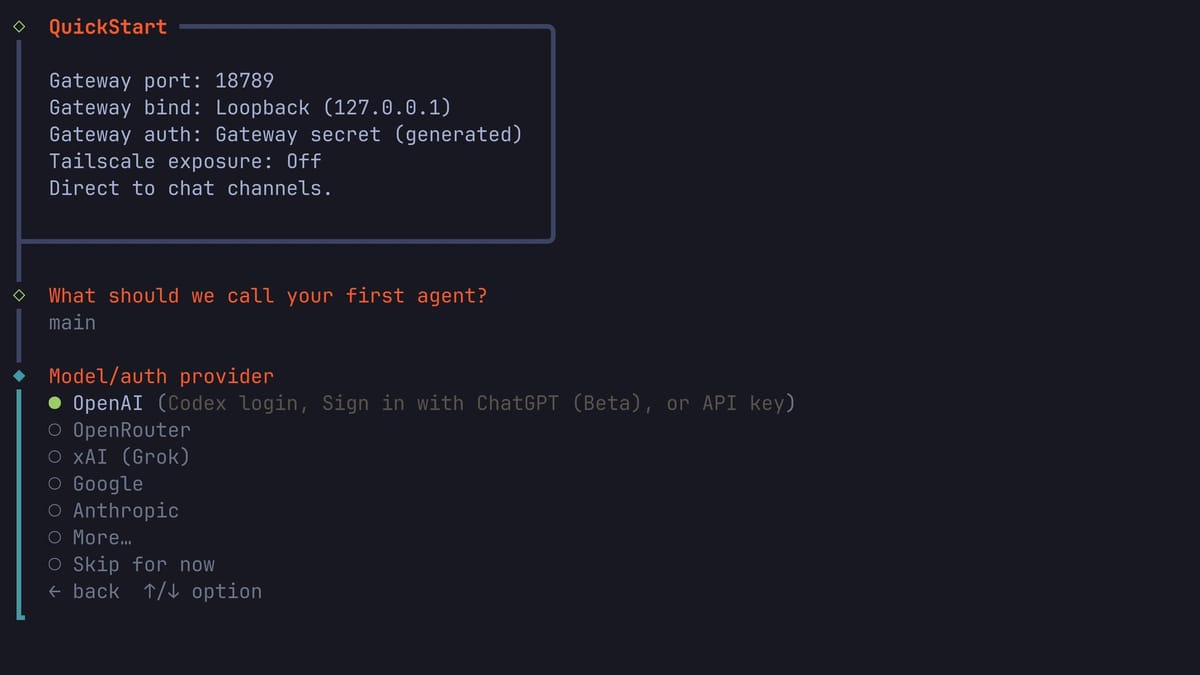
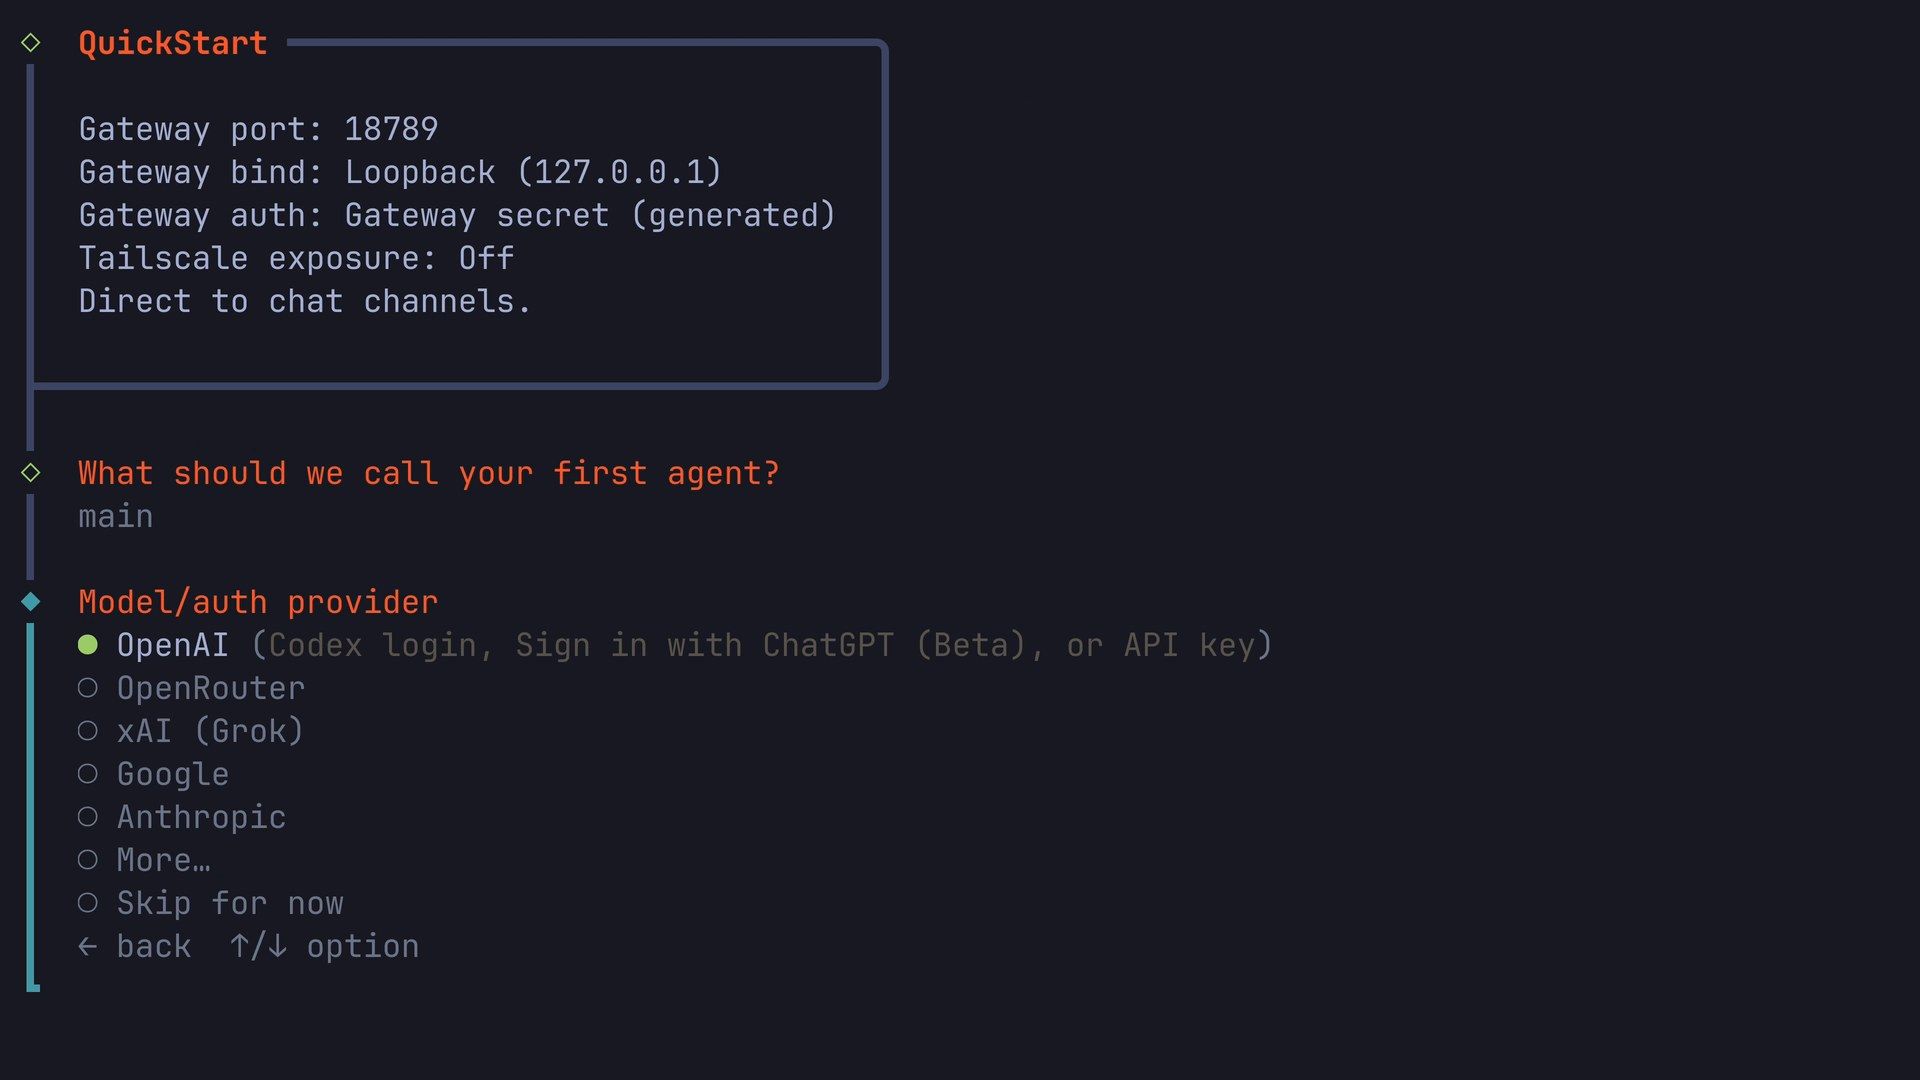
Below the box, the wizard asks what to call your first agent. Press enter to keep the default name, main.
Choose the AI provider and sign in
The provider list starts with OpenAI, OpenRouter, xAI (Grok), Google, and Anthropic. More… opens a searchable list of other providers. We chose OpenAI, which leads to four sign-in methods: Codex login with a device code, Codex login in the browser, Sign in with ChatGPT (Beta), and an OpenAI API key.
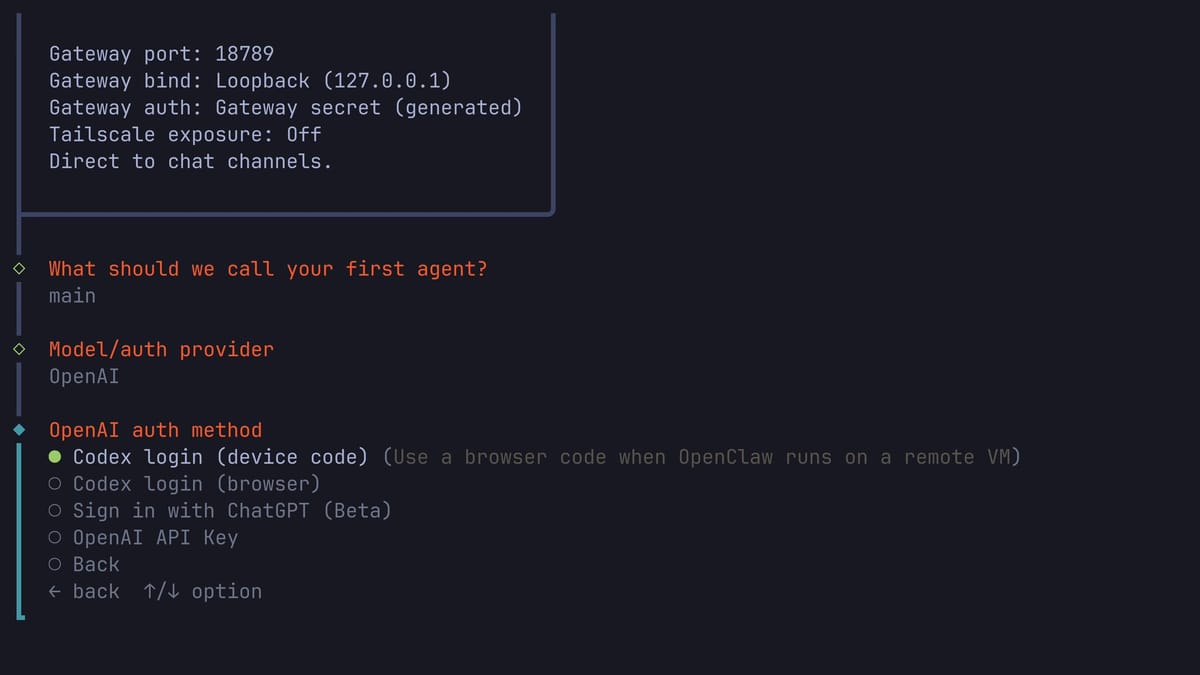
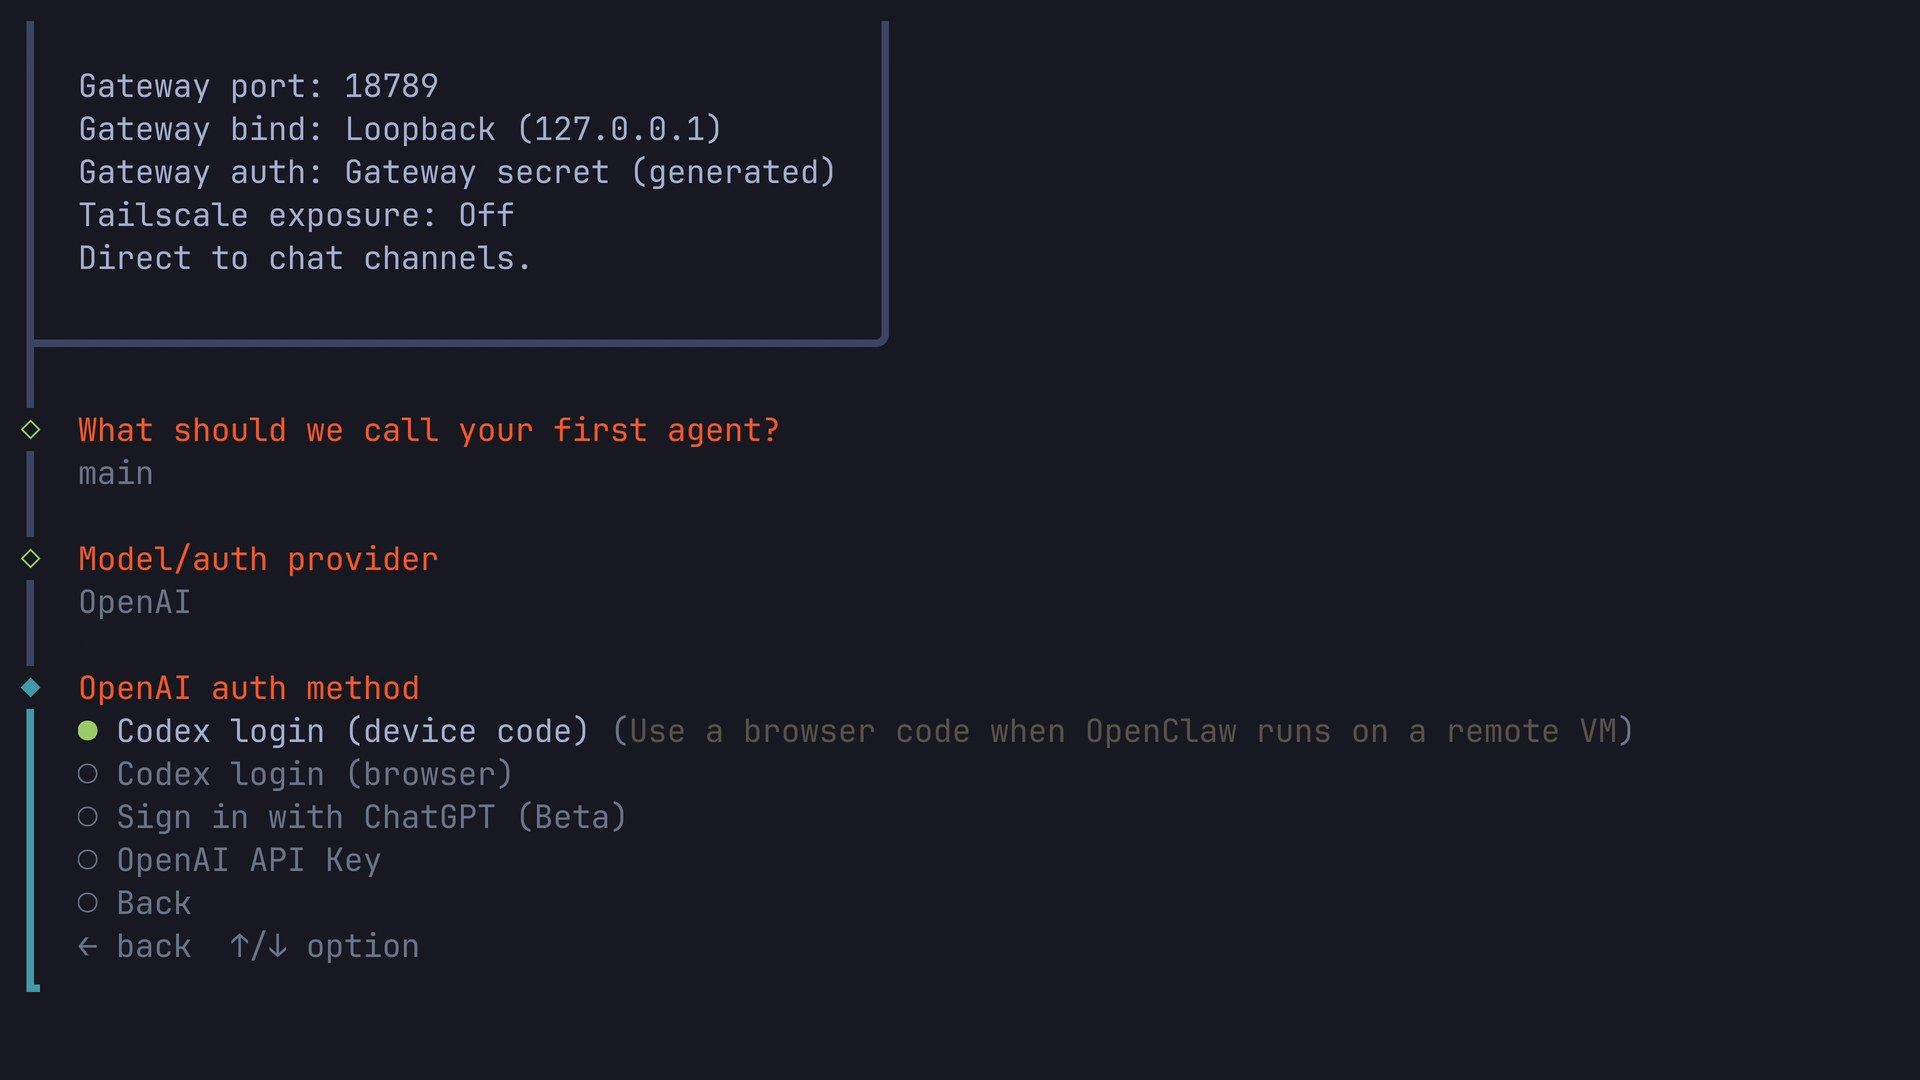
We picked Codex login (device code). The wizard prints a link, auth.openai.com/codex/device, and a short code that expires after 15 minutes. It also opens Chromium on your computer at OpenAI’s sign-in page. You can sign in in that Chromium window, or open the link on your phone or another computer. Sign in with your ChatGPT account, and type the code. Treat the code like a password and do not share it. When the sign-in goes through, the wizard reports that the device code step is complete and installs its Codex plugin.
Keep the suggested model and skip the extras
With the account connected, the wizard sets a default model and asks whether to keep it. Choose Keep current; you can change the model later in the app’s settings.
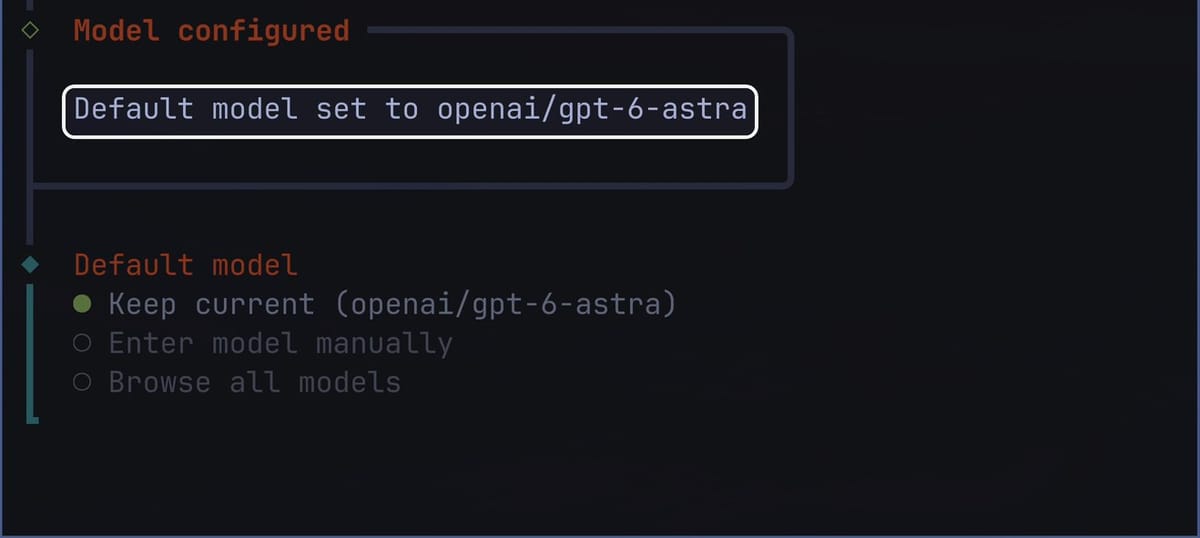
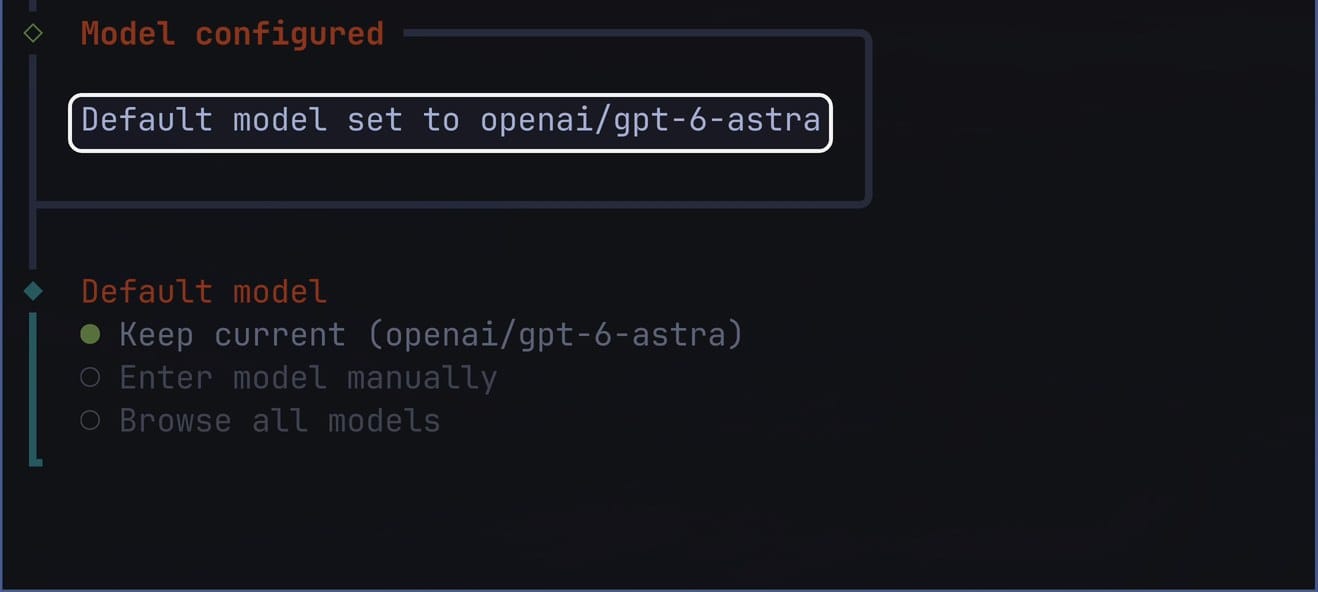
The wizard then asks whether to test AI access with a live completion. Answer Yes: it sends one short request through your account and confirms the sign-in works.
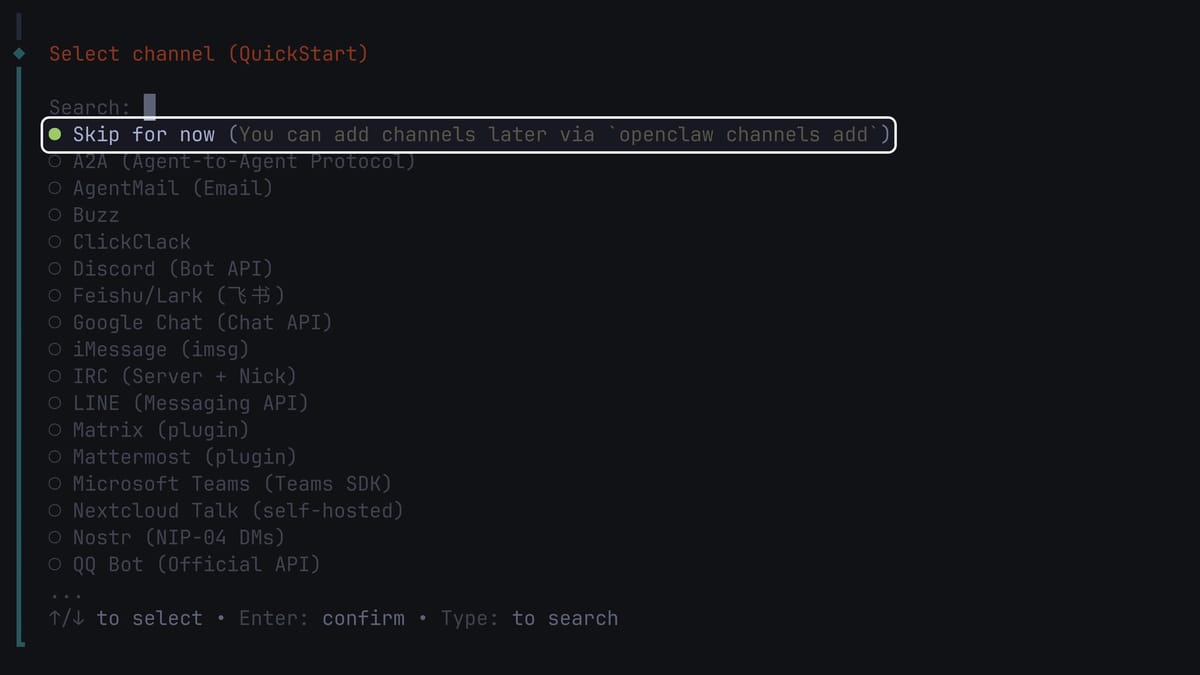
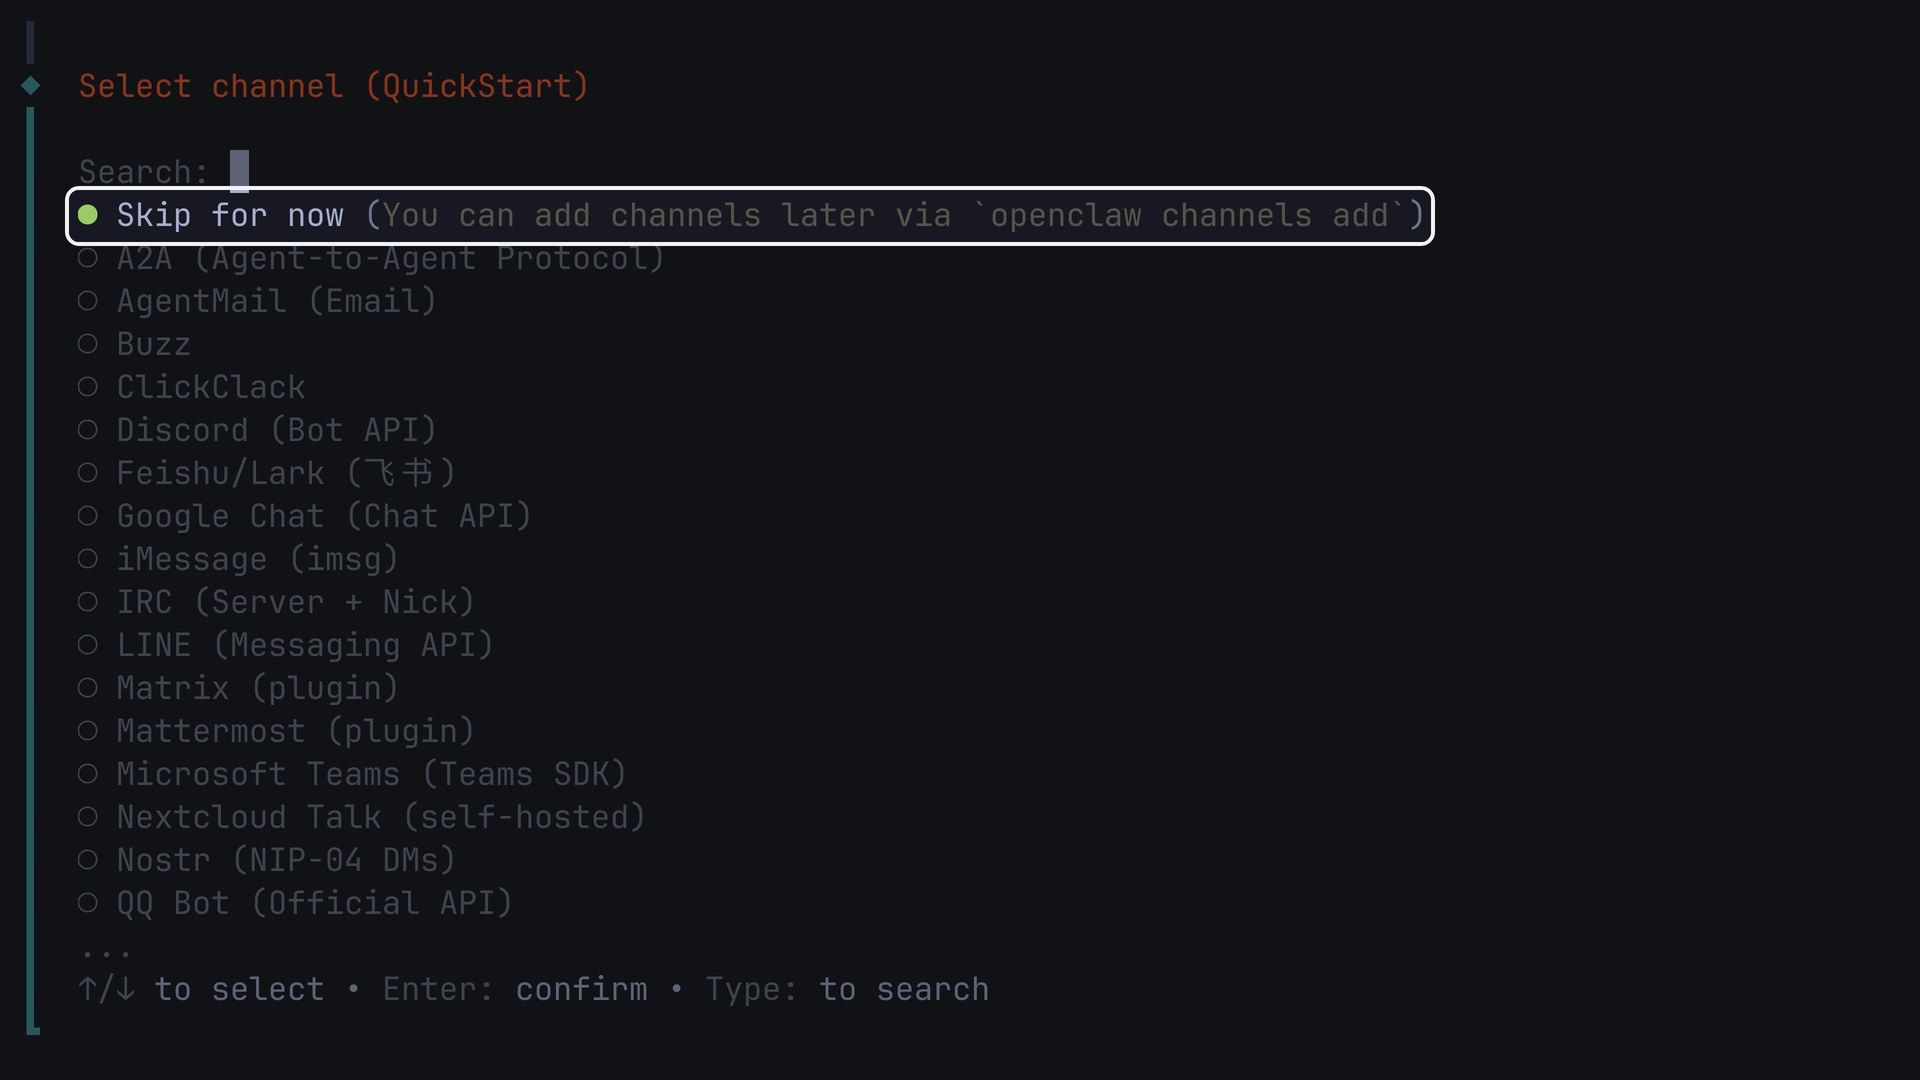
The remaining steps are optional, and we skipped them. At “Select channel (QuickStart)”, choose Skip for now; chat channels such as Discord, Matrix, or Microsoft Teams can be added later with openclaw channels add. At “Search provider”, Skip for now is already selected, so press enter . At “Install missing skill dependencies”, press space on Skip for now to tick it, then enter .
The wizard then installs the gateway as a systemd user service that starts at boot (the wizard turns on systemd lingering for your account), and the OpenClaw app opens. If the wizard closes before the app appears (Omarchy stops the wizard three minutes after it saves your settings, which happens right after the sign-in), press super alt space , type openclaw, and press enter : the first launch from the app launcher installs and starts the gateway itself.
Send a first prompt
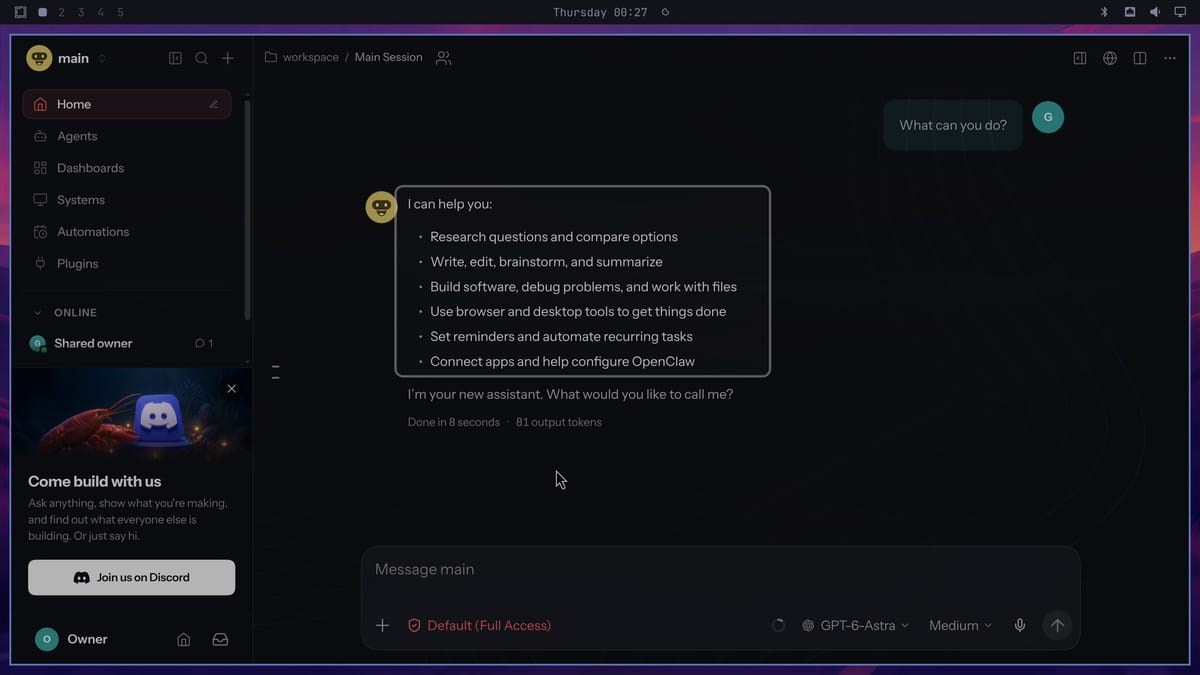
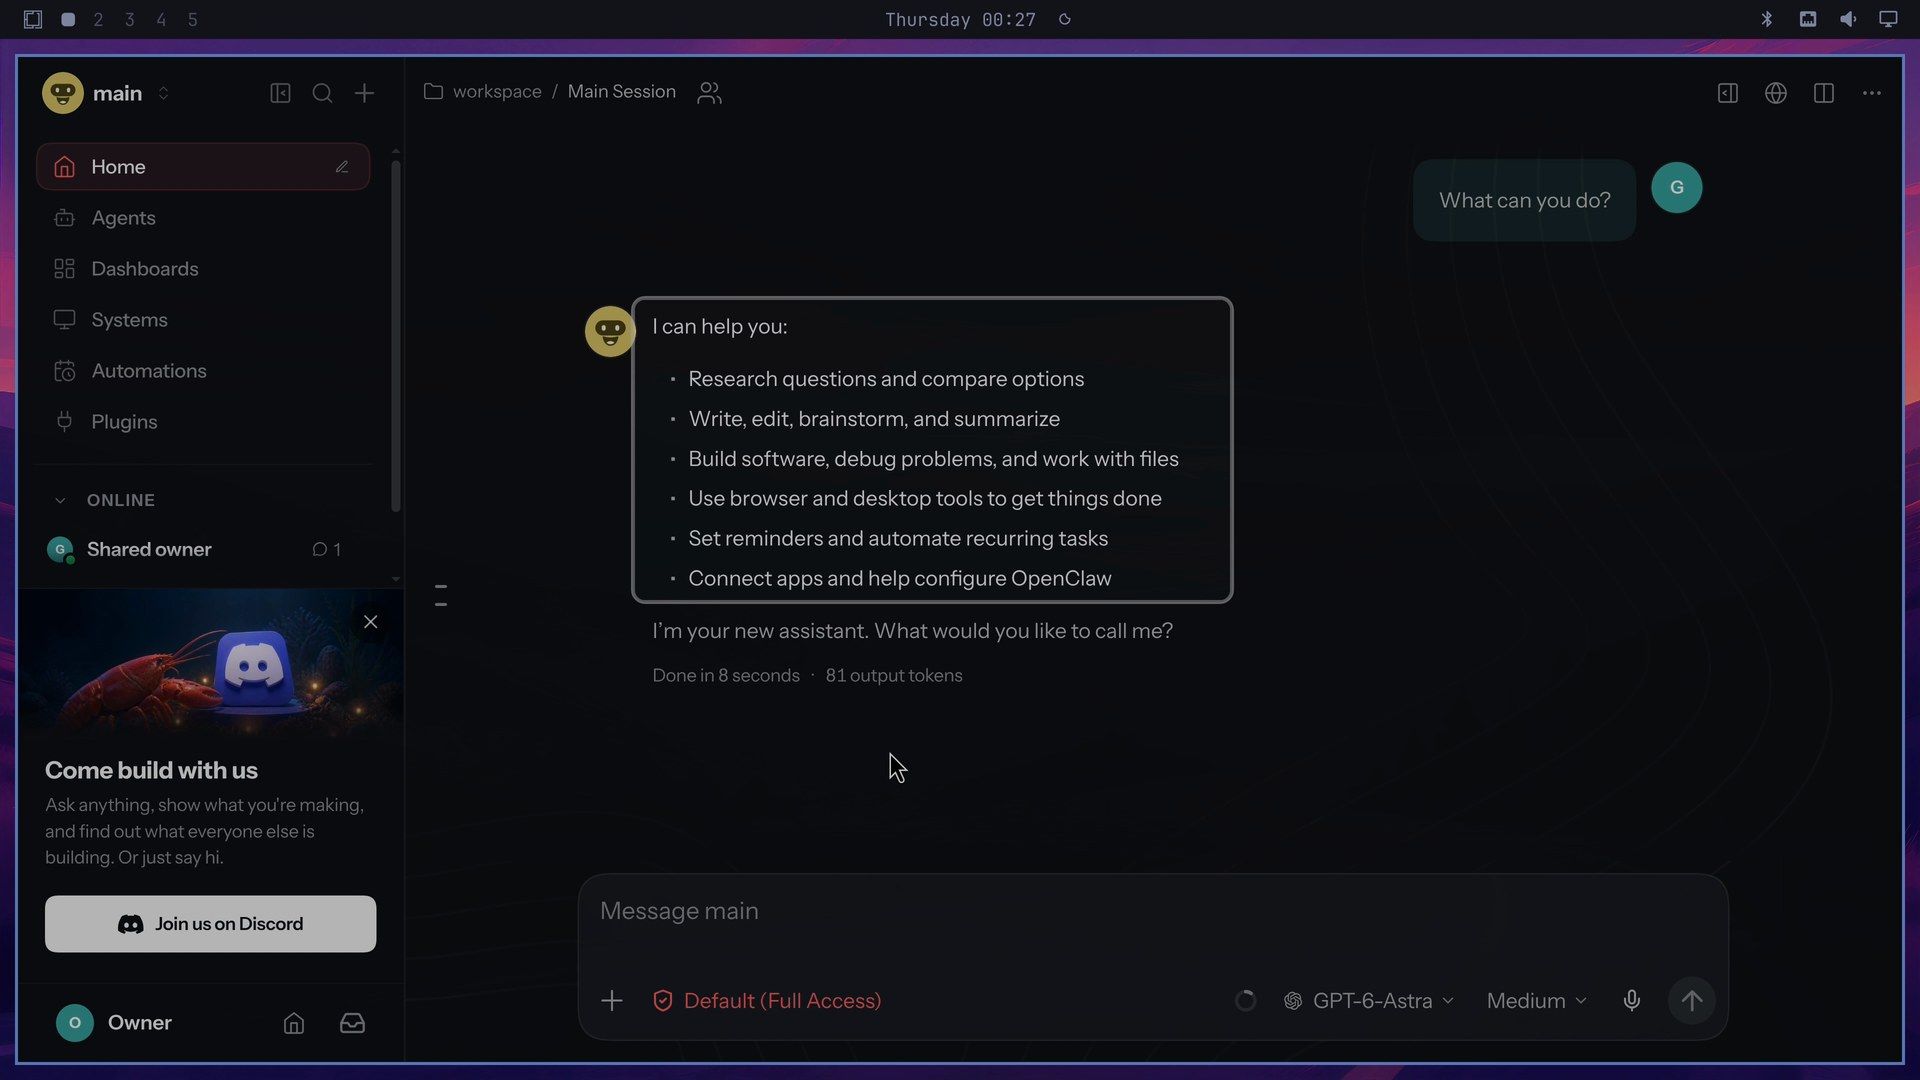
The OpenClaw app opens in its own window, in Chromium’s app mode with no address bar. The sidebar holds Home, Agents, Dashboards, Systems, Automations, and Plugins. The Home page shows your main agent with four suggested prompts: “What can you do?”, “Summarize my recent sessions”, “Help me configure a channel”, and “Check system health”.
We clicked What can you do?. The reply arrived in 8 seconds, with a short list: research and comparisons, writing and summaries, building and debugging software, browser and desktop tools, reminders and recurring tasks, and connecting apps.
Check the execution permissions
Below the message box, a chip reads Default (Full Access) in red. Click it to see the execution permission levels:
- Default: follows the agent’s own configured setting, which on a new install is Full Access.
- Read Only: agent tools can read within the session root but cannot write files or run commands.
- Guarded: a person reviews any request that goes beyond the session root.
- Workspace: an AI reviewer checks requests beyond the session root.
- Full Access: no reviewer, with files and commands unrestricted.
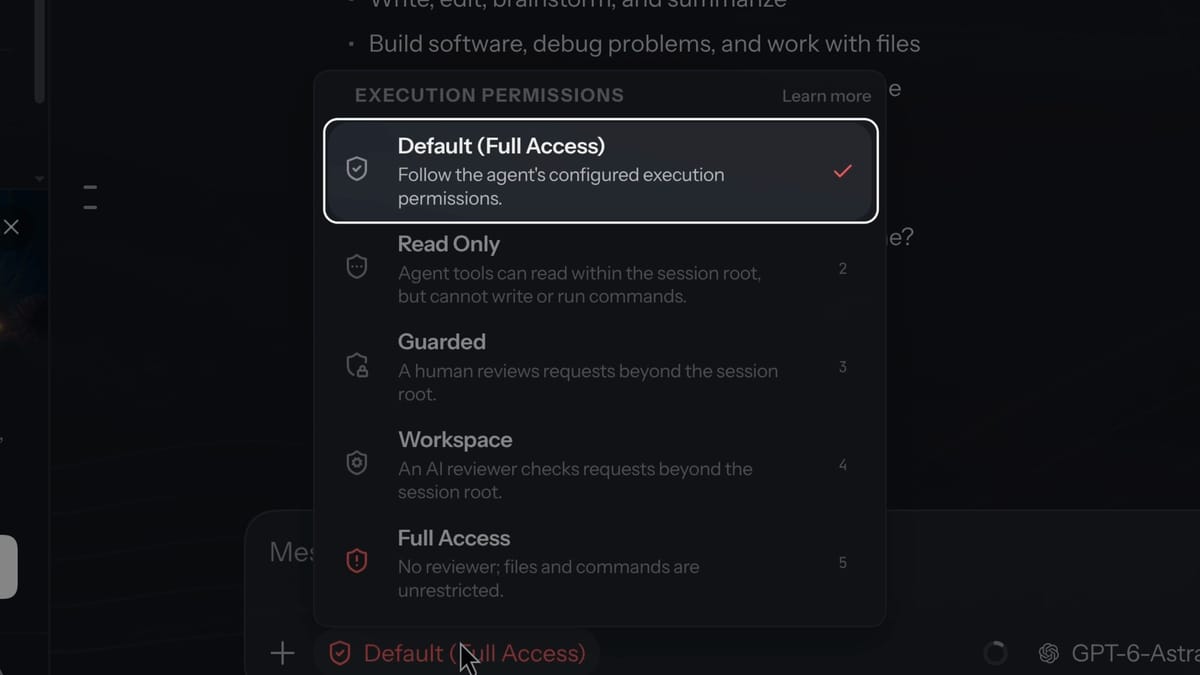
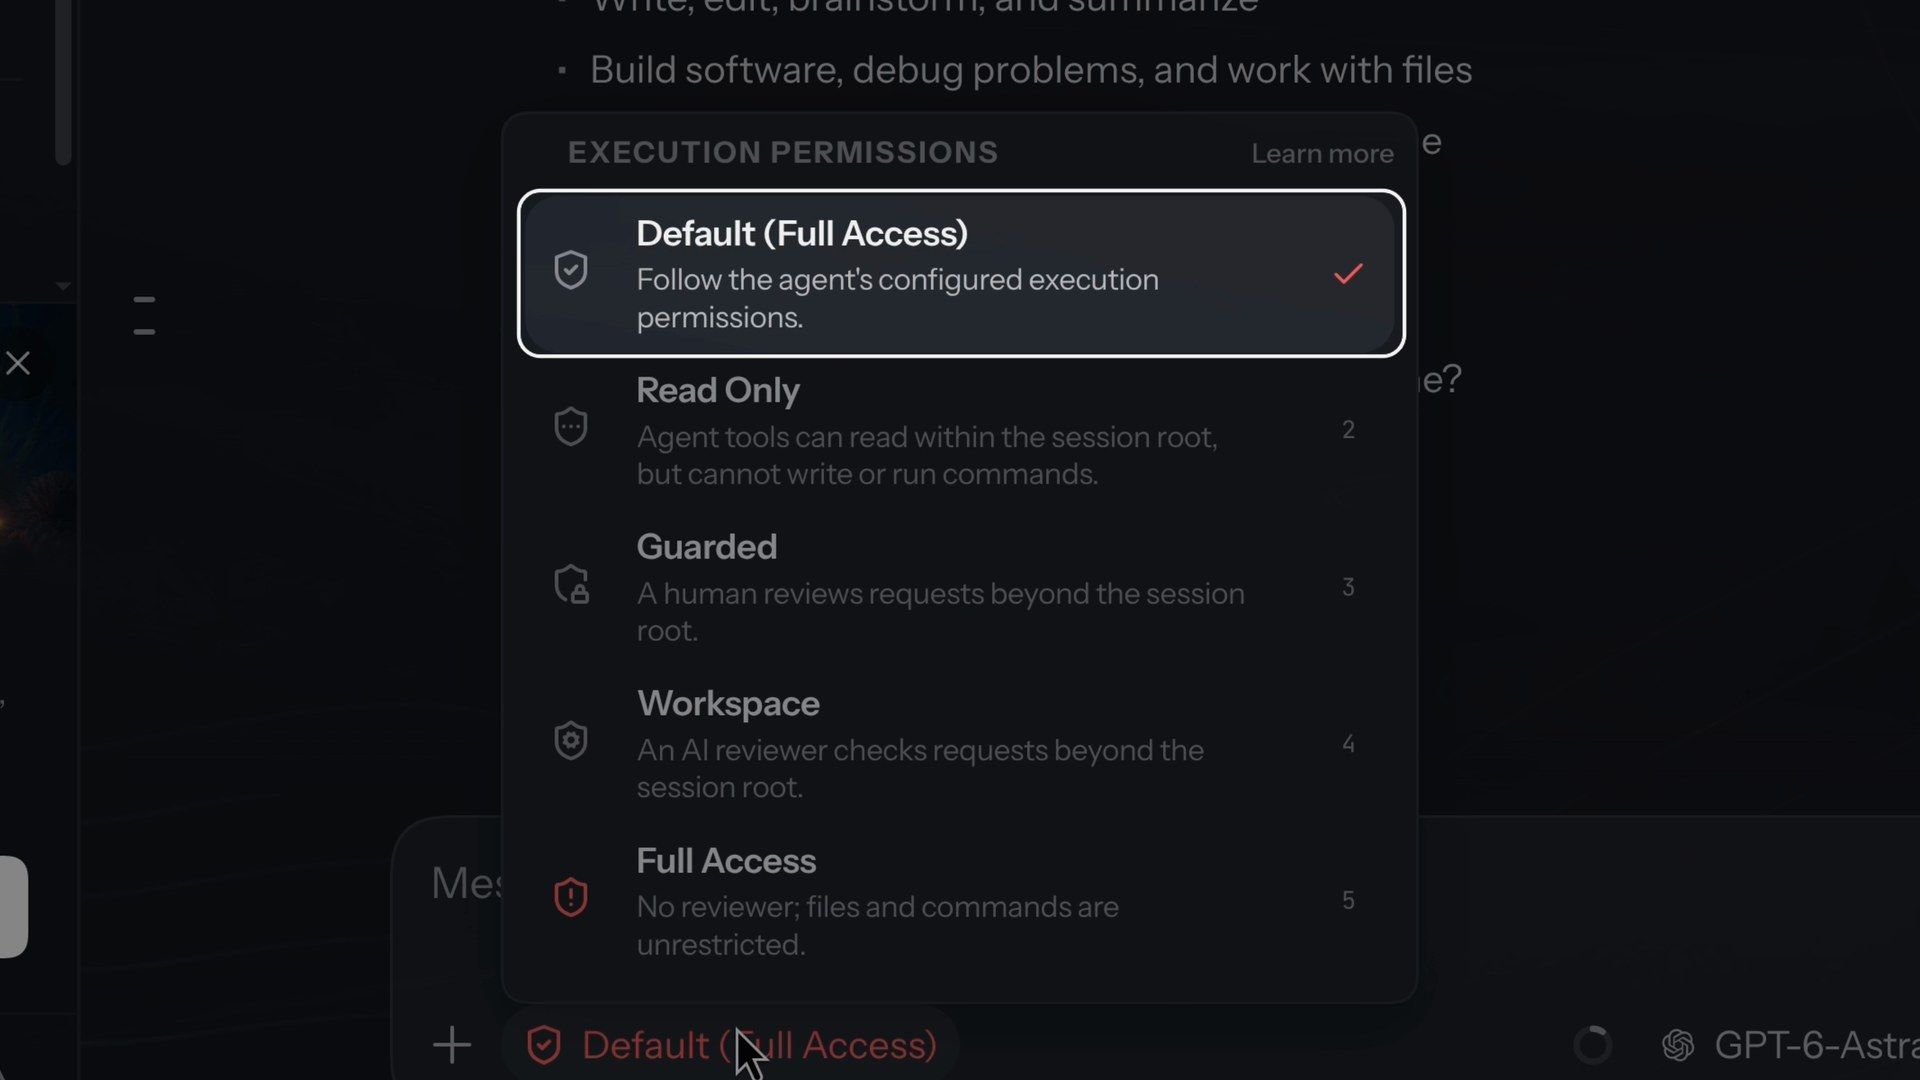
The session root is the folder the agent works in. On a new install, the agent can change any file your user account can change and run any command you could run, with nobody approving it first. Read Only suits questions and research, where the agent has no reason to change anything. With Guarded, you review any request that reaches beyond the session root. Click a level in this menu to switch to it.
Look through the security settings
Press ctrl shift , to open the settings, and press esc to go back to the chat. The Gateway, Privacy & Security, and Updates pages show how the agent is reached, what it may use, and how it gets new versions.
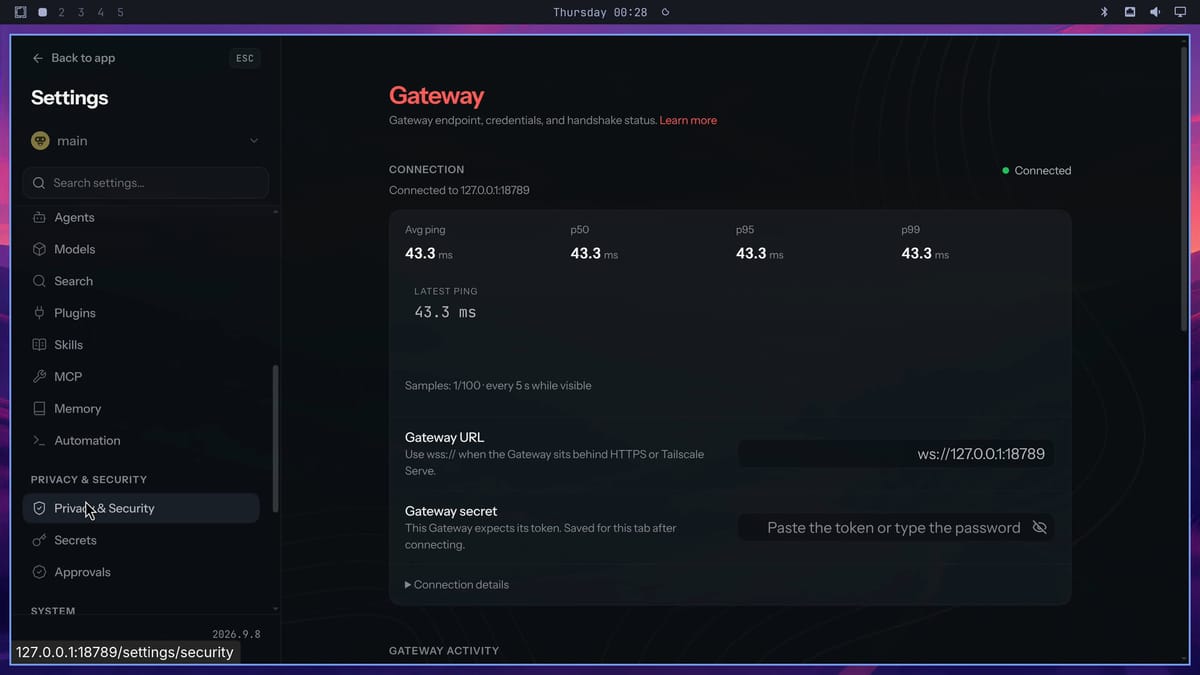
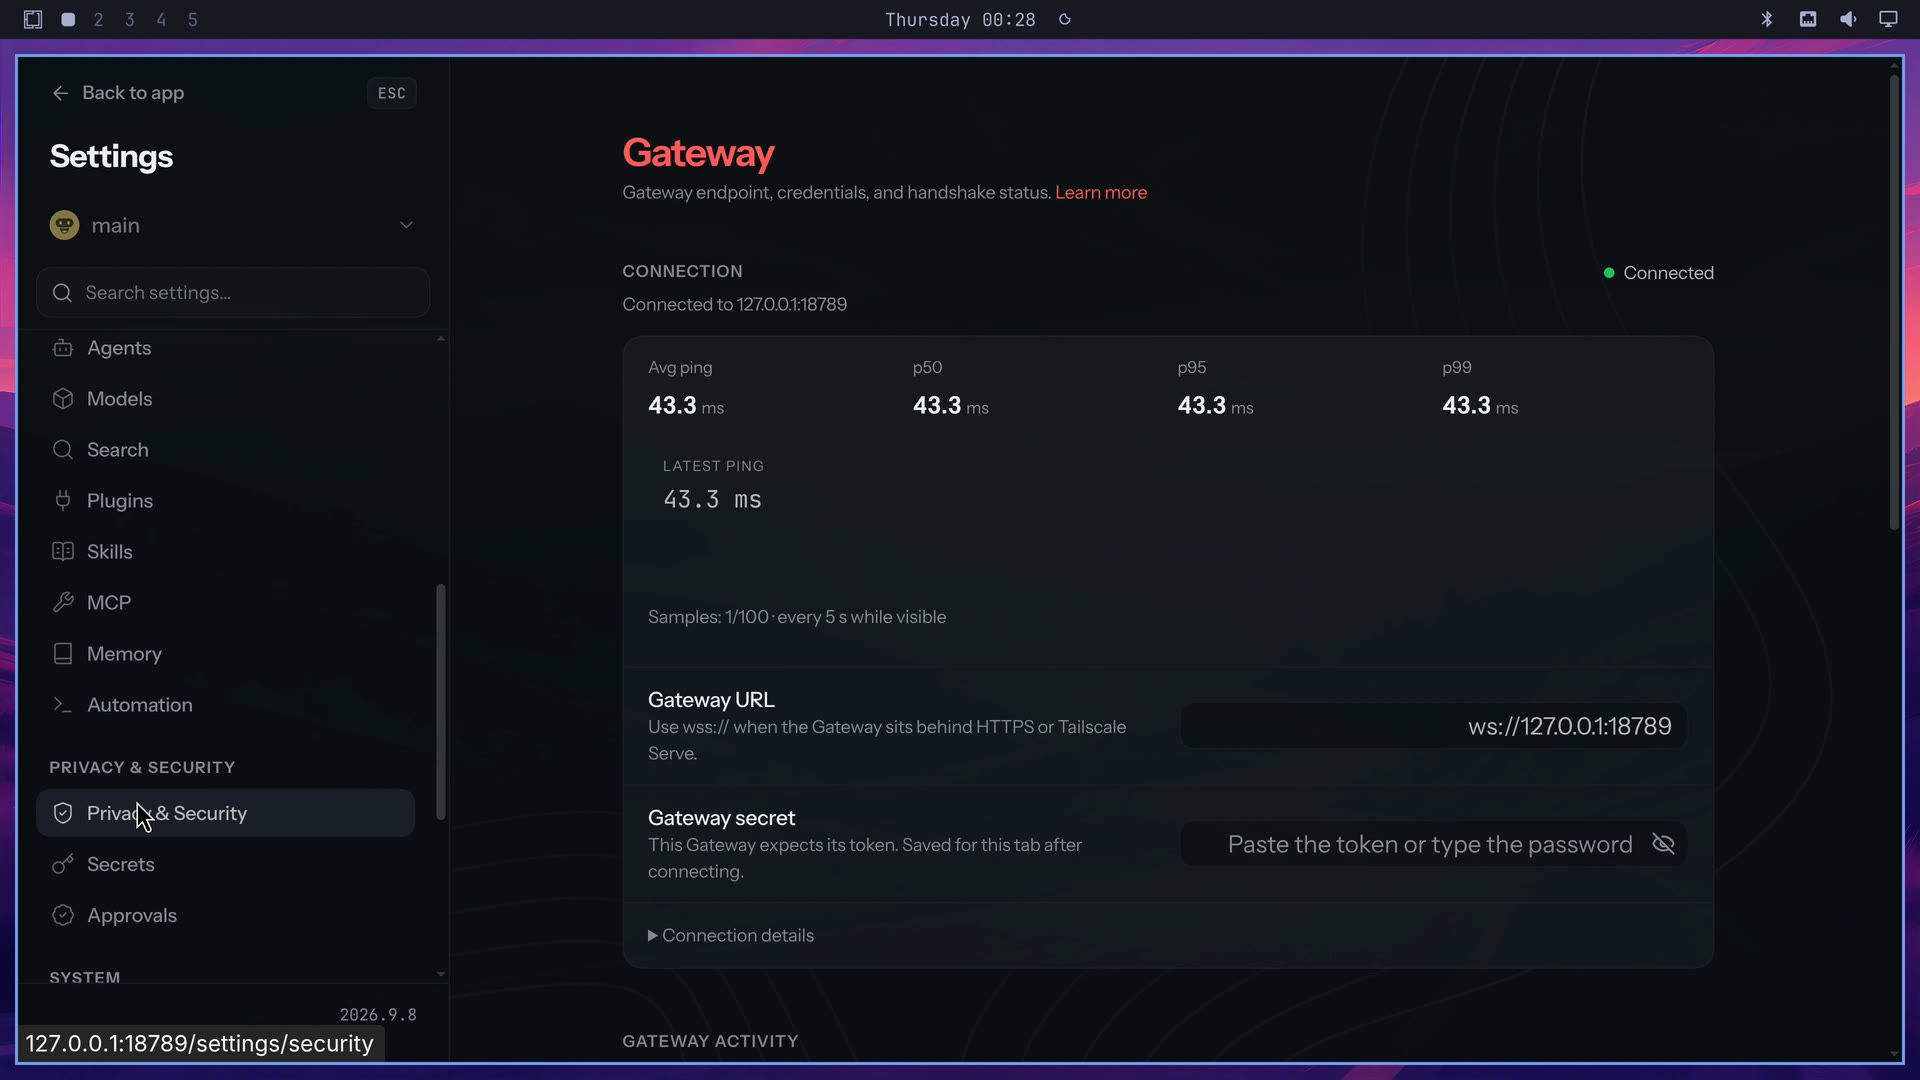
Gateway shows “Connected to 127.0.0.1:18789”, the gateway on this computer’s own address, with the ping figures (average, p50, p95, and p99) and the gateway URL below it.
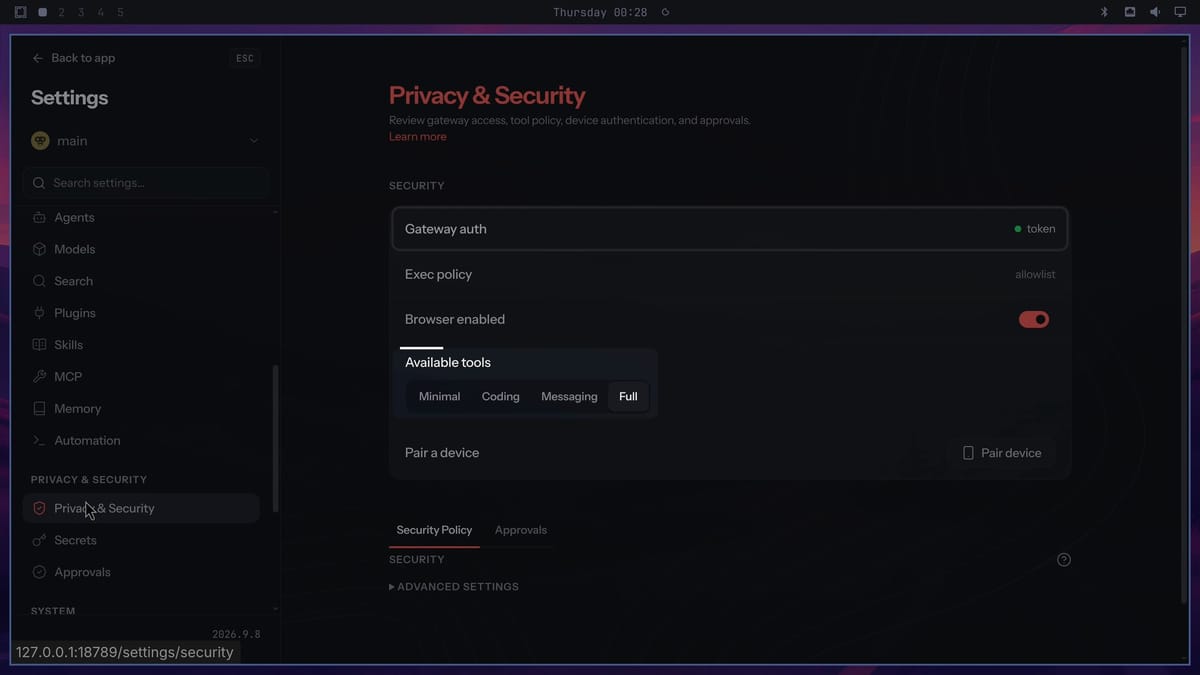
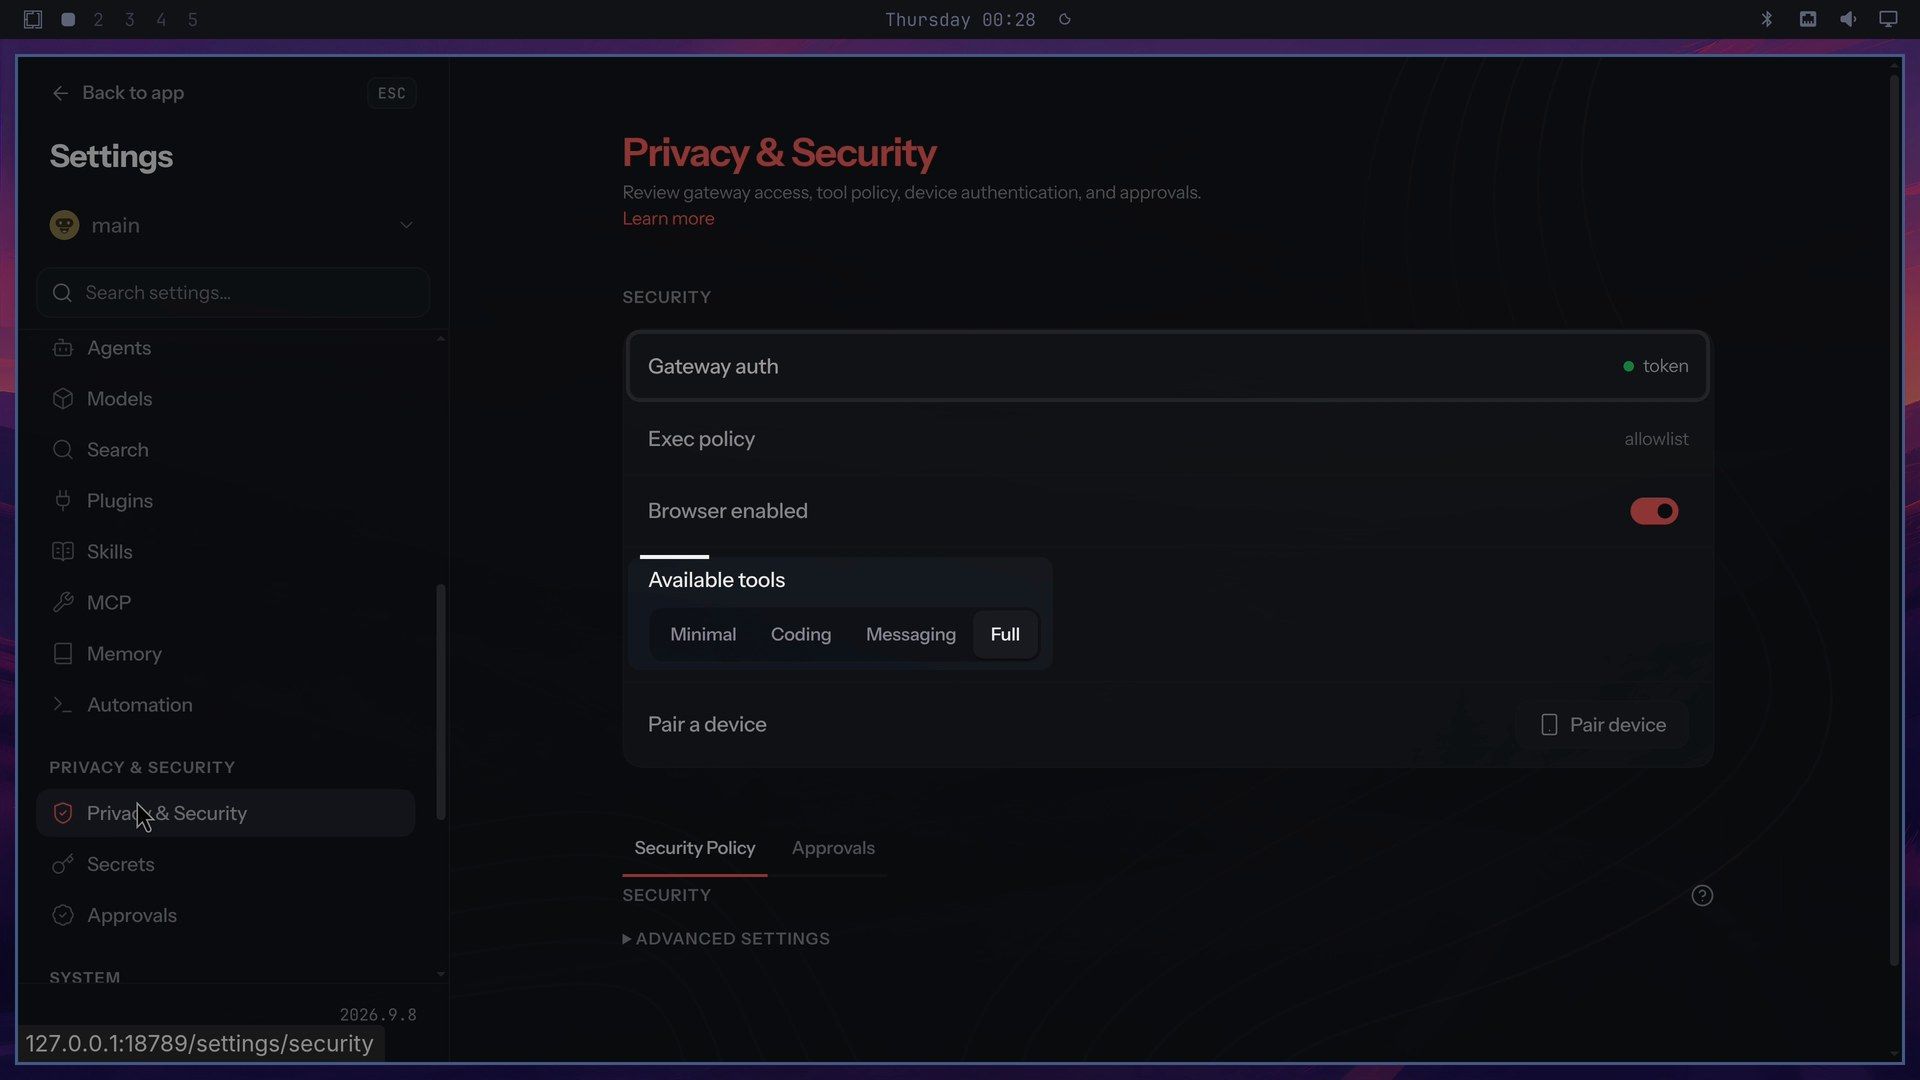
Privacy & Security shows that gateway sign-in uses a token, that the exec policy is set to “allowlist”, and that the browser tool is on. Its Available tools row picks which tool sets the agent may use: Minimal, Coding, Messaging, or Full. A new install starts on Full.
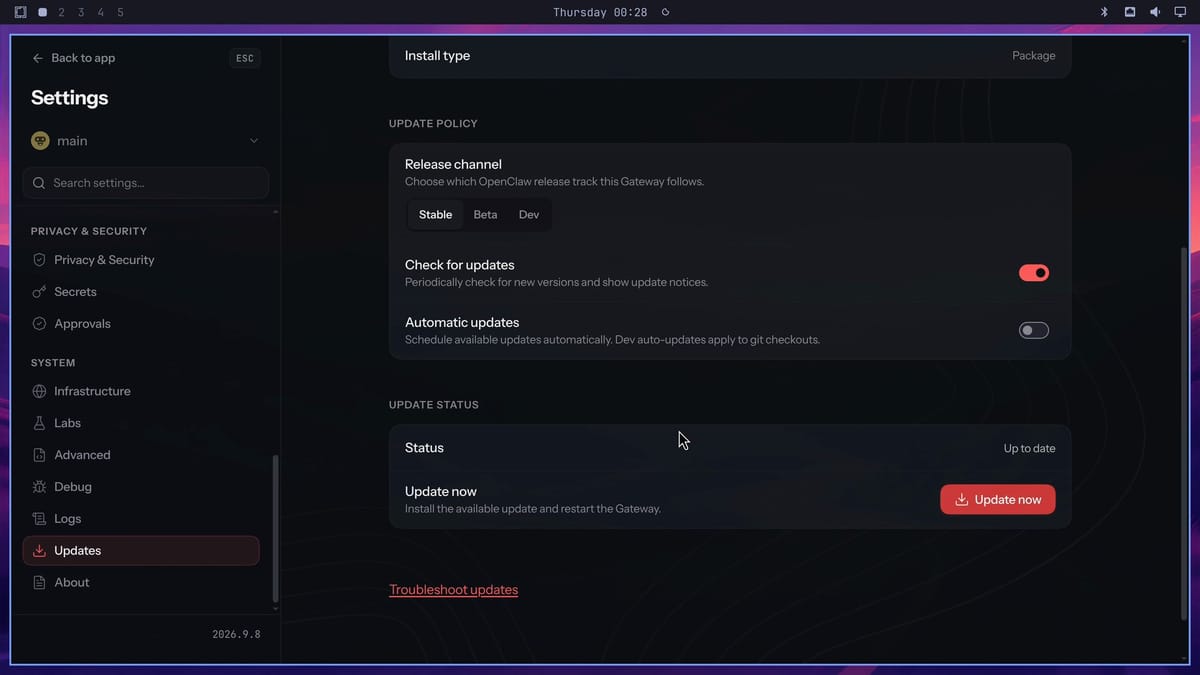
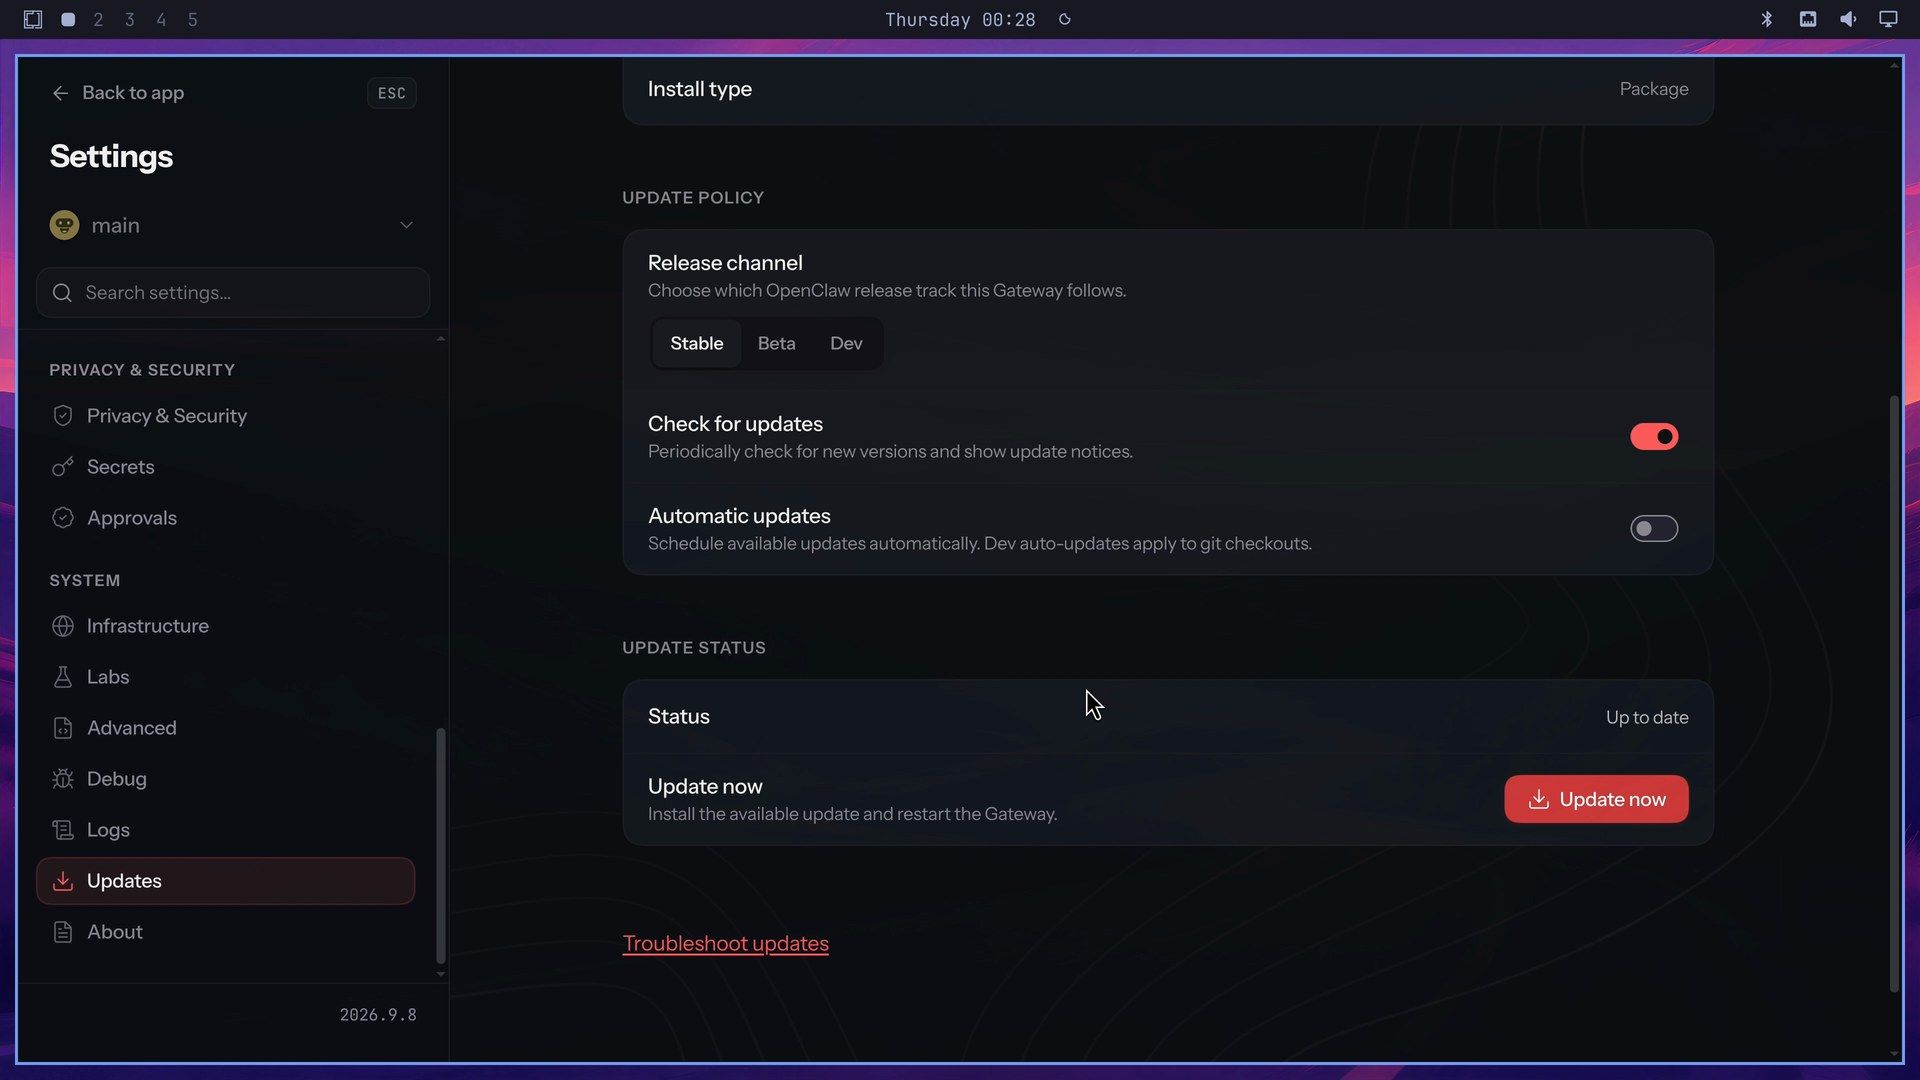
Updates lists the gateway version (2026.9.8) and an install type of Package, which means Omarchy’s package manager installed it. Automatic updates are off. In Omarchy 4.0.4, Omarchy’s manual says to skip the app’s update button, because new versions arrive with your regular Omarchy updates. After an update, the package asks you to run openclaw gateway restart, so the running gateway picks up the new version, and the same note asks you to run openclaw doctor.
Run the security audit
The wizard’s security notice suggests running openclaw security audit regularly. Open a terminal with super enter and run:
openclaw security audit --deepThe audit checks your configuration and local files for risky settings. The --deep option also probes the running gateway. A second form, openclaw security audit --fix, applies the safe fixes it finds, such as tighter defaults and file permissions on the config. Run the plain audit first, so you can read what it would change.
Stop the gateway or remove OpenClaw
The gateway keeps running in the background, even with the app window closed. To stop it until the next restart, run:
systemctl --user stop openclaw-gatewayTo remove OpenClaw, press super space , go to Remove, then AI, and pick OpenClaw. The package manager then removes the same four packages, and a prompt asks whether to “Also delete ~/.openclaw”, with its size and a note that it holds chats, memories, credentials, and downloaded plugins. No is preselected.
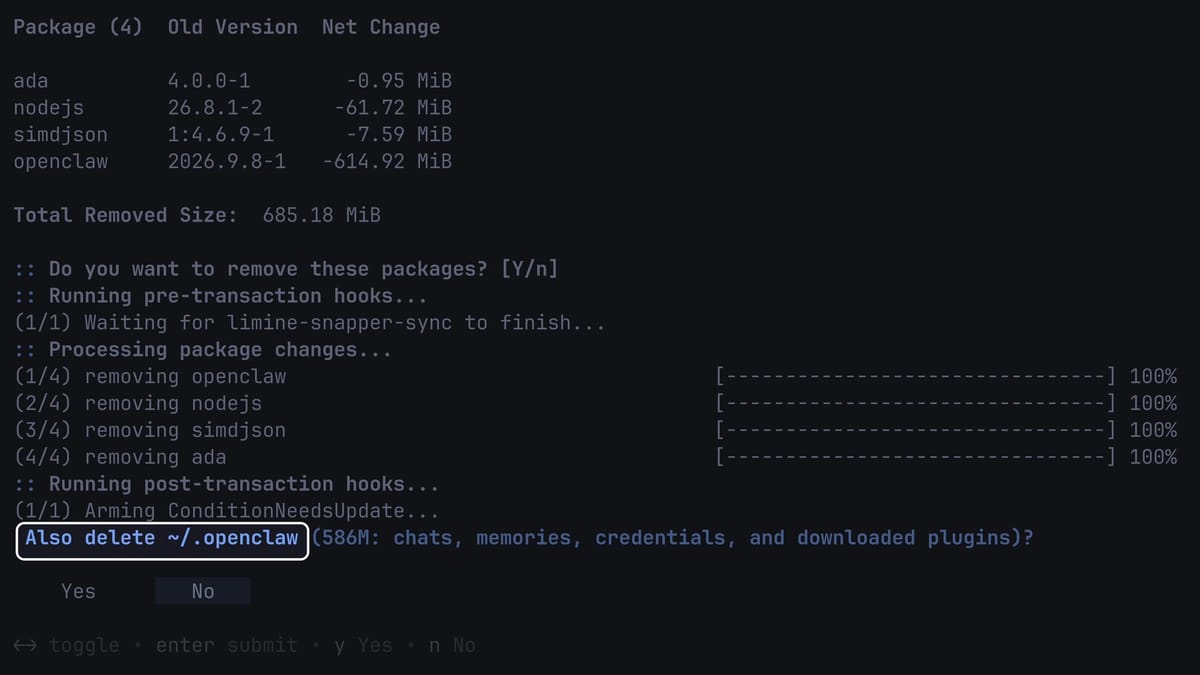
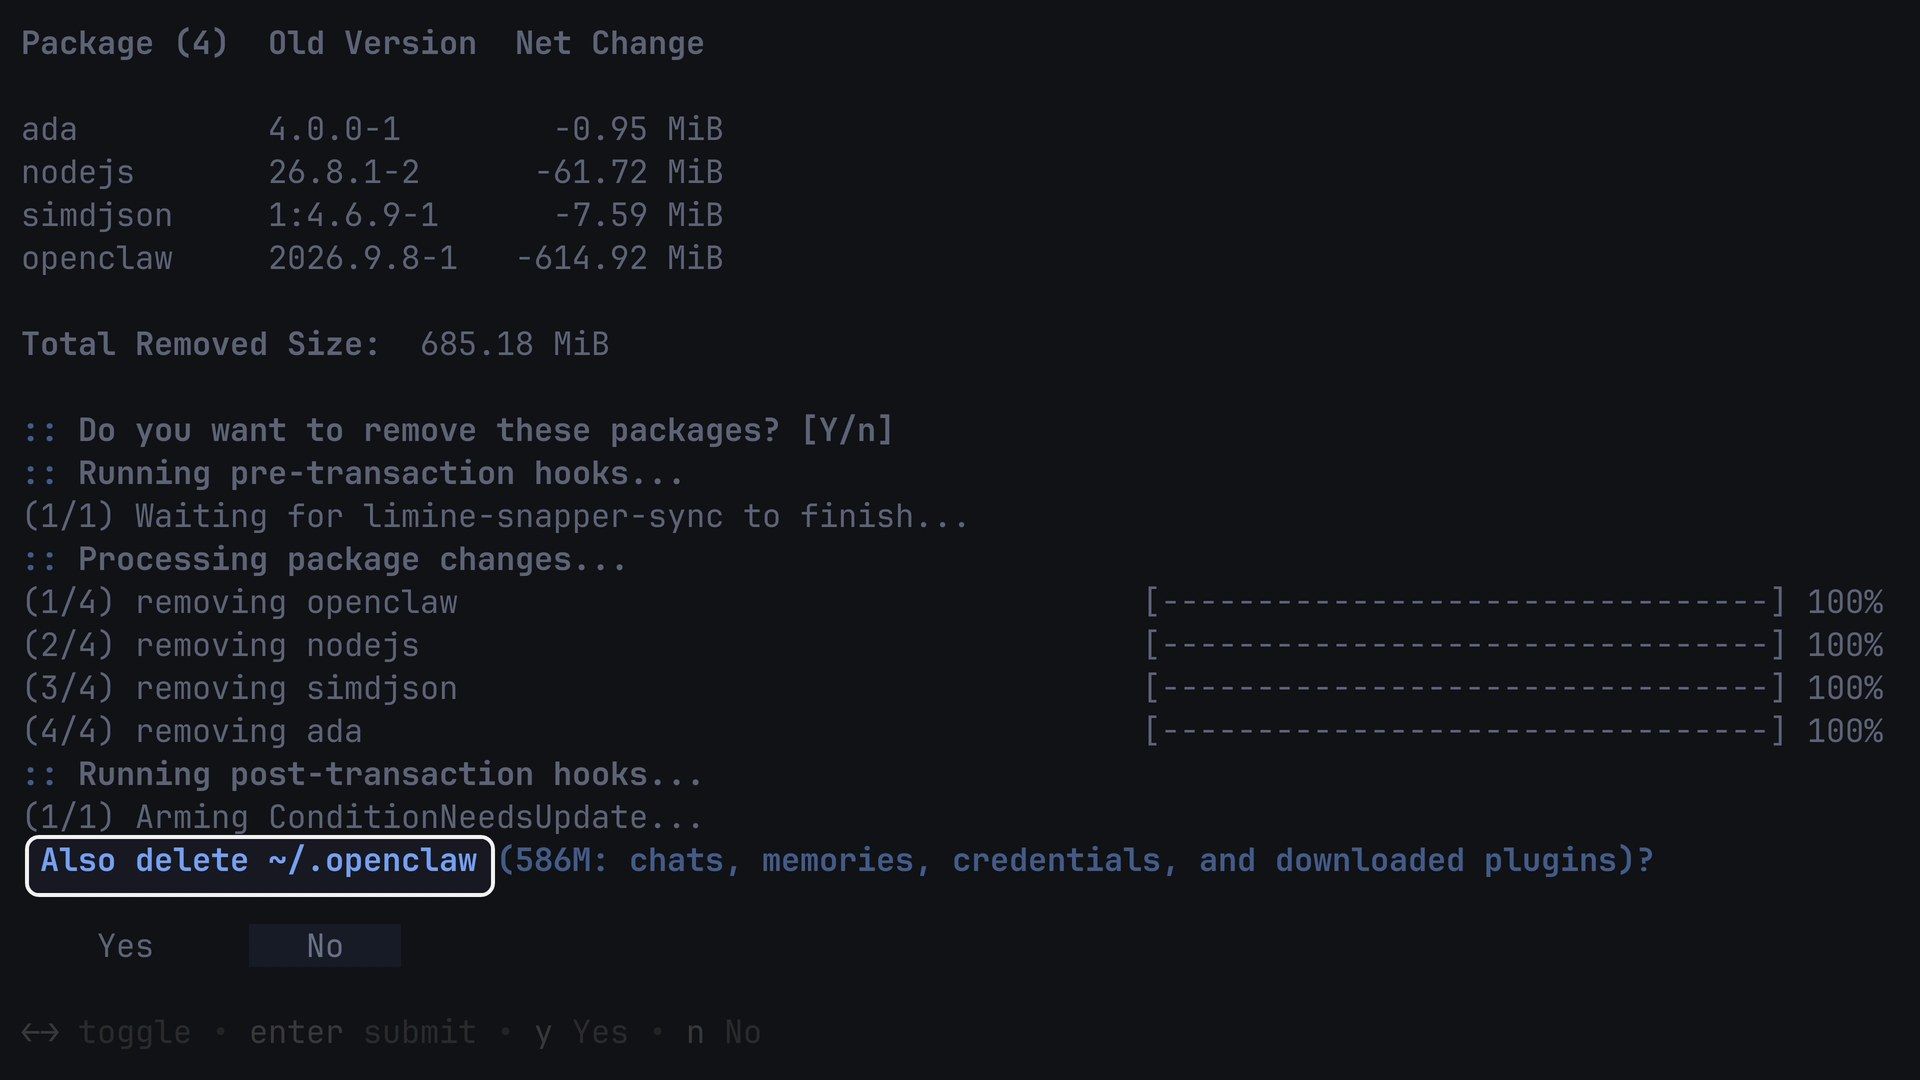
With No, your chats, memories, and saved sign-ins stay in ~/.openclaw for a later reinstall. We chose Yes, and the terminal confirmed: “OpenClaw has been removed. Its chats, memories, and settings in ~/.openclaw are gone too.” The gateway service and the web app go with it.
Where to go next
OpenClaw changes quickly, and the wizard steps above may shift with the next package update. The OpenClaw security docs cover what the audit checks and how to lock down a shared setup.
If you want a machine to run an agent like this around the clock, our Omarchy 4 hardware guide lists mini PCs and laptops that run Omarchy well, and our look at Beelink’s mini PCs with OpenClaw preinstalled weighs those against setting it up yourself. For more Omarchy apps, see the OmaPhoto photo editor guide and the Flea file manager guide.