
An Omarchy theme is a small colors file plus a wallpaper, so one photo is enough to build one. Aether is the app that does it. It has shipped with Omarchy since version 3.1, so it is already on your machine. It reads the colors in a picture, turns them into the sixteen terminal colors and the accent colors Omarchy uses, and saves the result as a theme you can pick from the theme switcher like any other.
This is the written companion to our Aether video. We build a theme from a photo of Dotonbori in Osaka at dusk, look at what it changes on the desktop, then try an autumn photo from Kamikochi whose colors come out too alike and fix them by hand. Everything below was done with Aether 4.30.0, the version Omarchy’s package repository ships.
What you need
You need Omarchy and a photo. Aether is mostly a mouse-driven app: picking the photo, extracting colors, choosing a style, and editing a swatch all need the pointer, while applying ( ctrl enter ) and saving a theme folder ( ctrl j ) have keyboard shortcuts. Omarchy uses the Super key for its own shortcuts; on a PC keyboard that is the Windows key. If the Omarchy shortcuts are new to you, our list of Omarchy shortcuts to learn first covers the launcher, the terminal, and moving between workspaces.
Put your photo in the Wallpapers folder in your home folder (~/Wallpapers). That is where Aether looks by default, and you can point it at another folder in Aether’s settings. A wide photo at your screen’s resolution or larger makes the best wallpaper, since the photo becomes the desktop background too.
Open Aether and load a photo
Press super alt space to open the app launcher, type aeth, and press enter . Aether opens and fills the whole workspace.
Click the Local tab to see the pictures Aether found. The first time it runs, Aether adds eight sample wallpapers of its own (in ~/Wallpapers/Aether), so your photos sit after them. The quickest way past them is the search box: type part of the file name (we typed dotonbori).
Hover over the photo and three buttons appear: Use, Wallpaper only, and Preview. Click Use. The tooltip says it sets the wallpaper, but Use only loads the photo into the editor. The desktop wallpaper changes when you save the theme.
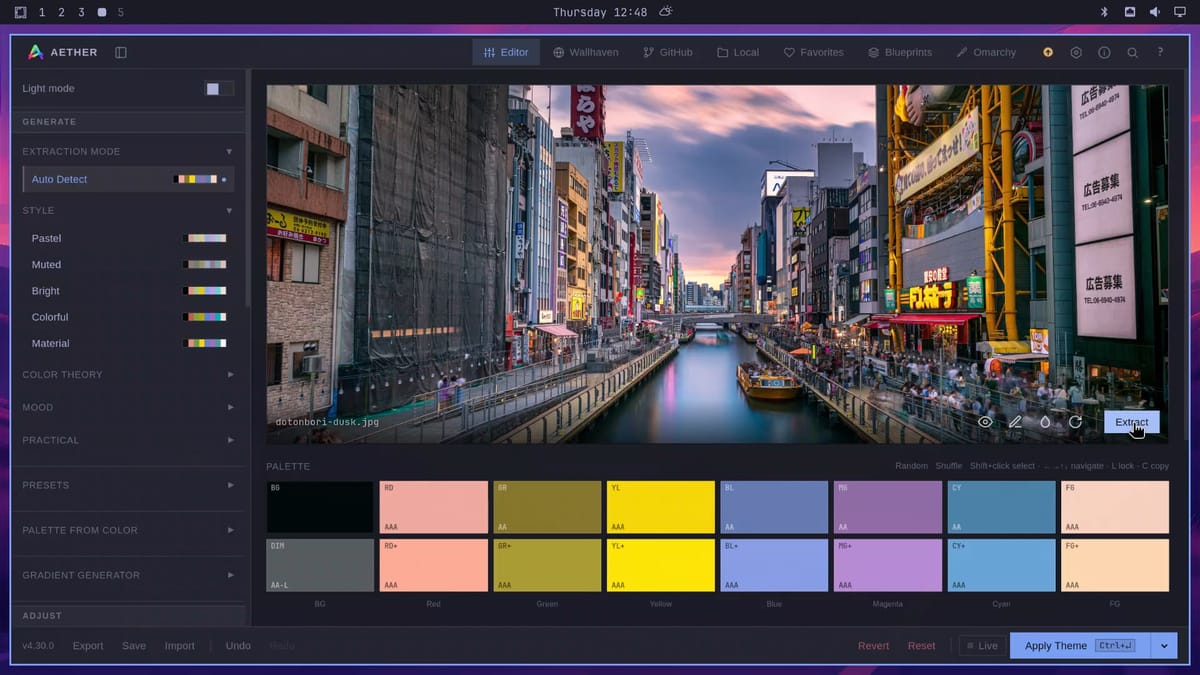
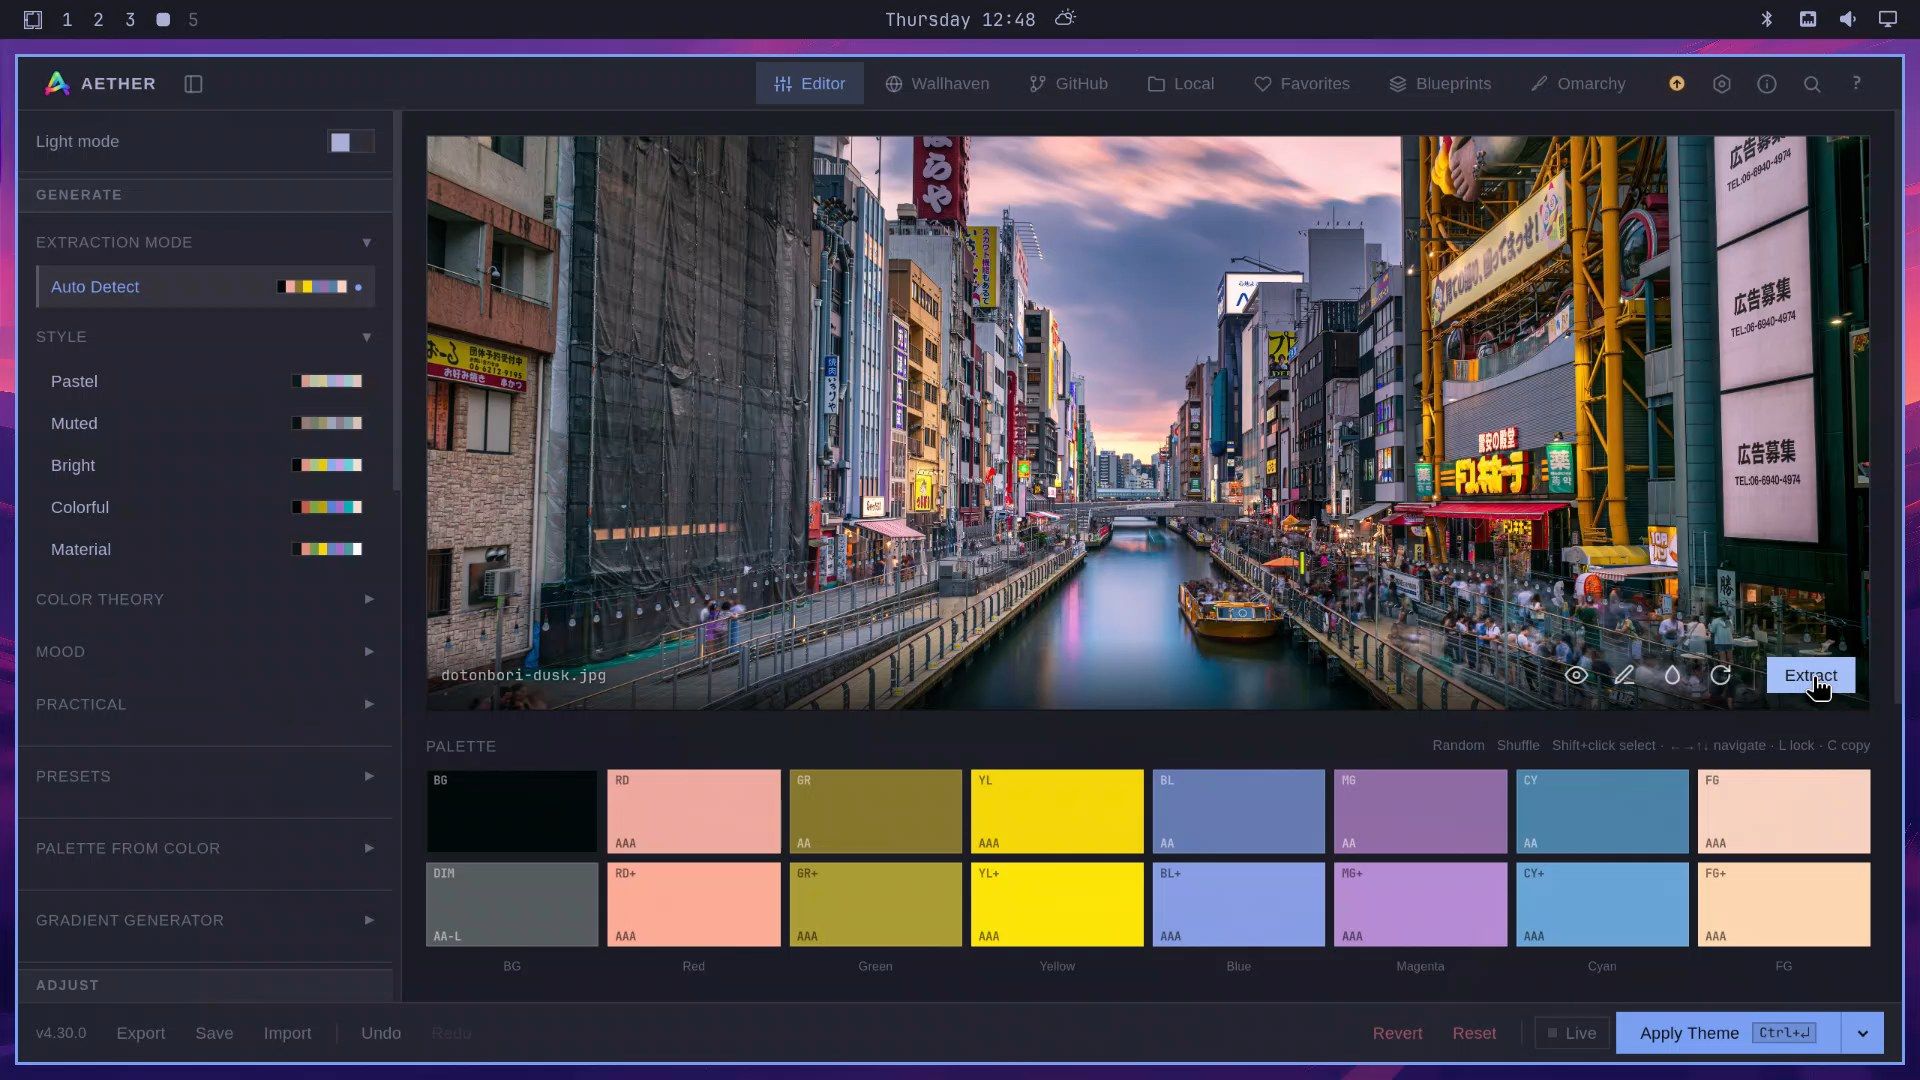
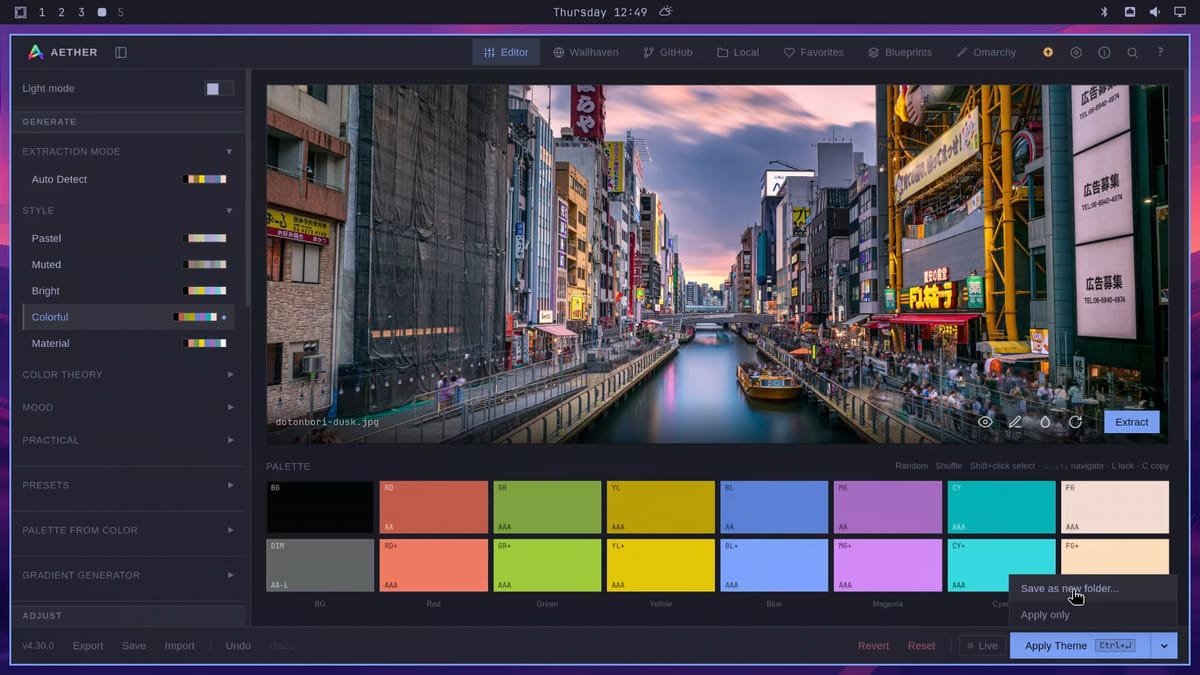
In the editor, click Extract under the photo. All sixteen colors fill in at once. The top row of the palette holds the normal colors (background, red, green, yellow, blue, magenta, cyan, and foreground), and the row under it holds the brighter versions. Each color swatch also shows a contrast grade: AA or AAA means text in that color is readable on the background.
Pick a style for the palette
The first extraction uses Auto Detect. The styles in the left sidebar give you other palettes from the same photo, and each one has a small strip that previews its colors before you click. Clicking a style extracts again right away, so you do not need to press Extract a second time.
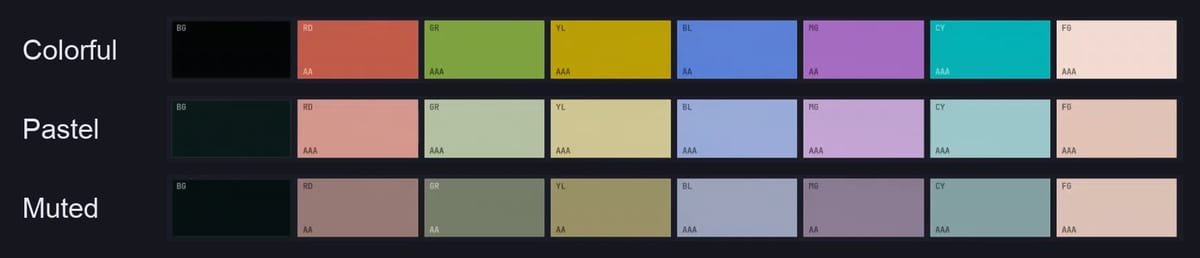
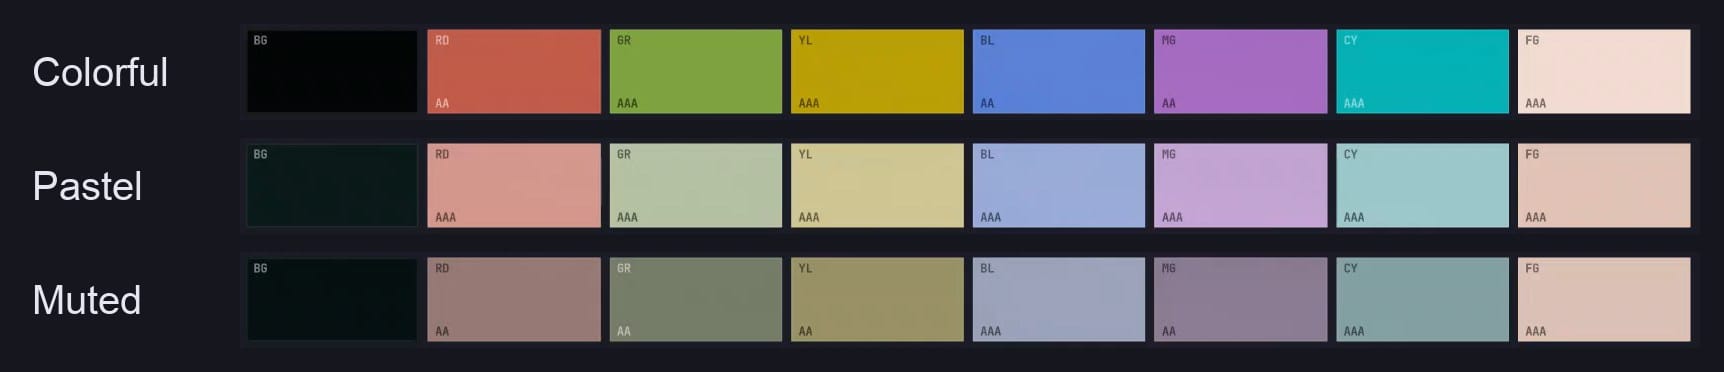
On the Dotonbori photo, Colorful turned the salmon red of Auto Detect into a brick red and the olive green into a moss green. Pastel made every color softer and paler, and Muted pulled them all toward grey. Bright and Material came out close to Colorful on this photo. We kept Colorful. The style you pick stays selected for the next photo you load.
Try a palette before you name it
The Apply Theme button, or ctrl enter , applies the current palette without asking for a name. Aether stores it as a theme named aether, and the next quick apply replaces it, so you always have at most one of these. It is a fast way to see a palette on the whole desktop before you commit to it. When one looks right, save it as a named theme, as the next section shows.
Save it as a named theme
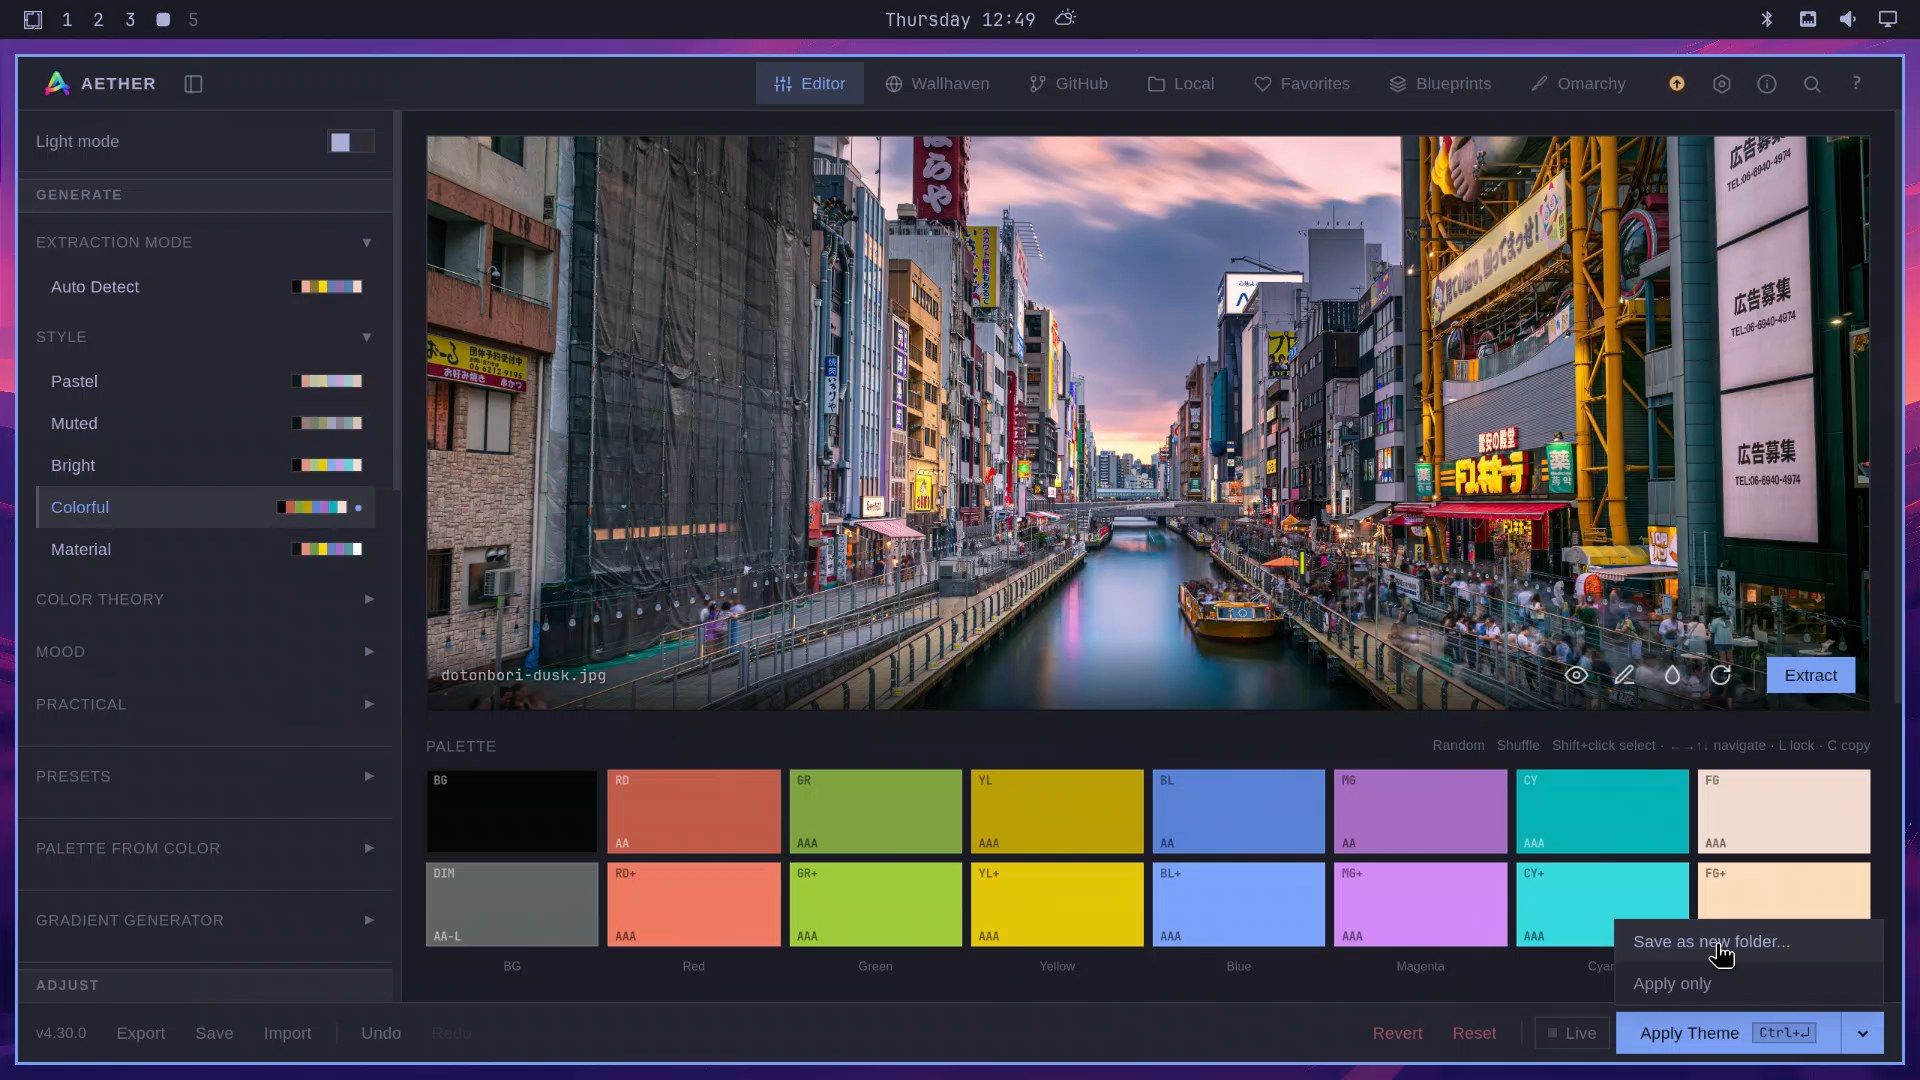
To keep the palette as a named theme, click the small arrow to the right of Apply Theme at the bottom right, then choose Save as new folder… ( ctrl j opens the same dialog).
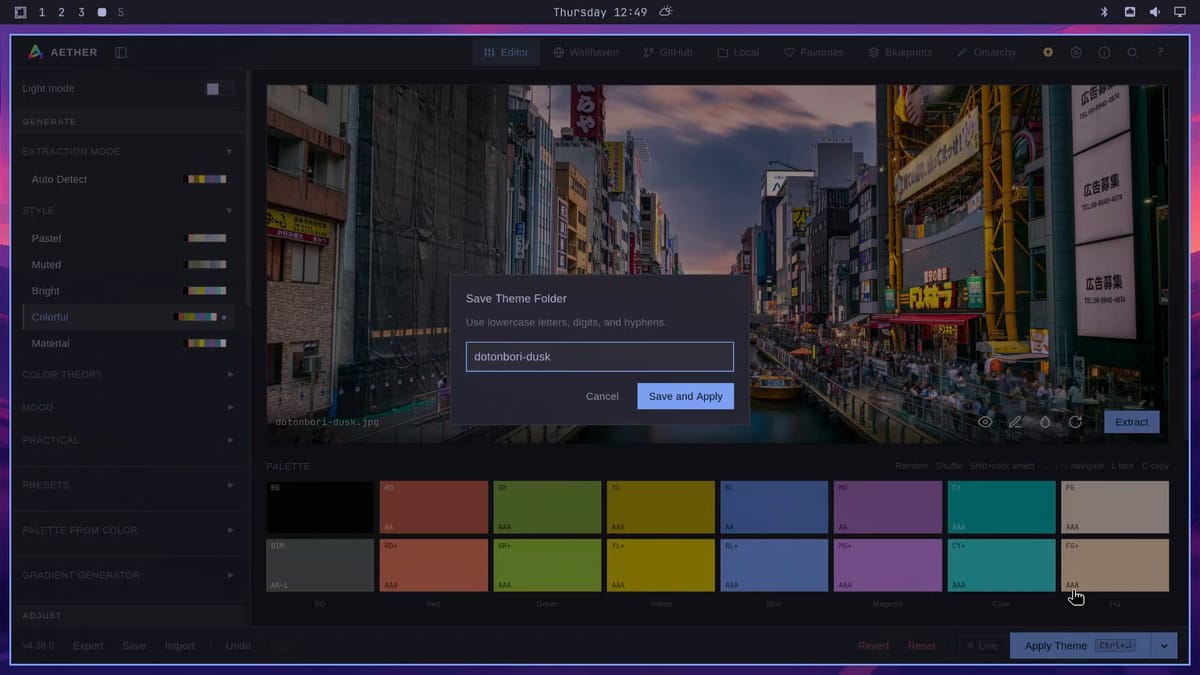
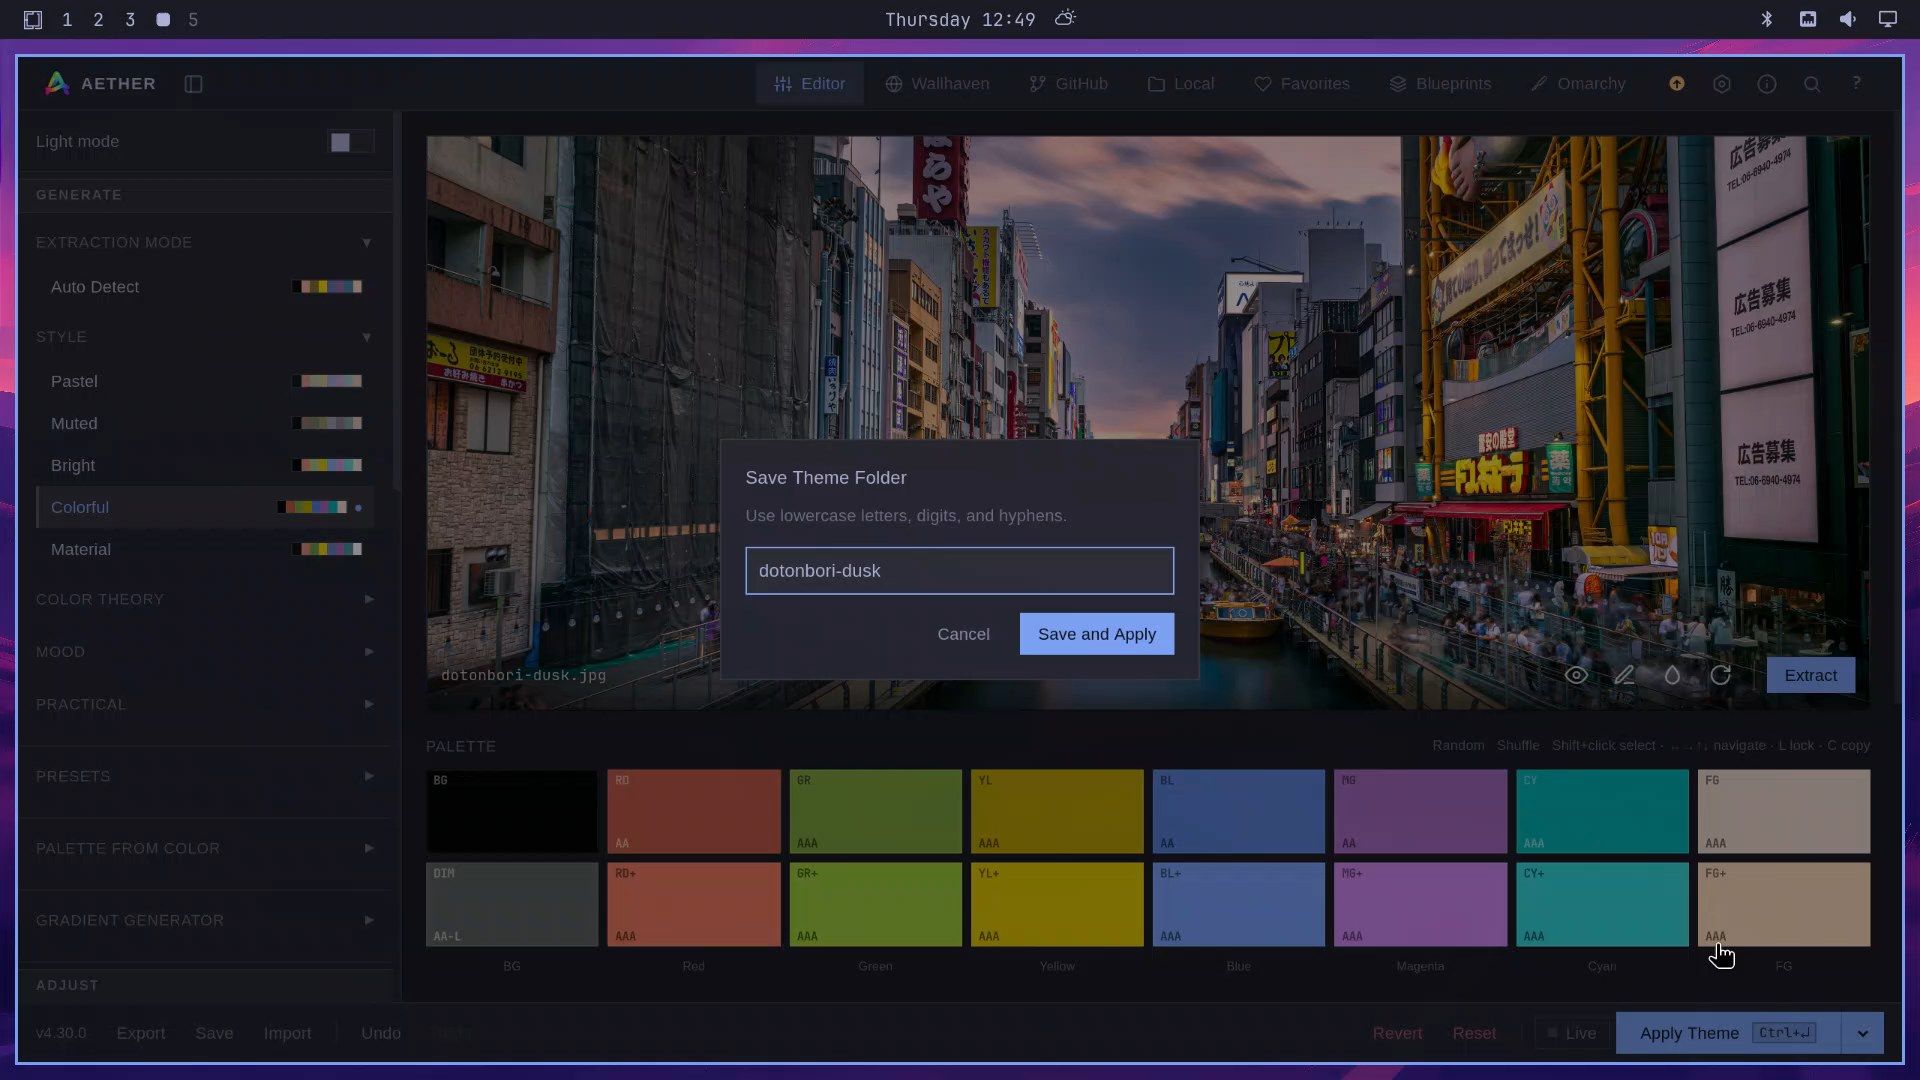
The Save Theme Folder dialog fills in the name from the file name, so our photo became dotonbori-dusk. Names can use lowercase letters, digits, and hyphens. Click Save and Apply. Aether shows “Please wait…”, then the wallpaper, the window borders, the top bar, and Aether itself switch to the new colors. Everything had changed within about seven seconds.
Aether writes the theme to ~/.config/omarchy/themes/dotonbori-dusk/: a colors.toml file with the palette, a copy of the wallpaper, and a preview image. Omarchy then builds the colors for each supported app from that one file.
What the new theme changes
Open terminals change right away. Error output turns the photo’s red, warnings its yellow, and success lines its green, and git diff uses the same red and green. btop, the system monitor, was already in the new colors, and Neovim’s code highlighting followed the theme without a restart. Omarchy also recolors the top bar, its menus and notifications, the lock screen, and the other terminals and editors it supports.
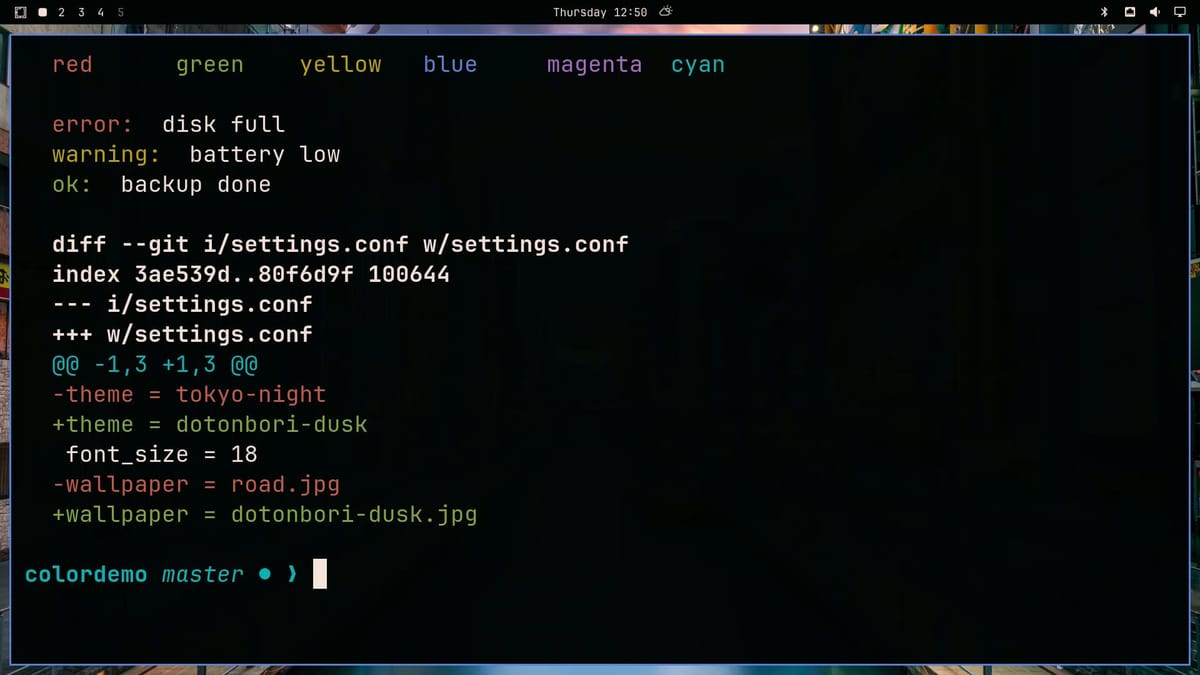
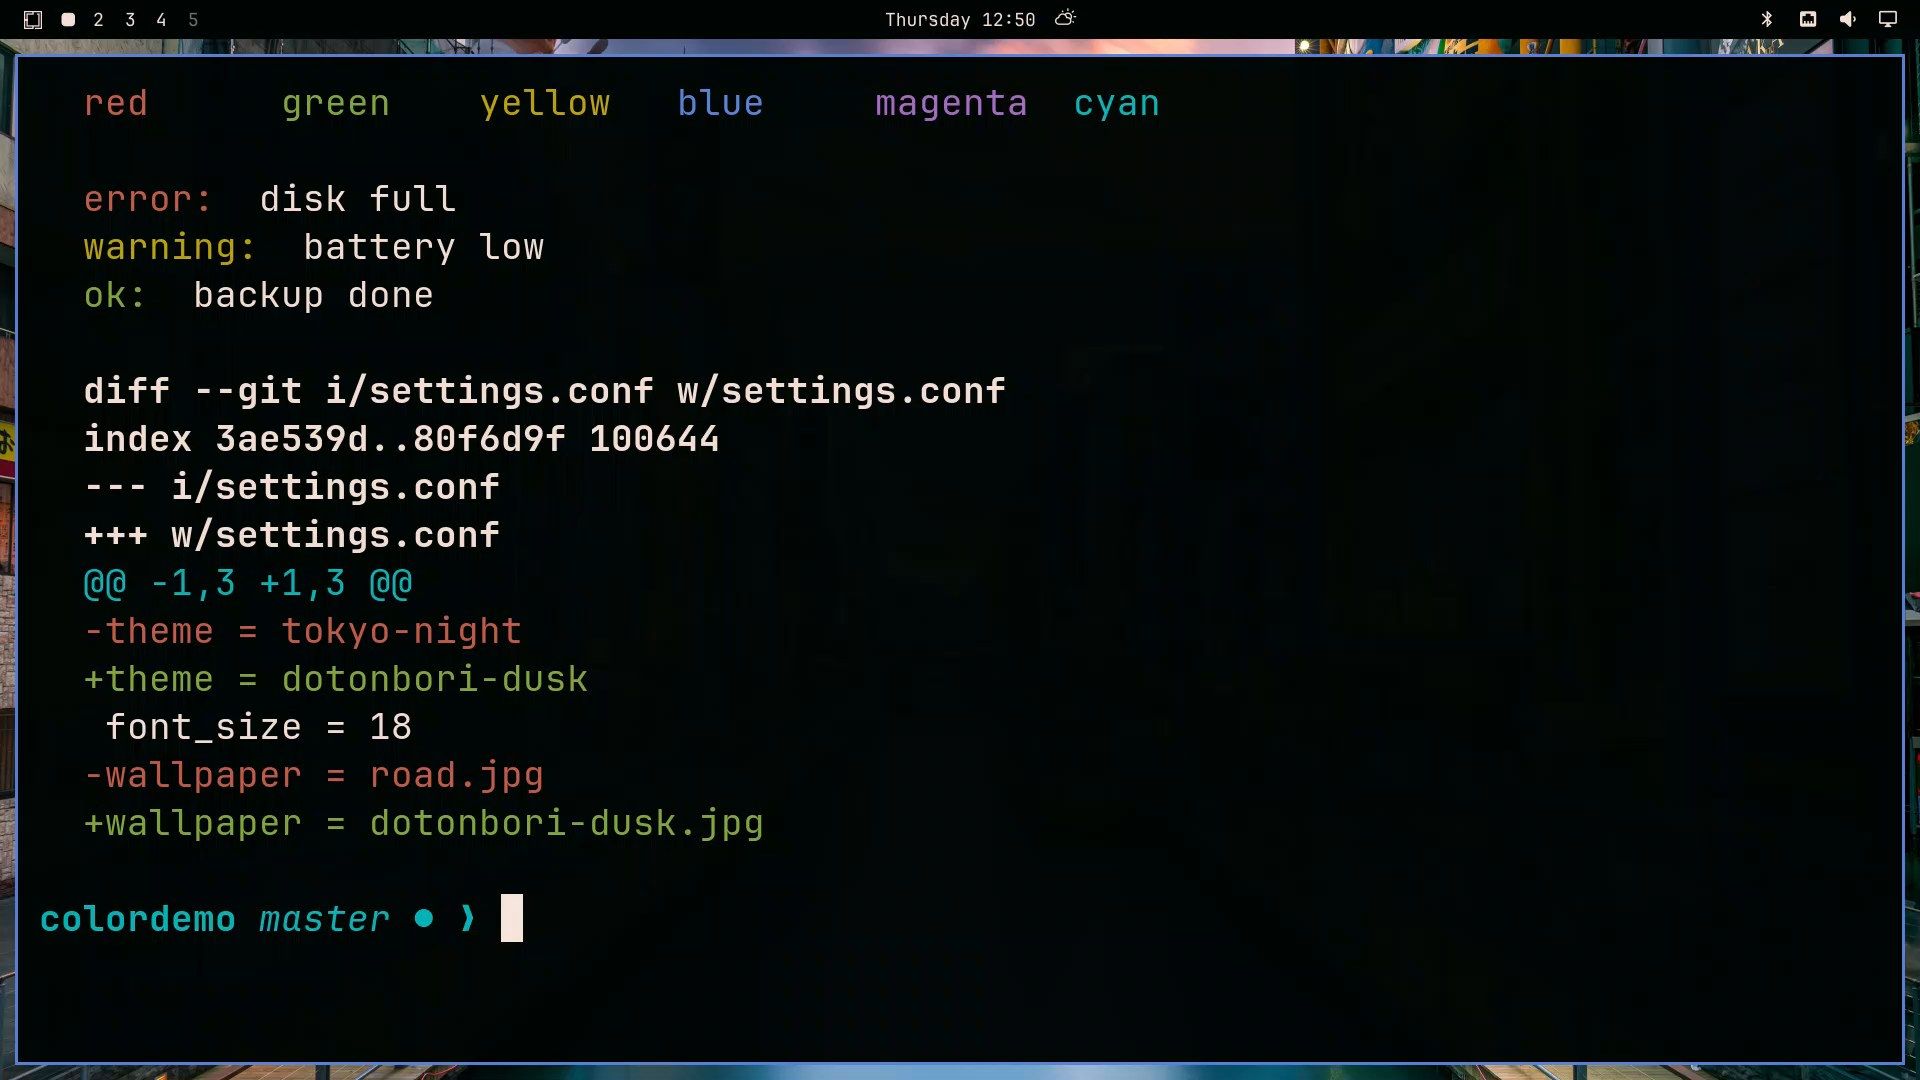
Aether fills its workspace, so the new wallpaper only shows in the gaps around its window. Switch to an empty workspace to see the whole photo. Apps that follow the Omarchy theme on their own pick it up too; the Flea file manager is one of them.
Fix colors that come out too alike
Our second photo was Kamikochi in autumn: golden larches, grey stones, and a blue sky. Back on the Local tab, we searched for kamikochi and clicked Use. Colorful was still selected from the first photo, so we clicked Auto Detect to go back to the default style, and Aether extracted the colors again.
Red, green, and yellow all came out as browns, only a few shades apart: #a46a35, #957625, and #a78a3b. Each one still passes AA against the background, but they look the same. Applied as they were, the error, warning, and OK lines in the terminal were all brown, and the diff lost its red and green.
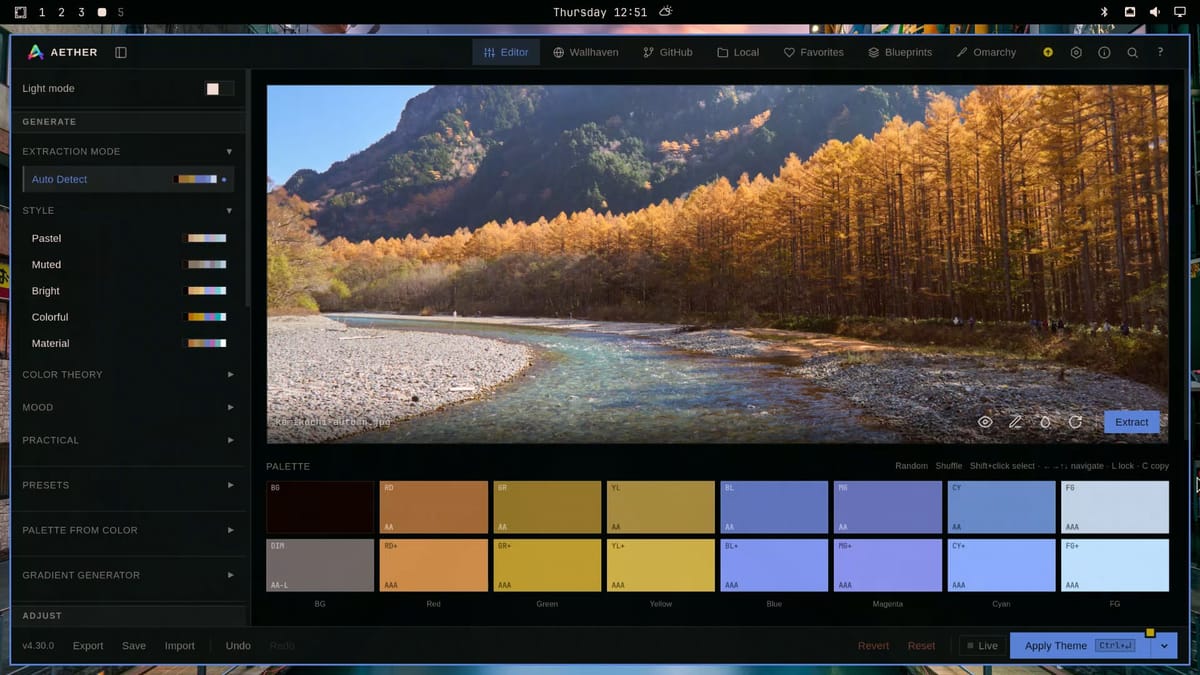
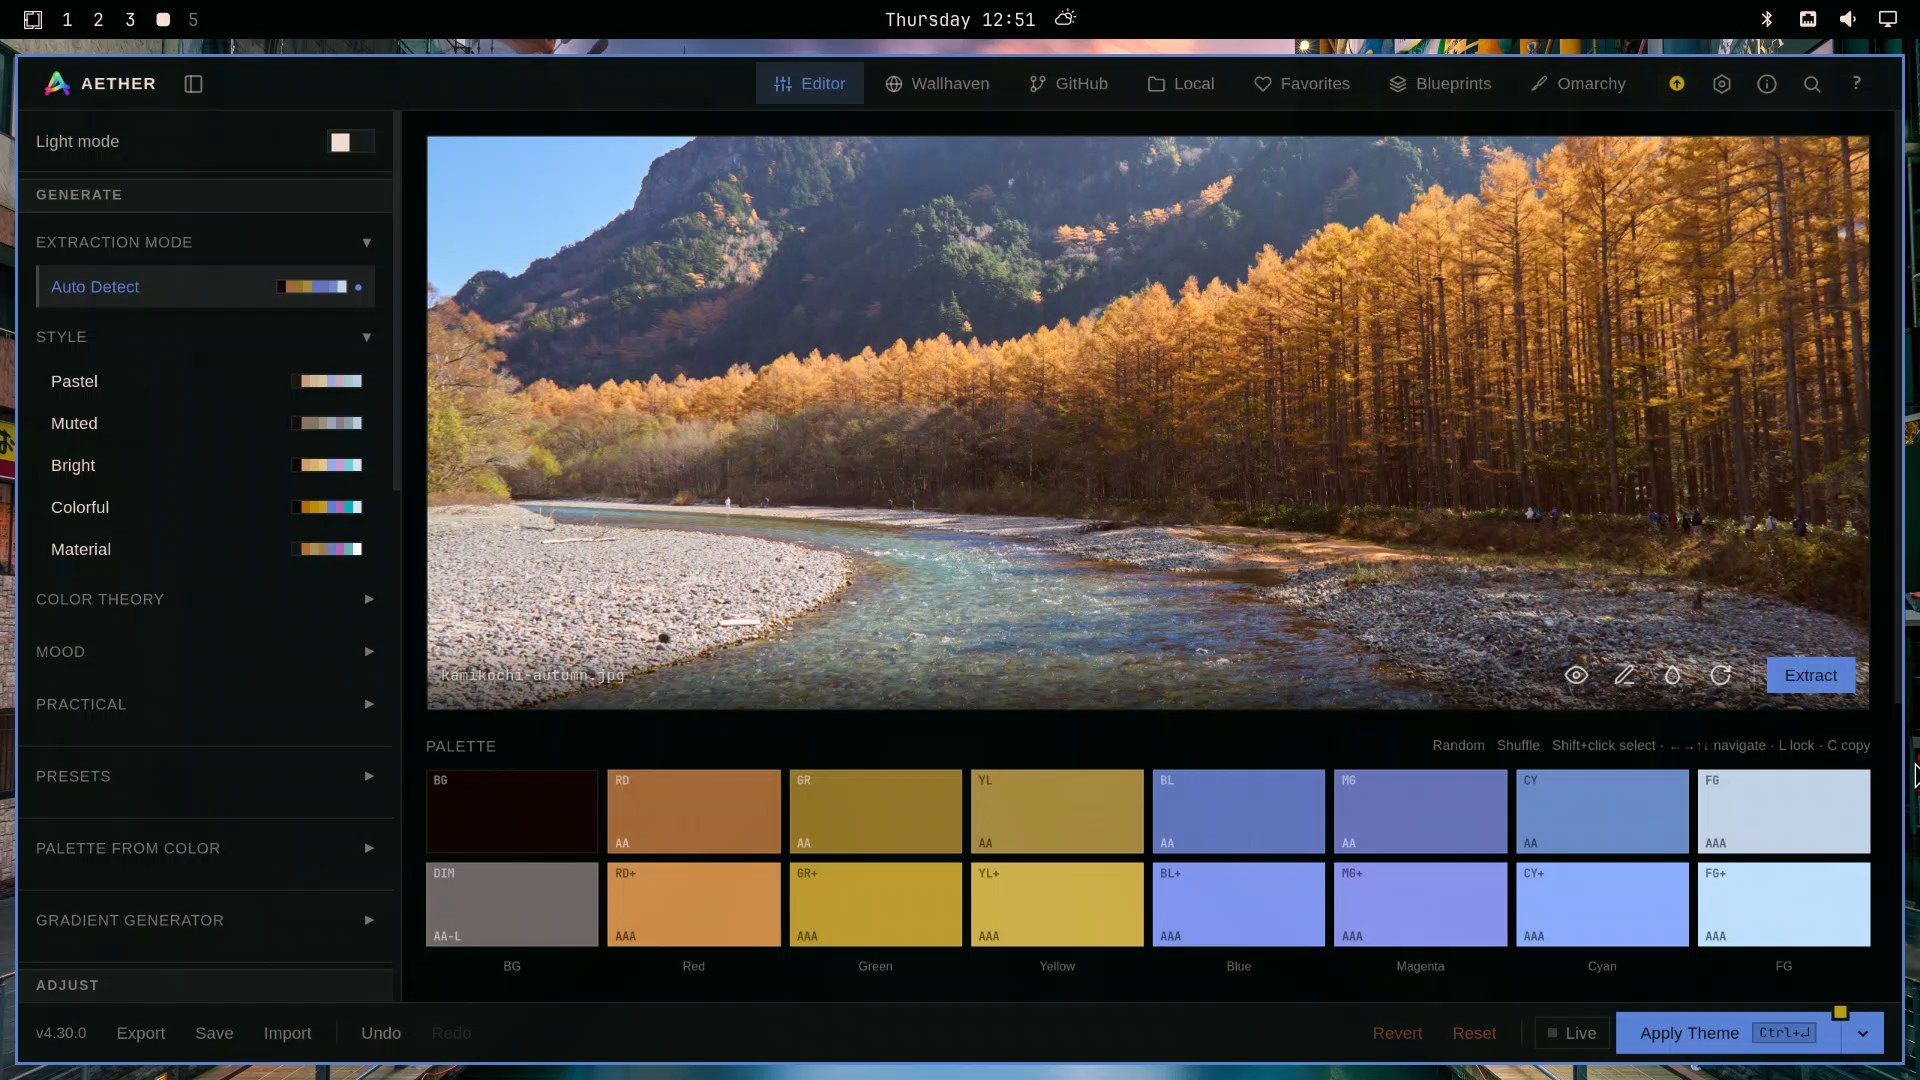
You can fix that by hand before you save:
- Click the red swatch (marked RD) to open the color panel on the right. The panel title reads “Red (1)”.
- Click the hex field, which shows the brown Aether picked. Clicking it puts the cursor at the end without selecting anything, so press ctrl a to select the old value.
- Type a clear red and press enter . We used
#e74c3c. - Read the line under the field. Aether checks the new color against the background (bg) and the foreground (fg). Our red scored 5.3 against the background, which passes AA, the level for readable text.
- Click the green swatch (GR), click its hex field, press ctrl a , type
#4caf50, and press enter . Green scored 7.3, which reaches AAA, the highest level. - Close the color panel with the X at its top right.
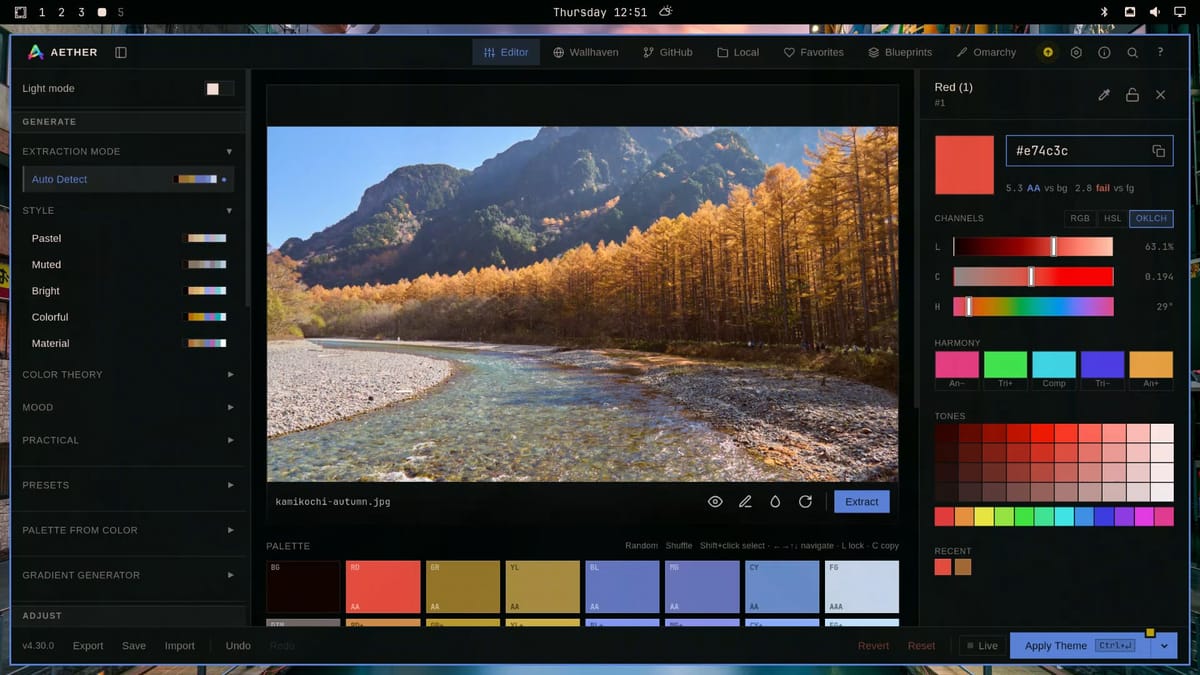
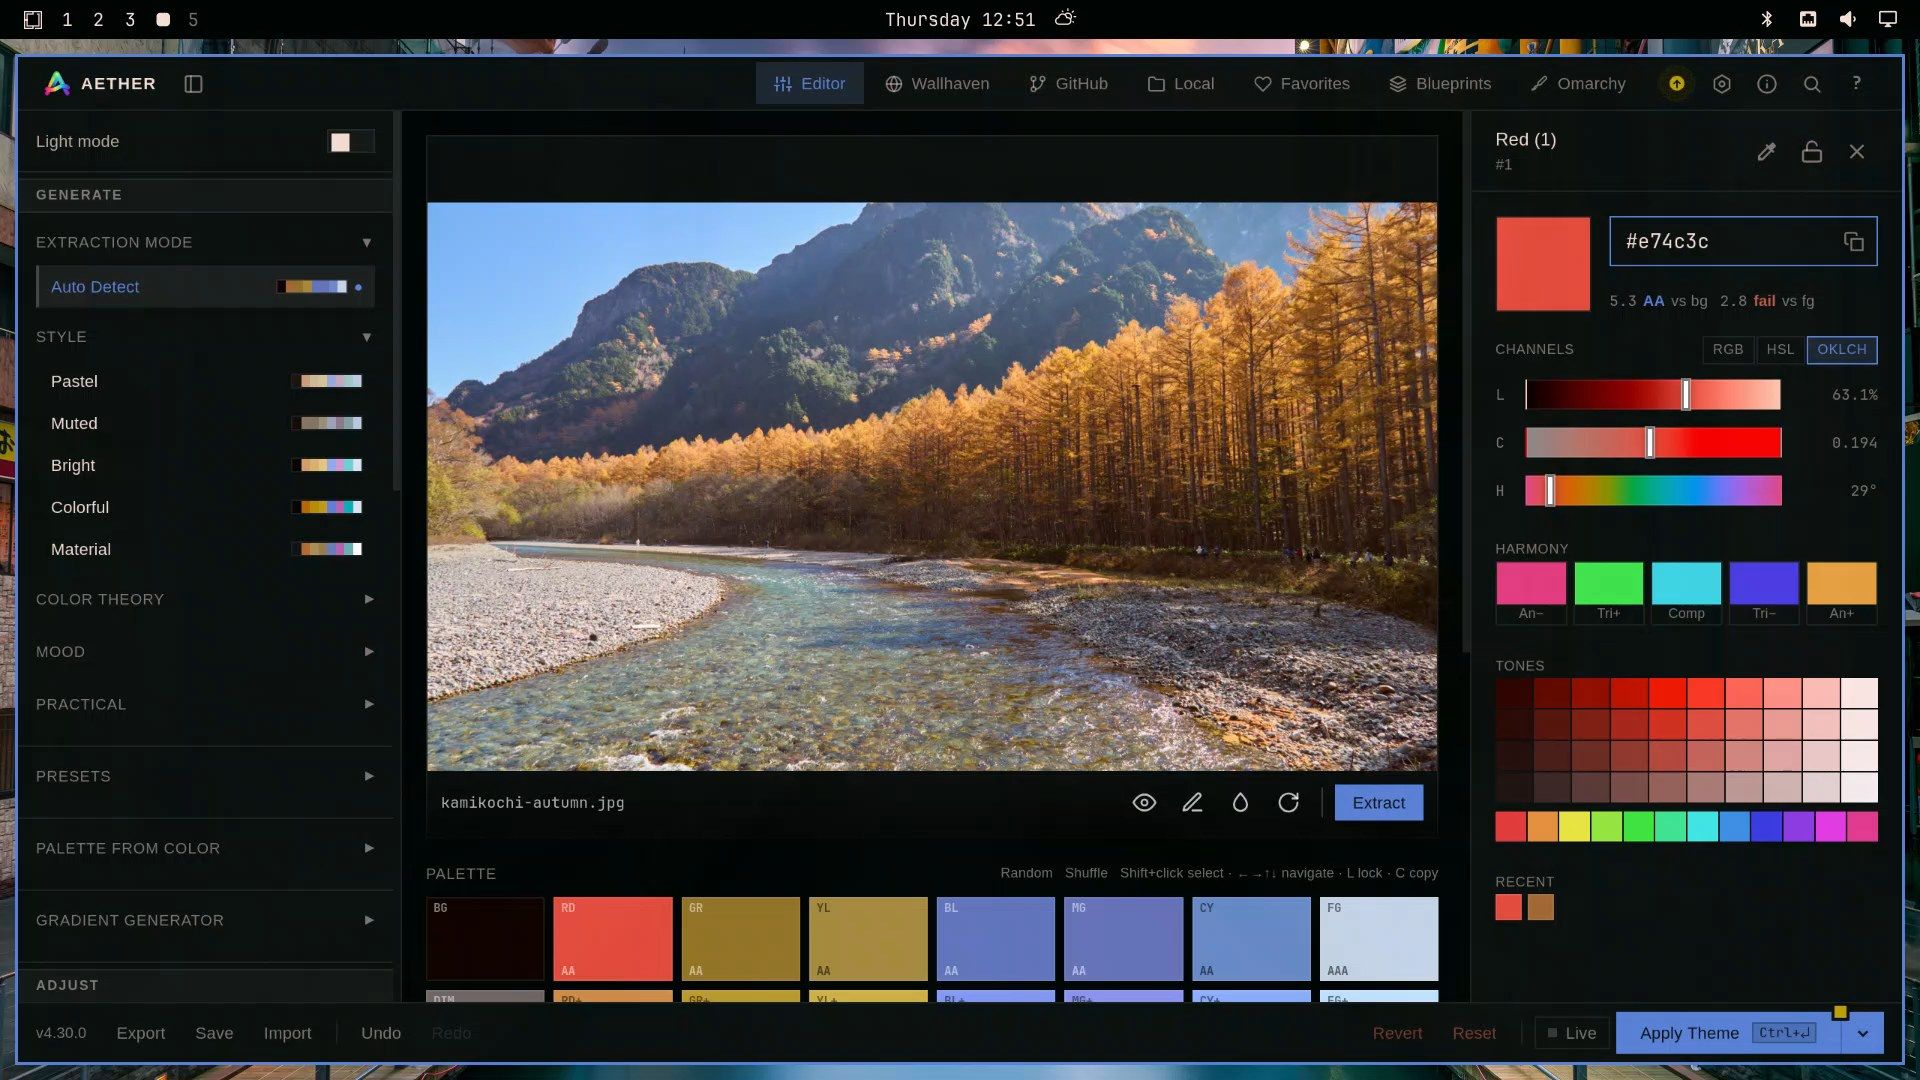
Both colors also show “fail vs fg”, because a bright red or green rarely has much contrast with a light text color, and terminal text in red or green sits on the background, not on the foreground. A red we tried first, #c0392b, scored 3.7 against this dark background and missed AA, so on a dark background a darker red has less contrast, not more.
Then save it the same way as before: the arrow next to Apply Theme, Save as new folder…, and Save and Apply. Aether filled in kamikochi-autumn. Back in the terminal, errors were red and the OK line was green again, while warnings kept the photo’s ochre yellow.
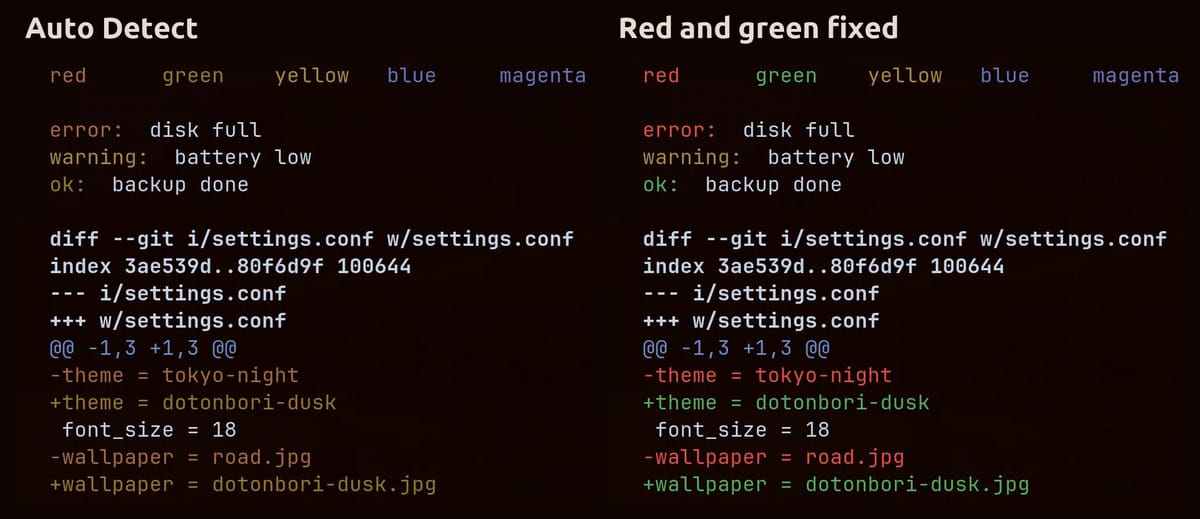
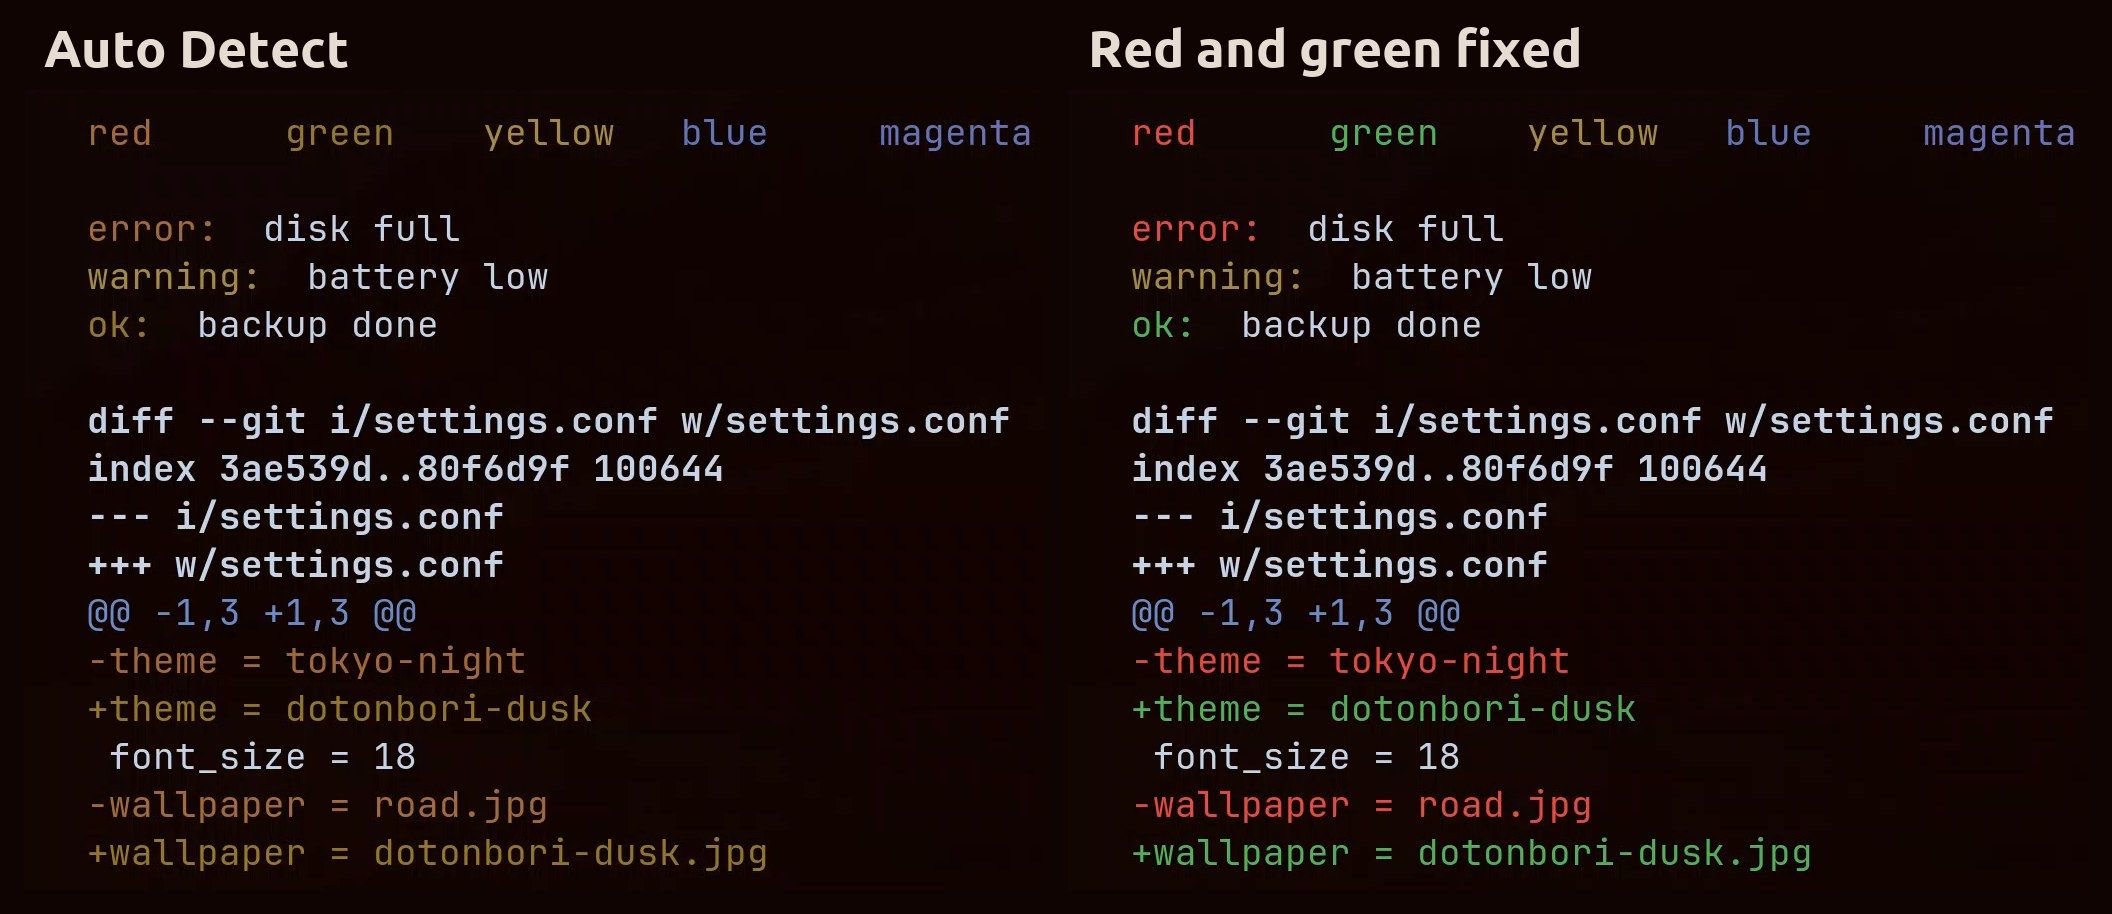
The fix changed only the normal red and green. The brighter versions in the second row (RD+ and GR+) stayed brown, and some apps use those, so fix them the same way if you see brown where you expect red or green. On this photo blue and magenta also came out close together (#5f76be and #6673bb); we left them, but the same panel fixes any swatch.
Switch themes with the theme switcher
Press super ctrl shift space to open Omarchy’s theme switcher. Both new themes sit in it, with names built from the folder names (“Dotonbori Dusk” and “Kamikochi Autumn”). A theme you make shows its photo as the card, while the stock themes show a screenshot of the desktop.
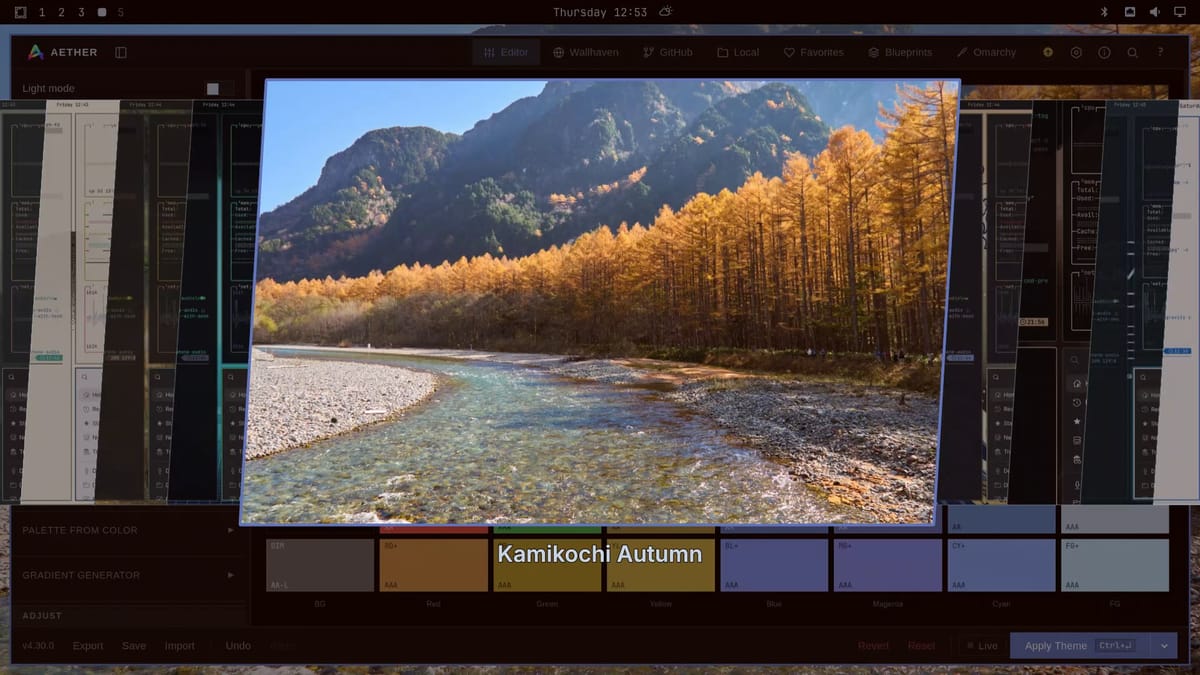
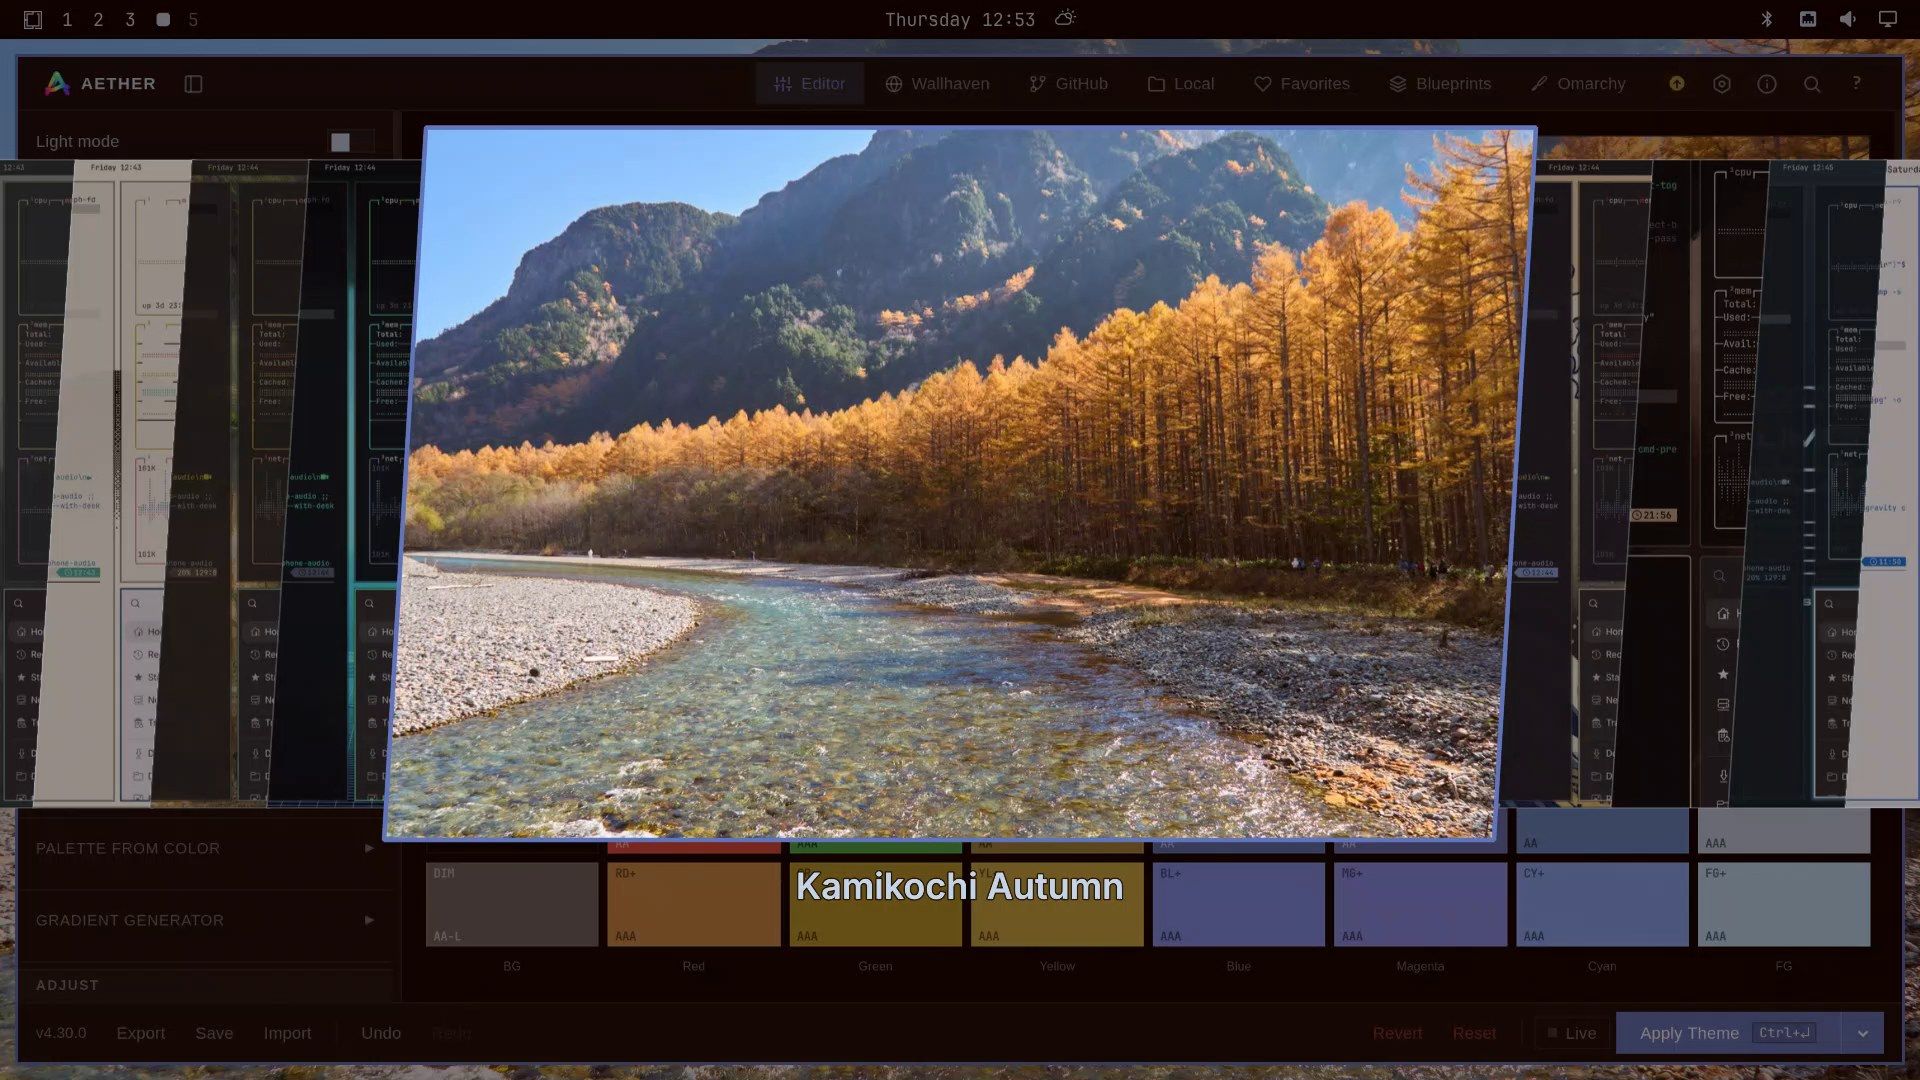
Type to filter the list and press enter to apply. To go back to the default, type tokyo and press enter ; Tokyo Night comes back with its own wallpaper within a second or two.
Remove a theme you made
Switch to another theme before you remove one, as we did with Tokyo Night above. Removing the theme that is in use leaves the desktop pointing at a wallpaper that no longer exists.
- Press super space to open the Omarchy menu.
- Arrow down to Remove and press enter .
- Arrow down to Theme and press enter . The list is titled “Remove extra theme…” and shows only the themes you added, never the stock ones.
- Pick the theme and press enter .
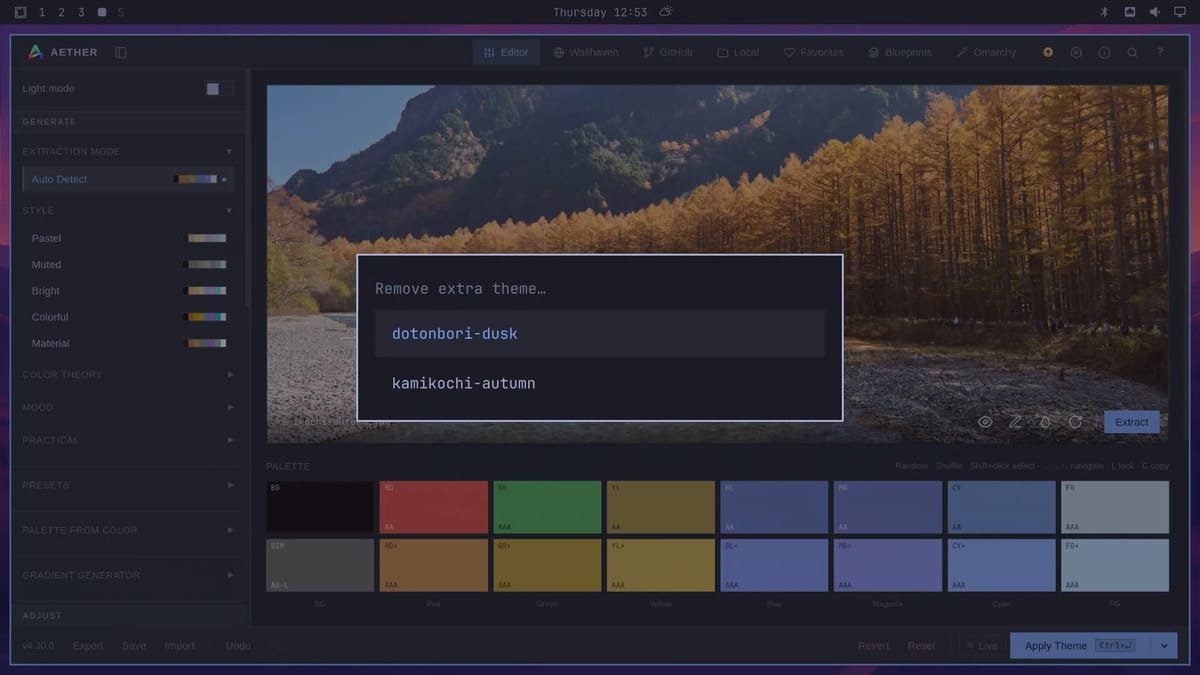
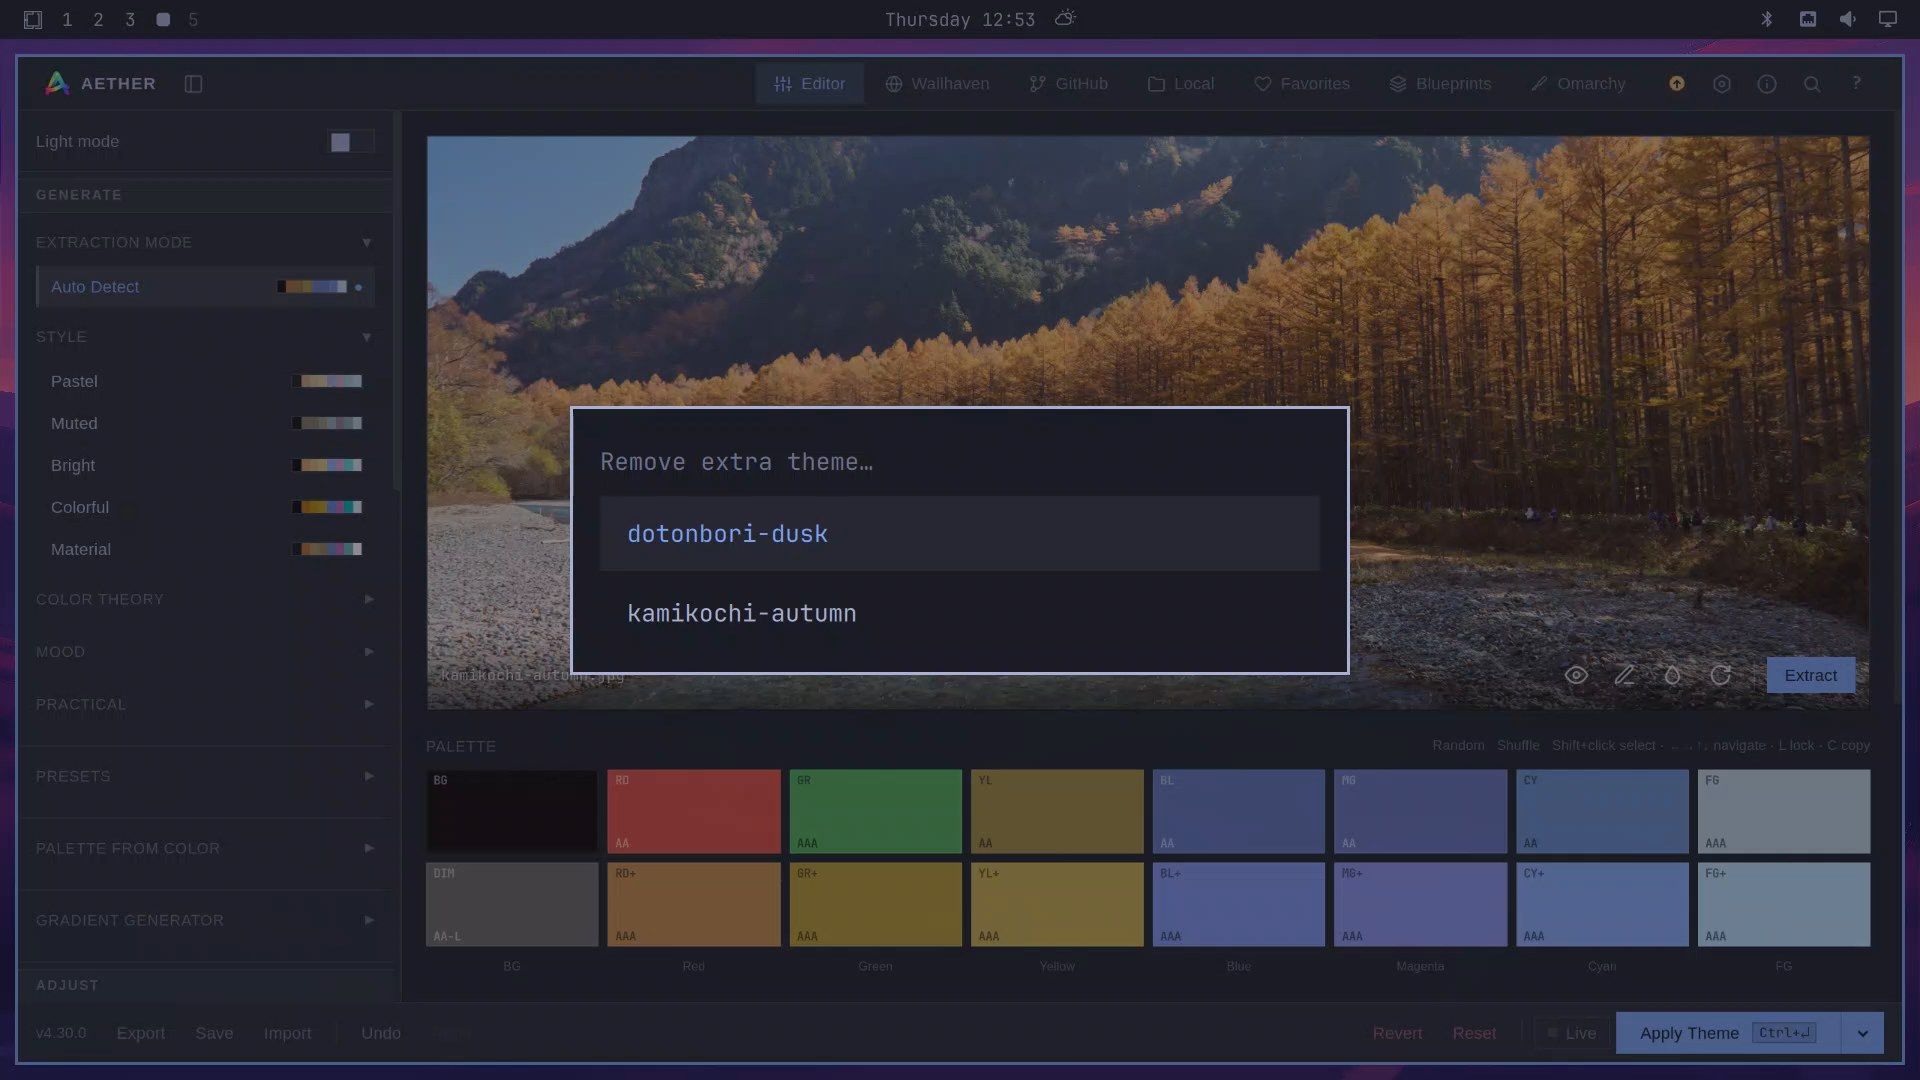
The theme is deleted right away, with no confirmation step, and a “Theme removed” notification appears. Check the name before you press enter . The photo you started from stays in your Wallpapers folder, so you can build the theme again later.
Troubleshooting
My photo is not in the Local tab. Aether looks in ~/Wallpapers by default. Move the photo there, or change the folder in Aether’s settings. If the photo is there but hard to find among the samples, use the search box.
Clicking Use did not change my wallpaper. In Aether 4.30.0, Use only loads the photo into the editor. The wallpaper changes when you click Save and Apply (or Apply Theme).
Red, green, and yellow look the same. Try the other styles first; each one extracts again with one click. If none of them separates the three, change the swatches by hand in the color panel as shown above, and keep the “vs bg” score at AA or better.
The hex field does not take my new value. Clicking the field does not select the old value. Press ctrl a first, type the new code with its #, and press enter .
Photo credits
Both photos are in the public domain (CC0 1.0) on Wikimedia Commons: Dotonbori by Romain Guy, and Kamikochi in autumn by lumoplank.
Where to go next
For more ways to change Omarchy, our guide to finding and installing Omarchy plugins covers the plugin marketplace and how to remove a plugin cleanly. If you are still choosing hardware, the Omarchy hardware guide lists mini PCs and laptops that run it well.



.jpg)
