
Omarchy is a free Linux system: it runs your whole computer, the way macOS runs a Mac. It’s built on Arch Linux and comes from David Heinemeier Hansson (DHH), who created Ruby on Rails. If you know where everything is on your Mac, this guide shows where the same things live in Omarchy, then walks through the everyday jobs you’d do on a Mac: watching videos, email, Office files, photos, PDFs, printing, wallpaper, apps, and updates.
This guide covers Omarchy 4.5.
Super is your Command key
Linux treats the Command key as the Super key, so on a Mac keyboard your thumb stays where it always was. On a PC keyboard, Super is the key with the Windows logo. Alt is the Option key on a Mac keyboard, and Control is Control. Omarchy’s own page for Mac and Windows users says the same: the muscle memory you built around Command moves to one key, Super.
That makes a lot of Mac shortcuts carry over with the same thumb position:
| On a Mac | In Omarchy |
|---|---|
| Spotlight (Command Space) | super space , the Omarchy menu |
| Launchpad | super alt space , or the grid button on the dock |
| Apple menu | The icon at the far left of the top bar |
| System Settings | Setup and Appearance in the Omarchy menu |
| Copy, paste, cut, select all | super c , super v , super x , super a |
| Shift Command 4, Markup | super ctrl alt c , then the screenshot editor |
| Finder | Files, on super shift f |
| Quick Look | space on a selected file in Files |
| AirDrop | LocalSend, through the share menu on super ctrl s |
| Spaces | Workspaces, on super 1 to super 9 |
| Minimize (Command M) | super m , on a floating workspace |
| Green button, full screen | super f |
| App Store | Install, then Package, in the Omarchy menu |
| Software Update | Update, then Omarchy, in the Omarchy menu |
Omarchy has no Mission Control view of every window at once. Trackpad gestures and natural scrolling start out off, and turning them on is an edit to a settings file (the lines are in the System Settings section below).
Omarchy on a Mac
Omarchy runs on most PCs, and the Mac installer in Omarchy 4.5 is the newer option, for M1, M2, and M3 MacBooks and the MacBook Neo. The Omarchy 4.5 release post says “You can install it natively on a M1/M2/M3/Neo MacBooks”, and that a macOS app puts Omarchy “right alongside” macOS. It also says M4, M5, and M6 support is being worked on. If you’d rather try Omarchy before you install anything, our guide to trying Omarchy on a Mac without installing Linux runs it in a virtual machine.
The dock and floating windows
Out of the box, Omarchy opens windows as tiles: each one gets its own part of the screen, and nothing overlaps. Omarchy 4.5 added a floating layout, where windows overlap and you can drag them anywhere, as on a Mac. The release post calls it “a wonderful on-ramp for anyone arriving from macOS or Windows who isn’t ready to go all-in on tiling yet.”
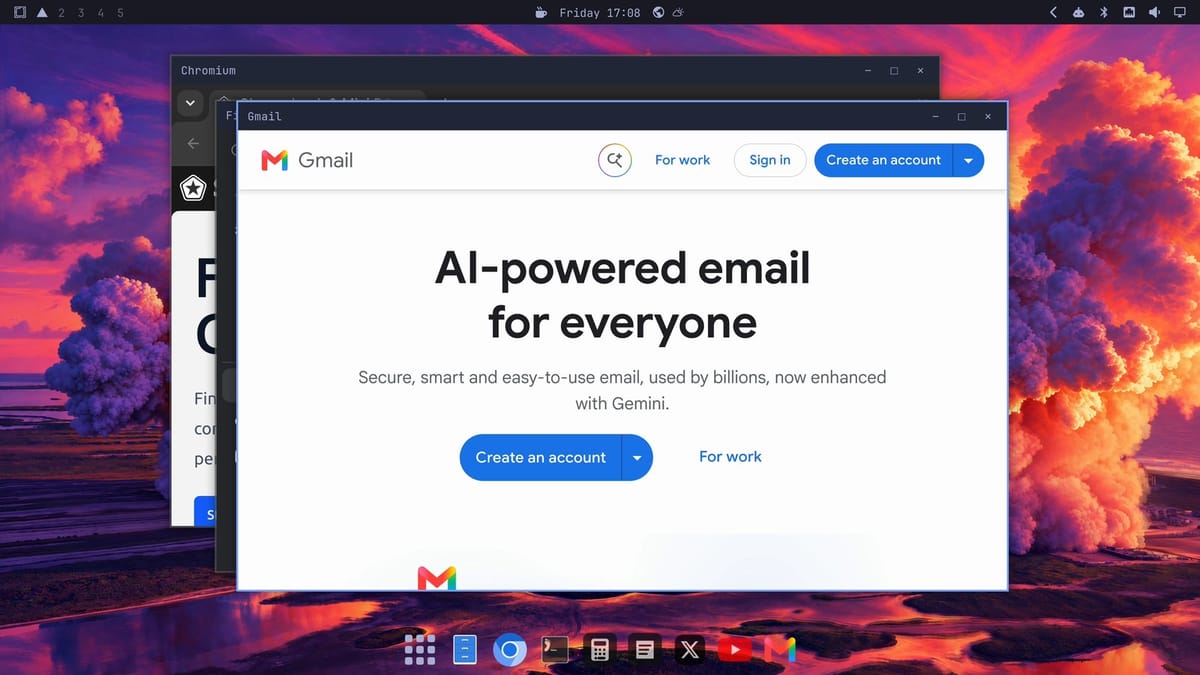
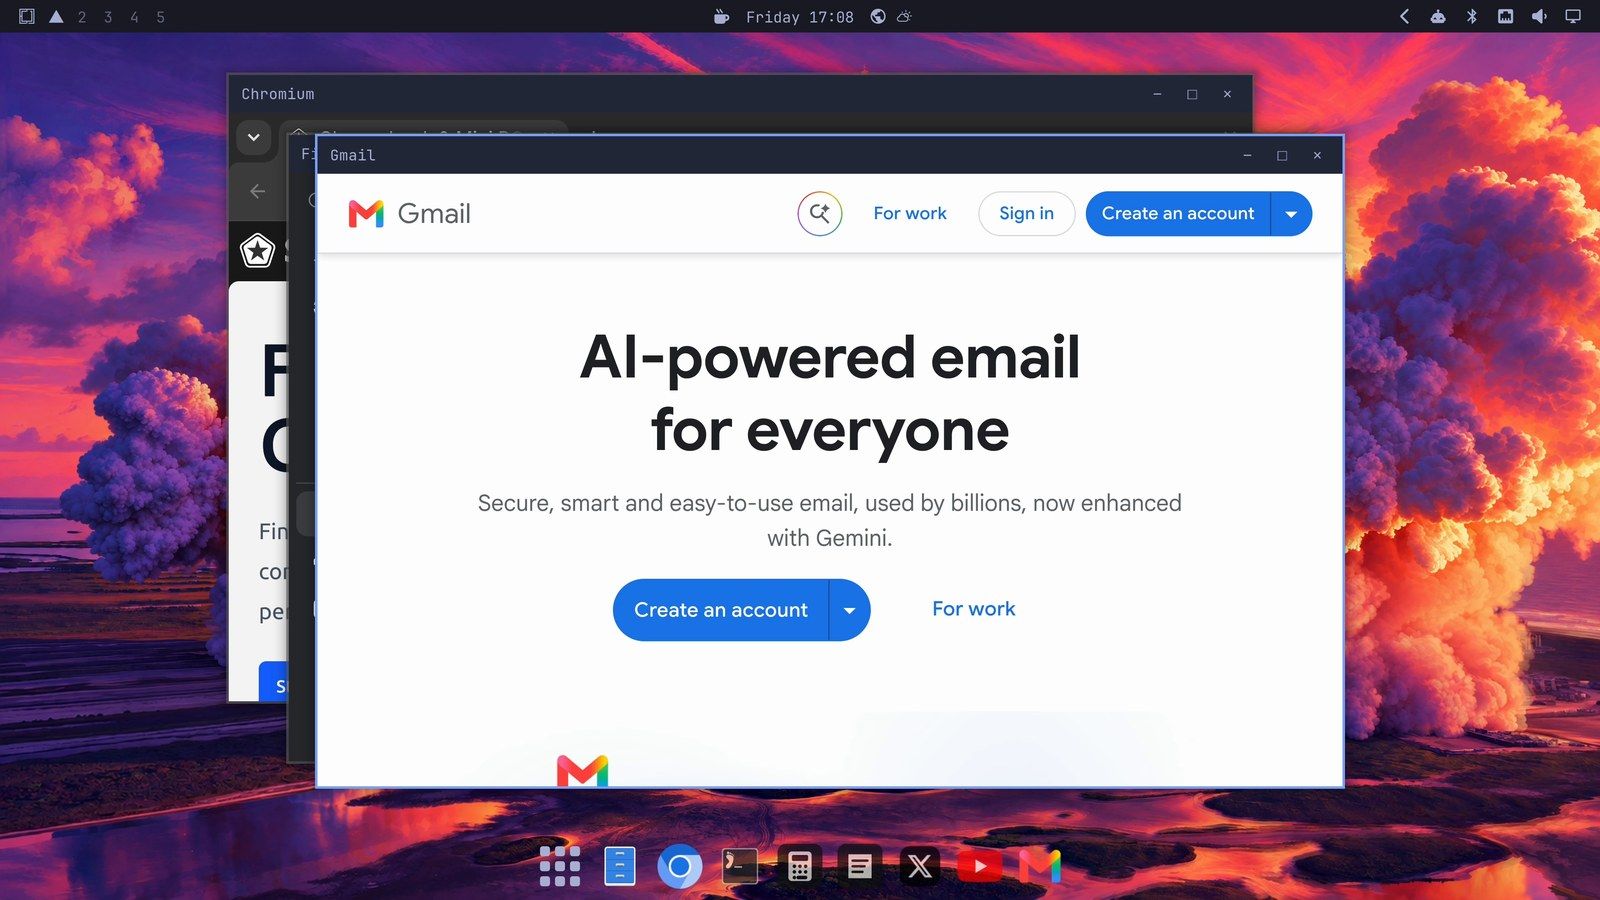
Press super alt l to switch the workspace you’re on to floating. Each window gets a titlebar with minimize, maximize, and close buttons, and the dock appears along the bottom. ( super l steps through the tiling, scrolling, and floating layouts in turn; scrolling lines windows up as columns in a row.) The dock shows your pinned apps and everything that’s running, like the Mac’s dock.
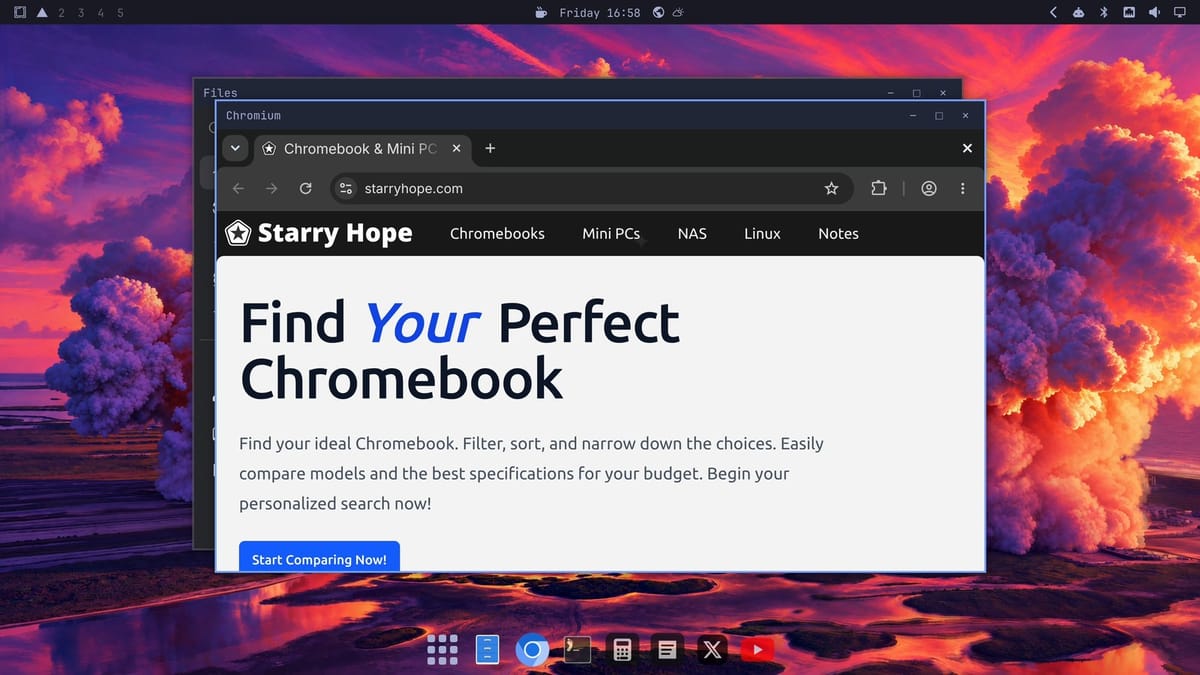
super m minimizes a window to the dock, like Command M, and a click on its icon in the dock brings it back. super w closes the window, and when it’s the app’s last window, the app quits too. There’s no state where an app keeps running with no windows open.
The floating layout belongs to one workspace. To make every new workspace float, open the Omarchy menu and pick Appearance, then Workspace Layout, then Floating. Our guide to Omarchy’s floating windows and dock covers the dock in more detail.
Spaces are workspaces
Workspace numbers sit at the left end of the bar along the top of the screen, where the Mac’s menu bar would be. Press Super and a number, such as super 2 , to switch to that workspace, and super shift 2 to send the window you’re in there. super tab moves to the next workspace.
Each workspace starts out tiled until you turn on floating there.
Spotlight, Launchpad, and the Apple menu
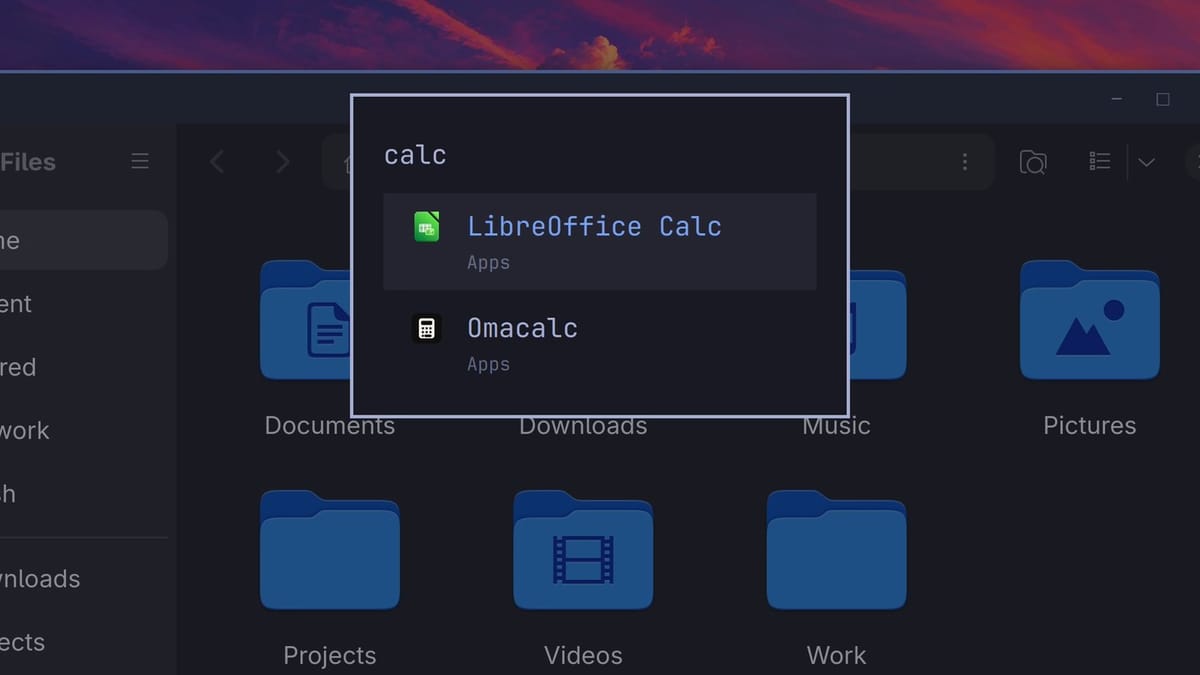
super space opens the Omarchy menu, on the same keys as Command Space on a Mac. Start typing, and it searches your apps and Omarchy’s own settings. Typing calc finds two apps: LibreOffice Calc, the spreadsheet, and Omacalc, a calculator. Press enter to open the one that’s selected.
The icon at the far left of the top bar opens the same menu, in the Apple menu’s spot. Its rows are Apps, Learn, Appearance, Trigger, Setup, Install, Remove, Update, About, and System.
For Launchpad, super alt space opens a grid of every installed app with a search field at the top. The first button on the dock, with nine dots, opens the same grid.
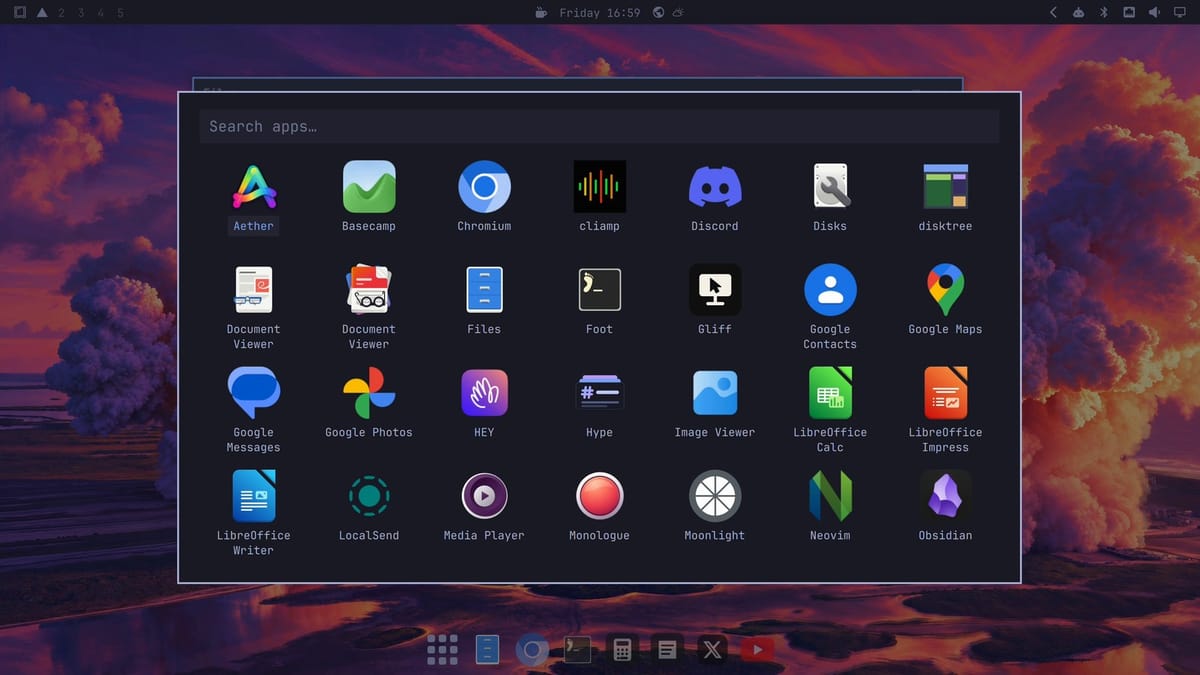
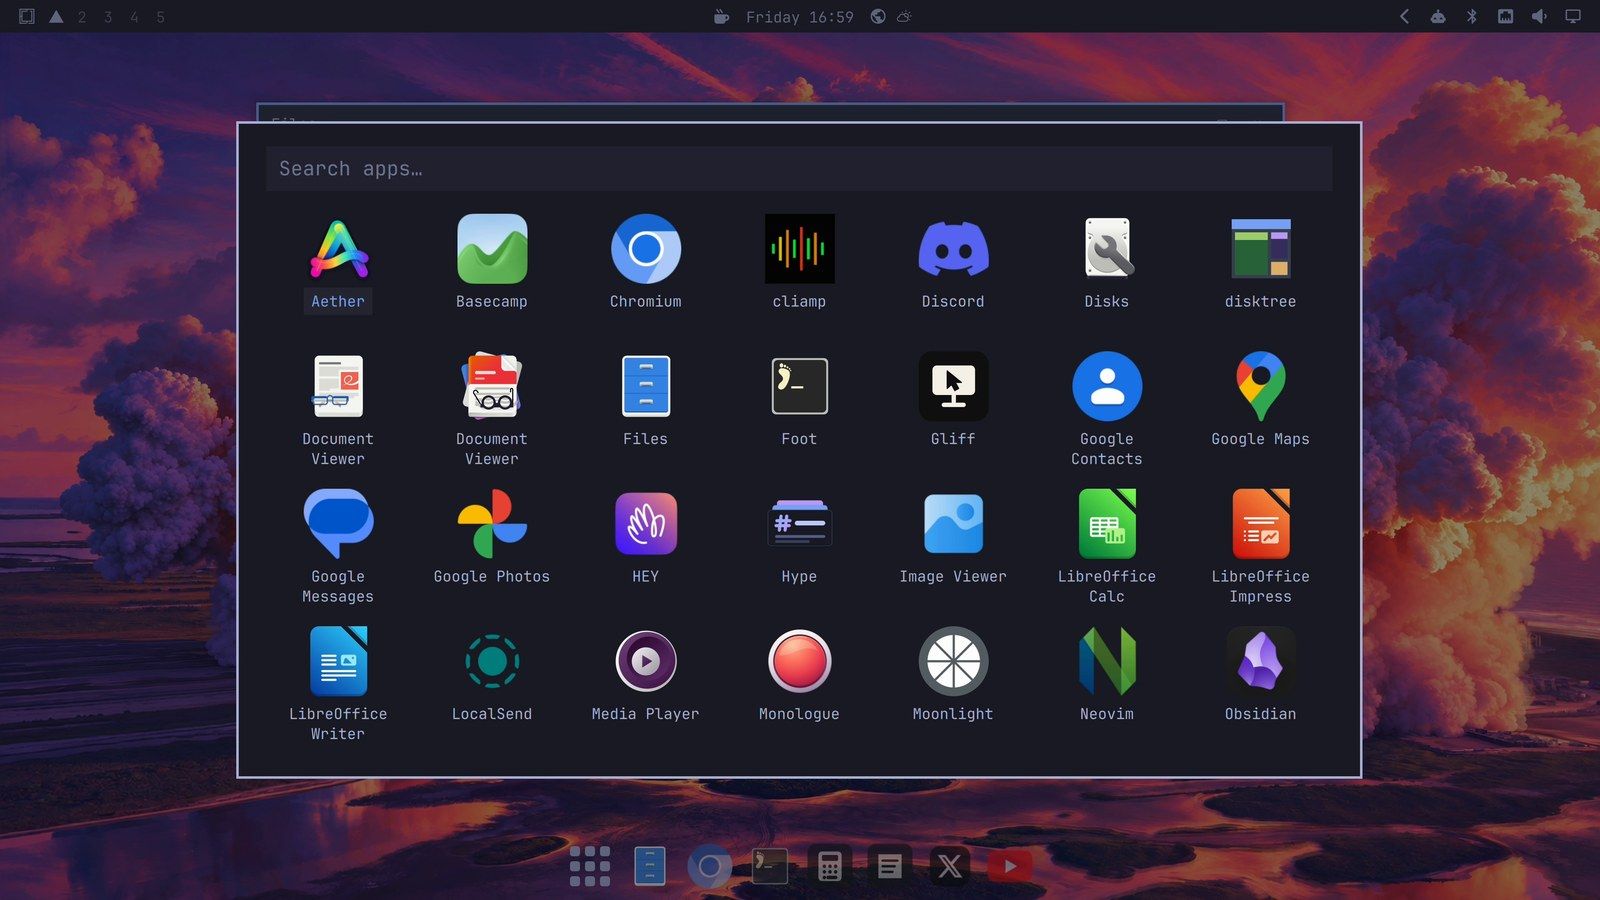
To look up a shortcut, press super k . It lists every one, with a search box. Type screenshot, for example, to see the screenshot keys.
System Settings and the trackpad
Omarchy has no single settings window. The settings live in two rows of the Omarchy menu. Setup has Monitors, Keybindings, Input, Typing, Language, Network, Defaults, Plugins, Security, and Config. Appearance has Theme, Background, Font, Menu Bar, Windows, Branding, Dock, and Workspace Layout.
Natural scrolling, two-finger right-click, and three-finger swipes between workspaces all start out off. To turn them on, open the Omarchy menu and pick Setup, then Input. That opens your input settings file, ~/.config/hypr/input.lua, in Neovim, a text editor that runs in the terminal. The file already holds these settings, commented out with -- at the start of each line. The simplest way to turn them on is to add these lines at the end of the file:
hl.config({
  input = {
    touchpad = {
      natural_scroll = true,
      clickfinger_behavior = true,
    },
  },
})

hl.gesture({ fingers = 3, direction = "horizontal", action = "workspace" })
The first block turns on natural scrolling (content moves with your fingers, as on a Mac) and two-finger clicks for a right-click. The last line lets a three-finger swipe left or right switch workspaces, the way a swipe switches Spaces on a Mac. In Neovim, press shift g to jump to the end of the file, press o to start a new line, and paste with super v . Then press esc , type :wq, and press enter to save and close. If the trackpad doesn’t change right away, log out and back in.
The same file has other touchpad options with a comment above each one, such as scroll_factor for scrolling speed and drag_3fg for dragging with three fingers.
Screenshots, Markup, and screen recording
super ctrl alt c opens the screenshot picker, which works much like Shift Command 4. A click grabs a window, and a drag grabs an area of the screen. (On a PC keyboard, the Print Screen key opens the same picker.) The shot is saved to the Screenshots folder inside Pictures and copied, ready to paste into a message.
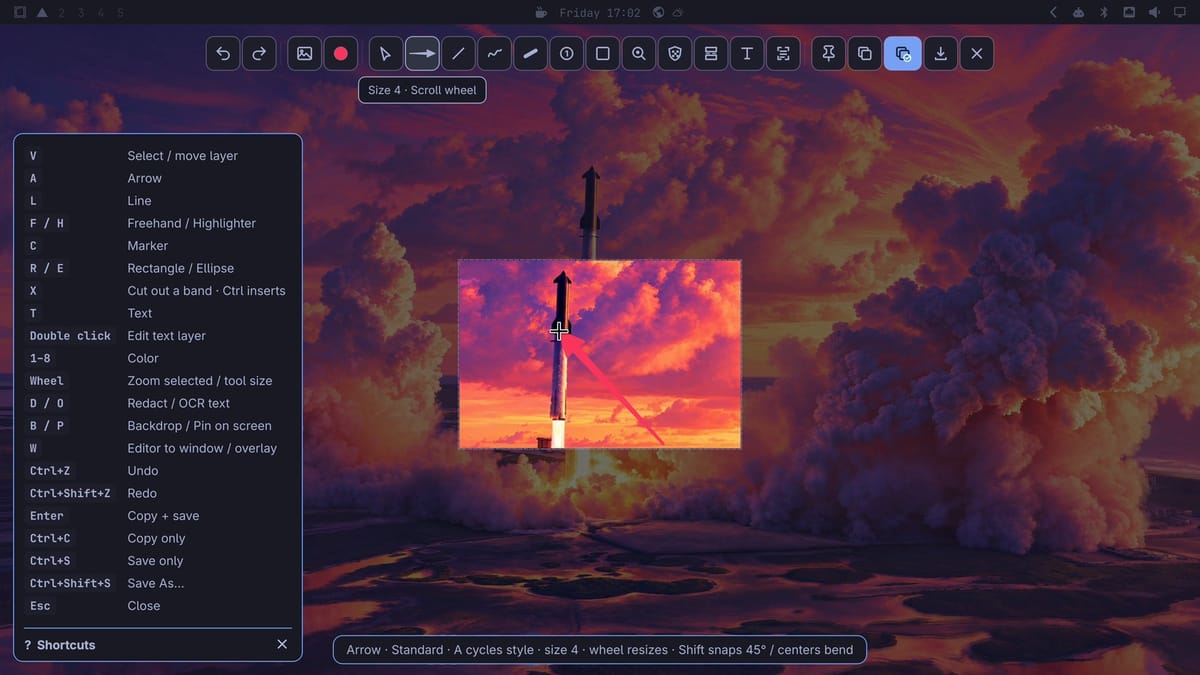
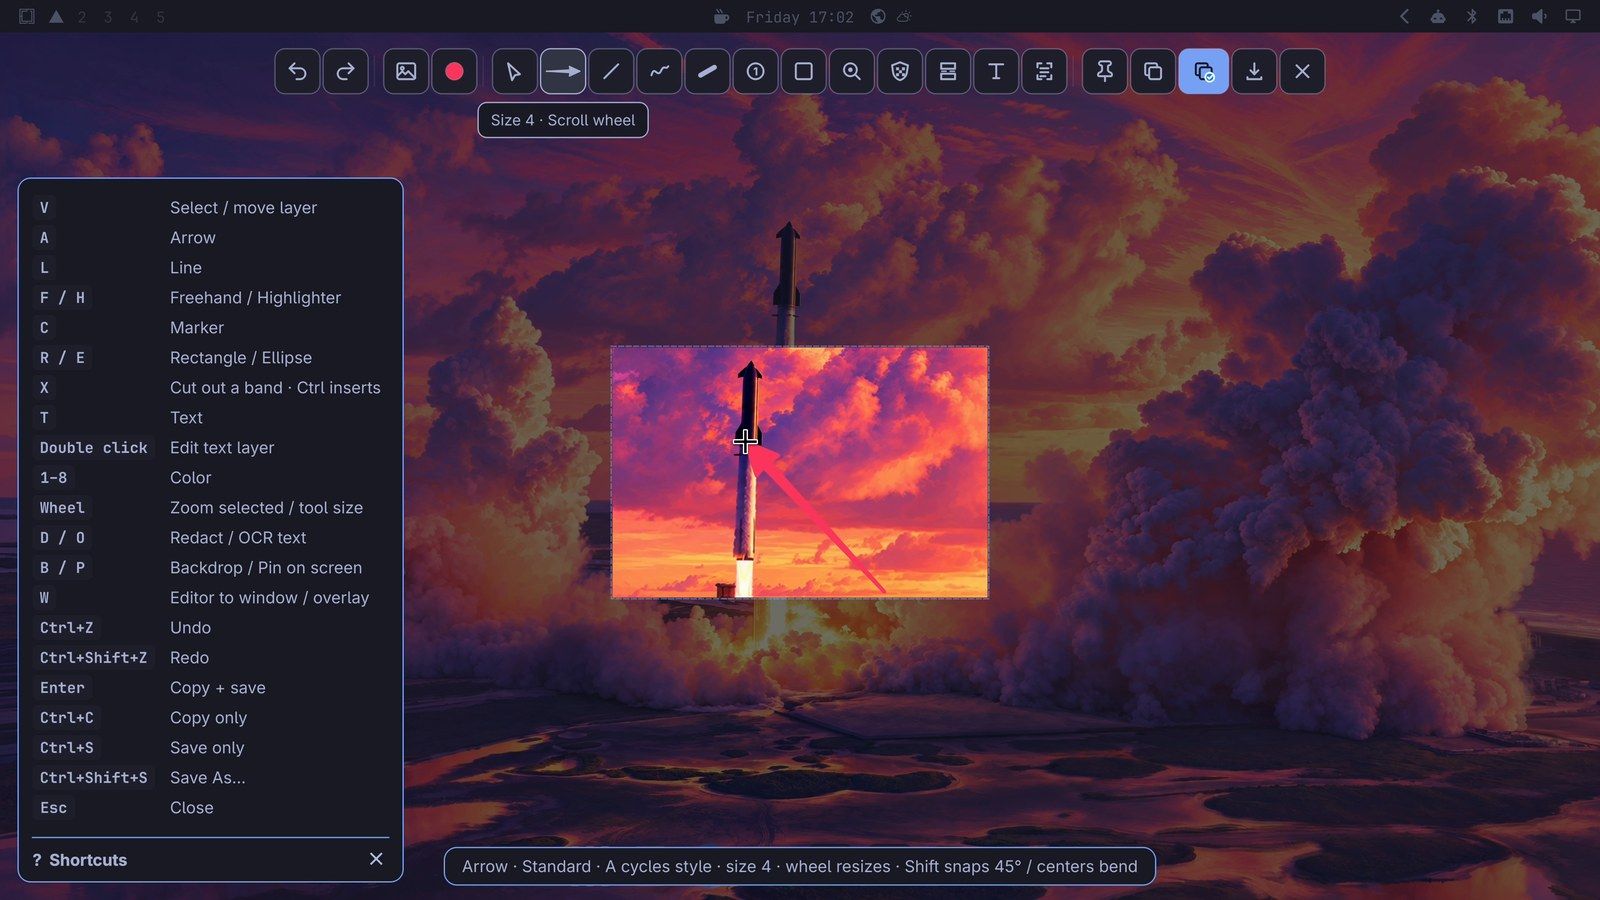
For Markup, press e after the picker opens and before you drag. When you let go, the new shot opens in Omarchy’s screenshot editor, with arrows, text, shapes, and a tool that hides private details. A list of the editor’s keys sits at the left. Press enter to copy and save the result.
Screen recording is in the Omarchy menu: pick Trigger, then Capture, then Screenrecord. It offers a recording with no sound, with the computer’s sound, or with the computer’s sound and your microphone.
Copy, paste, and the clipboard history
The clipboard works as on a Mac, with Super in place of Command. super c copies, super v pastes, super x cuts, and super a selects everything, in every app. Click the browser’s address bar, and super a and then super c copy the web address.
The same keys work in a terminal, the window where text commands run. In a terminal, ctrl c stops the program that’s running instead of copying. Omarchy sends the terminal’s own copy and paste keys when you press super c and super v , so you don’t have to remember the difference.
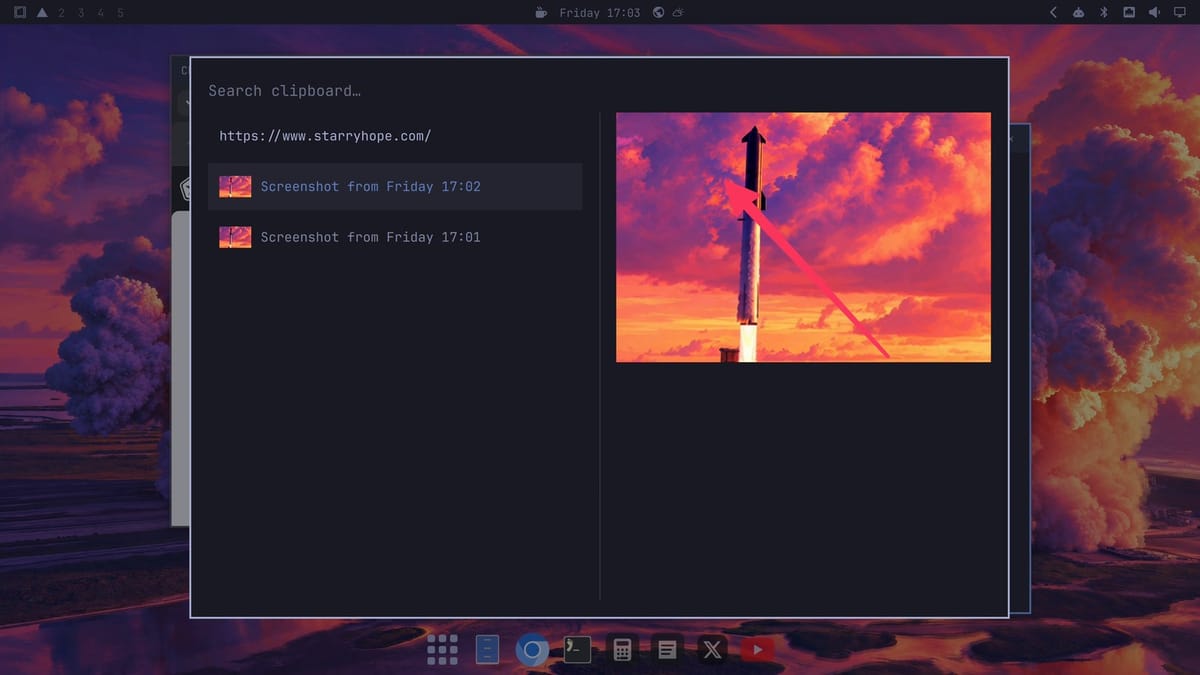
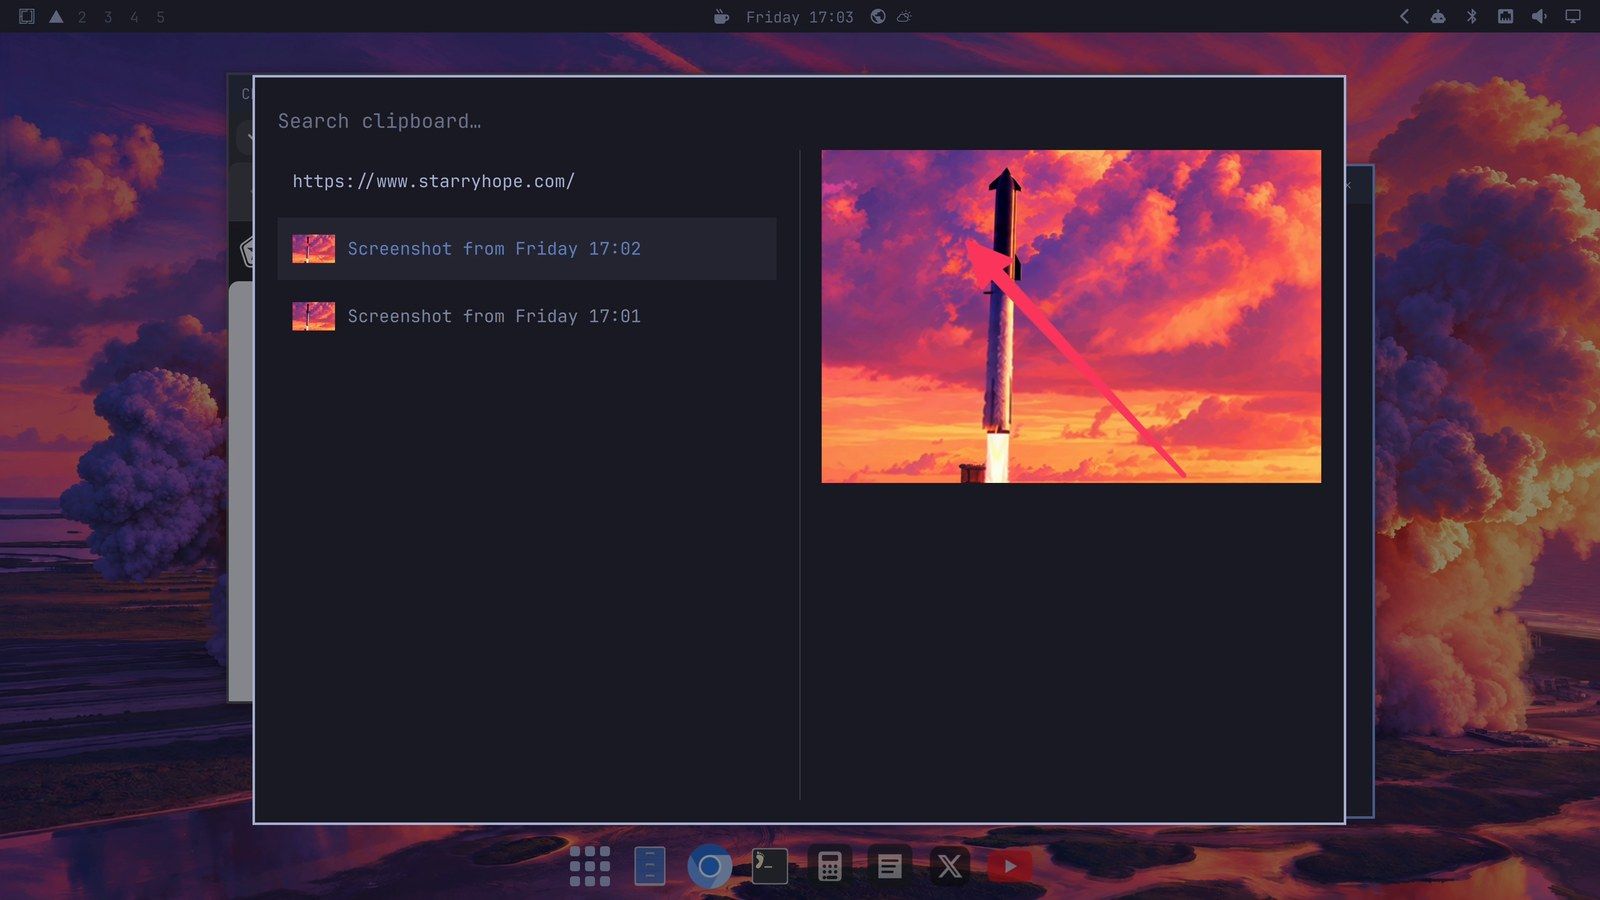
super ctrl v opens the clipboard history, with a search box and a preview. Screenshots you took earlier show up in it too.
Finder, Quick Look, and AirDrop
In place of Finder, there’s Files. Open it with super shift f or its icon in the dock. The sidebar lists your folders, like Downloads and Pictures, much as Finder’s does.
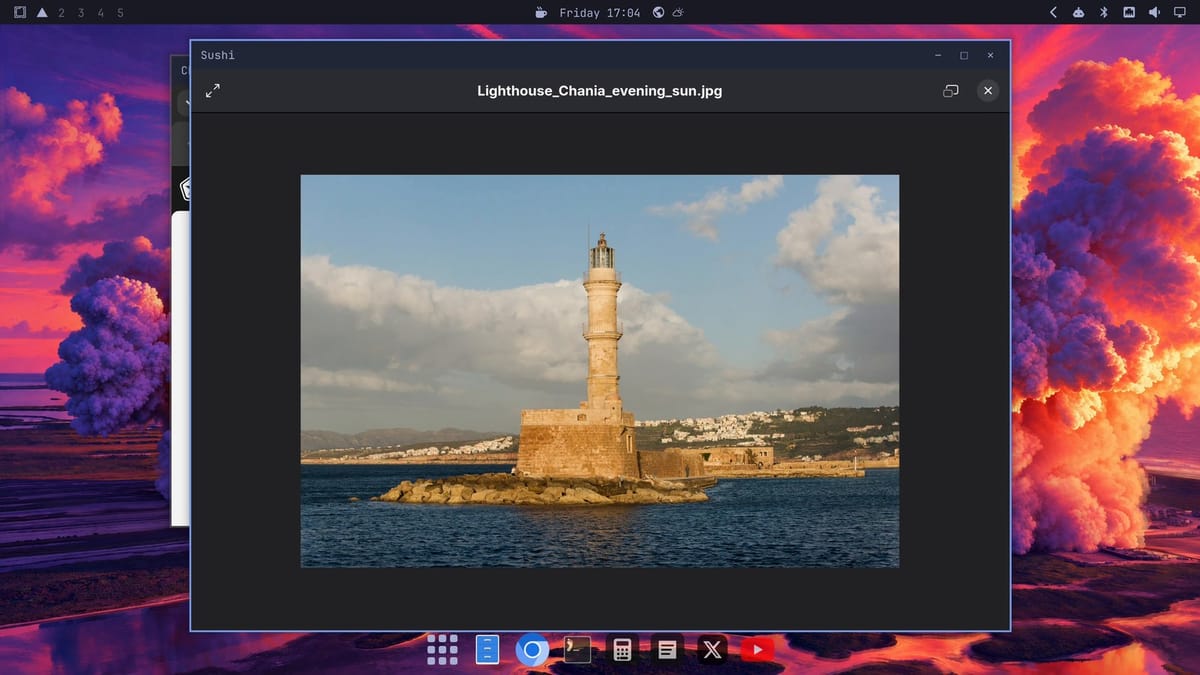
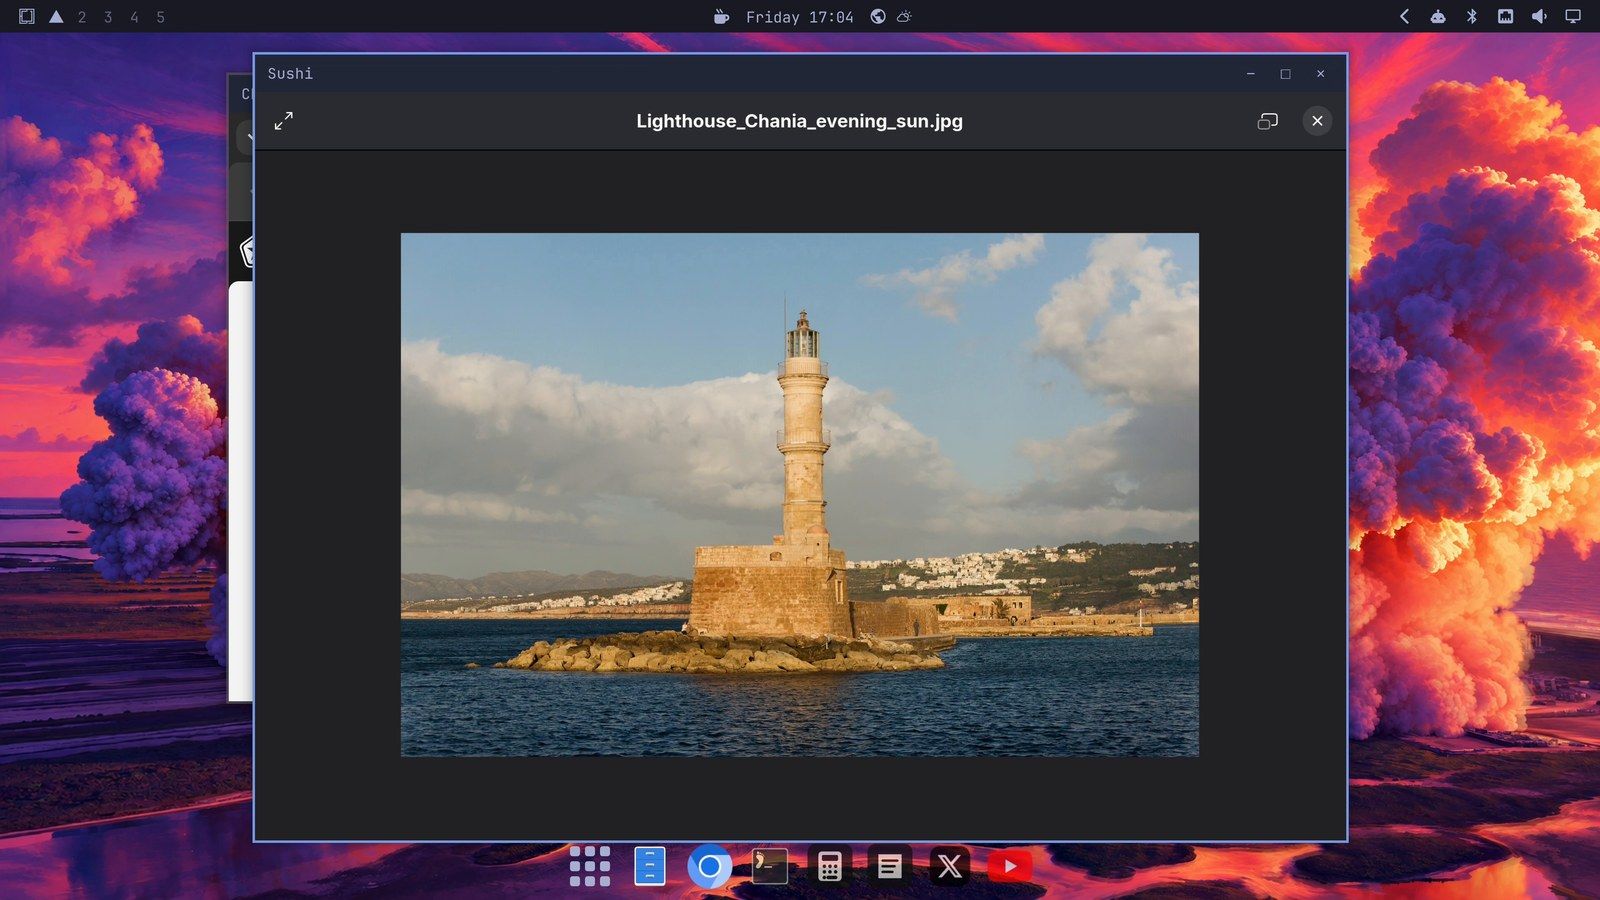
Quick Look is here too. Select a file and press space , and a preview opens, as on a Mac. Press esc to close it.
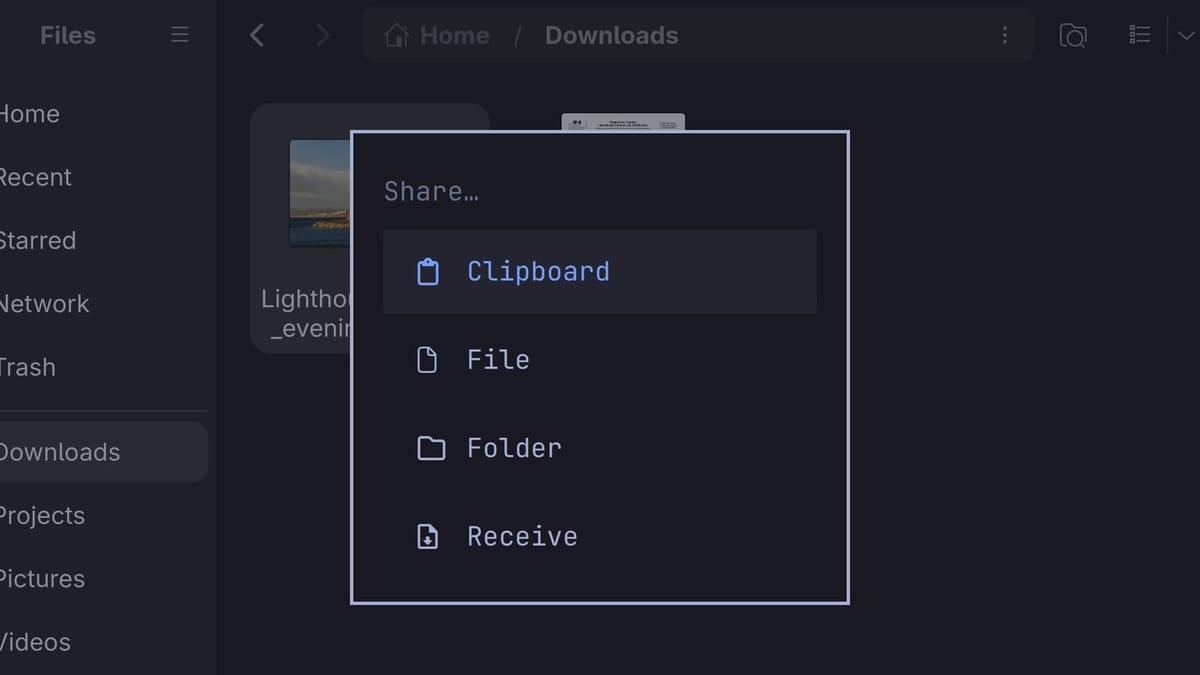
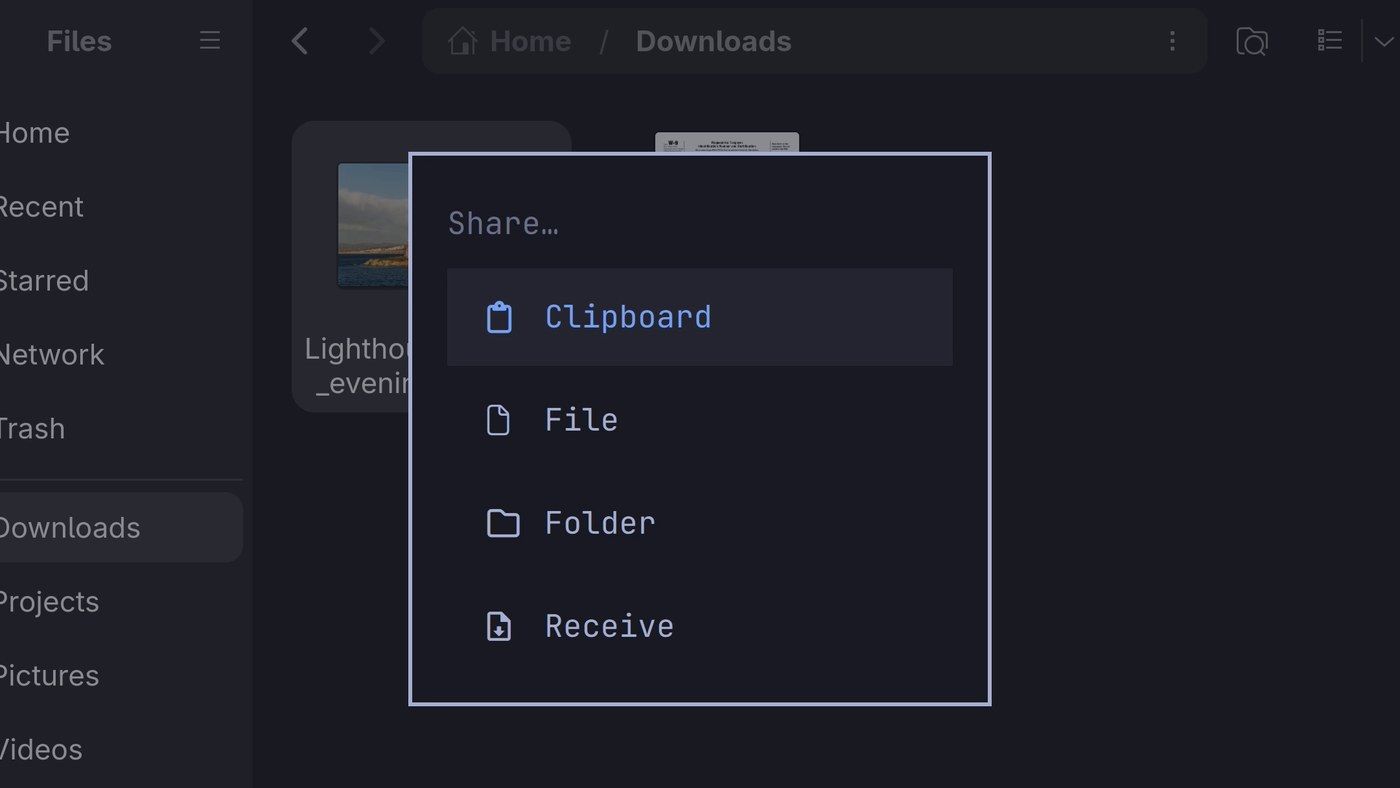
For AirDrop, Omarchy uses LocalSend, a free app that sends files between phones and computers on the same network. Press super ctrl s to open the share menu, which has Clipboard, File, Folder, and Receive. File and Folder send what you pick. Receive opens LocalSend, ready for a file from another device. LocalSend also runs on iPhones and Macs, so files move both ways over your home network.
Watch YouTube in its own window
YouTube comes ready as its own app. Press super shift y , and it opens without tabs or an address bar, so the video gets the room. Searching and playing work as on the YouTube website, with the same keyboard shortcuts, and you can watch without signing in.
super f fills the screen with any window, like the Mac’s green button. YouTube’s own f key goes further and shows the video alone. Press esc to leave full screen.
Email in a window of its own
On a Mac, Mail has its own window, and your web mail can have one here too. Web App turns any website into an app of its own, with no tabs or address bar.
- Press super space , pick Install, then Web App. (Typing
web appin the menu finds it too.) - At the
Name>prompt, type a name, such asGmail, and press enter . - At the
URL>prompt, type the web address, such ashttps://mail.google.com, and press enter . - Press any key to close the window when it says Done.
Omarchy takes the icon from the site. Gmail now opens from the menu like any other app, in its own window, with its icon in the dock while it runs. Sign in there as you would in a browser. To take a web app off again, pick Remove, then Web App.
Omarchy also comes with HEY, the email service from DHH’s company, as a web app on super shift e .
Word, Excel, and the other Microsoft apps
The Microsoft apps in Omarchy are Microsoft’s web versions, not the full desktop Office apps you install on a Mac. They run in their own windows, but they’re the same Word, Excel, and PowerPoint you’d use in a browser, and they need a Microsoft account.
To add them, press super space , pick Install, then Service, then Microsoft. That one pick adds six apps to the menu: Outlook, Word, Excel, PowerPoint, Teams, and OneDrive. Type microsoft in the menu to see them all.
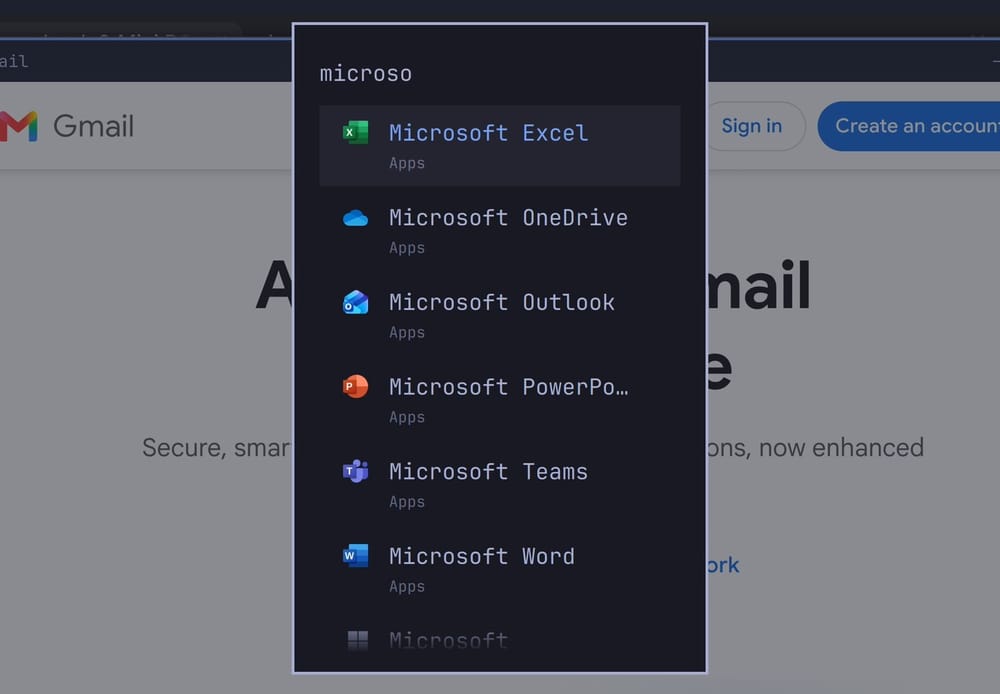
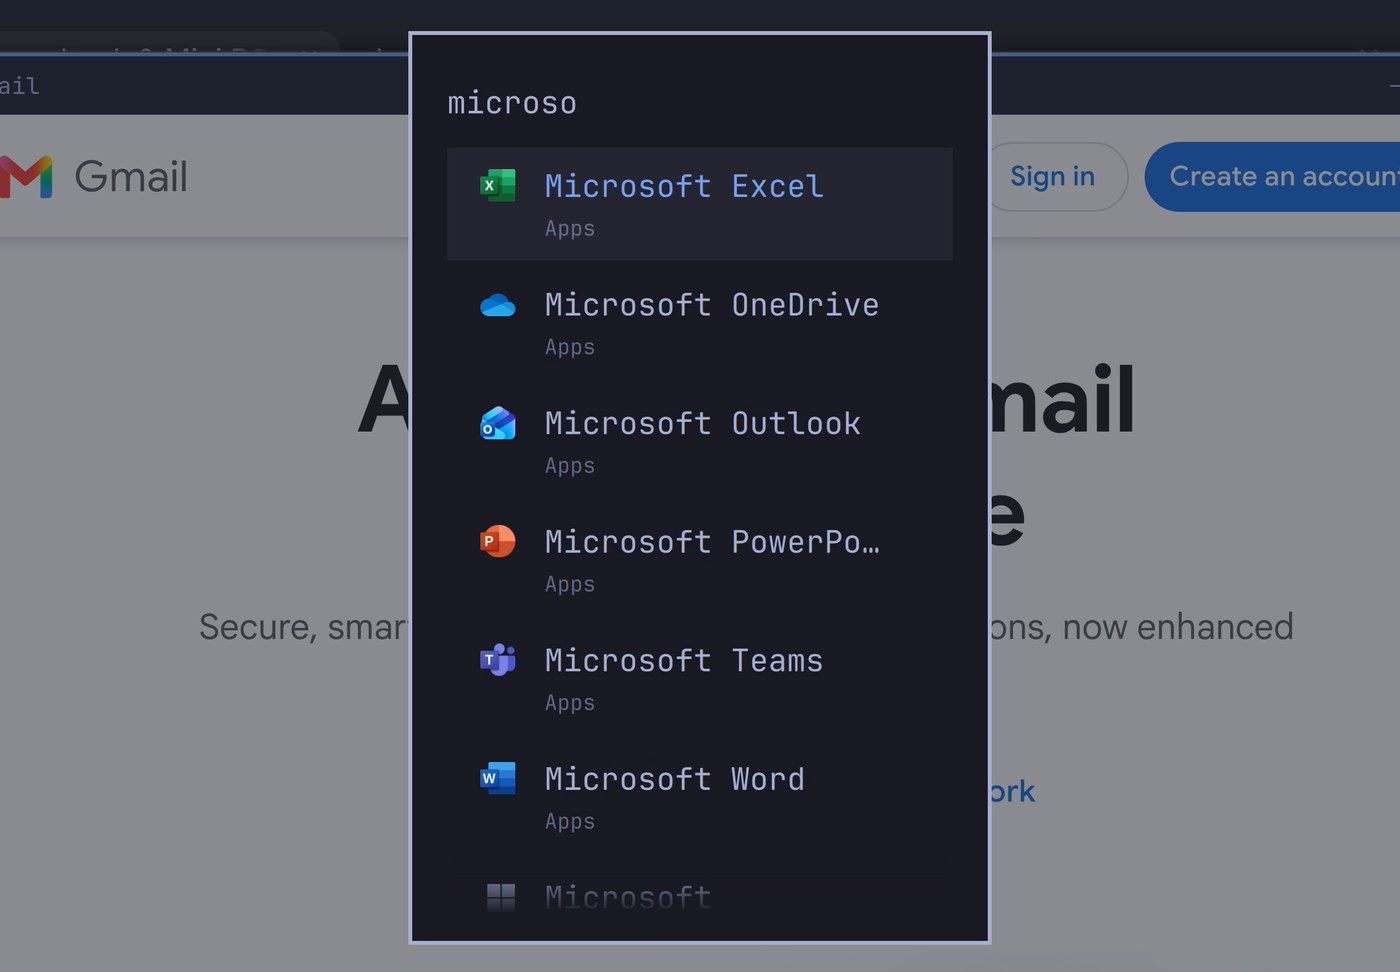
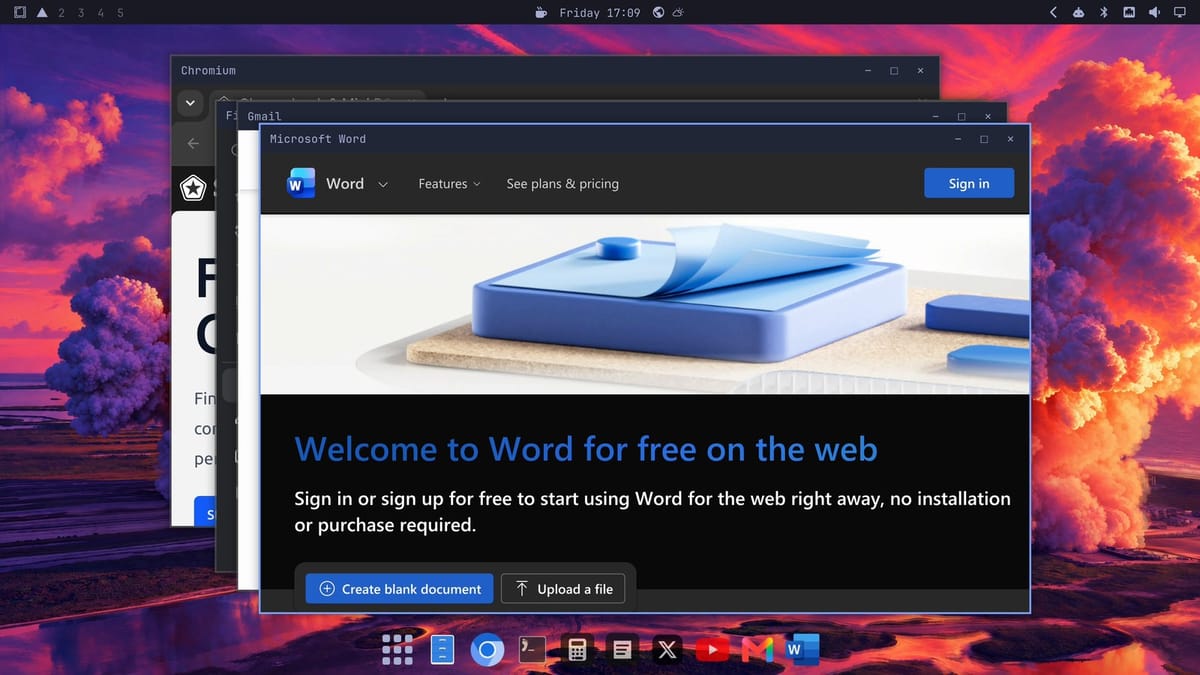
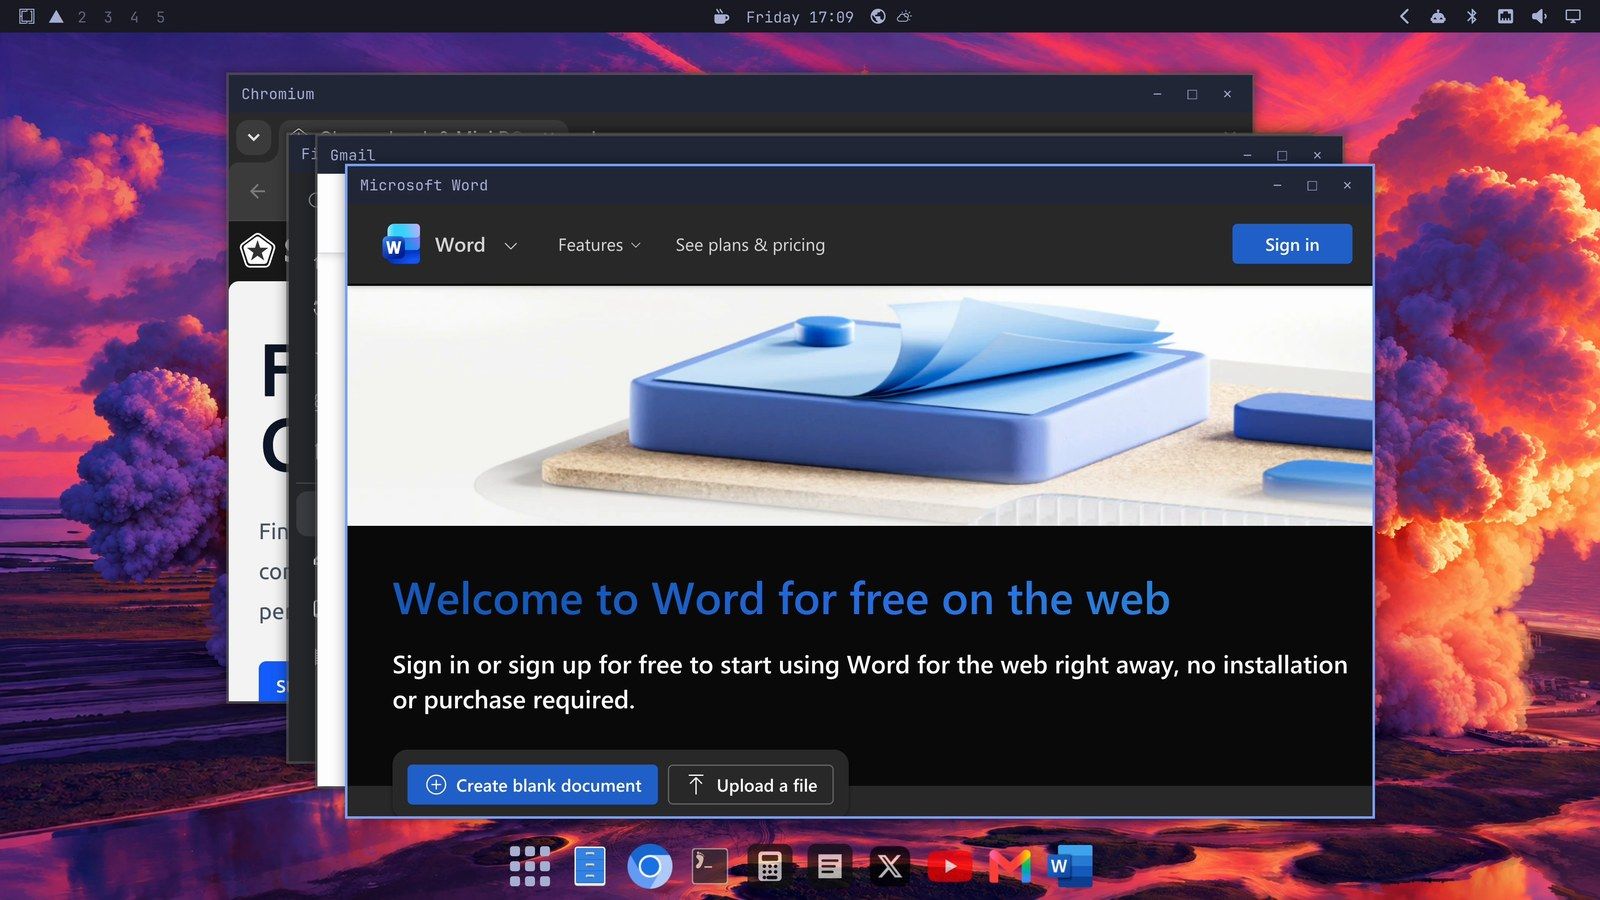
Word opens on Microsoft’s “Welcome to Word for free on the web” page, with a Sign in button at the top. Outlook and Teams go straight to Microsoft’s sign-in page.
For documents without an account, LibreOffice comes installed. It opens and saves Word and Excel files, and its apps (Writer for documents, Calc for spreadsheets) are in the menu.
View and crop a photo
Where a Mac opens a photo in Preview, a double-click in Files opens Image Viewer, a plain window with the picture and nothing else. To crop:
- With the photo open in Image Viewer, press ctrl e . The photo opens in the screenshot editor from earlier.
- Drag a corner of the photo inward to trim the edges.
- Press ctrl s to save a cropped copy.
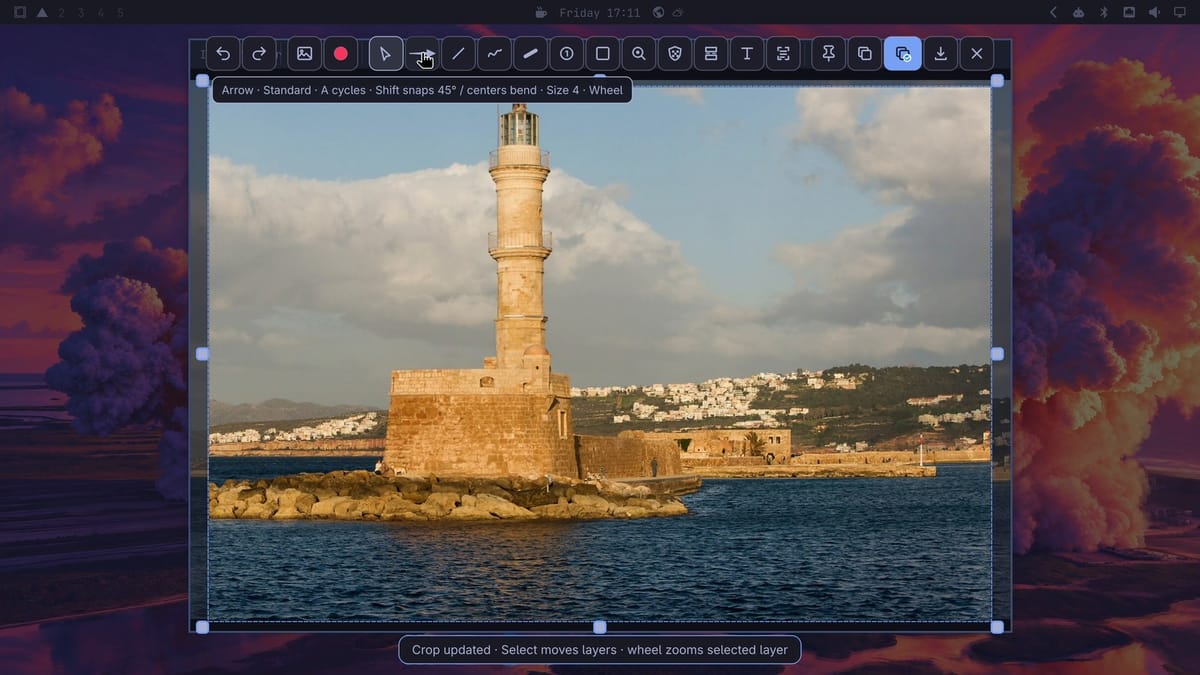
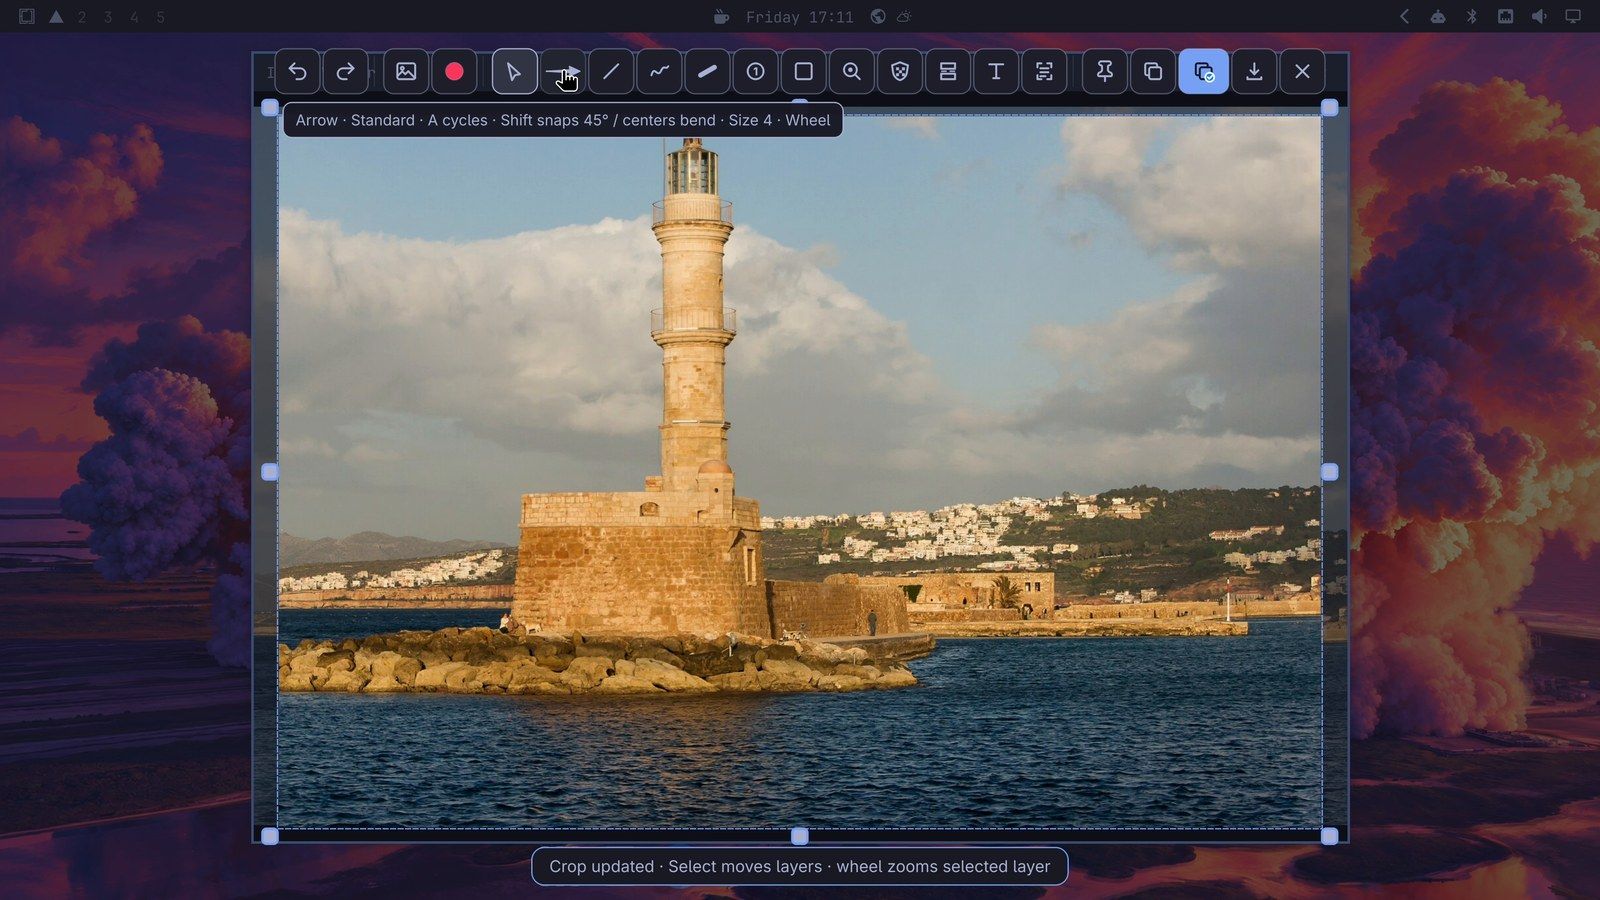
The arrows, text, and the tool that hides details work on photos too, for marking one up before you send it. Use them before you press ctrl s , because the editor closes when it saves. The copy goes in the Screenshots folder inside Pictures, under a screenshot file name, and the original photo is left alone.
Sign a PDF
For signing a PDF, the job Preview does on a Mac, Omarchy 4.5 comes with an app called Signed. Open it from the menu (type signed), then use Open PDF, or drag a PDF from Files onto its window. Once it opens, press super f so Signed fills the screen; at half width, its Signature menu can be cut off at the edge.
- Pick Signature, then Add signature. Choose a photo of your signature on white paper. Signed turns it into a clean cut-out, with a slider to adjust how much of the paper it removes. Save it.
- Scroll to the line where the signature belongs. Pick your saved signature from the Signature menu: it lands in the middle of the view. Drag it onto the line.
- Date adds today’s date the same way, and Text adds a name or anything else you type. Drag each one into place.
- Pick Save signed copy. Signed writes the result as a new PDF, and the original stays as it was.
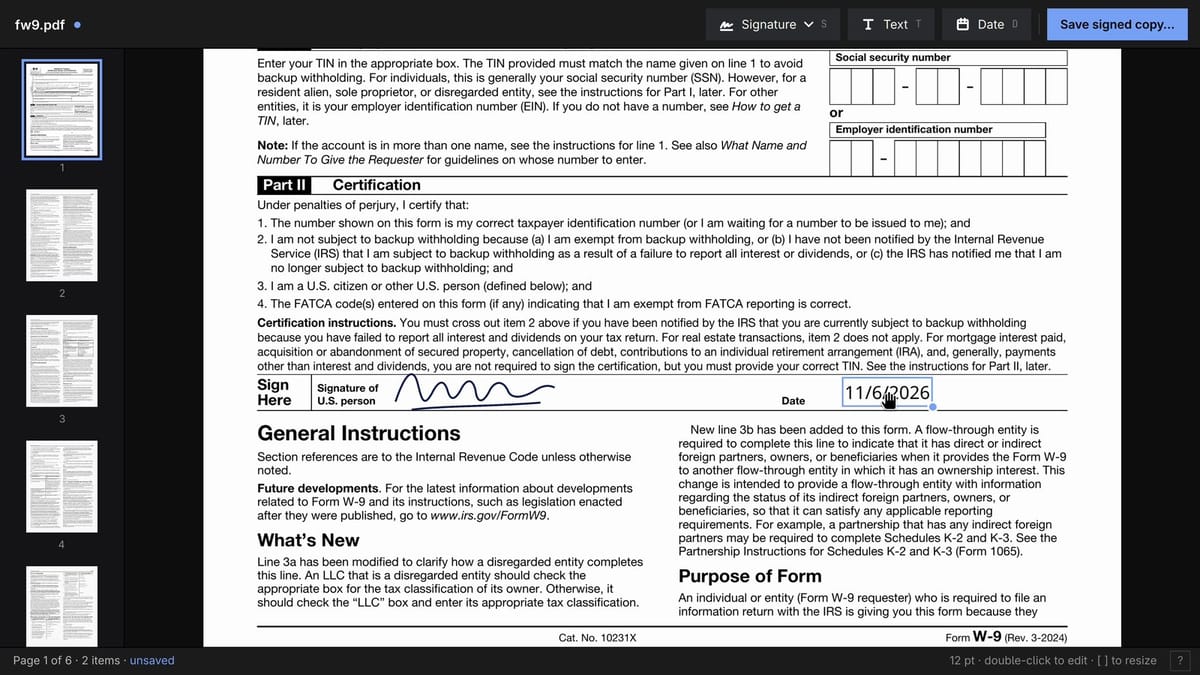
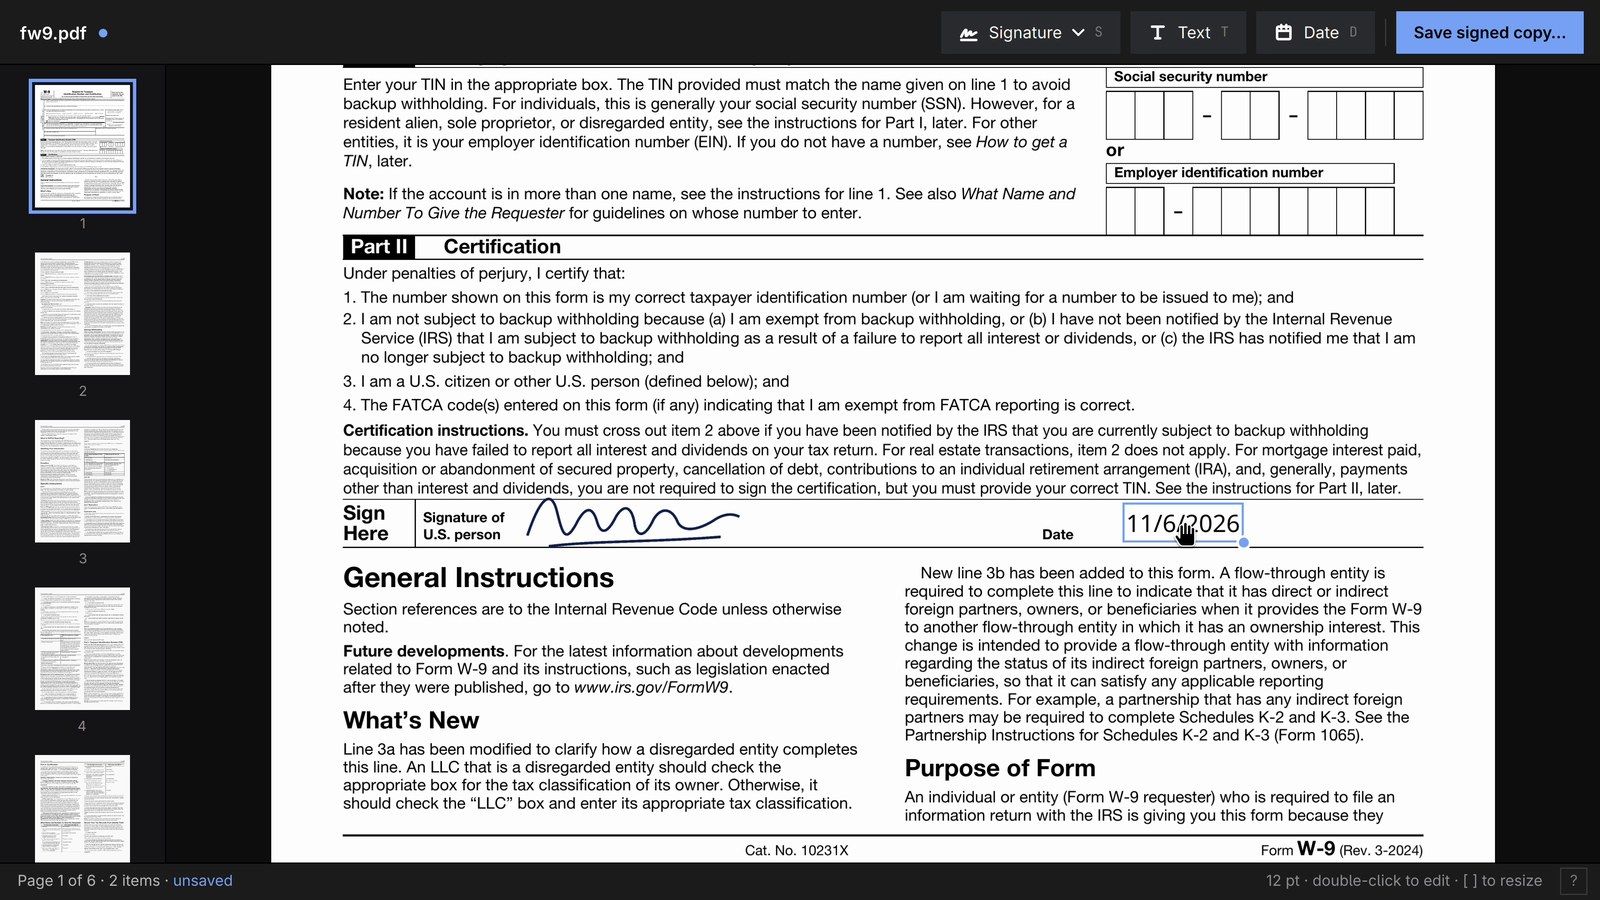
Signed places its text on top of the page. It doesn’t type into a PDF’s form fields. For a form with fillable fields, double-click the PDF in Files to open it in Document Viewer, the default PDF app, and click into each field.
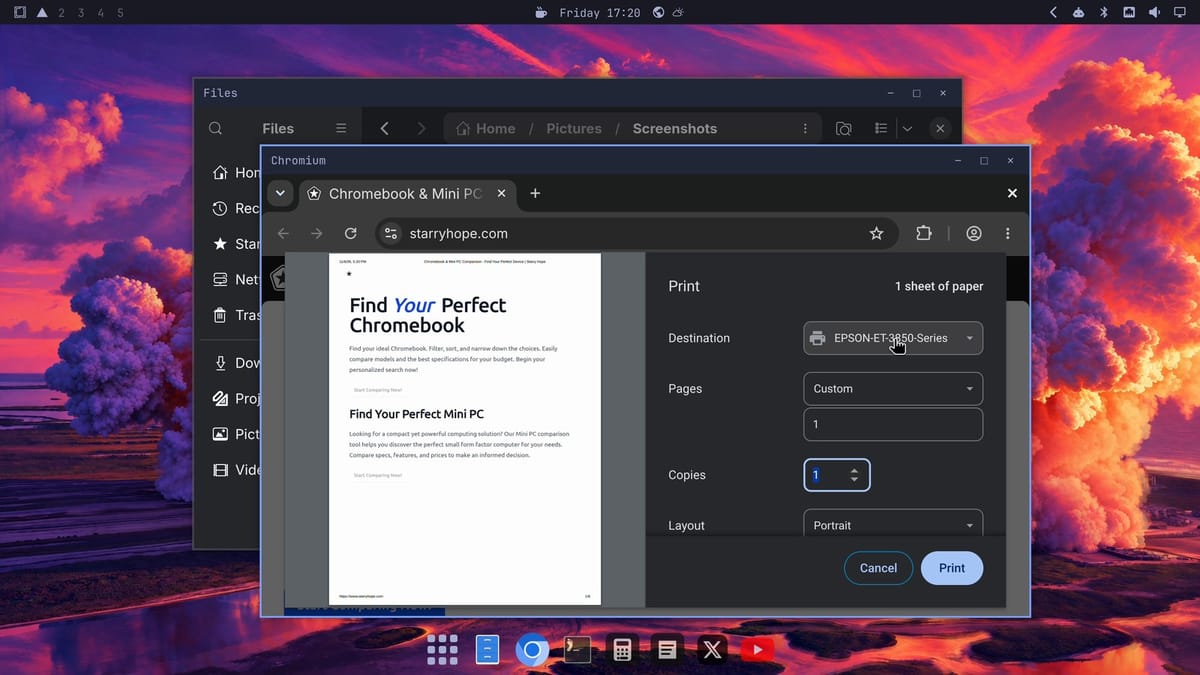
On a Mac, you add a printer once in System Settings. In Omarchy, you add it in Print Settings.
- Press super space , type
print, and open Print Settings. - Click Unlock and type your password. Adding a printer changes the system, so Omarchy asks first.
- Click Add, then open Network Printer. The printers on your home network show up in the list.
- Pick your printer and click Forward. A printer that supports driverless printing (IPP Everywhere) needs no driver download, so the next page asks only for a name.
- Click Apply. When it asks about a test page, print one or click Cancel.
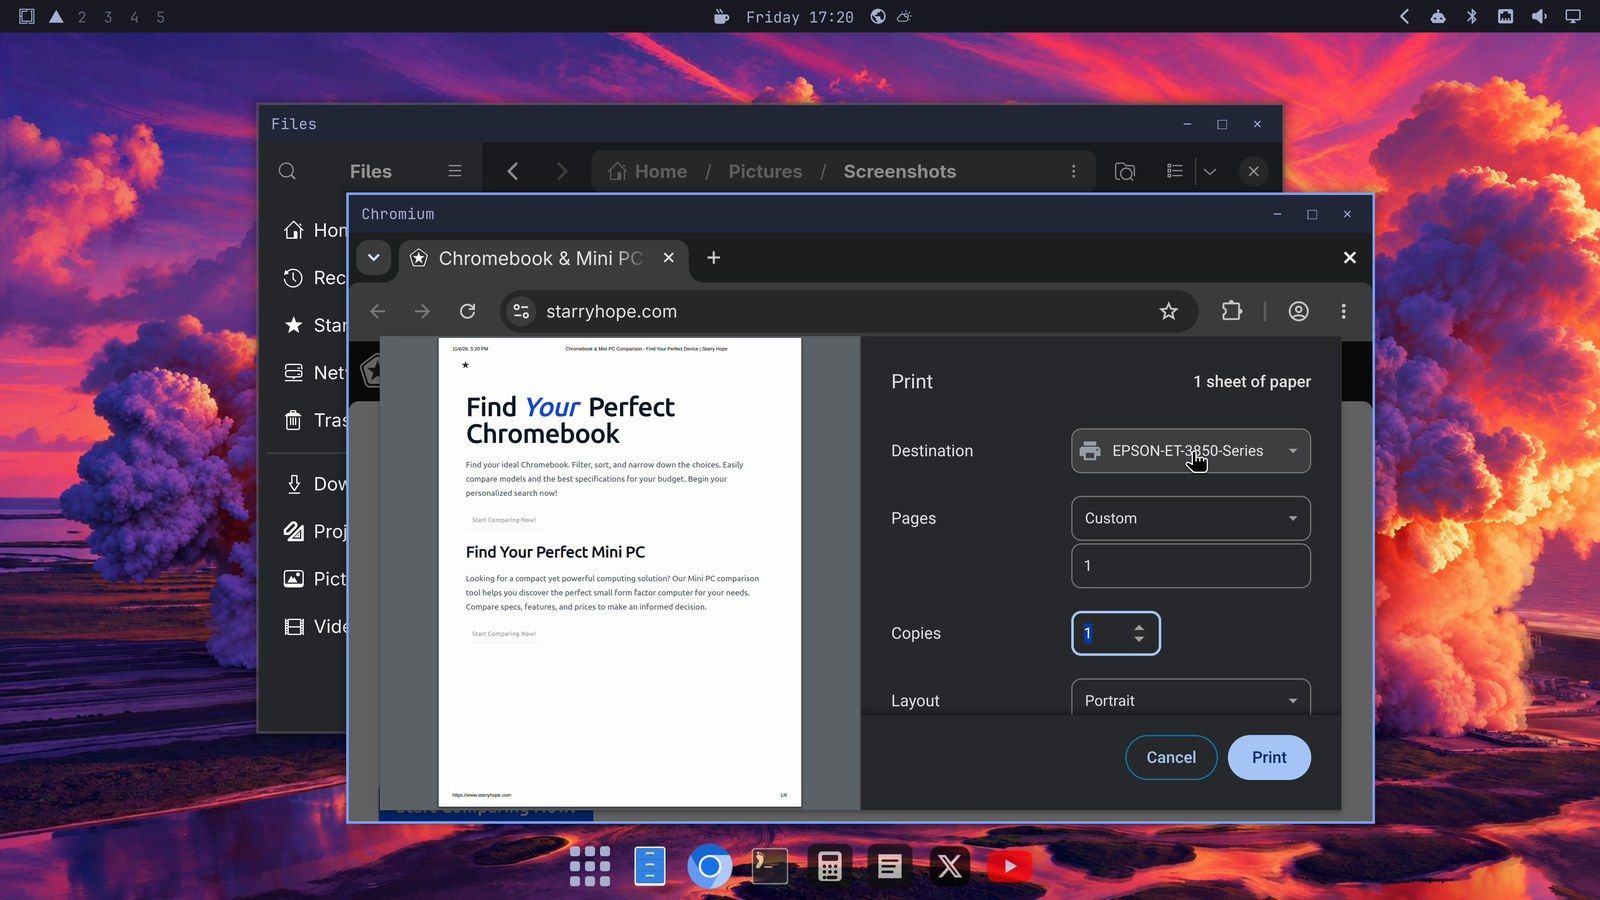
From then on, ctrl p prints from apps like the browser, with the printer already picked. The Destination list in the print dialog also offers Save as PDF, for a copy instead of paper.
Wallpaper and themes
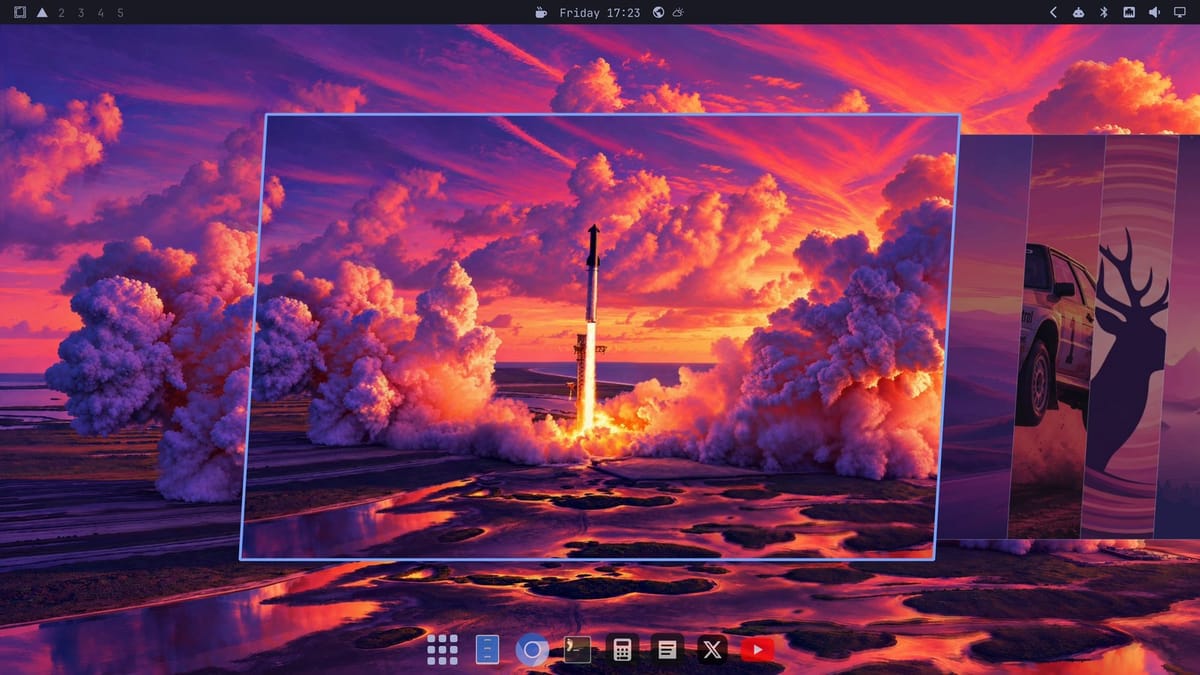
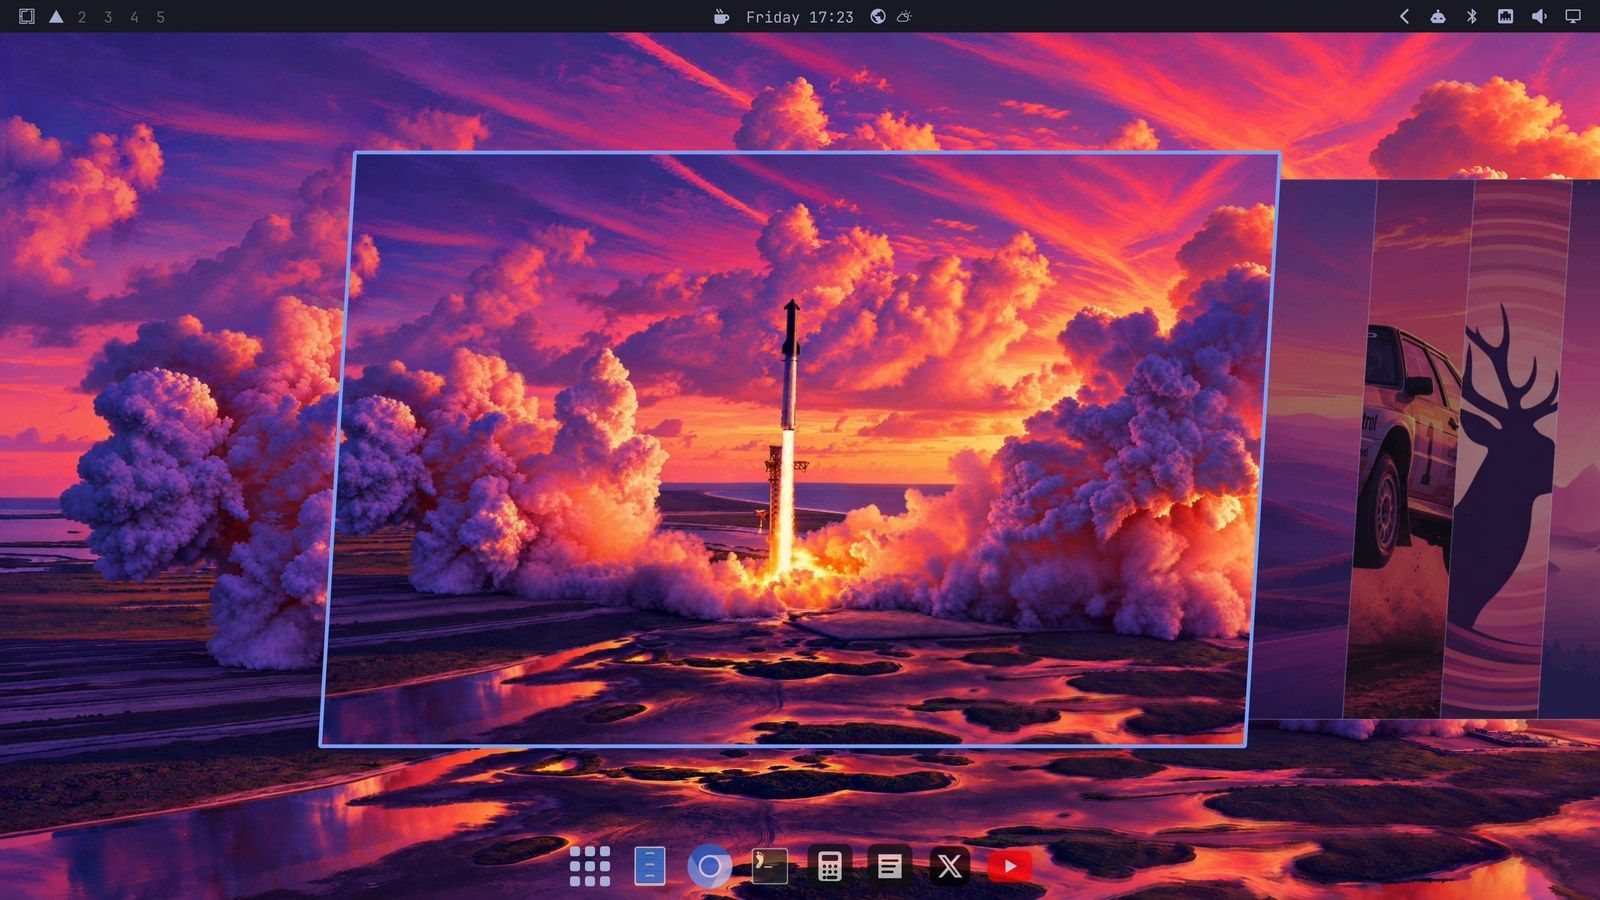
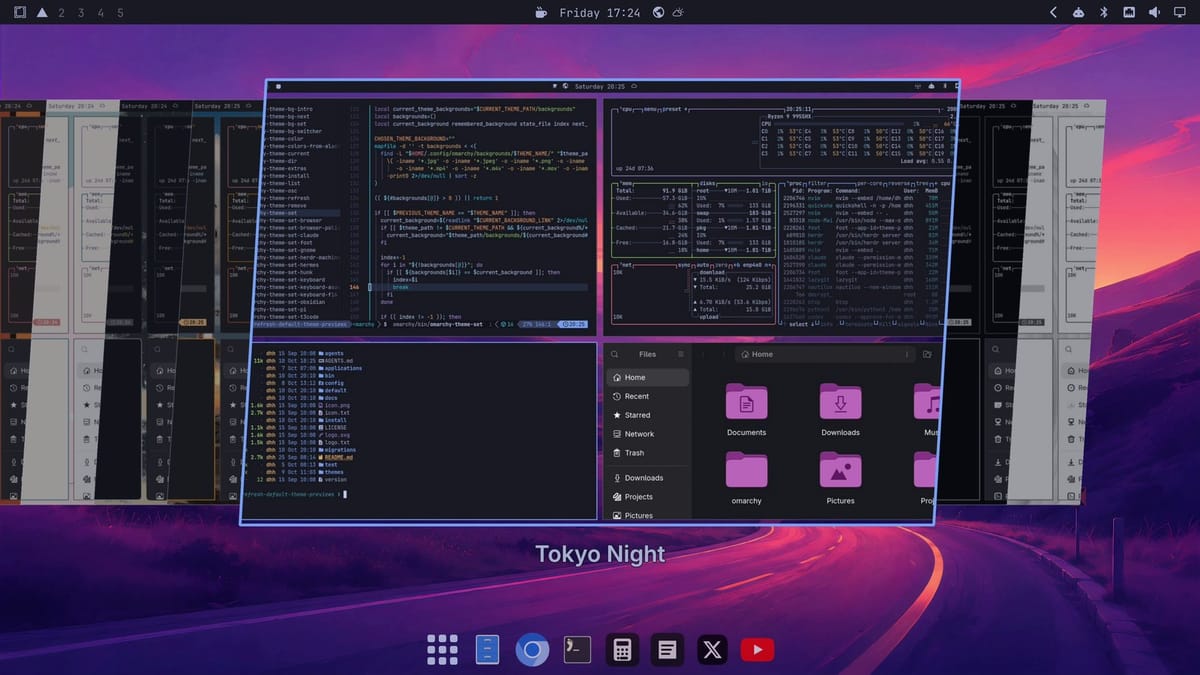
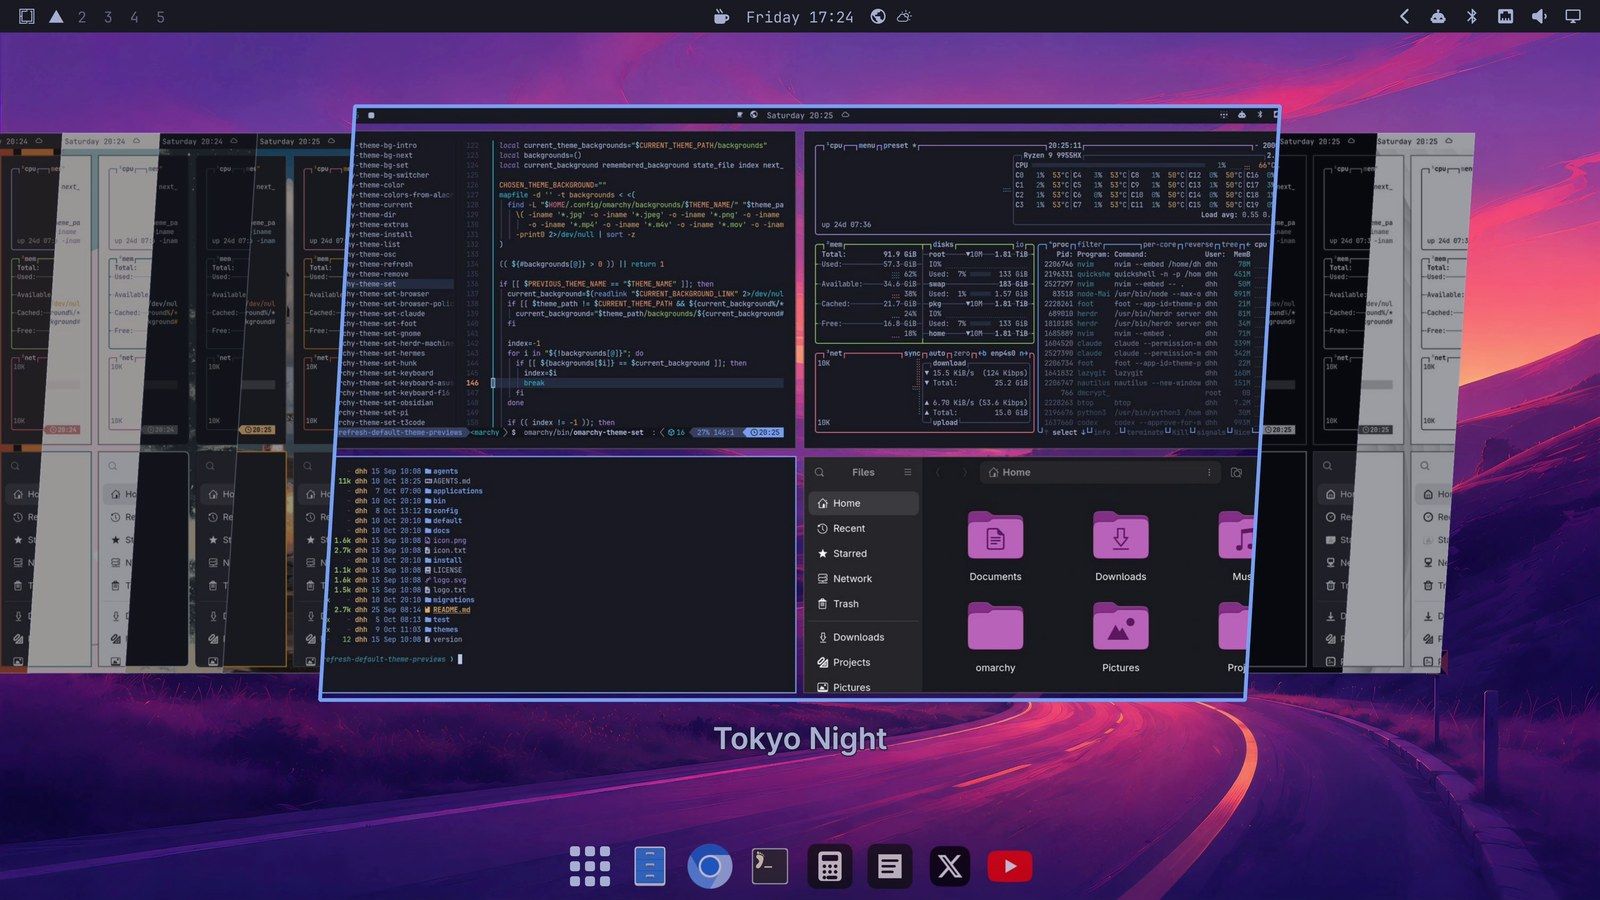
super ctrl space opens a carousel of backgrounds. Move through them with the arrow keys, and press enter to set the one in the middle. For a photo of your own, right-click it in Files and pick Set as Background.
super shift ctrl space opens the theme picker, and one pick changes the wallpaper, the window colors, and the bar together. Type part of a name to filter the list. Omarchy starts on Tokyo Night, a dark theme. If you like light mode on your Mac, Catppuccin Latte is a light one, and Flexoki Light and White are others.
Install apps in place of the App Store
Apps you’d get from the App Store come from Install, in the Omarchy menu.
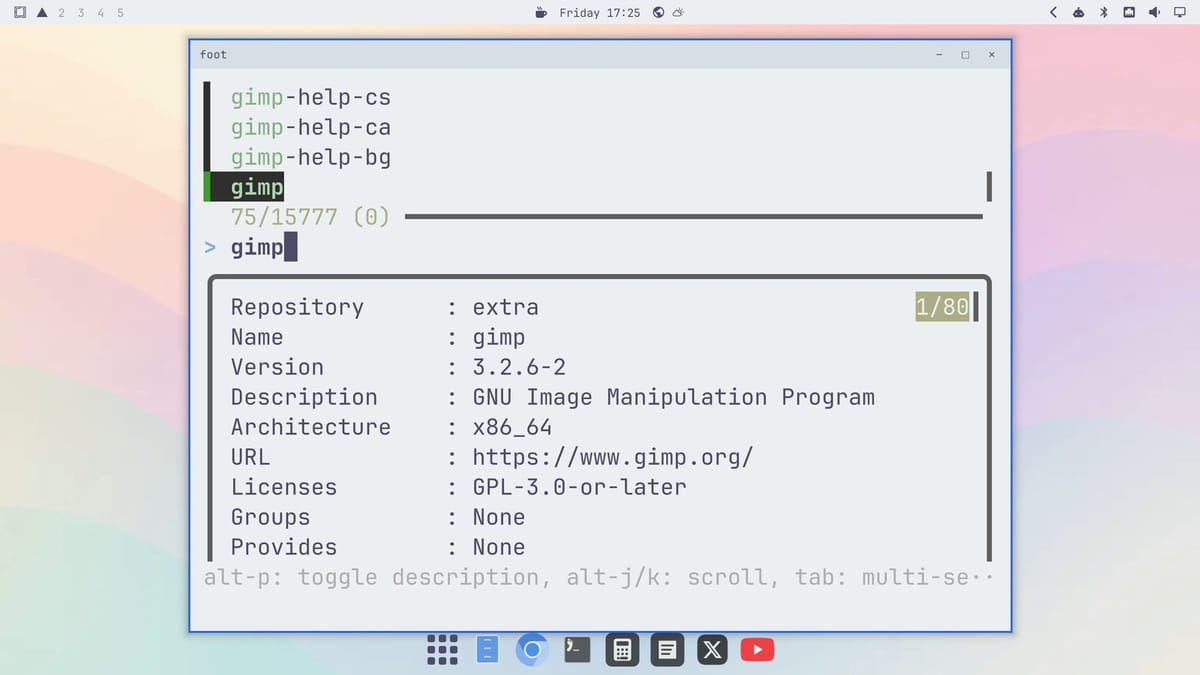
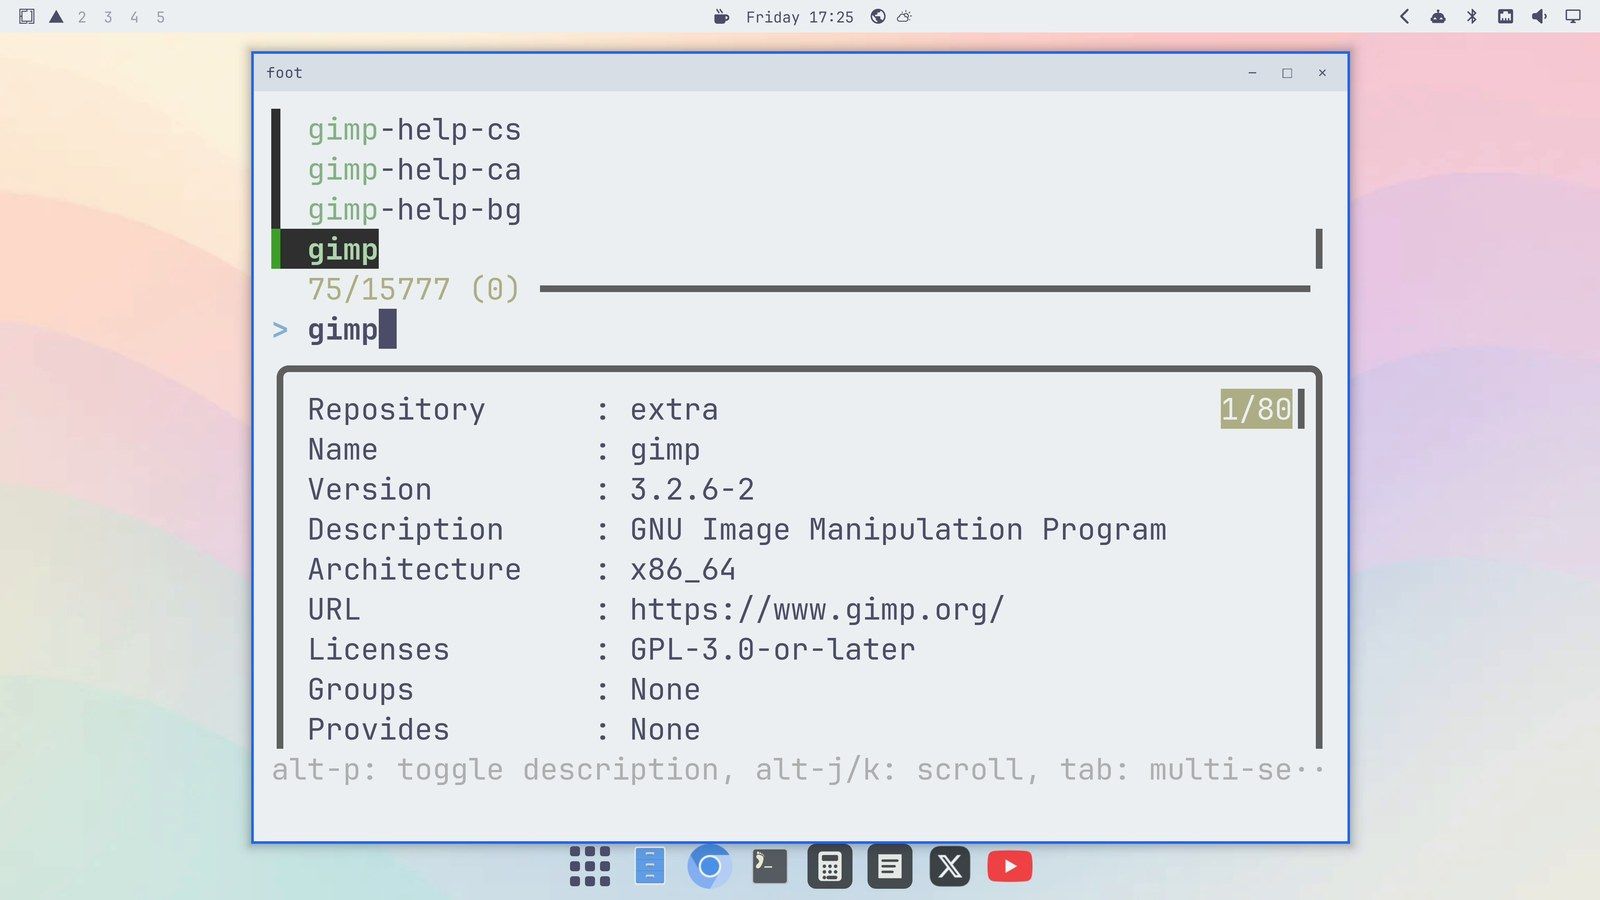
- Press super space and pick Install, then Package. A searchable list of more than 15,000 packages (the apps and tools you can install) opens in a terminal window.
- Type the app’s name, such as
gimpfor GIMP, the free photo editor. A description of the selected package shows below the list. - Press enter and type your password. The install runs in the same window.
- When it says Done, press any key to close it. The new app opens from the menu like any other.
Remove, the row below Install, takes an app off again: pick Remove, then Package, and choose it from the list. The Install menu has other rows too, such as Service (the Microsoft apps above), Web App, Browser, Editor, and Gaming.
Software Update
For Software Update, open the Omarchy menu and pick Update, then Omarchy. It updates the system and every app in one run. First it reminds you to plug in your laptop and links to what’s new, then asks “Continue with update?”. Pick Yes and type your password.
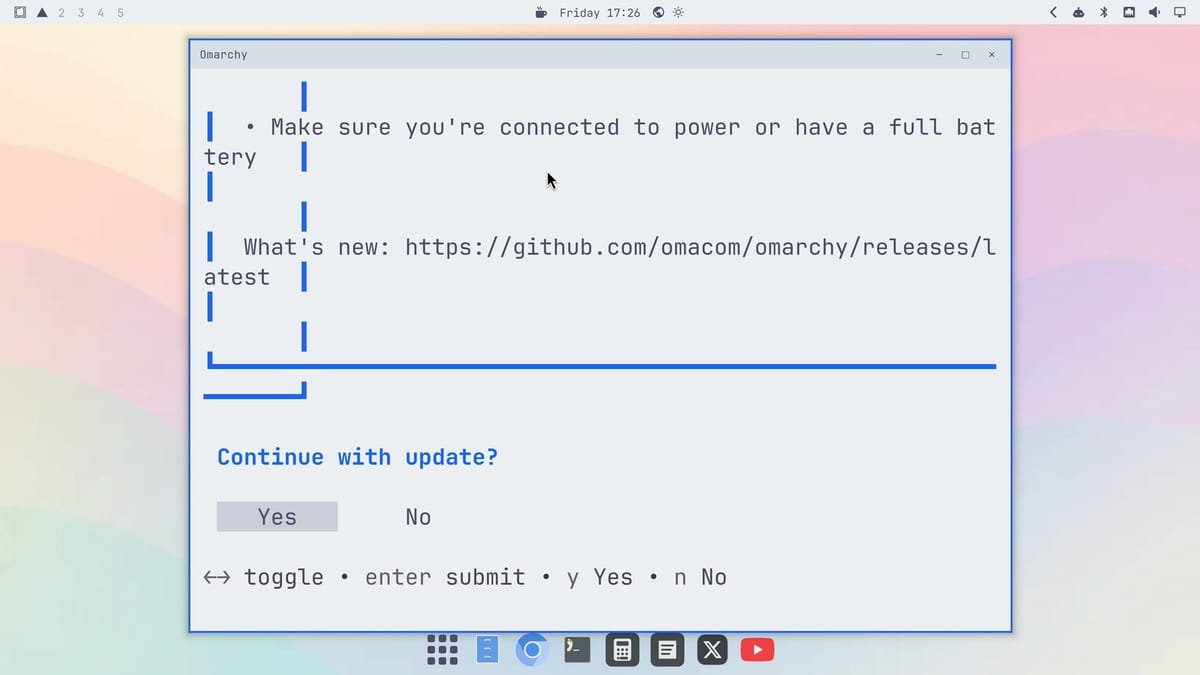
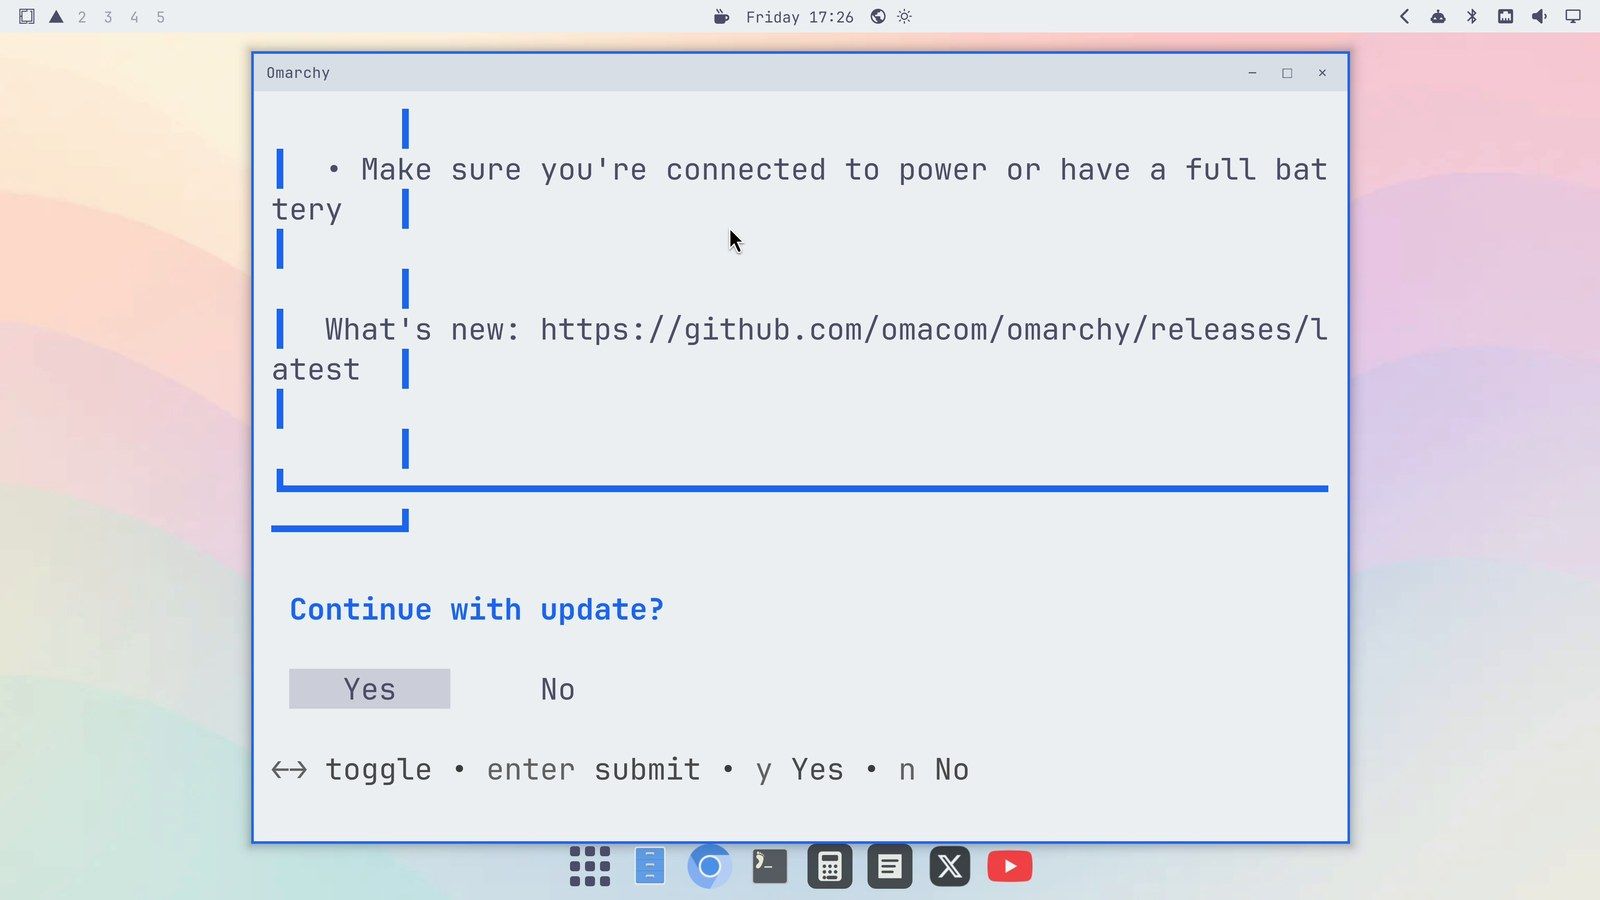
Before it changes anything, the update takes a snapshot of the system, which does part of Time Machine’s job: if an update breaks something, you can boot back to the snapshot. Our guide to Omarchy snapshots and rolling back from the boot menu shows how. A rollback covers the system files, not your home folder, so keep a separate backup of your own files.
Next steps
For the next keys to learn, see our guide to the Omarchy keyboard shortcuts to learn first. To see how Omarchy is put together on Arch and Hyprland, read how Omarchy stacks DHH’s defaults.


