
Omarchy is a free Linux desktop that comes ready to use. One installer sets up the whole system, with the apps, the look, and the shortcuts already chosen for you. Underneath is Arch Linux. On top runs Hyprland, the program that places your windows, plus a bar, menus, and panels that Omarchy adds. It is made by David Heinemeier Hansson (DHH), who created Ruby on Rails, and our overview of how Omarchy is put together explains the layers in more detail.
This guide takes you from a blank computer to everyday use on Omarchy 4.5.0, the current stable release. It includes a dual boot beside Windows and the separate installer for Apple Silicon Macs, and a table near the end lists every shortcut on this page.
Omarchy’s home page calls it “The malleable OS for the age of agents.” The tools come picked and tuned, so you can get straight to work, and you can still change everything, down to the whole look with one pick. AI agents are built in, too. Omarchy is keyboard first, and the mouse works as well: the Floating layout gives windows title bars and a dock, Super with a mouse drag moves or resizes a window, and the bar, menus, and panels all take clicks. It is made for a computer that only you use, since one password covers your account, admin tasks, and the disk. It is also a rolling release: updates keep arriving instead of one version that stays fixed for years, and each update saves a copy of the system first. Our comparison of Omarchy and Ubuntu for a first Linux desktop shows how the two differ.
What you need
You need a 64-bit PC (Intel or AMD) or an Intel Mac, a USB flash drive of 8 GB or more that you can erase, and an internet connection for the download. The installer for PCs is about 6.5 GB. The Omarchy home page says even a 2011 ThinkPad X220 with 2 GB of RAM can run it; there is no formal list of requirements. Macs with Apple Silicon chips use a different installer, covered in the Mac section below.
Plan for the disk before you start. A full disk install erases the whole drive, so back up anything you want to keep. If you want to keep Windows on the same drive, you need free space on it and BitLocker turned off; the dual boot section explains both.
You also need a wired keyboard or a 2.4 GHz wireless one with its own USB receiver. The disk is encrypted, and you type its password before the system starts. A Bluetooth keyboard can’t type at that point, because Bluetooth is not running yet.
Most Omarchy shortcuts start with the Super key. On a PC keyboard, that is the key with the Windows logo. When this guide says super space , hold the Super key and press the space bar.
Download Omarchy and write the USB flash drive
Go to omarchy.org and download “Omarchy 4.5.0 (x86)”. The file is an ISO, a single image of the installer. The page also links a SHA-256 checksum and a signature for it. To check the download on Linux or a Mac, run sha256sum (on a Mac, shasum -a 256) on the file and compare the result with the published value. If the two differ, download the file again.
A writing tool copies the ISO onto the flash drive and makes the drive start the installer. One app, balenaEtcher, does this on Windows, macOS, and Linux; the Omarchy manual covers this step too. Pick the ISO, pick the flash drive, and start the write. Writing the flash drive erases everything that was on it, so check that you picked the right drive.
Turn off Secure Boot and TPM, then start from the flash drive
The BIOS is your PC’s startup settings screen, which runs before Windows or any other system loads. The manual says “You must turn off Secure Boot and/or TPM in the BIOS.” Both are security settings that Windows relies on. The key that opens the BIOS shows in small print on the logo screen when the computer starts, often delete , f2 , or f10 . Find Secure Boot and TPM (on some PCs, TPM is called Security Device Support or fTPM), set them to Disabled, and save. Our mini PC install shows these screens on a GMKtec NucBox G2.
Then plug in the flash drive and start the computer from it with the boot menu key, which also differs from one maker to the next ( f7 , f11 , and f12 are common). Pick the row that starts with UEFI: and names your flash drive.
Answer the installer’s questions
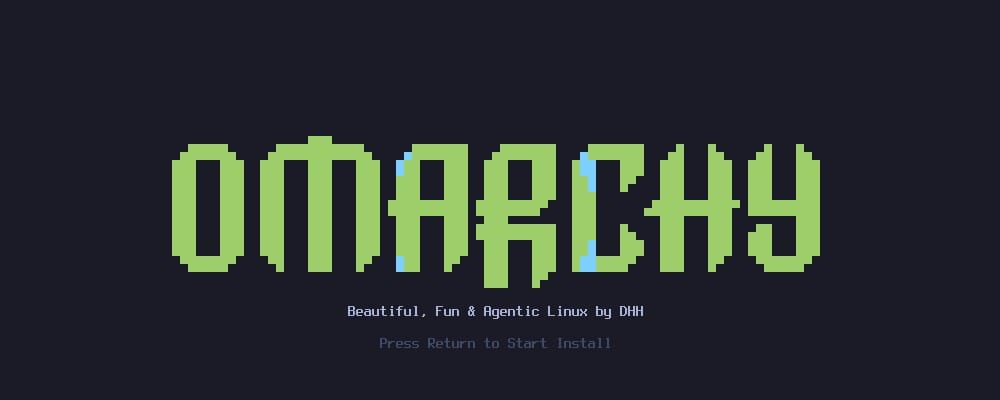
The installer opens on a dark start screen with the Omarchy logo, the line “Beautiful, Fun & Agentic Linux by DHH”, and “Press Return to Start Install” below it. Return is the enter key. Every screen after this one works the same way: the arrow keys move, and enter confirms.
The first questions set up the machine. You pick your language, then your keyboard layout, which starts on the layout that matches the language unless you change it. The timezone screen comes next, and when you are online the installer has already guessed it from your location; press enter to take the guess, or type to filter the list.
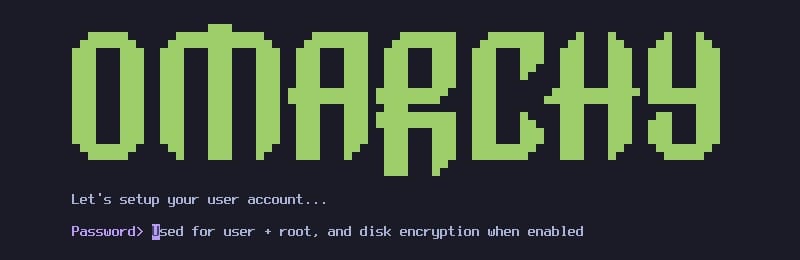
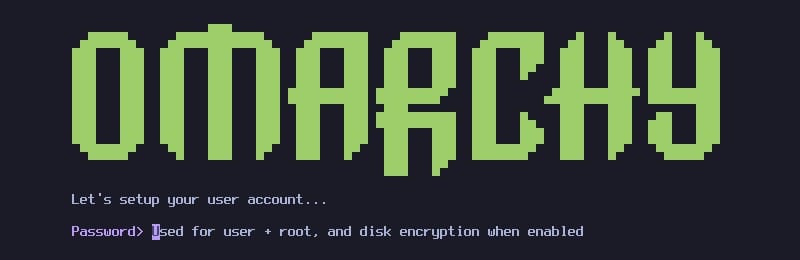
Then you set up your account. The username must be lowercase with no spaces (the hint reads “Alphanumeric without spaces (like dhh)”). You type the password twice. Its hint says what it is for: “Used for user + root, and disk encryption when enabled”. That one password signs you in, approves admin tasks, and unlocks the disk at every start, so pick one you can type without looking. The hostname is the computer’s name on your network; press enter to keep “omarchy”.
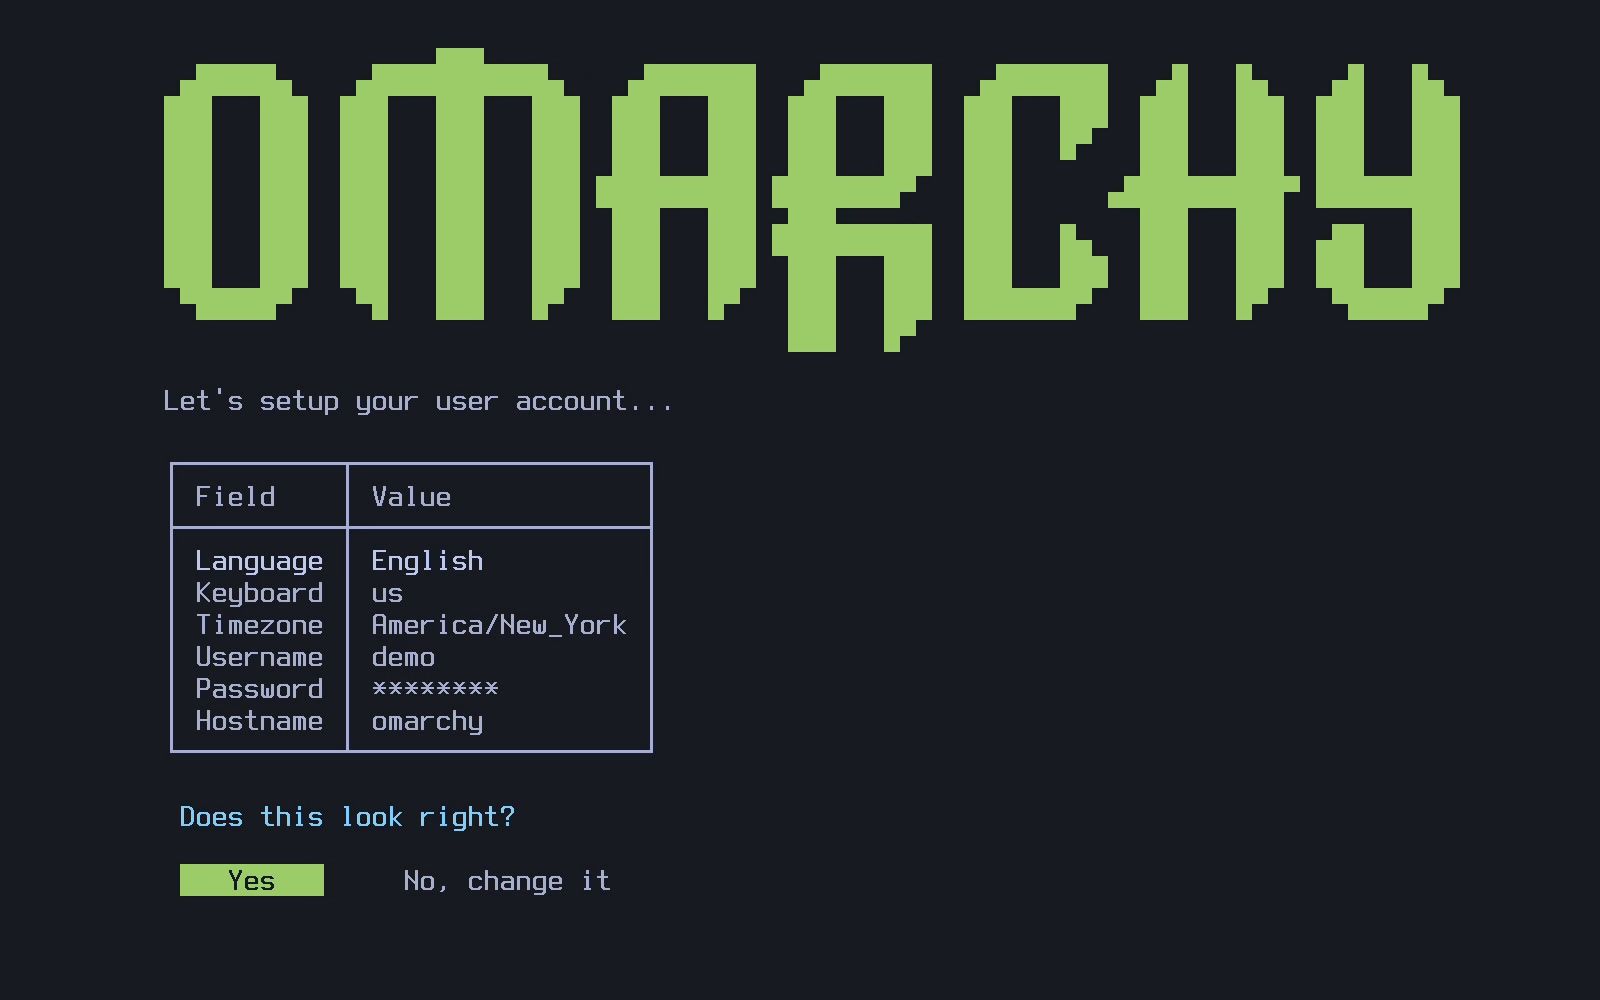
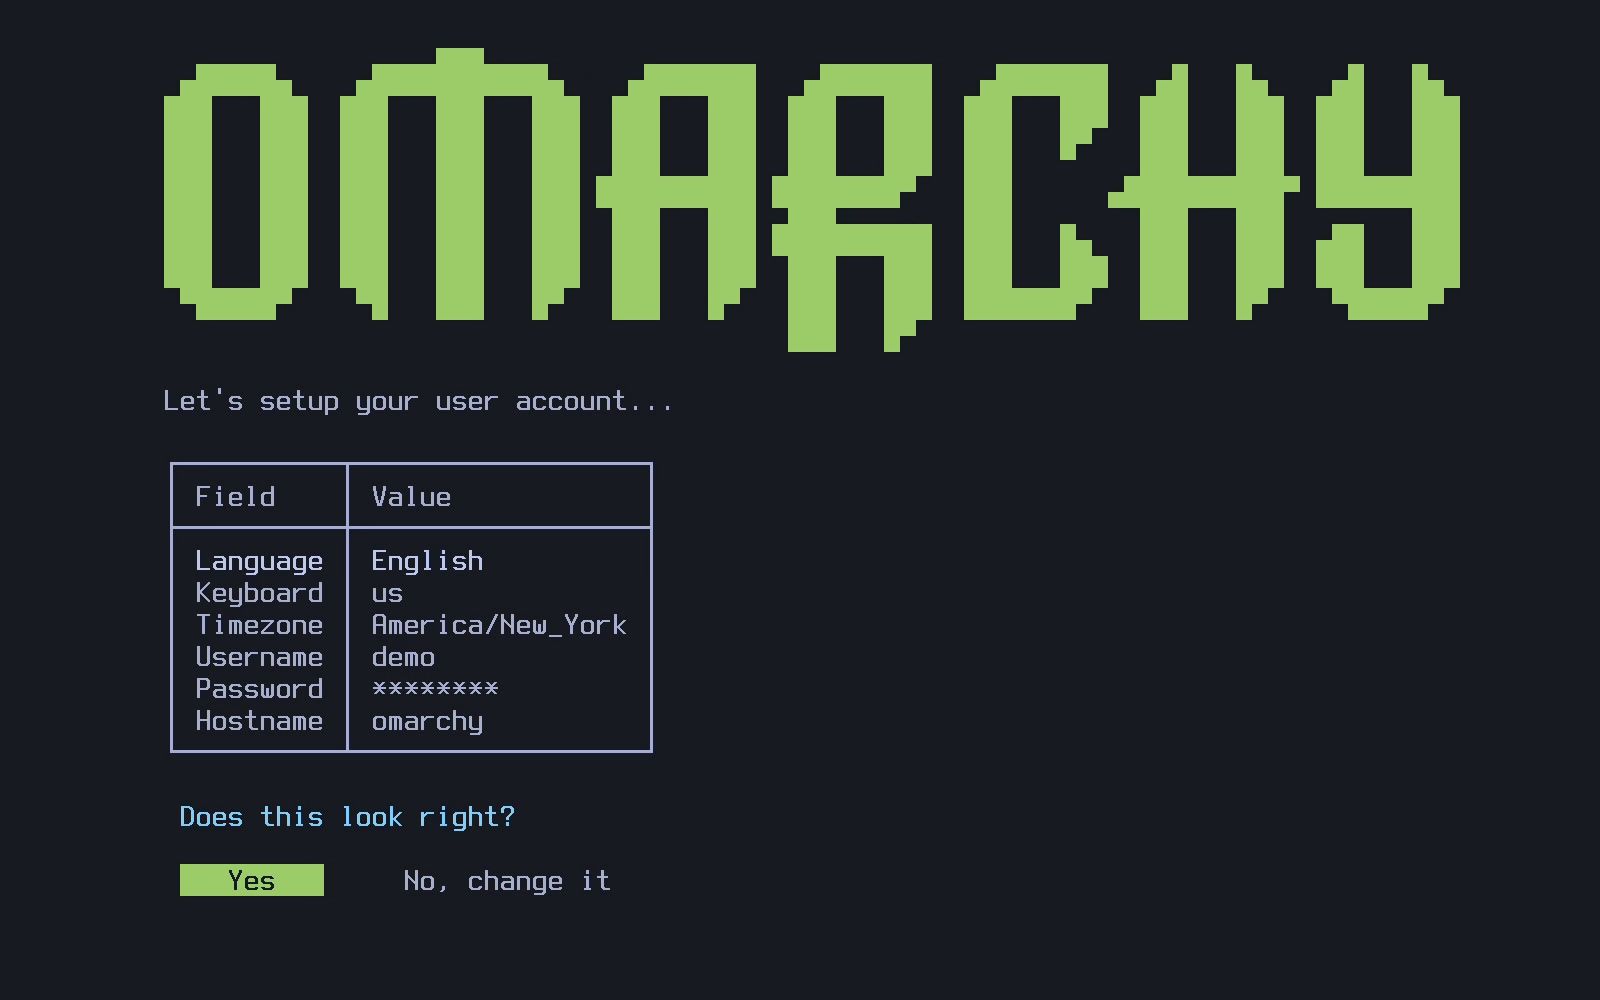
A summary screen lists every answer in a table: language, keyboard, timezone, username, the password as stars, and hostname. “Does this look right?” offers “Yes” and “No, change it”. The stars show the length of your password, which is a quick check that you typed what you meant.
Choose the disk, the install mode, and encryption
Read the disk screens slowly, because your answers here decide which drive is erased. “Select install disk” lists your drives by name and size, and the USB flash drive you started from is not in the list. Pick the drive Omarchy should go on.
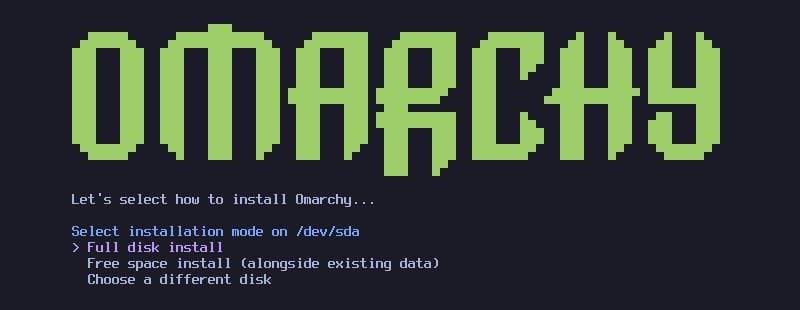
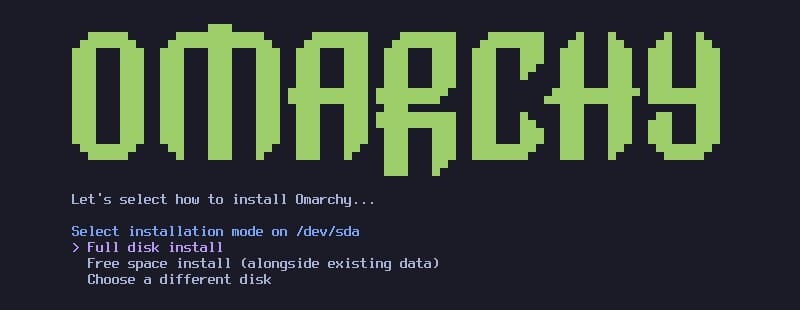
If that drive already has partitions, the next screen asks how to install, with three rows: “Full disk install”, “Free space install (alongside existing data)”, and “Choose a different disk”. Full disk install replaces everything on the drive. Free space install puts Omarchy into empty space beside what is already there, which is how you keep Windows on the same drive (see the next section). On an empty drive, this screen does not appear.
A last warning reads “Everything will be overwritten. There is no recovery possible.” with the buttons “Yes, install” and “No, change it”. Full disk encryption is on by default, so someone who takes the computer while it is off can’t read your files. The grey line under the warning says “Press Ctrl+C for unencrypted install.” Pressing ctrl c turns the button into “Yes, install without encryption”, and a second press switches encryption back on. The manual suggests an unencrypted install only for special cases, such as a throwaway install with no personal data.
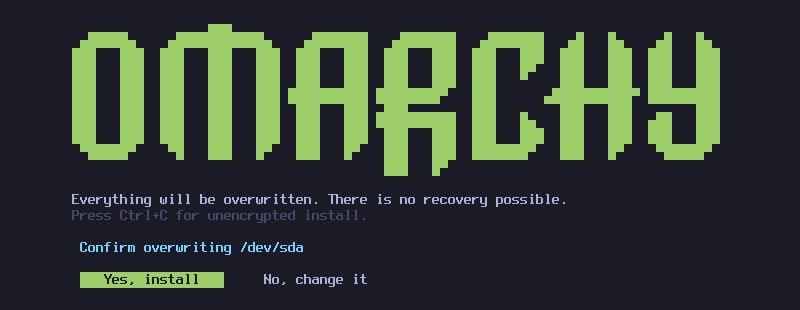
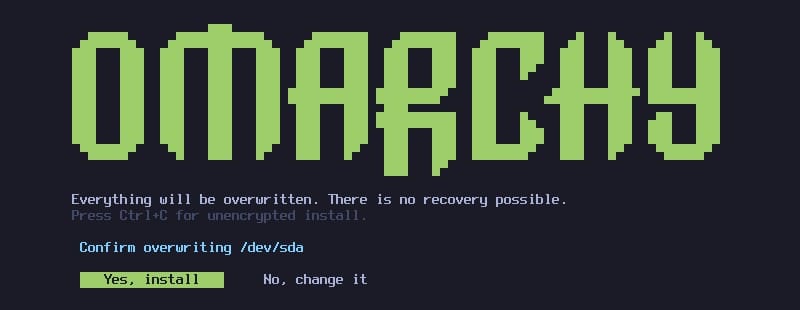
The install then runs by itself. A progress screen fills the outline of the Omarchy mark with a green bar, with a percentage and a tip under it.
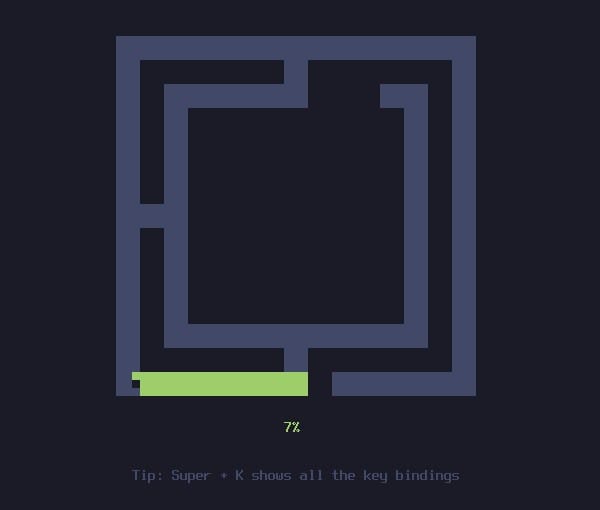
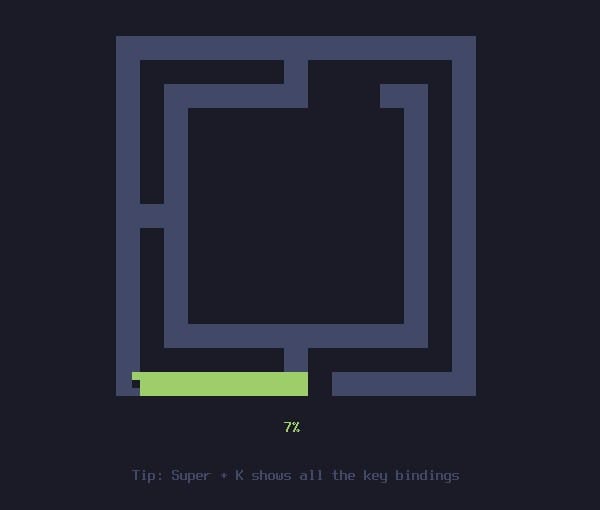
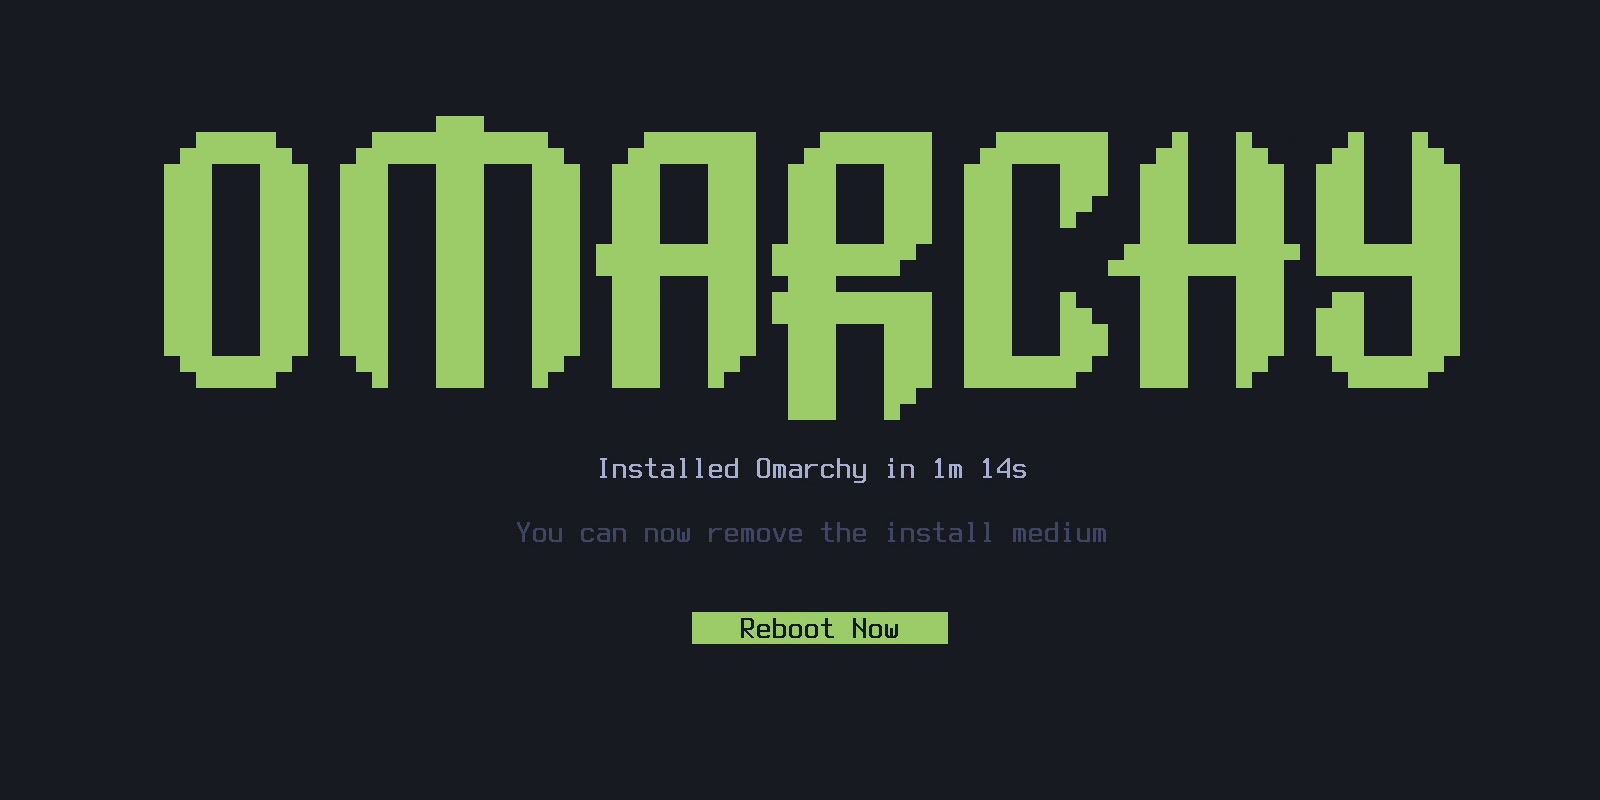
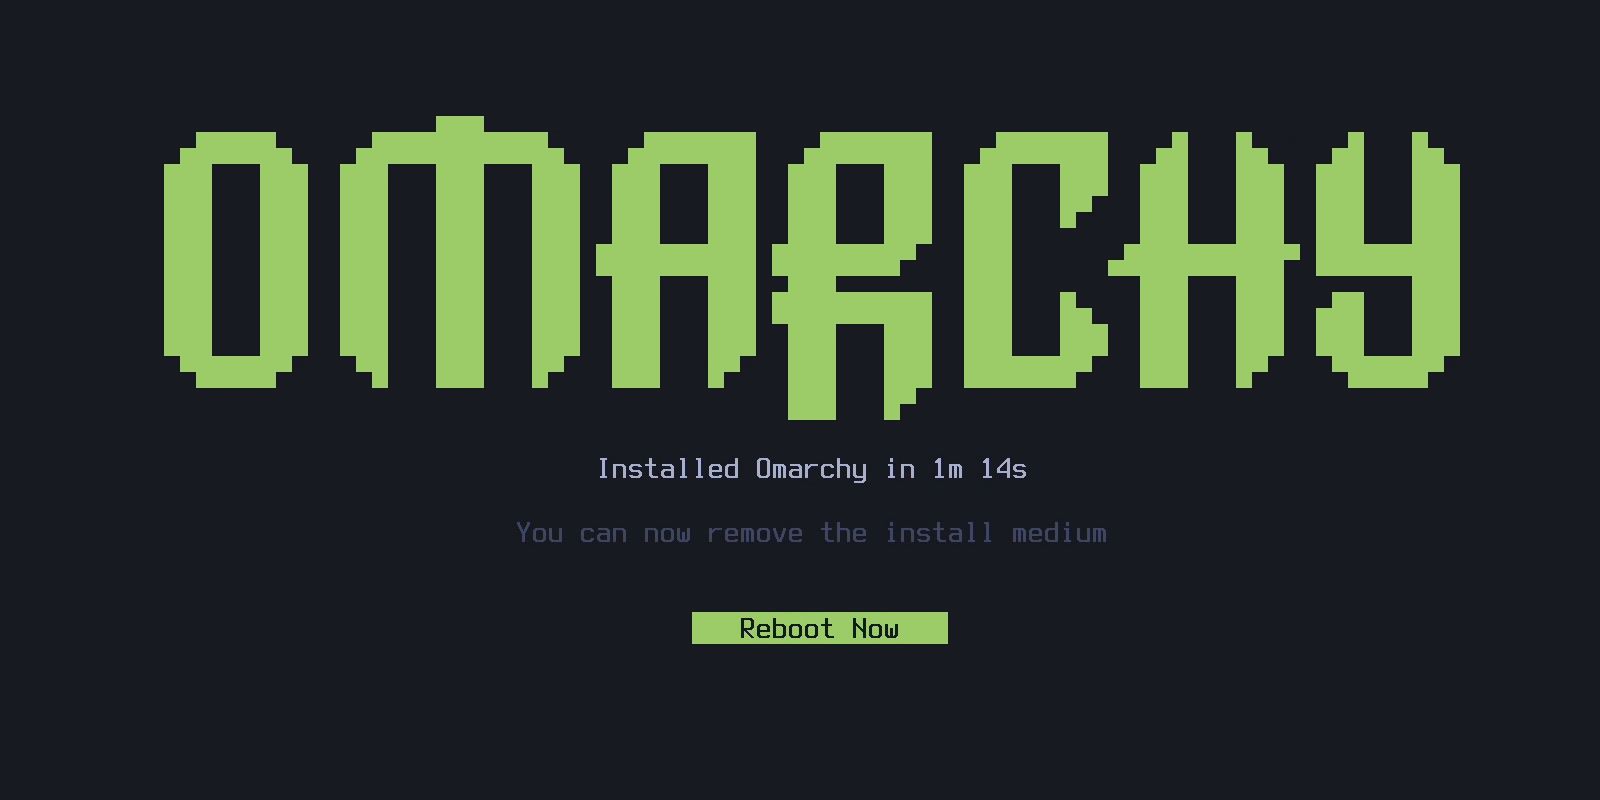
The manual says the install can take under a minute on fast machines and up to about five minutes on an older computer; our Intel N100 mini PC (a GMKtec NucBox G2) took 1 minute 14 seconds. When it finishes, the screen says “Installed Omarchy in” and the time, with “You can now remove the install medium” under it. A short logo animation plays first, and the “Reboot Now” button appears after it. Pull out the flash drive and press enter .
Install beside Windows with Free space install
To keep Windows, you first make room for Omarchy on the drive, inside Windows. The manual’s dual boot page gives these steps:
- In Windows, open Start, type
disk management, and open “Create and format hard disk partitions”. - Right-click the Windows partition and choose Shrink Volume. The amount you shrink by becomes the whole size of Omarchy, boot partition included; the manual’s example leaves 50 GB.
- Turn off BitLocker. The manual says a free space install “is not compatible with Bitlocker as it encrypts the entire drive, not just the partition.” In Windows, go to Settings, Privacy & security, Device encryption, and turn it off. Decrypting the drive can take a while.
- Start the Omarchy installer, pick the same drive, and choose “Free space install (alongside existing data)”. Omarchy goes into the empty space, encrypted as usual.
- Back in Omarchy, run
limine-scanin a terminal and follow its prompts to add Windows to the boot menu.
The boot menu stays hidden and starts Omarchy after one second. To start Windows, tap a key (the down arrow works) as soon as the computer starts, then pick Windows with the arrow keys and enter . If Omarchy starts first, restart and tap sooner.
Install on a Mac
An Intel Mac uses the same ISO and the same installer, but Omarchy has to be the only system on it: the drive is wiped and macOS no longer starts. The manual’s Mac page describes the steps. You hold Command R at startup, open Startup Security Utility, choose No Security, and allow booting from external media. Then you restart with the flash drive in, hold Option, and pick the orange EFI Boot drive. The installer adds the Wi-Fi and keyboard fixes these Macs need by itself.
Macs with Apple Silicon chips use a separate app, the Omarchy M installer, linked from omarchy.org. It needs no USB flash drive. It runs in macOS 15 or newer, shrinks the macOS partition, and puts Omarchy next to macOS. Omarchy lists M1, M2, M3, and MacBook Neo models, with M4 and newer “on the way”. The installer’s README asks you to back up macOS first, since the app changes the disk layout, and to keep the Mac plugged in during the multi-gigabyte download. You finish the setup in macOS Recovery, and afterwards you hold the power button at startup to choose macOS or Omarchy. To try Omarchy on an Apple Silicon Mac without installing anything, run it in a virtual machine with Try Omarchy.
Unlock the disk at first boot
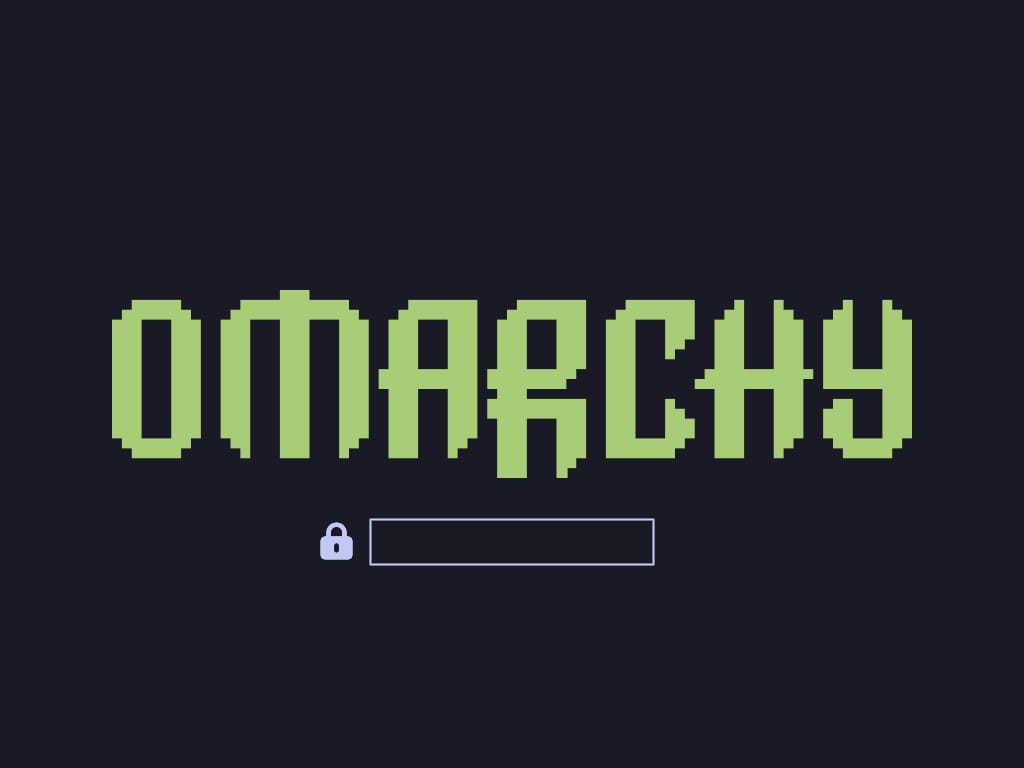
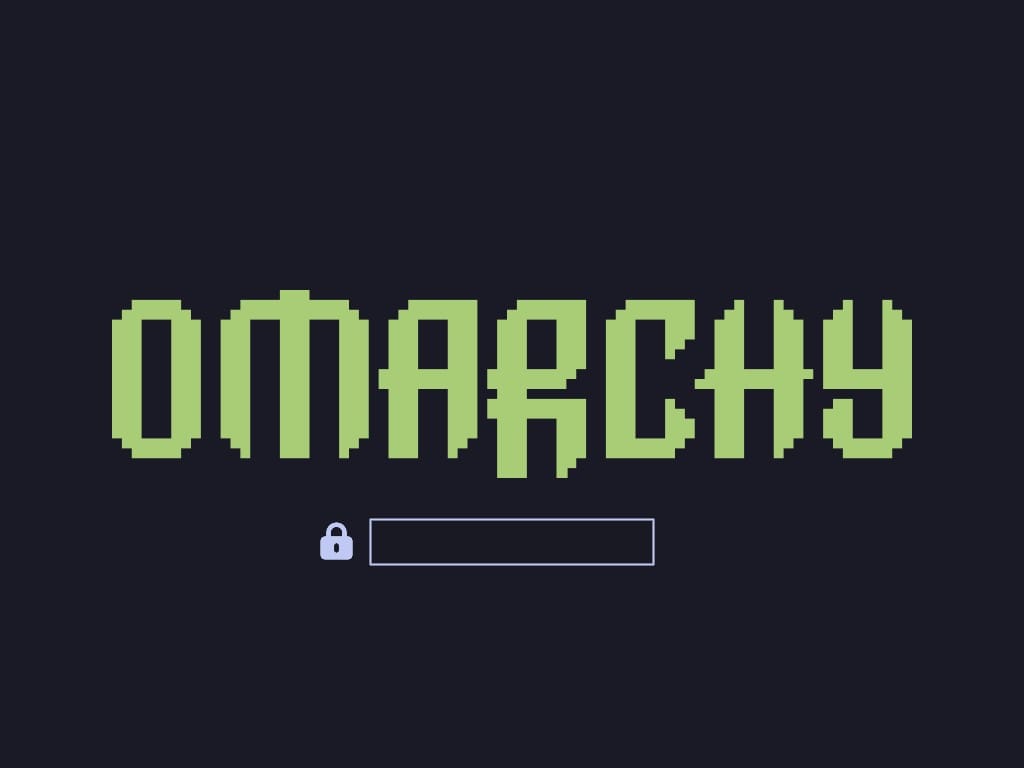
The first start opens on the disk password box: the Omarchy logo, a lock icon, and an empty field. You will see this box at every start, because the disk is encrypted. Type the password from the installer and press enter . The desktop then opens with no second sign-in.
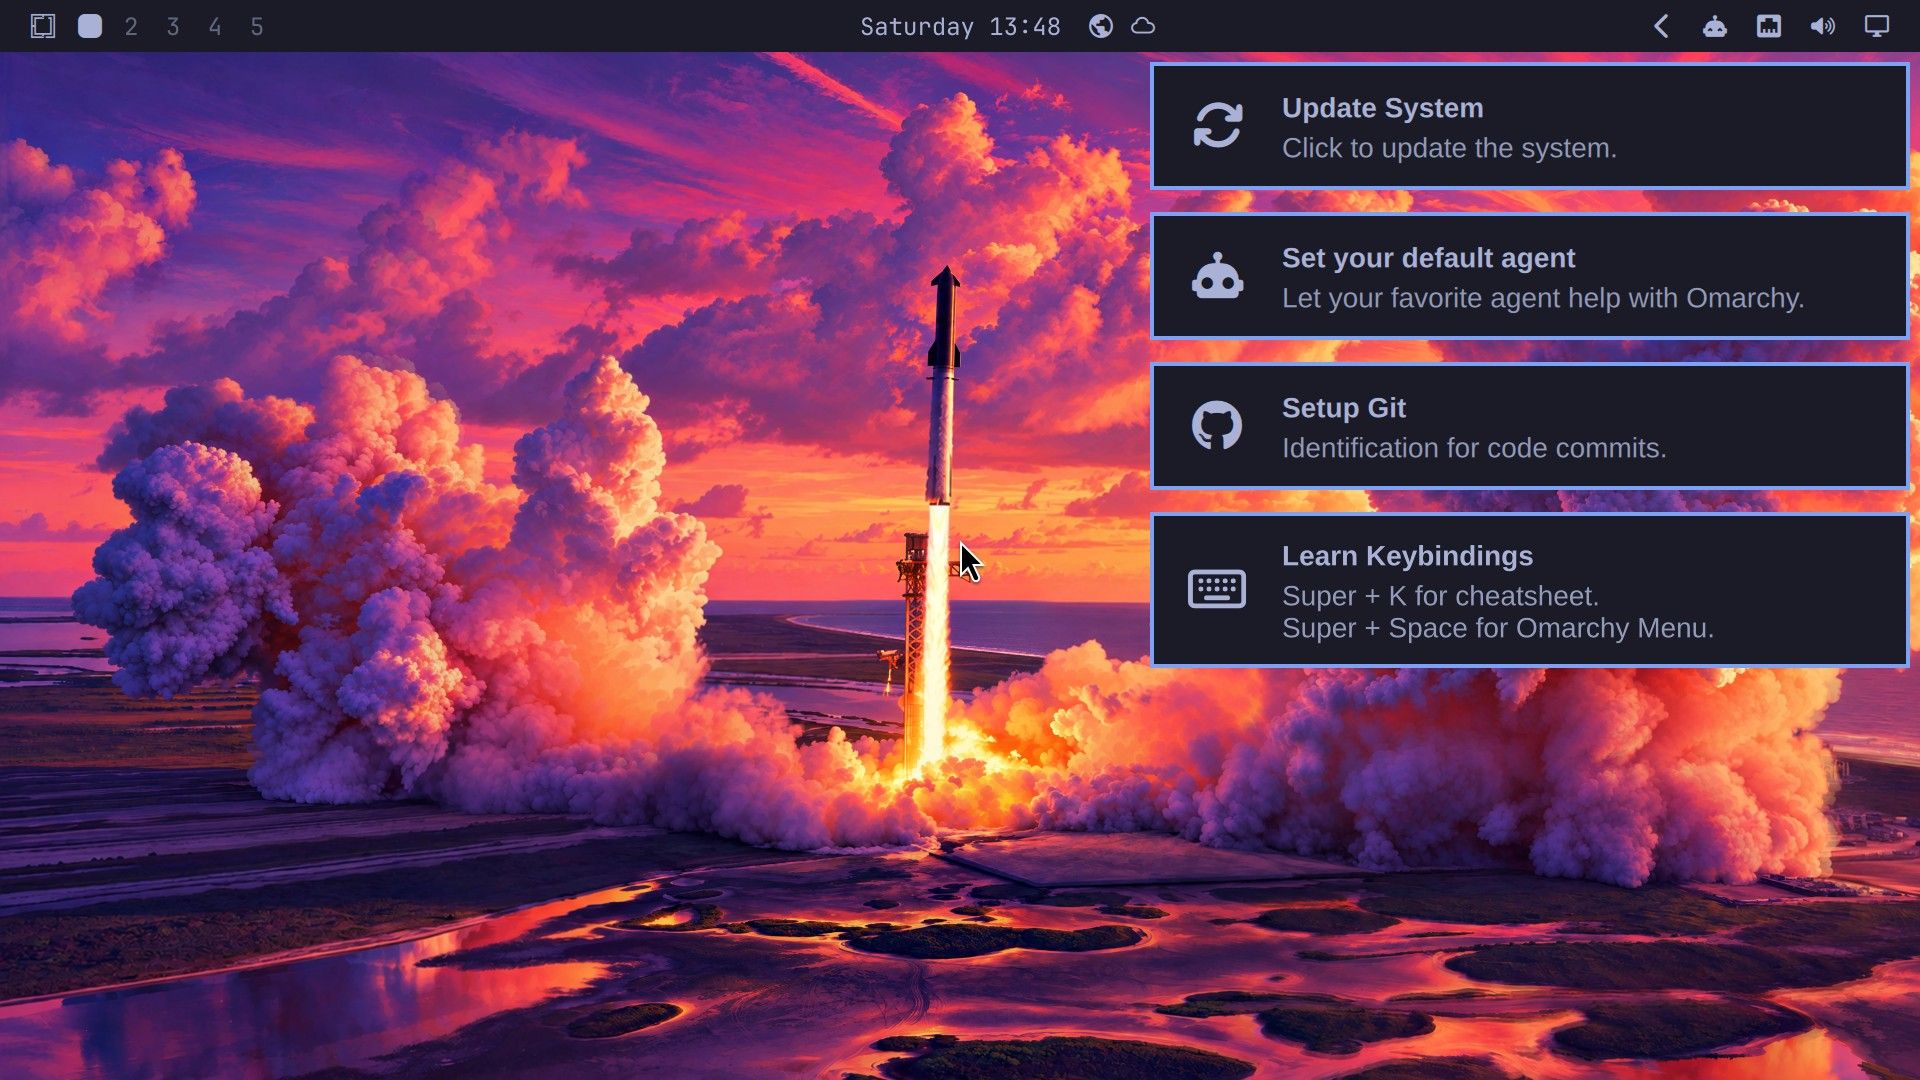
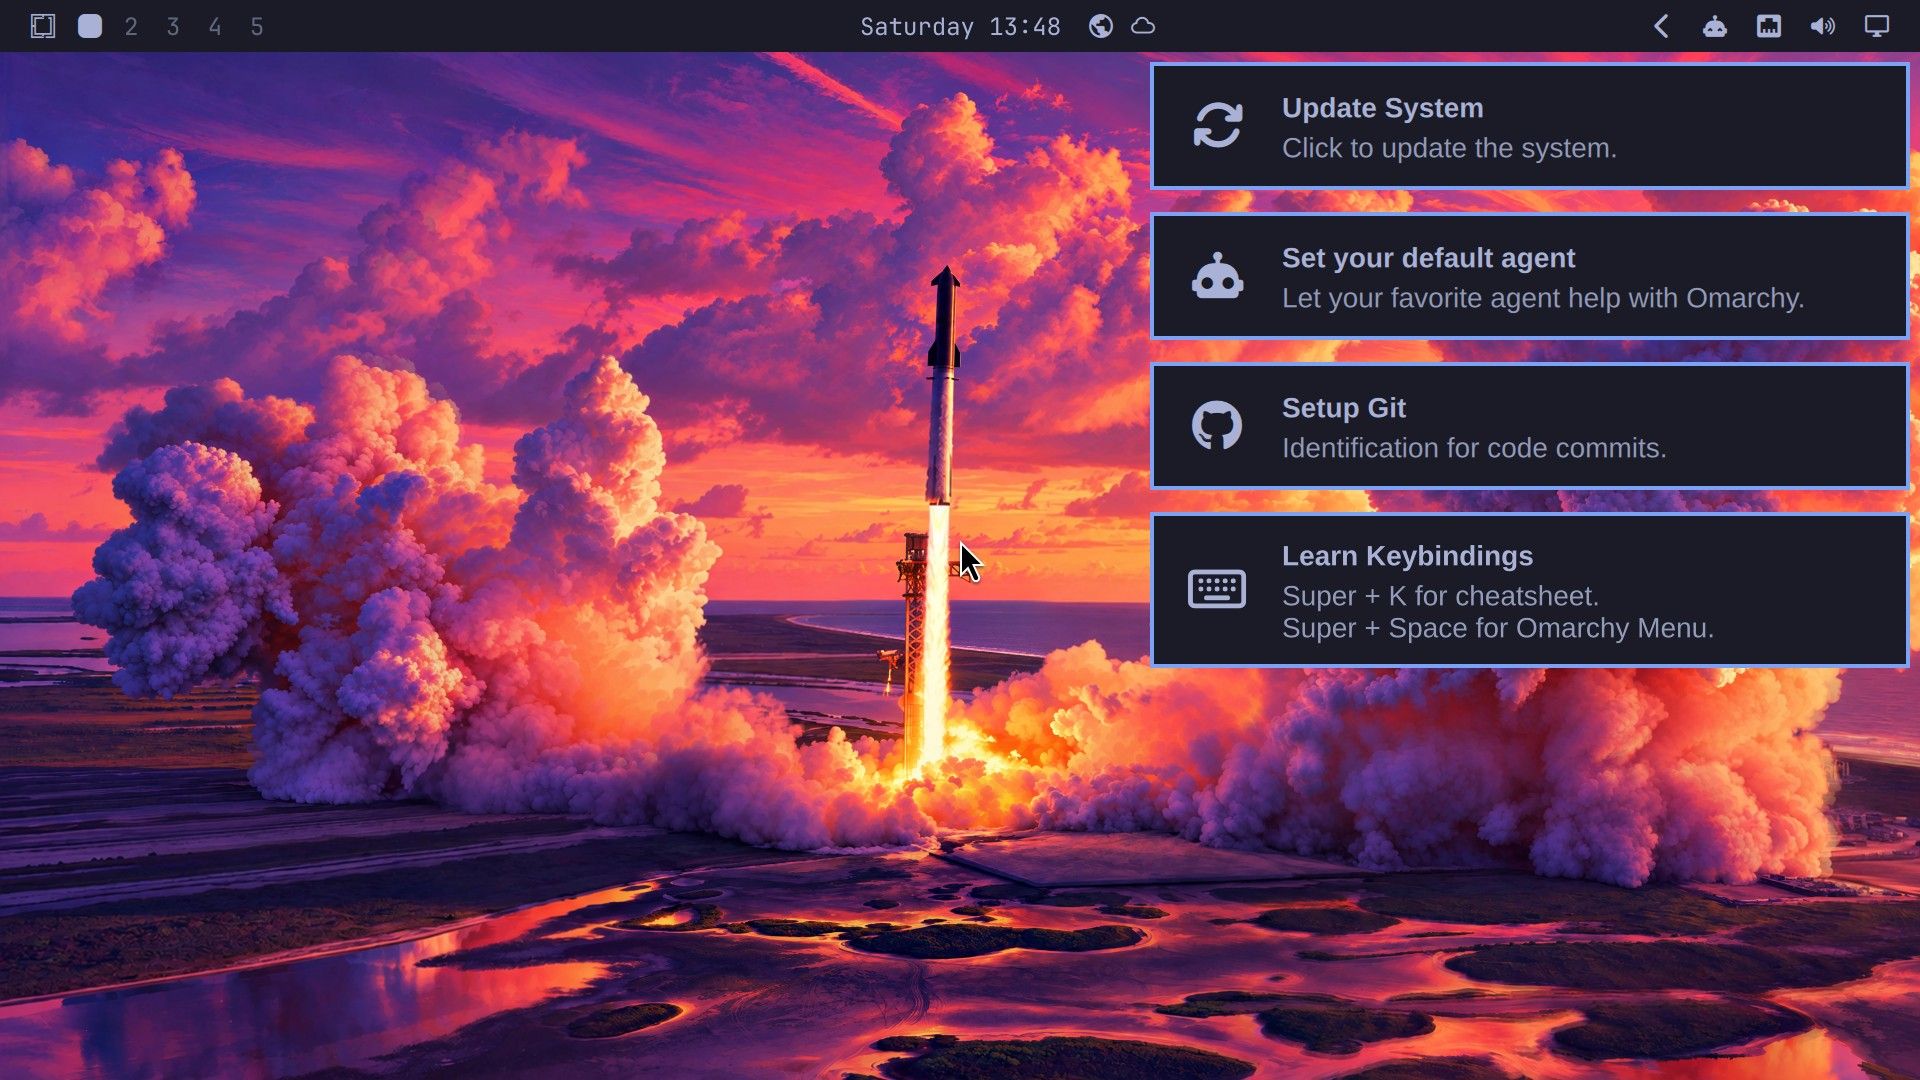
The colors are Tokyo Night, the default theme, with the bar along the top of the screen. At the left of the bar are the menu icon and the workspace numbers 1 to 5, the clock sits in the middle, and the icons on the right open the panels for the network, sound, and display.
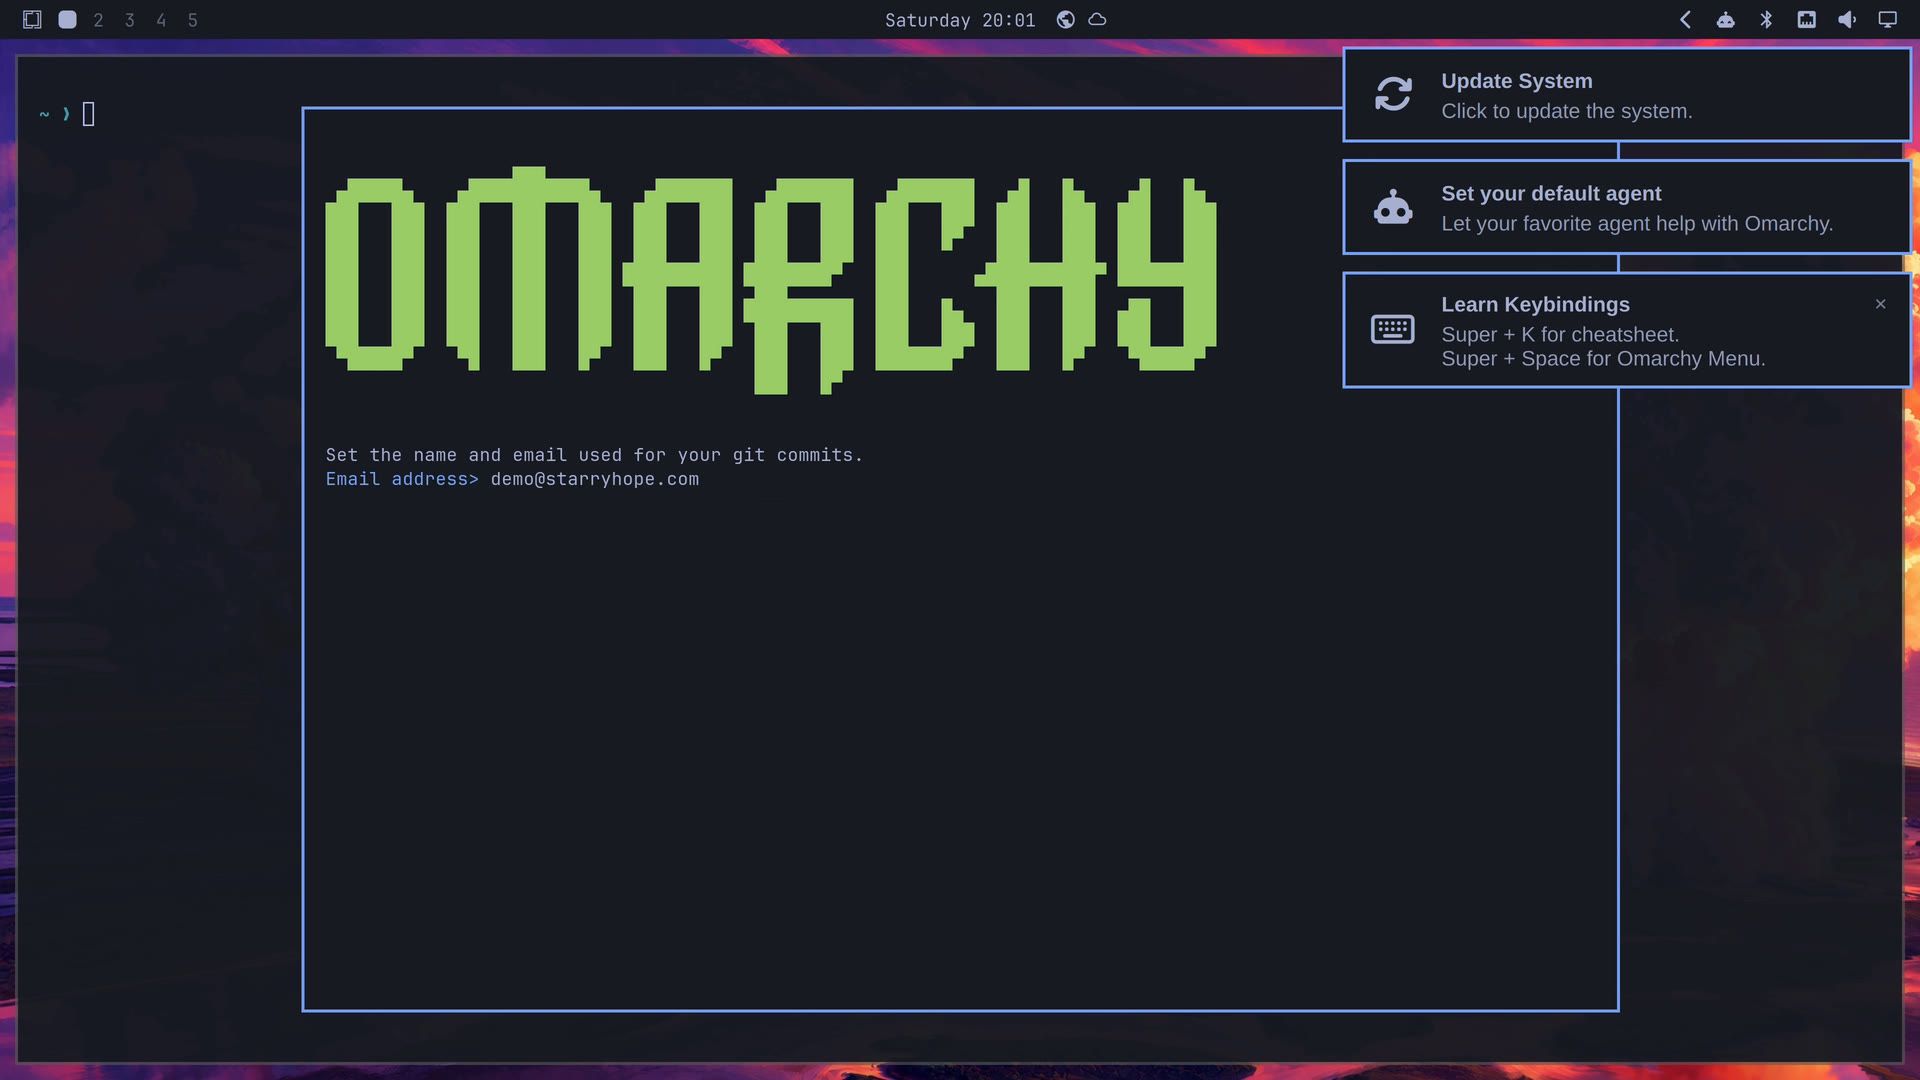
Up to four welcome cards appear in the top right corner, and a click on a card starts its step. Update System runs the first update. Set your default agent picks the AI agent Omarchy opens for you. Setup Git asks for your name and email. Learn Keybindings reminds you of the two keys to remember: super k for the list of shortcuts and super space for the Omarchy menu. The Update System card appears only when updates are waiting; our new install had seven.
Text can look too small or too large, depending on your screen. A new install picks a scale by itself. super / makes everything bigger in steps, and super alt / makes it smaller again. The display panel, covered below, sets the scale too.
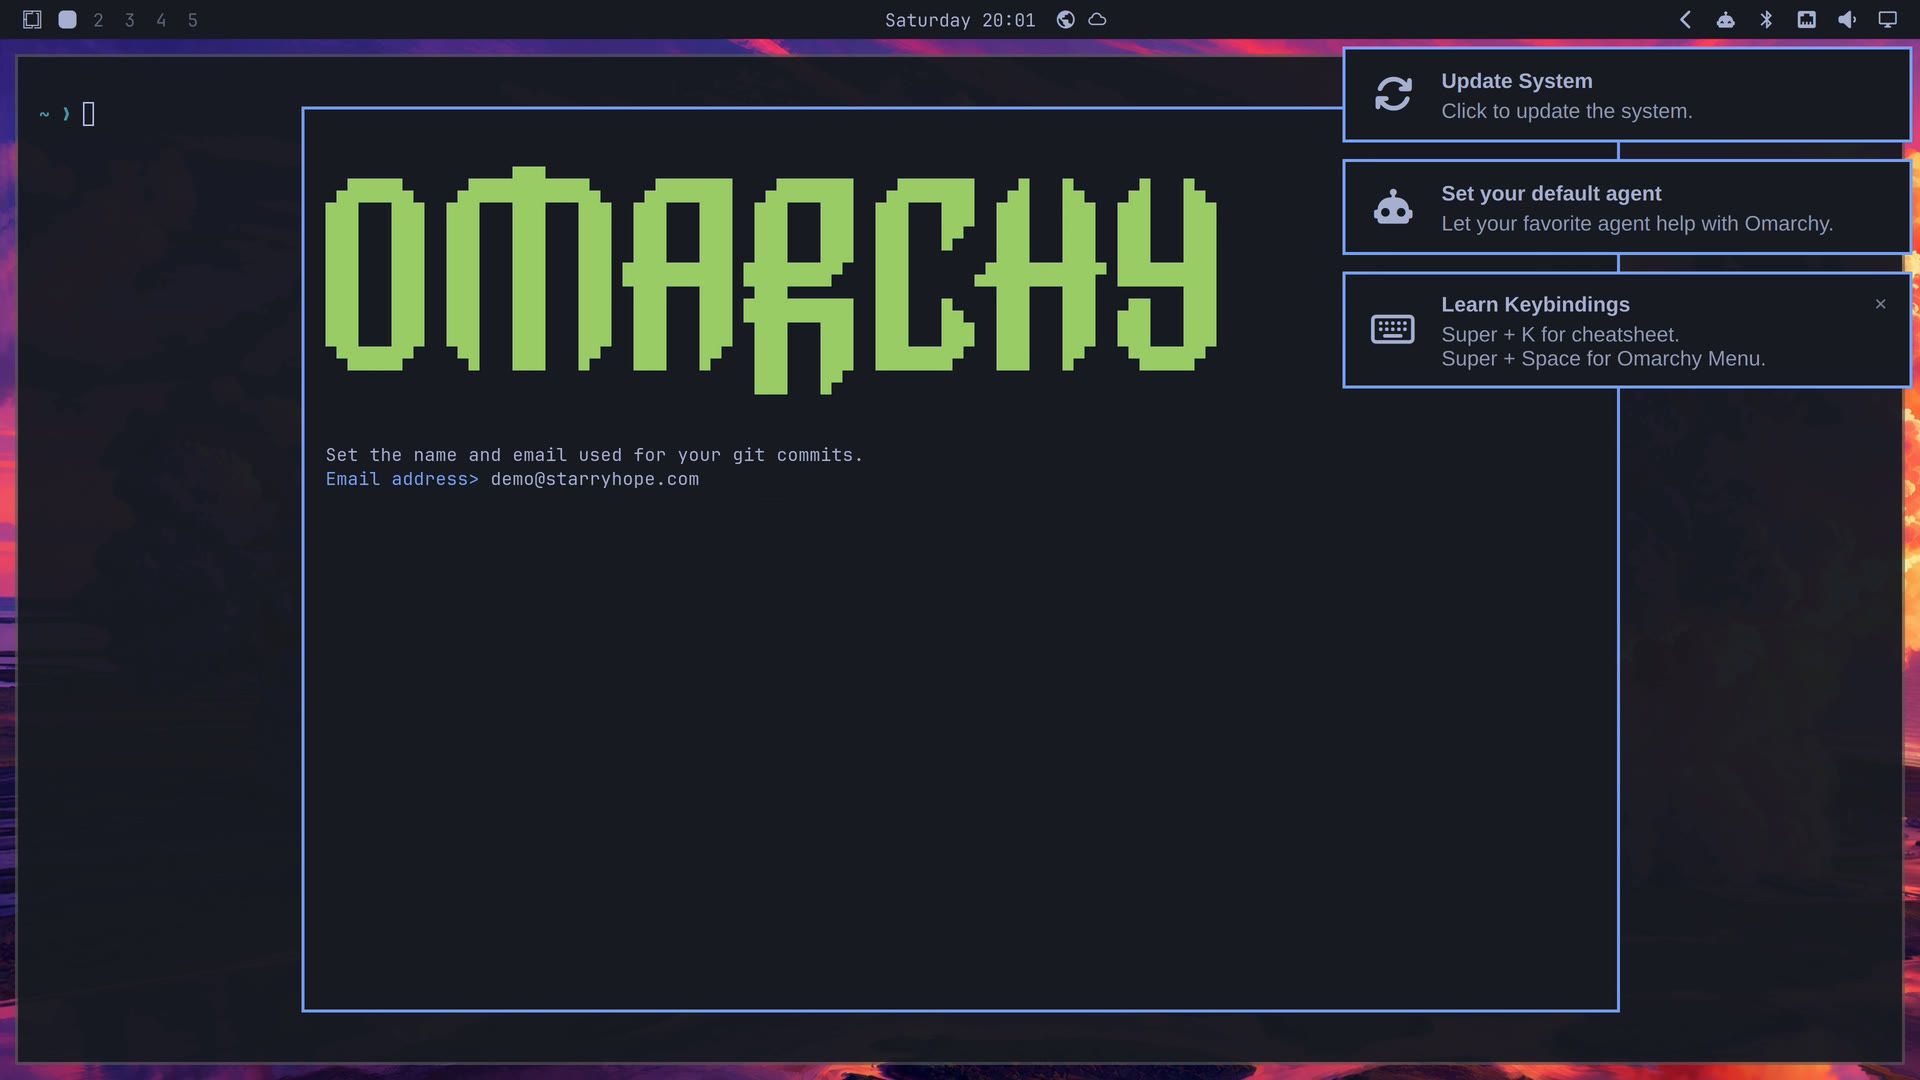
Git is a tool that keeps track of changes in code, and it labels each change with your name. The Setup Git card asks for a name and an email, then asks “Sign in to GitHub?” with Yes highlighted; press the right arrow and enter for No. If you don’t write code, leave this card alone.
The first keys to learn
super k lists every shortcut with what it does. Typing filters the list, so browser finds the browser shortcuts. In this list, the Enter key is labeled RETURN.
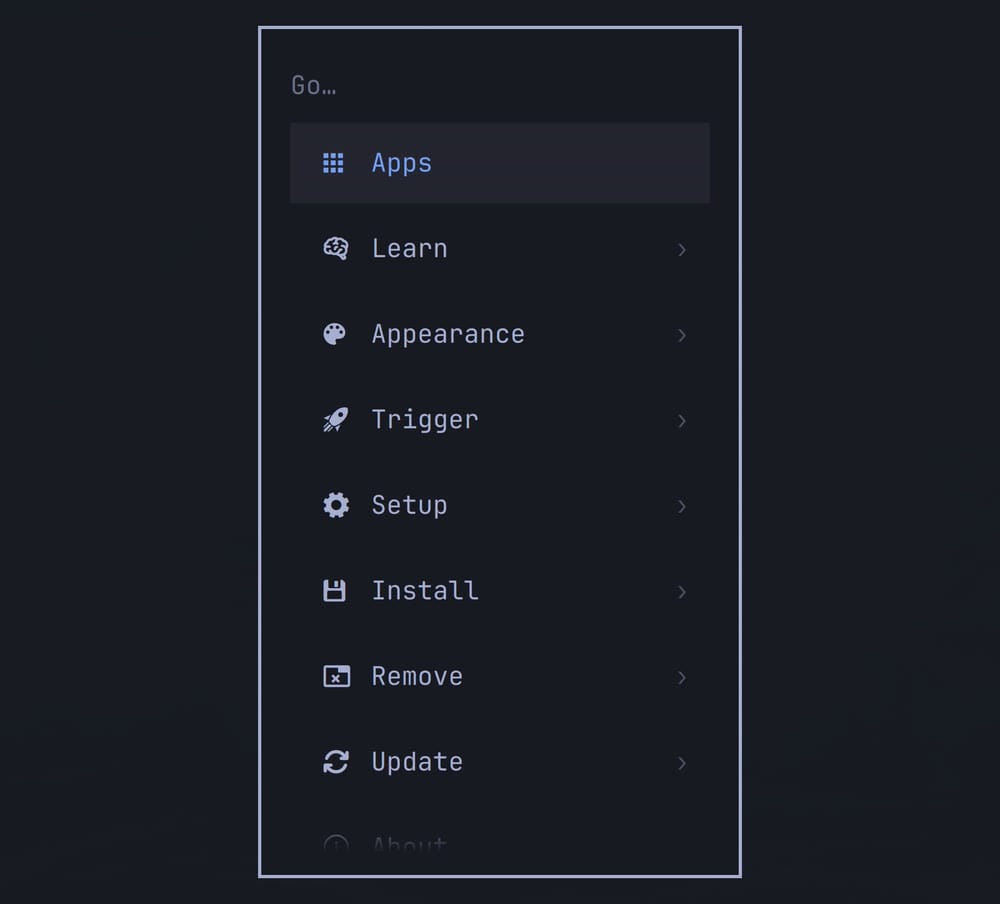
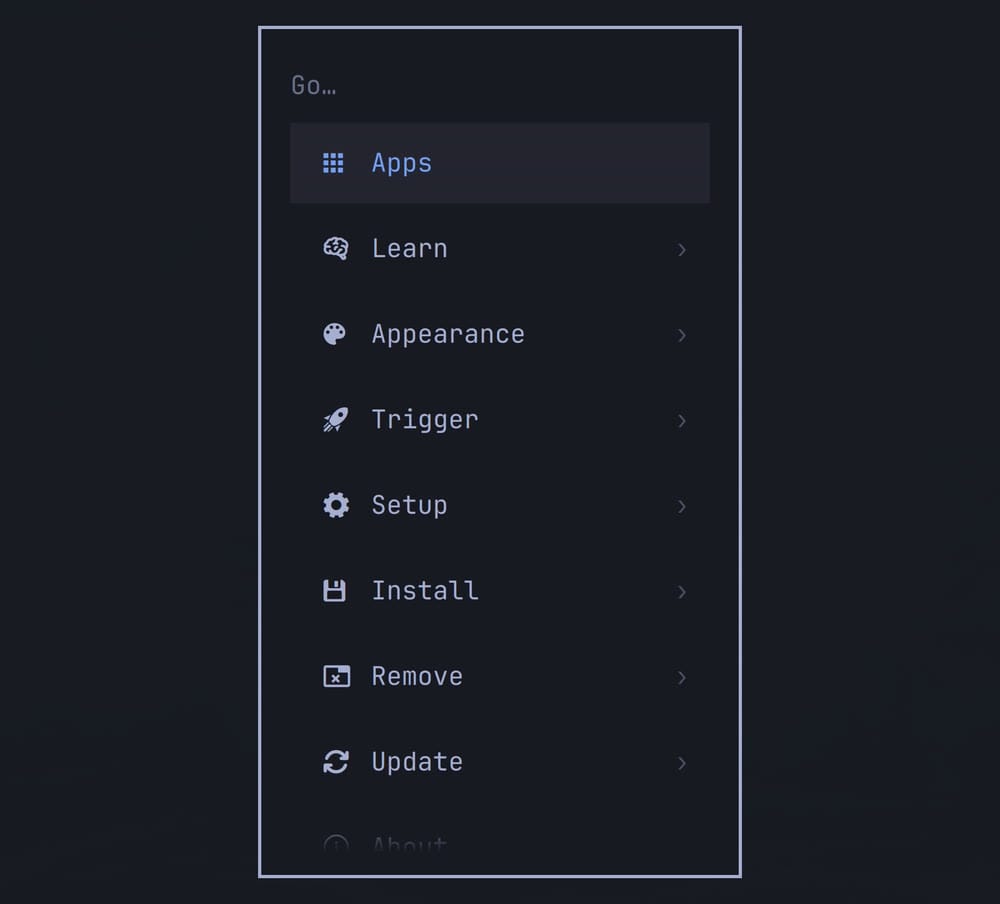
super space opens the Omarchy menu. Its rows are Apps, Learn, Appearance, Trigger, Setup, Install, Remove, Update, About, and System. Appearance, Setup, Install, Remove, and Update hold most of the settings, so you can find a setting there when you forget its shortcut. Typing in the menu searches it. Typing an app’s name finds the app too, the job the Start menu or Spotlight does, so super space is also the app launcher. The Apps row shows every app in a grid, and super alt space opens that grid directly.
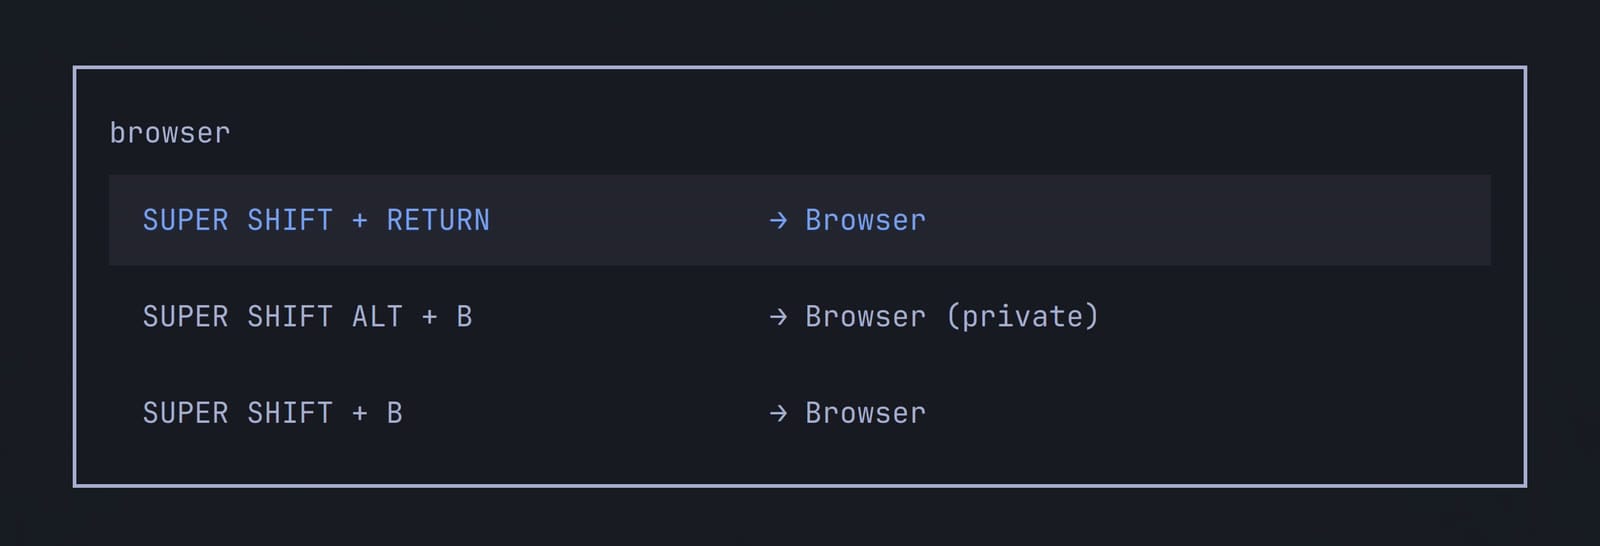
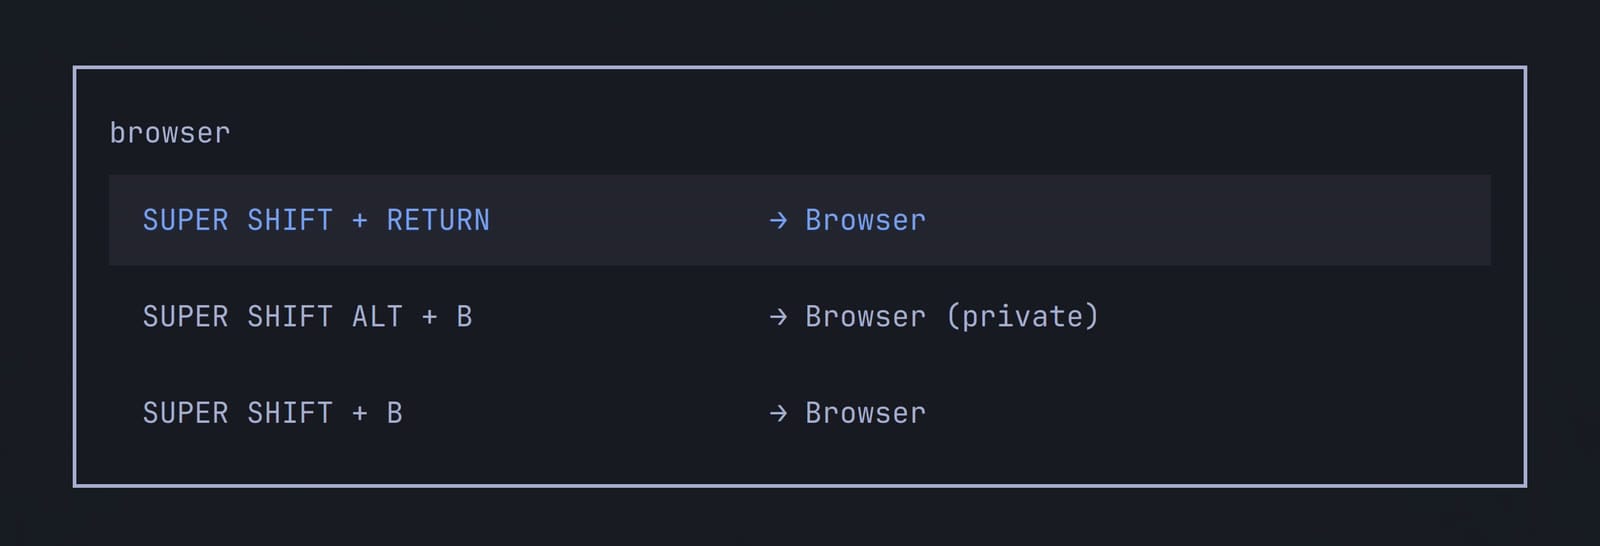
super enter opens a terminal, a window where you type text commands. super shift enter opens the browser, which is Chromium, the open source browser that Google Chrome is built on ( super shift b does the same). super shift f opens Files, the file manager.
super w closes the window you are in. super esc opens the System menu, where you can lock the screen, suspend, log out, restart, or shut down. super ctrl l locks the screen straight away.
If your fingers know Ctrl C from Windows or Command C from a Mac, use super c and super v to copy and paste. They work in every app, the terminal included, where Ctrl C stops the running program instead.
Windows and workspaces
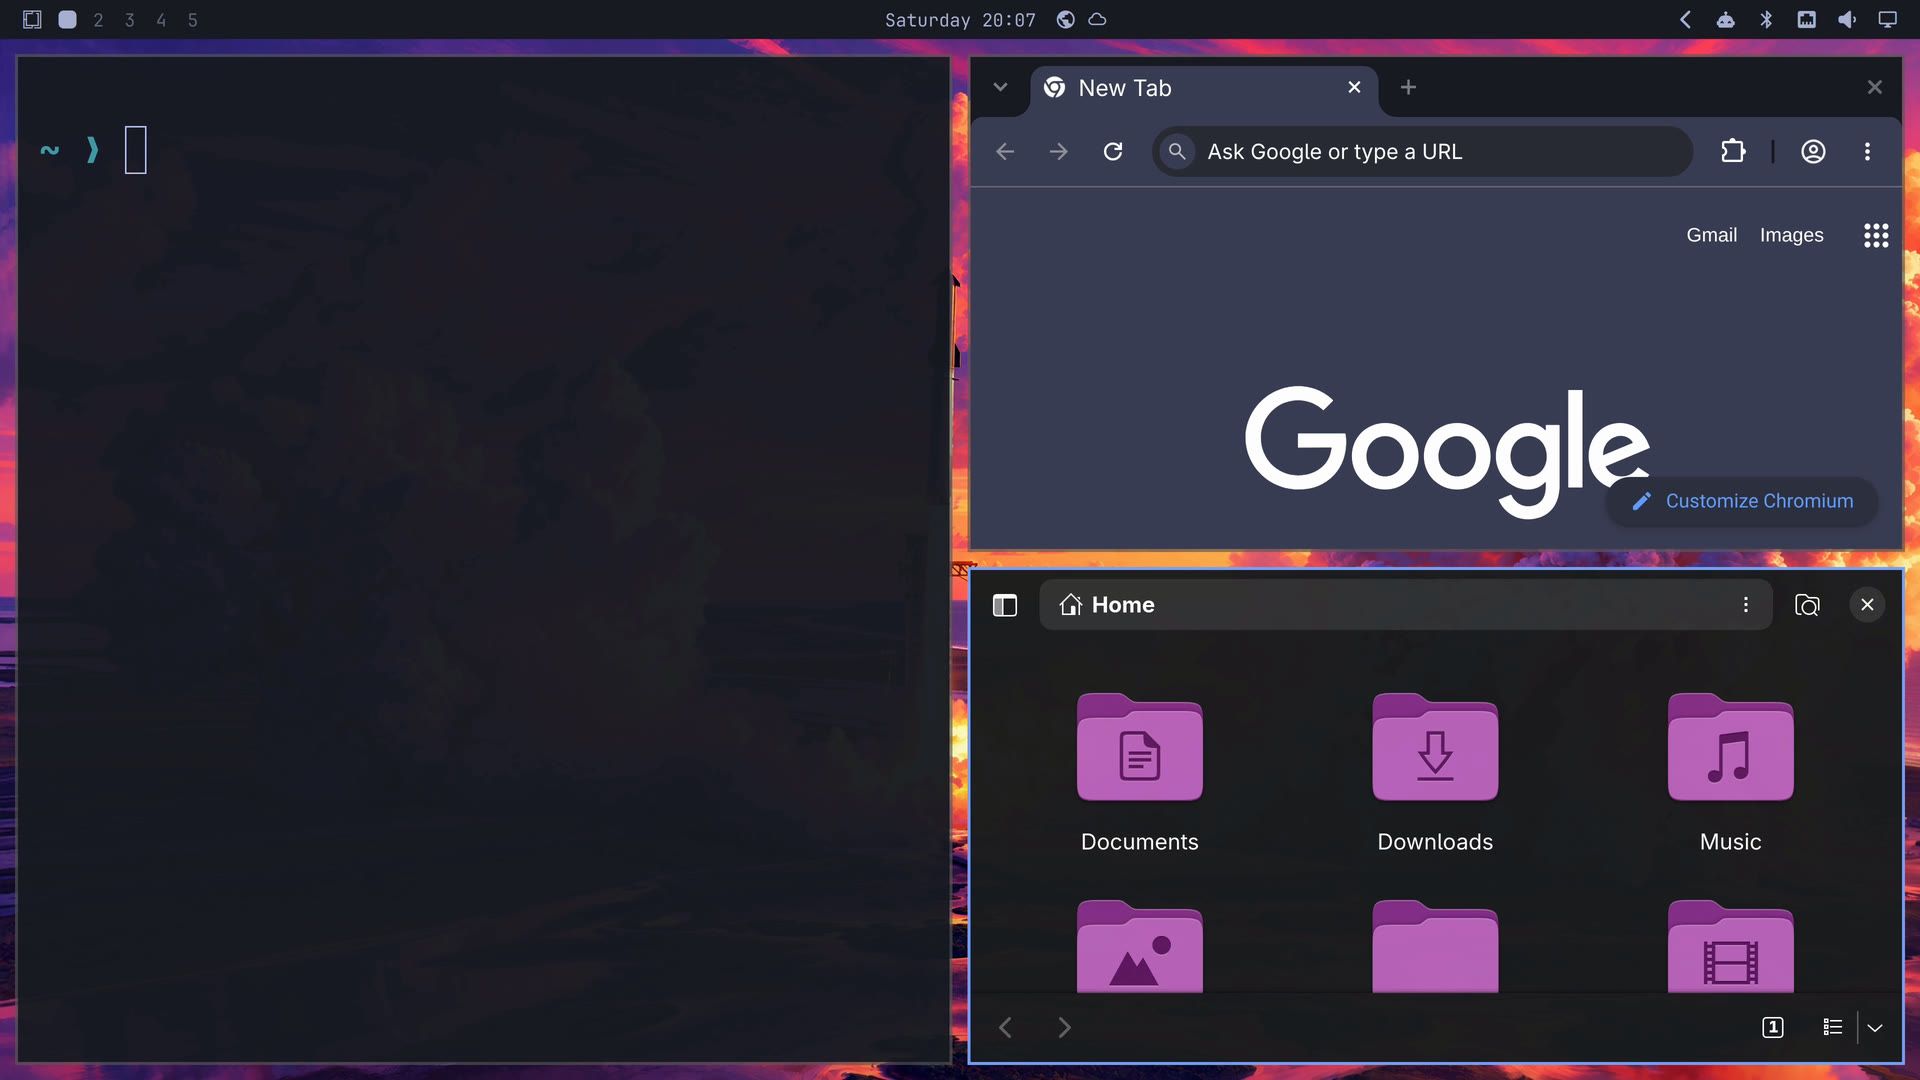
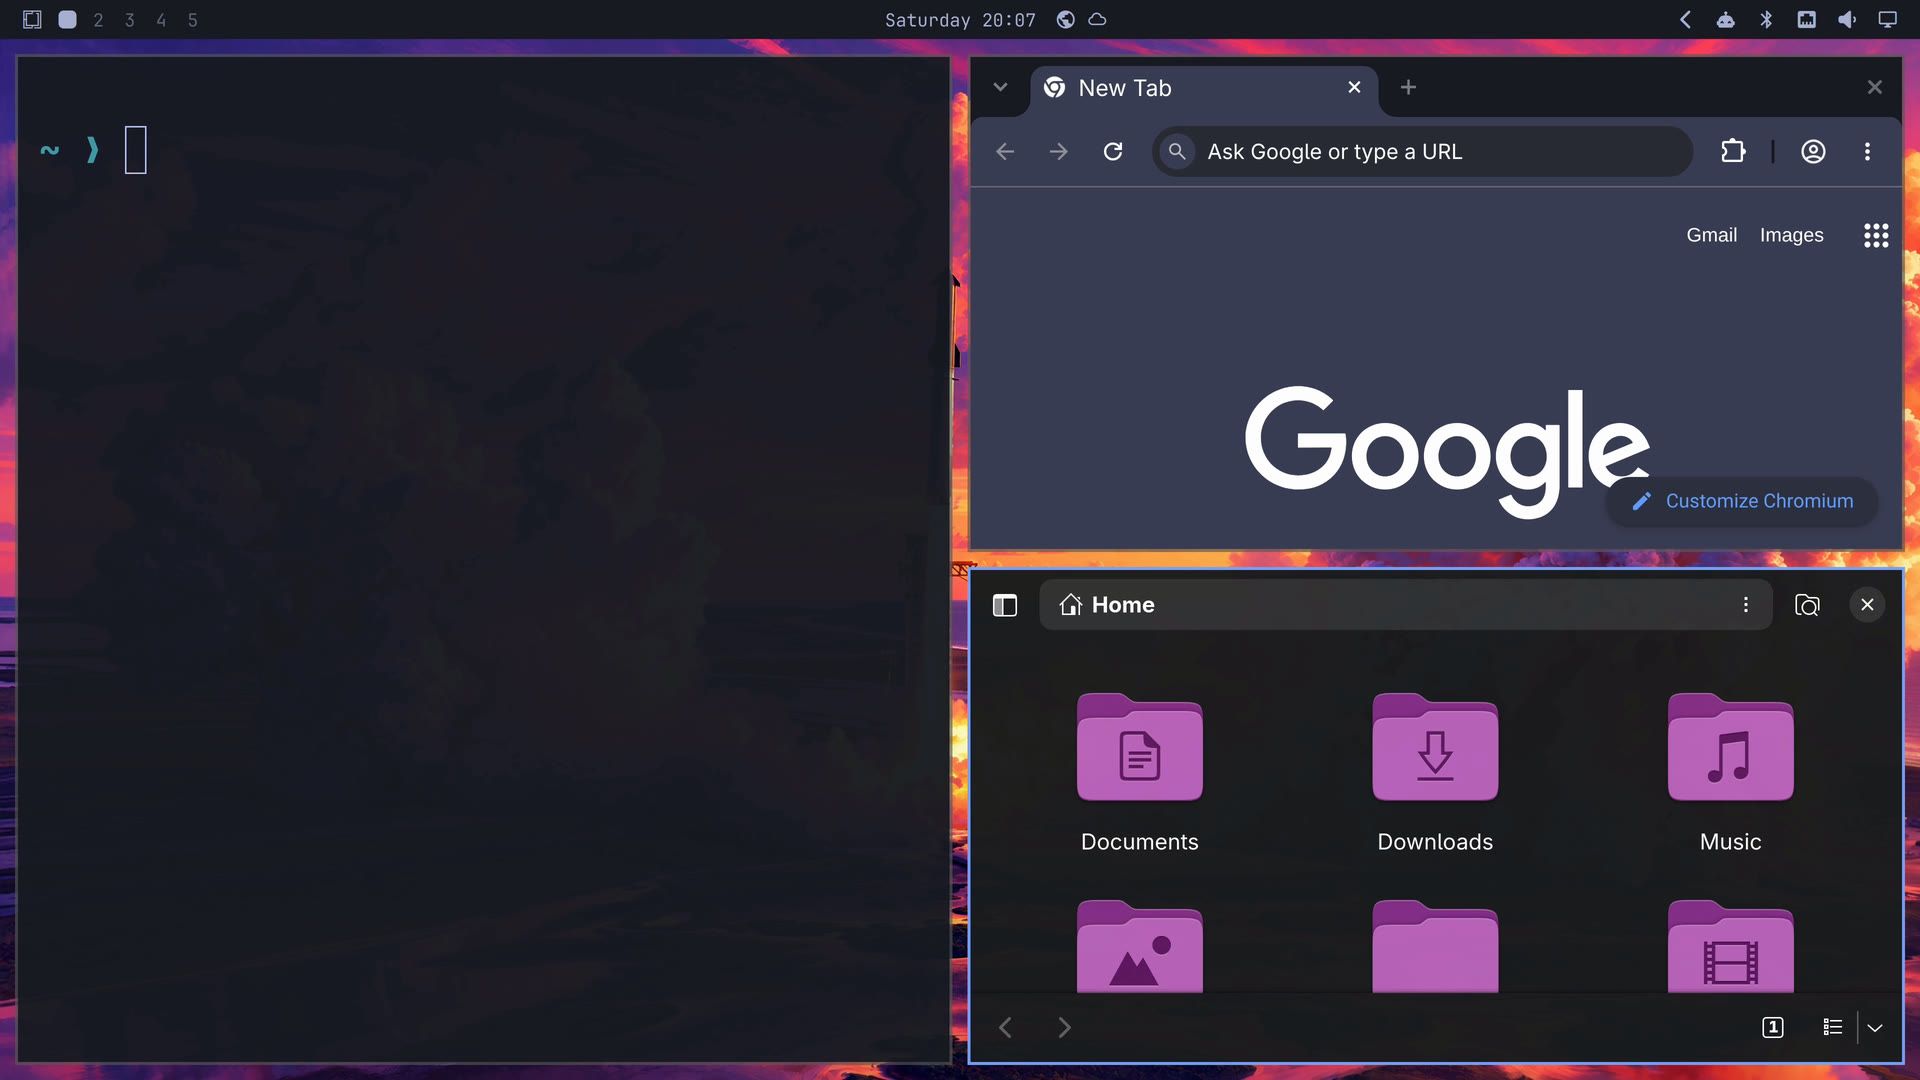
Omarchy arranges your windows with a layout called tiling. Each new window takes half the space of the window you are in, so everything stays in view and nothing overlaps. You don’t have to drag a window into place. Open a terminal on an empty workspace and it fills the screen; open the browser and it takes the right half while the terminal moves to the left; open Files and it splits whichever window has the focus.
The focused window is the one you are typing in, and a colored border marks it. Super with an arrow key ( super , super , and so on) moves the focus to the next window in that direction. Moving the pointer over a window focuses it too. super shift with an arrow key swaps the focused window with its neighbor, and each window takes on the size of the spot it moves into.
To resize, super - and super = move the edge between two windows by 100 pixels a press. With the mouse, hold Super and drag with the right button to resize a window, or drag with the left button to move it to another spot. super j turns a side by side pair into a top and bottom pair, and back.
Some windows work better on top of the others, and the calculator opens floating by itself. super t puts a floating window into the tiling next to the others, and on a tiled window it does the reverse: the window floats above the rest and moves freely. super f makes a window full screen, and super alt f fills the width while the bar stays in view.
Workspaces are separate screens, each with its own windows, and the bar shows them as numbers. Keep the browser on one and your work on another instead of stacking everything on one screen. Super with a number ( super 2 ) switches to that workspace, and its spot in the bar fills in. super tab moves to the next workspace that holds windows and super shift tab to the previous one; empty workspaces are skipped. super shift with a number sends the focused window to that workspace, and the view goes with it; add Alt ( super shift alt 2 ) to send the window without following it.
Scrolling and floating layouts
Tiling is one of three layouts. super l switches the current workspace from Tiling to Scrolling to Floating, a notice names the layout each time, and super alt l goes the other way. Each workspace keeps its own layout. To set the layout new workspaces start with, open the menu and choose Appearance, then Workspace Layout.
In Scrolling, windows sit side by side on a strip that is wider than the screen, and they keep their size. When you focus a window off to the side, the view slides over to show it, so you can open many windows without any of them getting smaller.
In Floating, windows overlap and get title bars, the way they do on Windows or a Mac. A dock appears at the bottom, and super m minimizes a window to it.
Network, Bluetooth, sound and display from the bar
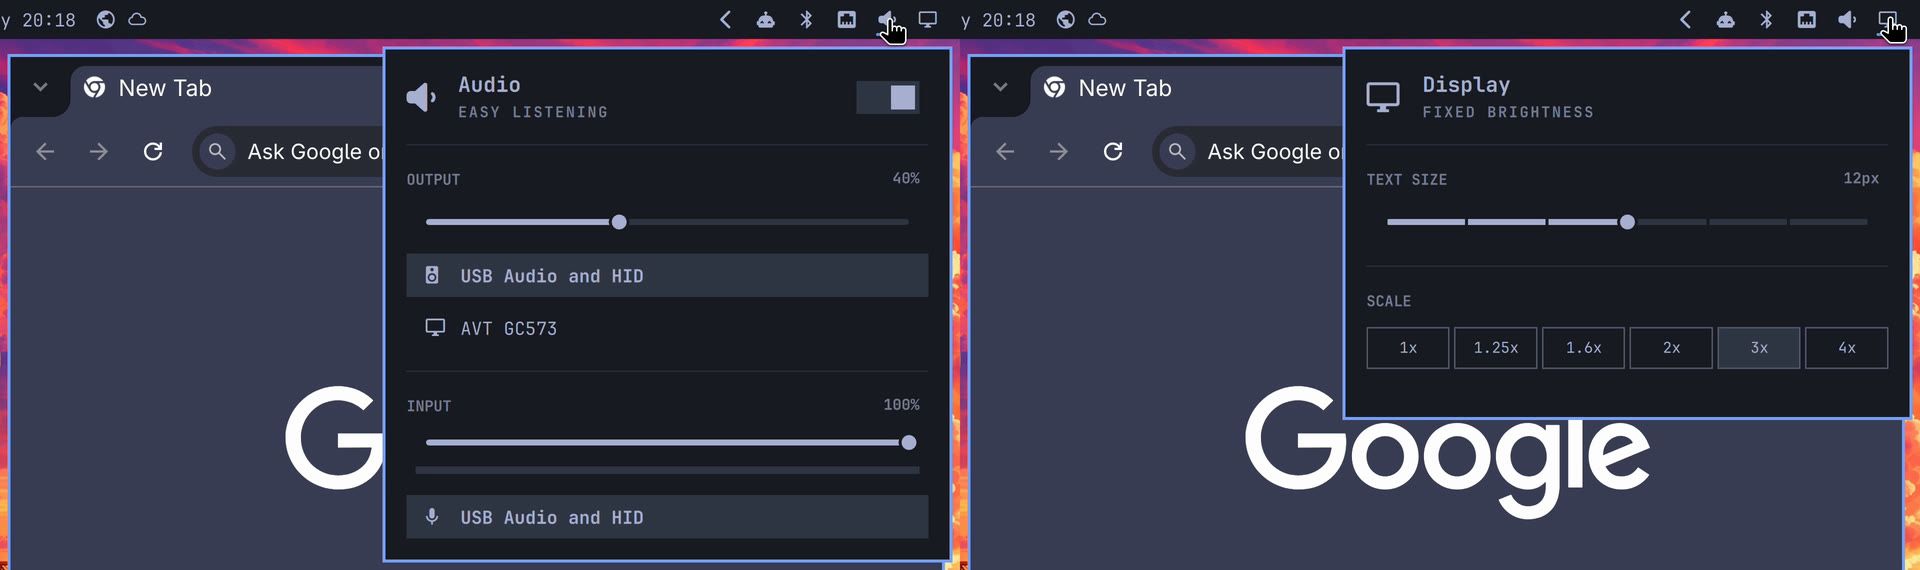
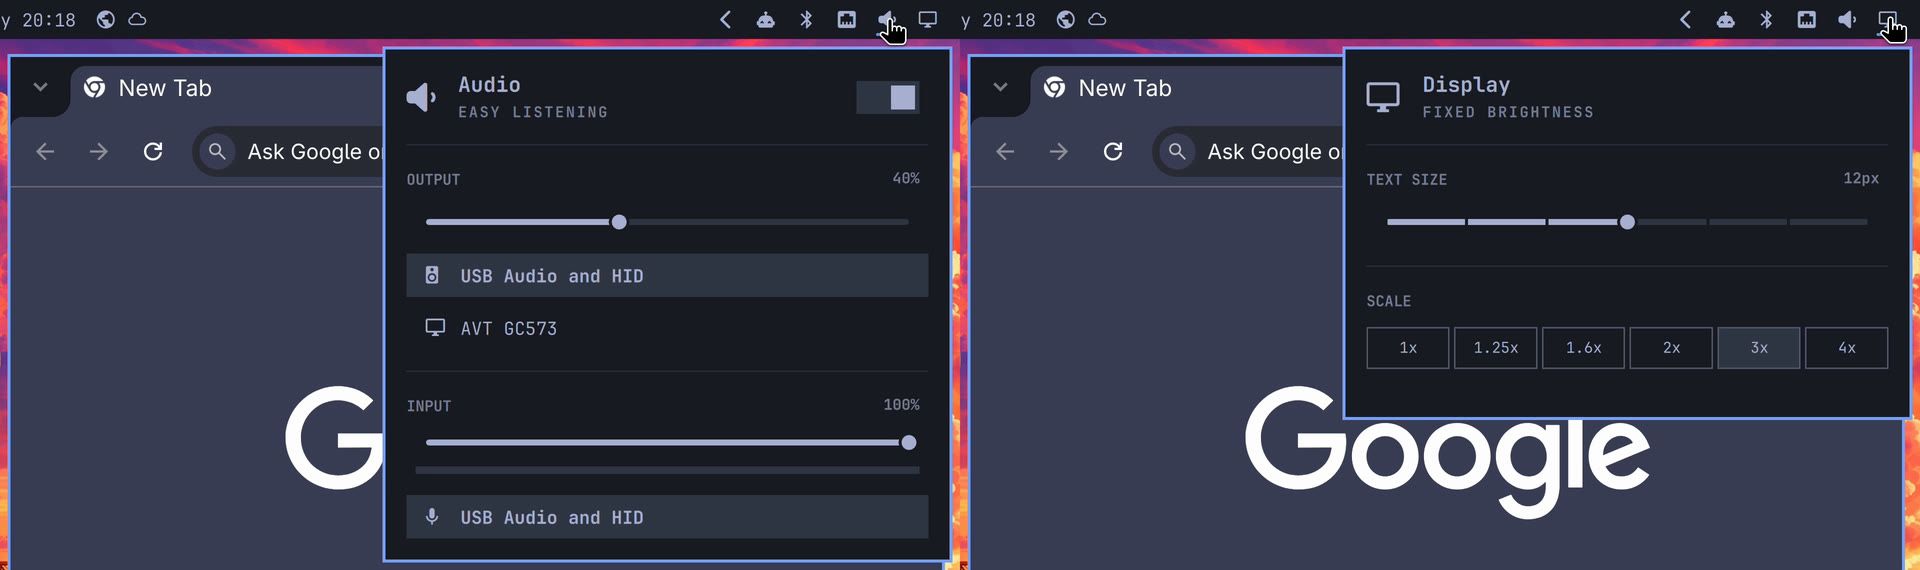
The icons on the right of the bar open small panels for the settings you change most. Each panel has a shortcut too:
| Panel | Shortcut | What it does |
|---|---|---|
| Network | super ctrl n | Shows the wired connection, lists nearby Wi-Fi networks on a laptop, and joins one with its password |
| Bluetooth | super ctrl b | Finds nearby devices such as headphones or a mouse, and pairs them |
| Audio | super ctrl a | Switches between speakers and headphones and sets the volume |
| Display | super ctrl d | Sets the text size and the scale of your screen (on our mini PC’s monitor it reads Fixed brightness) |
A click on the clock opens a calendar. On a computer without a Bluetooth adapter, the Bluetooth icon is hidden.
Install and remove apps
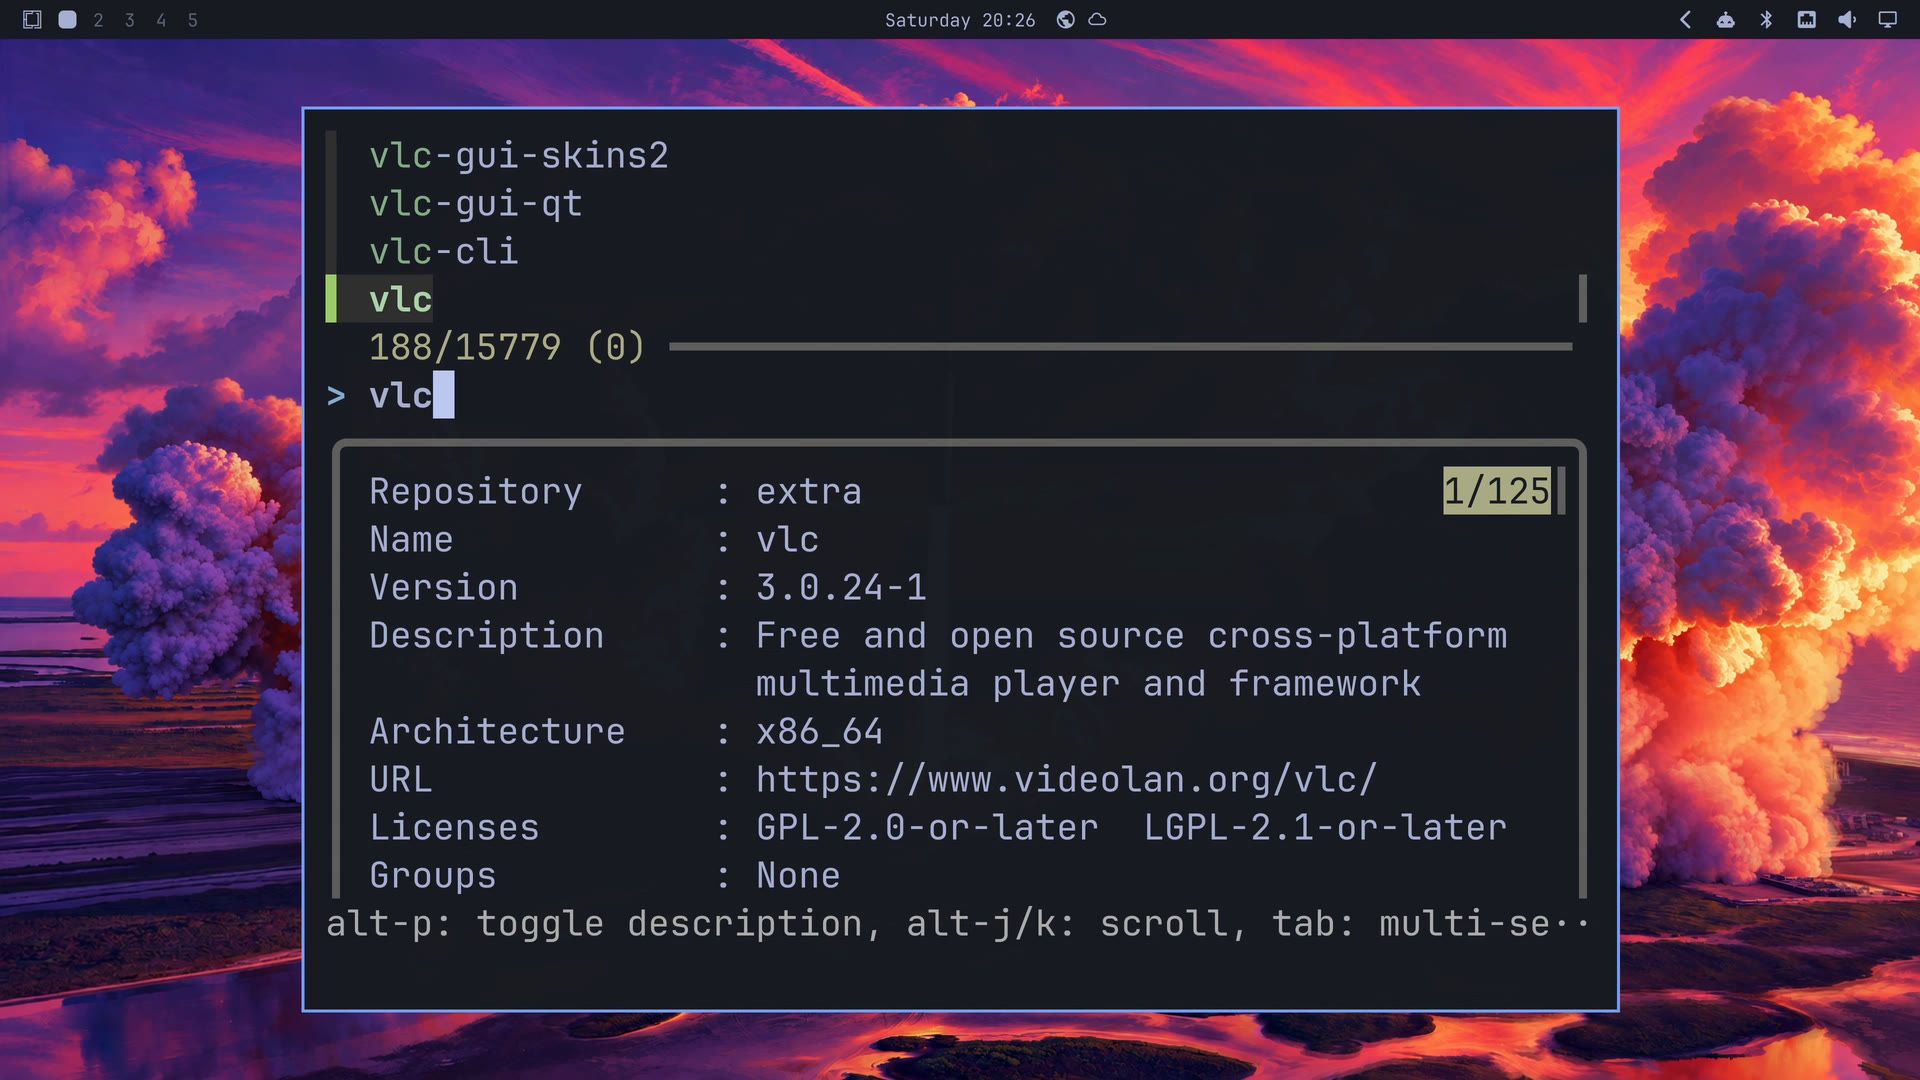
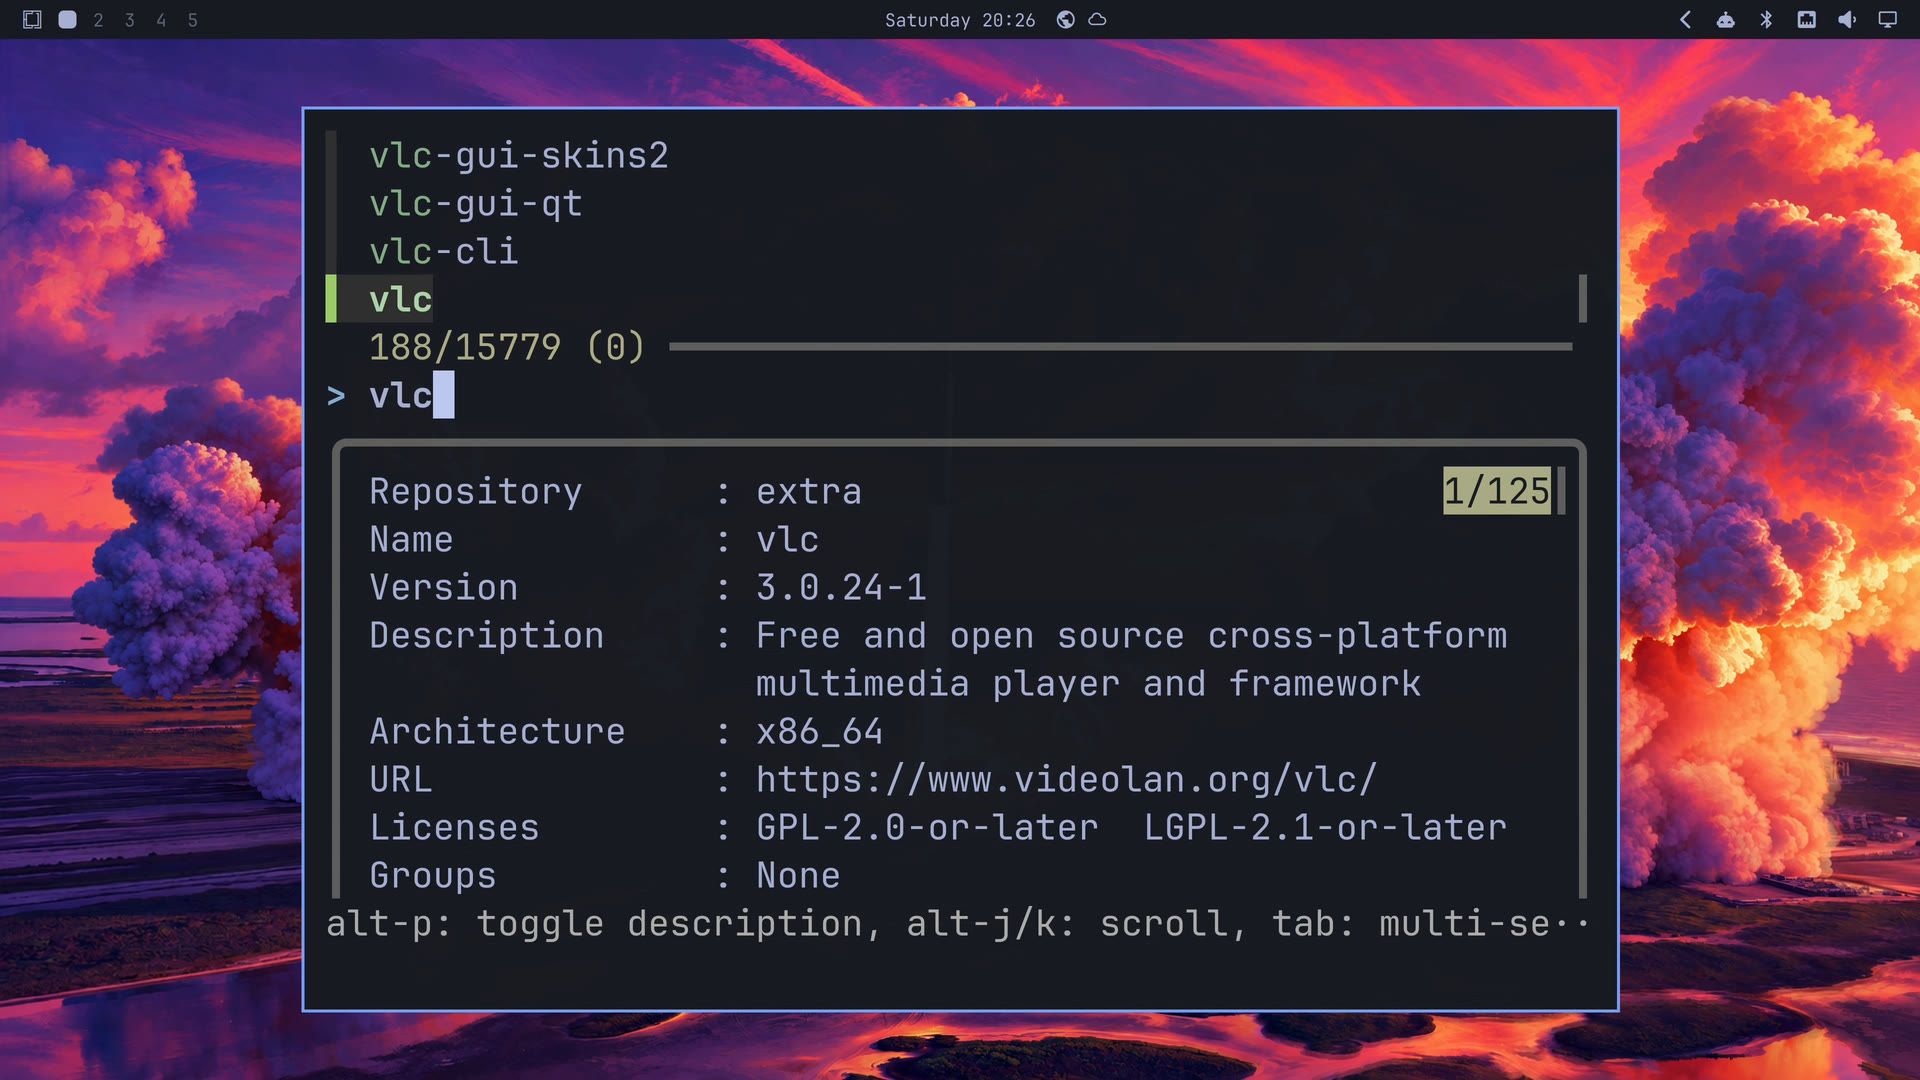
Most Linux apps come as packages. In the menu, Install, then Package searches every package Arch offers. On a new install the list stays empty until the first update, so run Update System (or Update, then Omarchy) first. The list opens in a terminal window, typing a name narrows it, and a preview pane describes the package. Pick one with enter and type your password to approve the install. When it is done, super space finds the new app by name, and it is in the app grid under super alt space . VLC, the free video player, is a good first try. From a terminal, omarchy pkg add vlc does the same.
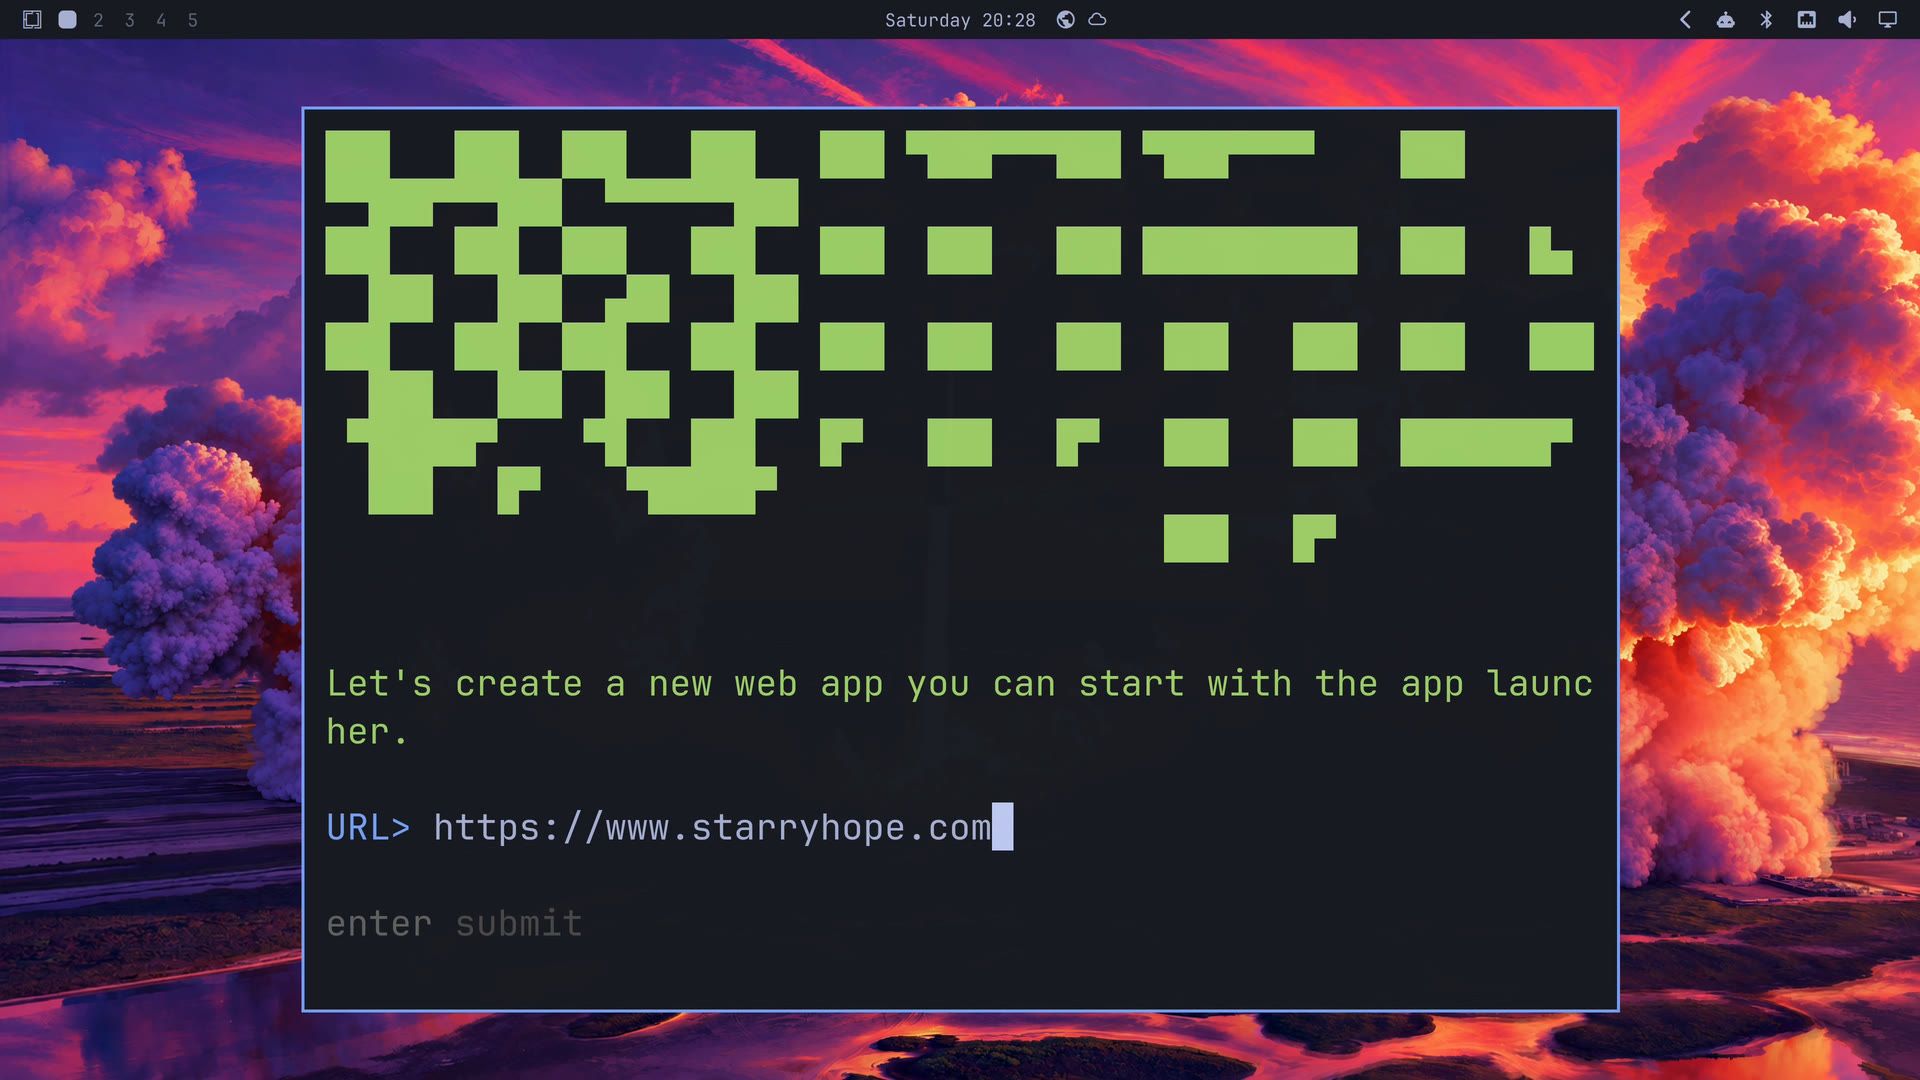
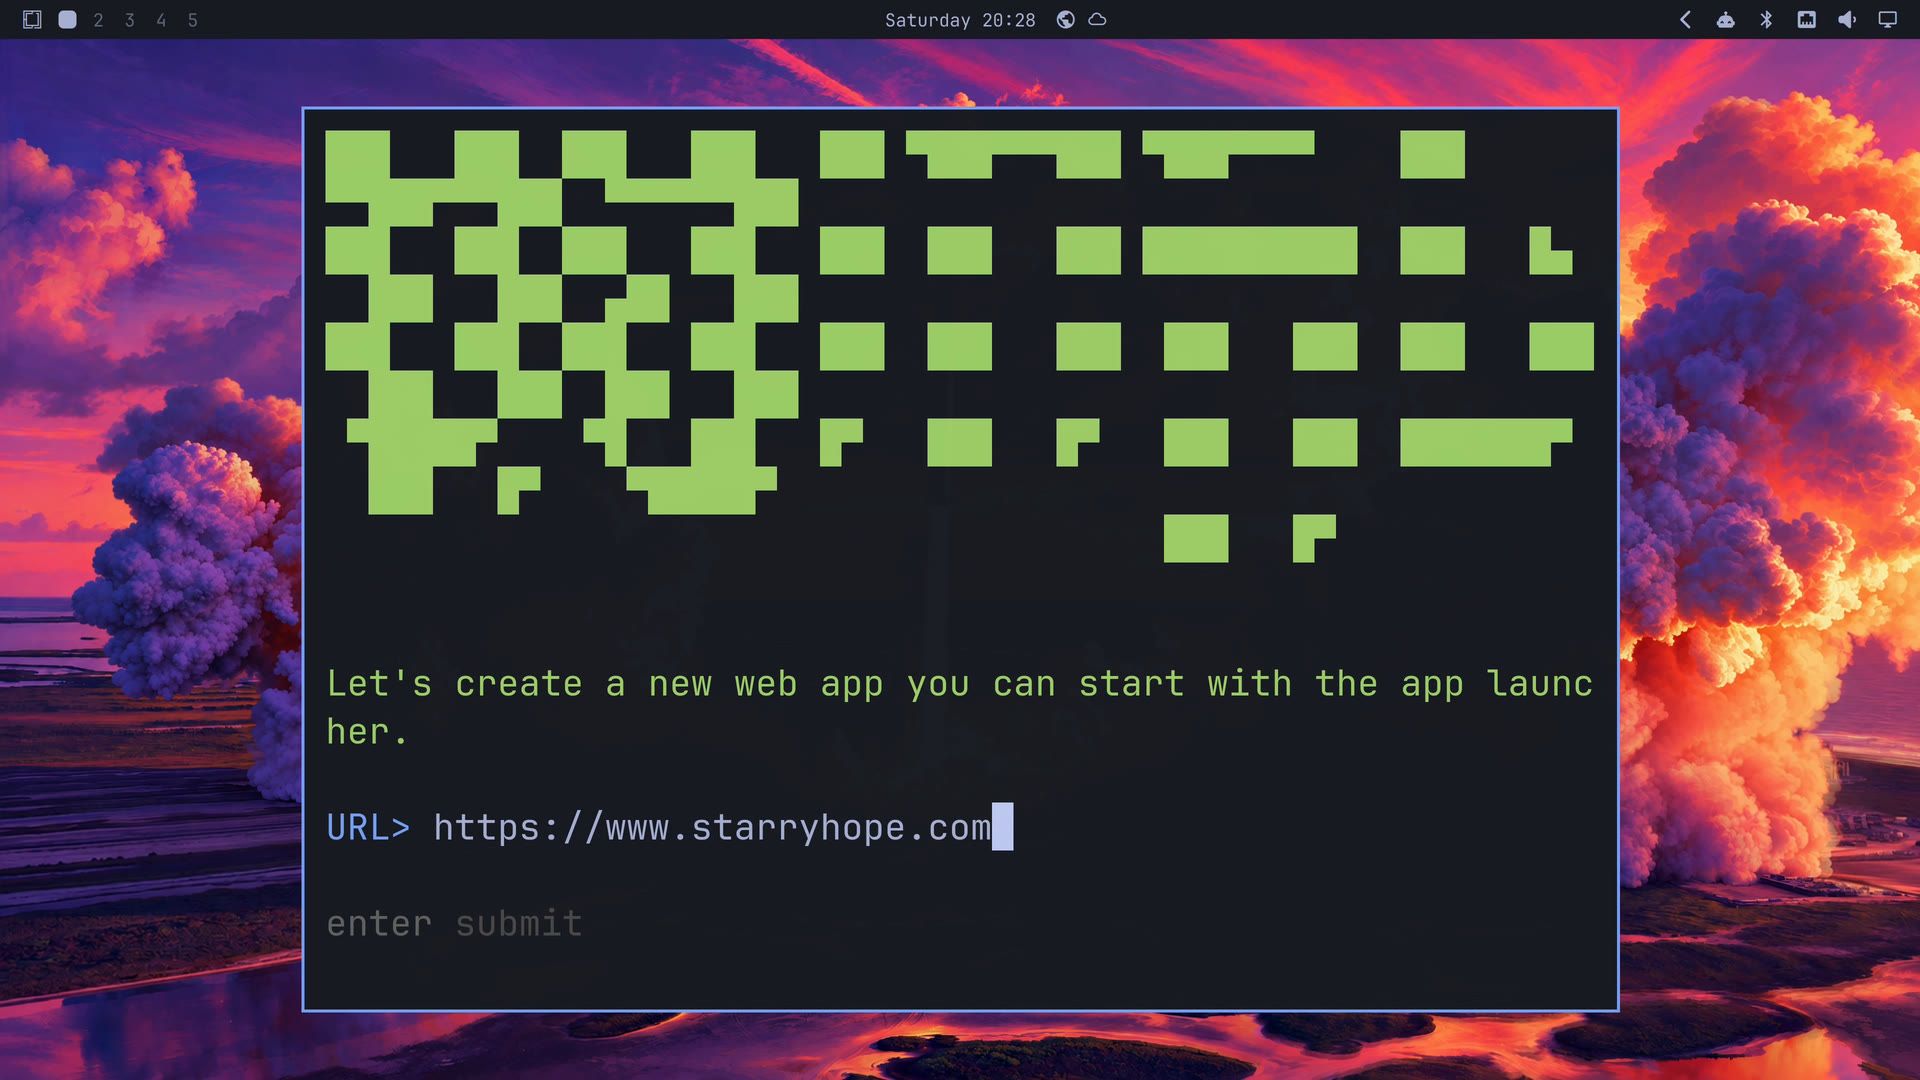
A website you use every day can become an app with its own window. Install, then Web App asks for a name and the web address, and fetches the site’s icon by itself (it asks for an icon only if the fetch fails). As the closing message says, super space finds the new app by name, and it is also in the app grid under super alt space . The site opens in a window with no browser tabs or address bar.
Install, then AUR installs from the Arch User Repository, packages that other users build and share. Anyone can upload a package there, so read what a package does before you install it, or ask an AI agent to read its build recipe for you.
Omarchy also comes with web apps, terminal apps, and tools you may never use. Remove, then Preinstalls takes them all out together, after a yes or no question (“Are you sure you want to remove all preinstalled web apps, TUI wrappers, and desktop applications?”). Yes is highlighted first, so press the right arrow before enter if you want No. Read what else it removes before you answer Yes:
- Every web app, including the ones you made yourself with Install, then Web App.
- Omarchy’s default command-line tools, which include the AI agent tools (such as Claude Code, Codex, and Copilot) and the GitHub CLI.
- A set of desktop apps: LibreOffice, Obsidian, Pinta, Aether, Moonlight, Omacut, Monologue, Omacalc, Omawrite, Hype, Signed, and the cliamp music player.
Install, then Preinstalls puts Omarchy’s own apps and tools back, but not a web app you made; create that one again. Until you have removed the preinstalls, that row is dimmed with a check mark.
Remove, then Package works like the install list in reverse: pick a package, approve with your password, and it is gone.
Pick a theme, background and font
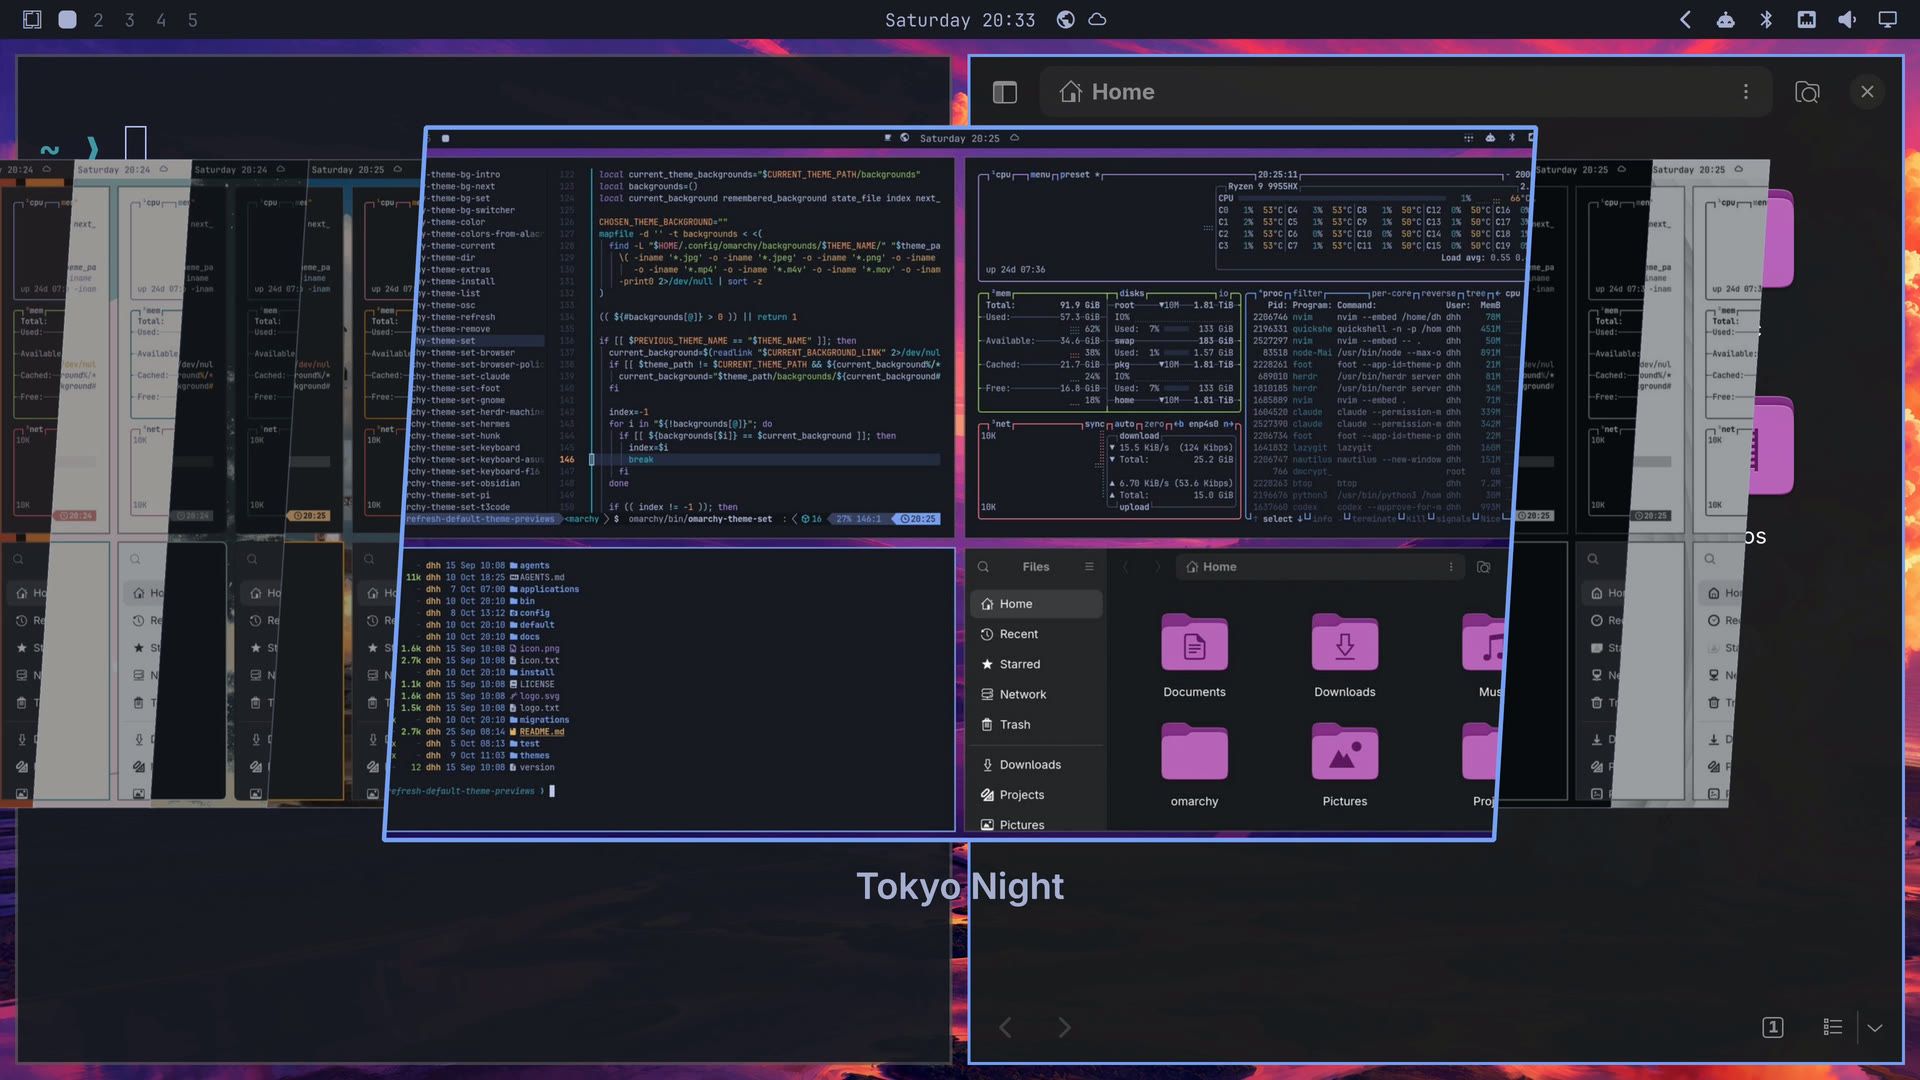
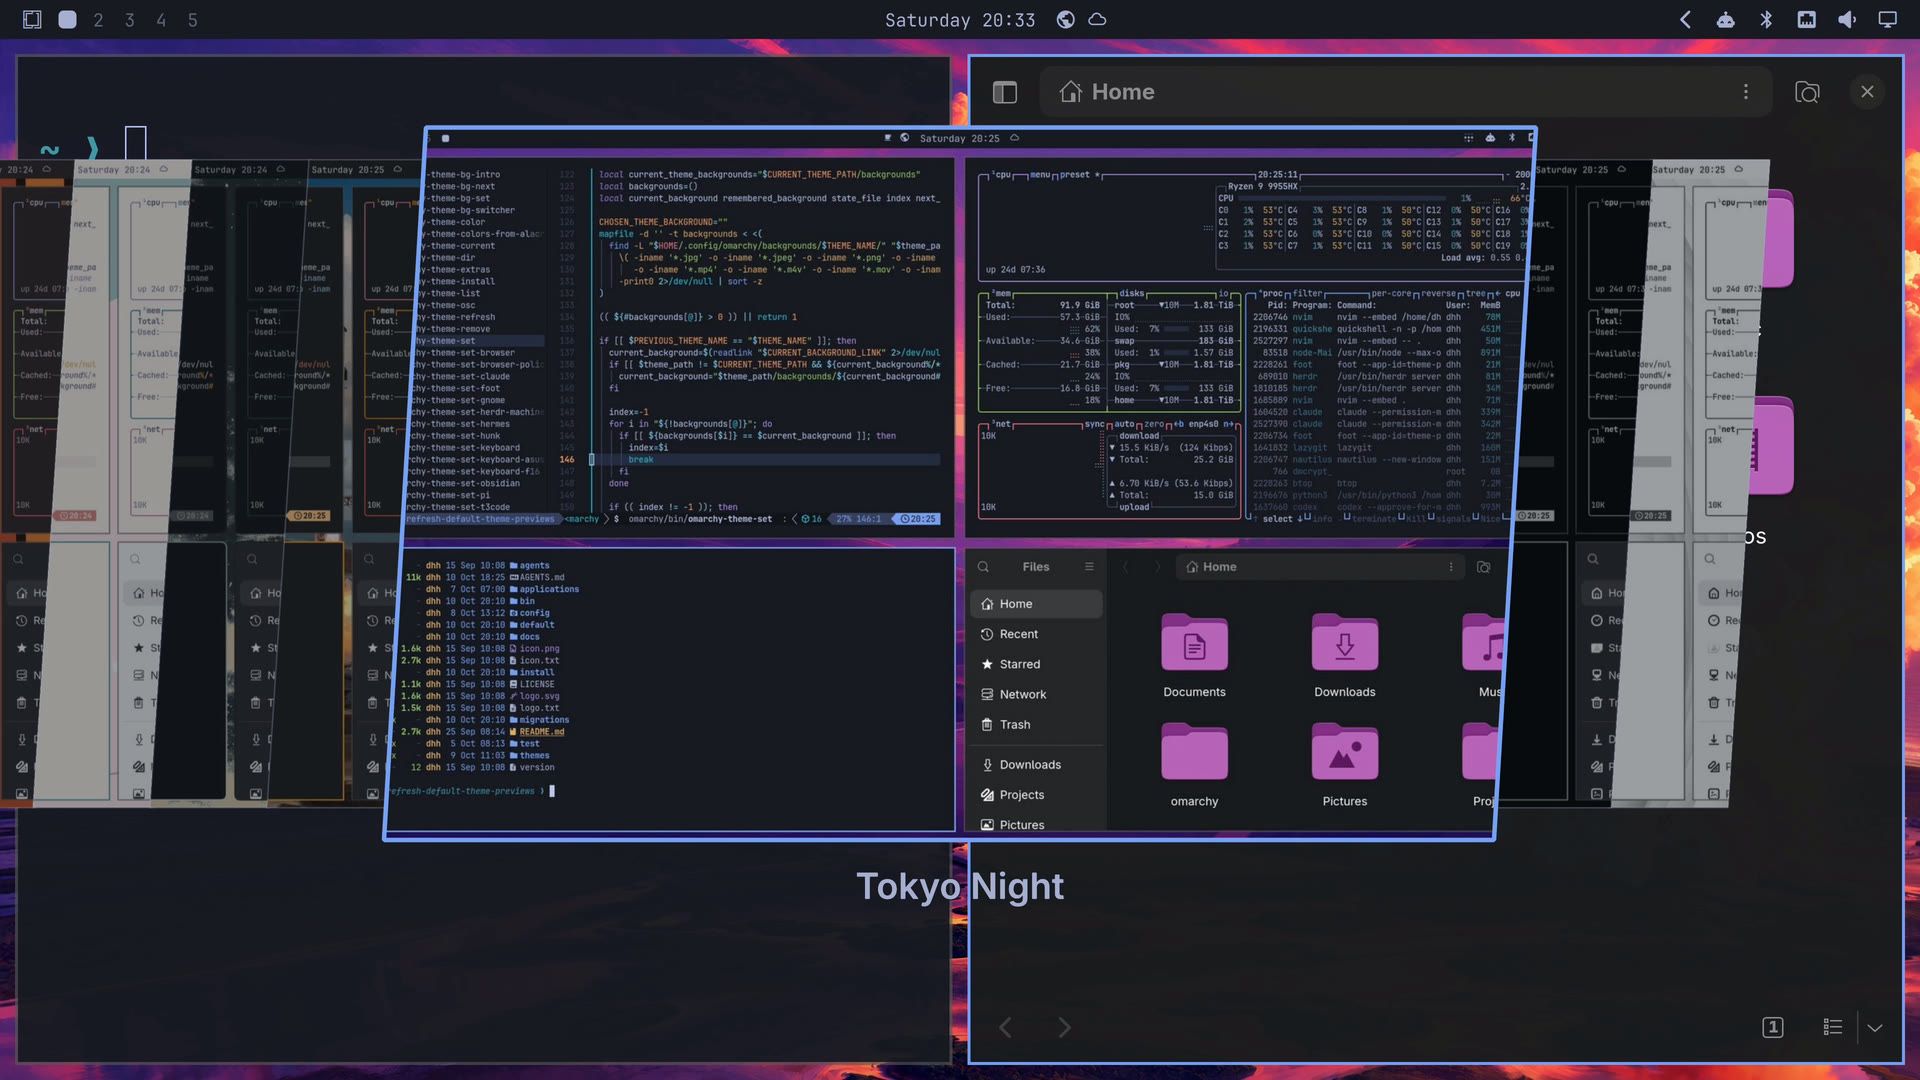
super ctrl t opens the theme picker, which is also under Appearance, then Theme in the menu. One pick changes the bar, the window borders, the terminal, the apps, and the background together, so you don’t set each one by hand. From a terminal, omarchy theme set picks a theme by name, and Aether builds a new theme from a wallpaper.
Each theme comes with its own set of backgrounds. super ctrl space opens the background picker, which shows the backgrounds for the theme you are using; Appearance, then Background in the menu does the same.
Appearance, then Font lists the monospace fonts for the terminal and the bar. A notice says to restart the terminal to see the change, and new terminals use the new font.
Add your own shortcuts and restore the defaults
Your own shortcuts go in a file called bindings.lua, in ~/.config/hypr/. Setup, then Keybindings in the menu opens it. The file opens in Neovim, a text editor you drive with the keyboard: press i to start typing, then esc , then type :w and press enter to save (:q and enter closes the editor). If you would rather use another editor, Setup, then Defaults, then Editor picks one.
Notes at the top of the file show the pattern to follow. A line with o.bind adds a new shortcut, and o.rebind changes one Omarchy ships with. Each takes the keys, a label for the Super K list, and what to run. This line opens a web app with super shift r , a combination Omarchy 4.5.0 leaves free:
o.bind("SUPER + SHIFT + R", "Calendar", "omarchy-launch-webapp https://calendar.google.com")Change the label and the address to the site you use. Save the file, and the shortcut works straight away; it also shows up in the Super K list. The same Setup menu opens the files for your monitors (Monitors) and for your keyboard, mouse, and touchpad (Input).
If an edit breaks something, open the menu and choose Update, then Config, then Hyprland. It runs at once, with no question, and resets every Hyprland config file to Omarchy’s default, not only the one you changed, so your own shortcuts and any monitor or scale change go with it. Each file it changes keeps a backup copy next to it, with .bak and a number added to the name, so your edits are not lost; copy back the lines you want.
Update Omarchy and roll back with a snapshot
Omarchy checks for updates by itself, when the desktop starts and every six hours after that, but nothing installs until you start it. When a new Omarchy release is waiting, an icon shows in the bar; plain Arch package updates do not bring it up. A click on the icon starts the same update as the menu.
To update, open the menu and choose Update, then Omarchy, the same step the Update System card offers at first boot. A box asks whether to continue, then the update asks for your password. Before it changes anything, it takes a snapshot, a saved copy of the system files. Then it updates Omarchy and every package on the system. Use the bar icon or this menu row, or omarchy update in a terminal, for every update. Omarchy blocks a direct Arch system upgrade with pacman -Syu and points you to omarchy update instead.
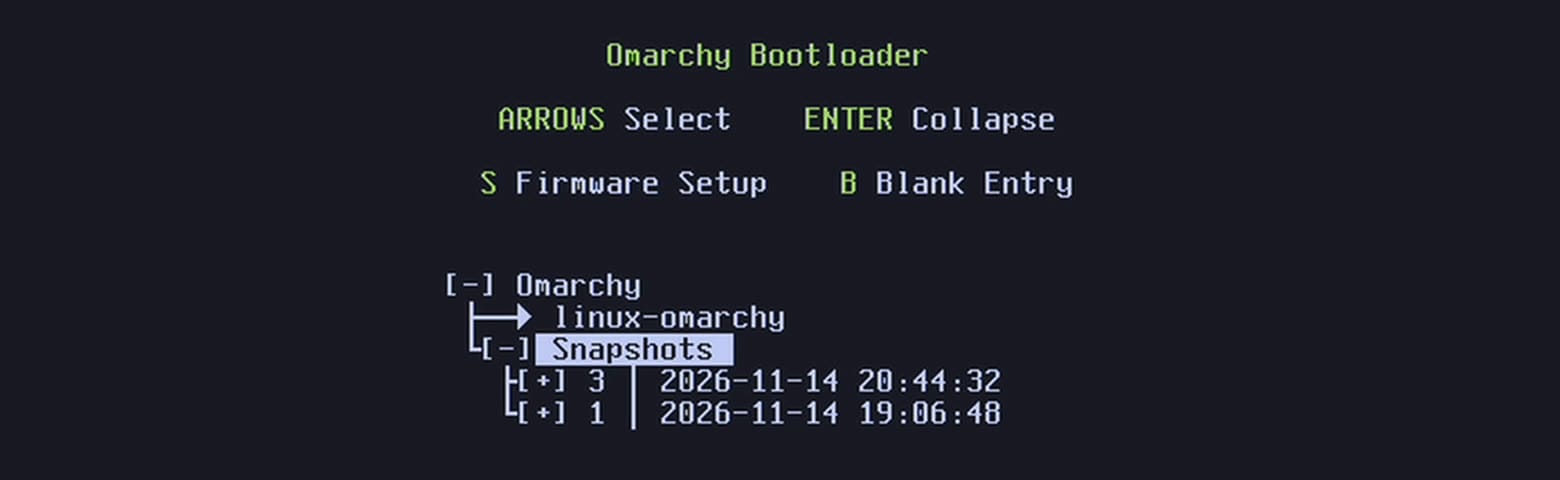
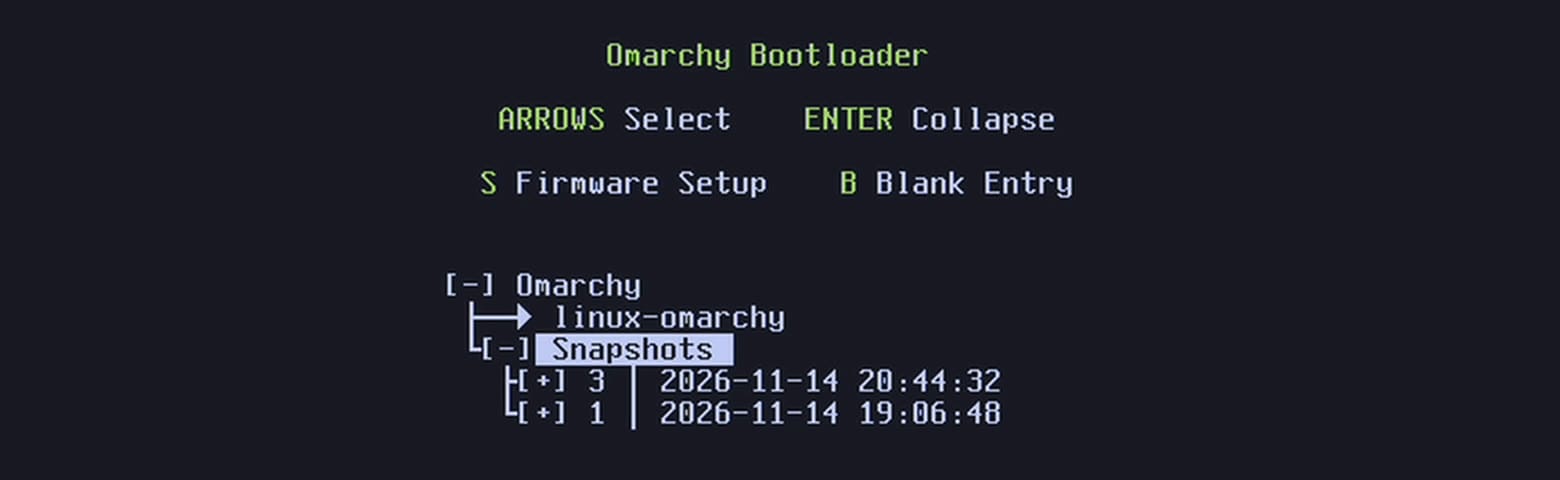
If an update breaks the system, start from a snapshot. The boot menu waits only one second and stays hidden unless you press a key, so keep tapping the down arrow while the computer starts. The menu then shows the normal system and a Snapshots folder. Open the folder and each row is one snapshot, with its number and the date it was made, newest first. Each snapshot is a folder too: open it and pick the linux-omarchy entry inside to start the system the way it was at that moment. You type the disk password as usual, and nothing on the desktop says you are in a snapshot. Your home folder and your files stay as they are, because a snapshot covers the system files only.
If that older system works, run this in a terminal to make the rollback permanent:
omarchy snapshot restoreIt asks for your password, shows the snapshot you started from, and asks you to confirm before it changes anything. Without that command, a normal restart starts the current system again, so trying a snapshot is safe.
Set up an AI agent and add plugins
The Set your default agent card asks you once which AI agent you use, since Omarchy doesn’t pick one for you. An AI agent is a program you ask in plain words to explain something or do a task on the computer. The card opens an alphabetical list that starts with Amp, Antigravity, Claude, Codex, Command Code, and Copilot. Picking Claude first shows a password box that adds the Claude extension to Chromium; esc skips it, and Claude Code then opens in its own window. Setup, then Defaults, then Agent in the menu changes the choice later. Most agents need you to sign in to their own account the first time they run.
super shift ctrl a starts your default agent in its own terminal window at any time. If you have not picked one yet, it opens the list of agents instead.
The agents panel
The robot icon on the bar opens the agents panel. Once you are signed in to an agent, the panel shows how much of each subscription is left and when the limit resets. Hover over a meter to see the exact percent. The plus button adds another subscription, with Claude Code, Codex, and Grok to choose from, and starts a sign-in in the browser. A right-click on the robot icon starts your default agent, the same as the shortcut.
Below the limits, Make something cool offers three tiles: Theme, Plugin, and App. Each tile closes the panel and hands a ready prompt to your default agent, which builds the thing with skills that come with Omarchy. A skill is a set of written instructions that teaches the agent how a task is done. The Theme tile has the agent ask what look you have in mind, build a theme with its own backgrounds, and switch to it. The Plugin tile builds a plugin and enables it, and the App tile builds an app and adds it to the app grid.
Plugins
Plugins are add-ons that change or extend Omarchy, such as the ones in our five plugins and five more roundups. Setup, then Plugins in the menu adds, enables, disables, and removes them. Add Plugin asks for the Git URL of the plugin’s code, so check a plugin before you add it.
Every shortcut in this guide
These are the Omarchy 4.5.0 defaults.
| Keys | What they do |
|---|---|
| super k | List every shortcut |
| super space | Omarchy menu and app launcher |
| super alt space | App grid |
| super enter | Terminal |
| super shift enter or super shift b | Browser (Chromium) |
| super shift f | Files |
| super w | Close the window |
| super esc | System menu (lock, log out, restart, shut down) |
| super ctrl l | Lock the screen |
| super c / super v | Copy and paste in every app |
| super / / super alt / | Bigger / smaller screen scale |
| Super + arrow | Move the focus |
| Super + Shift + arrow | Swap windows |
| super - / super = | Move the edge between two windows |
| Super + right-drag / left-drag | Resize / move a window with the mouse |
| super j | Switch a pair between side by side and top and bottom |
| super t | Float or tile a window |
| super f / super alt f | Full screen / full width |
| Super + number | Switch to a workspace |
| Super + Shift + number | Send the window to a workspace and follow it |
| Super + Shift + Alt + number | Send the window to a workspace without following it |
| super tab / super shift tab | Next / previous workspace |
| super l / super alt l | Next / previous layout (Tiling, Scrolling, Floating) |
| super m | Minimize to the dock (Floating) |
| super ctrl n , super ctrl b , super ctrl a , super ctrl d | Network, Bluetooth, Audio, Display panels |
| super ctrl t | Theme picker |
| super ctrl space | Background picker |
| super shift ctrl a | Start the default agent |


